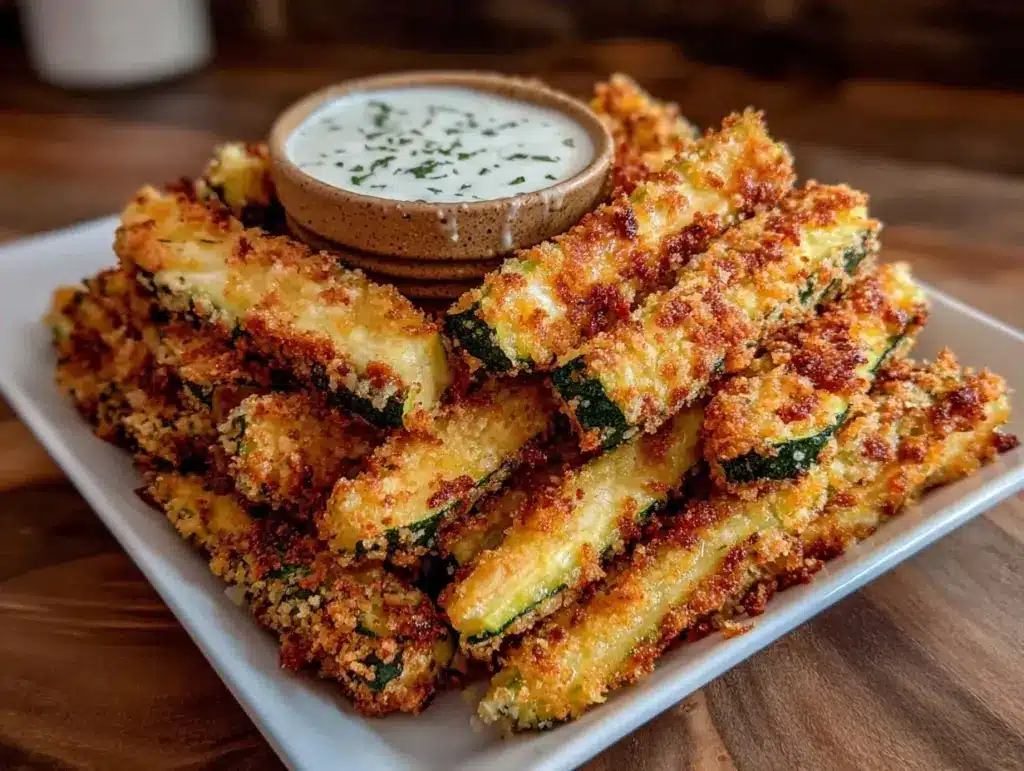
It was 4:30 PM on a Saturday. The house was loud, the TV was blaring, and my kids were circling the kitchen island like sharks smelling blood. They wanted snacks. Not fruit. Not cheese sticks. They wanted the salty, crunchy, deep-fried kind that usually comes in a plastic bag from the freezer aisle. I looked at the price of those bags—$4.50 for a tiny box of soggy, oily sticks—and I had a moment of clarity. I was broke, I was tired, and I had a zucchini rotting in my crisper drawer.
So, I did what any budget-conscious parent does: I improvised. I grabbed that sad, wrinkly zucchini, some breadcrumbs, and a handful of spices I already had. I baked them. I expected disappointment. Instead, my ten-year-old looked at me and asked, “Are these the good fries?”
That was three months ago. Since then, I’ve made this Healthy Game Day Zucchini Fries recipe more times than I can count. It’s become our go-to when the craving hits but we’re trying to eat a little better (or just save money). These baked veggie snacks are crispy on the outside, tender on the inside, and they don’t leave you feeling like you just ate a grease bomb. Plus, they pair perfectly with a cold sparkling berry lemonade for a complete game day spread that won’t break the bank.
Here’s the thing about zucchini fries: most people get them soggy. I get it. Zucchini is basically water with a skin. But after testing this Healthy Game Day Zucchini Fries recipe a dozen times, I cracked the code. It’s all about prep, temperature, and not being afraid of a little oil spray. If you’ve ever felt like you had to choose between healthy eating and game day comfort food, this is your bridge. Let’s get cooking.
Why You’ll Love This Recipe
I know what you’re thinking. “Zucchini fries? Really?” Stick with me. This isn’t about pretending zucchini is a potato. It’s about making a vegetable taste so good that your kids don’t notice they’re eating vegetables. Here’s why this Healthy Game Day Zucchini Fries recipe has earned a permanent spot in our weekly rotation:
- It’s Dirt Cheap — A medium zucchini costs about $0.80 at my local grocery store. That’s less than a single fry from the drive-thru. You can feed a crowd of four for under $5. It’s the ultimate budget hack.
- Lightning Fast Prep — From fridge to oven takes about 15 minutes. I’ve made this after getting home from work at 6 PM and still had time to set the table before the game started. It’s that quick.
- Kid-Approved Crispy — The breadcrumb coating is the secret. It mimics that fried texture without the heavy batter. My picky eaters devour these, and they don’t complain about the “green stuff” inside.
- Meal Prep Friendly — I often bake a double batch on Sunday. They reheat surprisingly well in an air fryer or toaster oven, making them perfect for grab-and-go lunches or quick weeknight sides.
- Customizable Flavor — Love spicy? Add cayenne. Love herbs? Toss in some dried oregano. This recipe is a blank canvas that lets you control exactly what goes into your food.
This is my go-to when dinner needs to just work, or when I need to sneak some veggies into a chaotic Saturday afternoon. It’s simple, it’s affordable, and it actually tastes good.
Key Ingredients for Crispy Results
You don’t need a specialty store for this. I use ingredients I already have in my pantry. Here’s the breakdown for the Healthy Game Day Zucchini Fries recipe, with exact measurements to ensure consistency.
Zucchini (2 large / approx. 600g)
Yes, you need two large ones. Don’t use the tiny ones; they have too much seed and not enough flesh. Look for firm zucchini with no soft spots. If they’re too big, you might need three. The key is uniform size so they cook evenly. I usually buy 3-4 when they’re on sale and freeze the extras, but fresh is best for this texture.
Panko Breadcrumbs (1 cup / 80g)
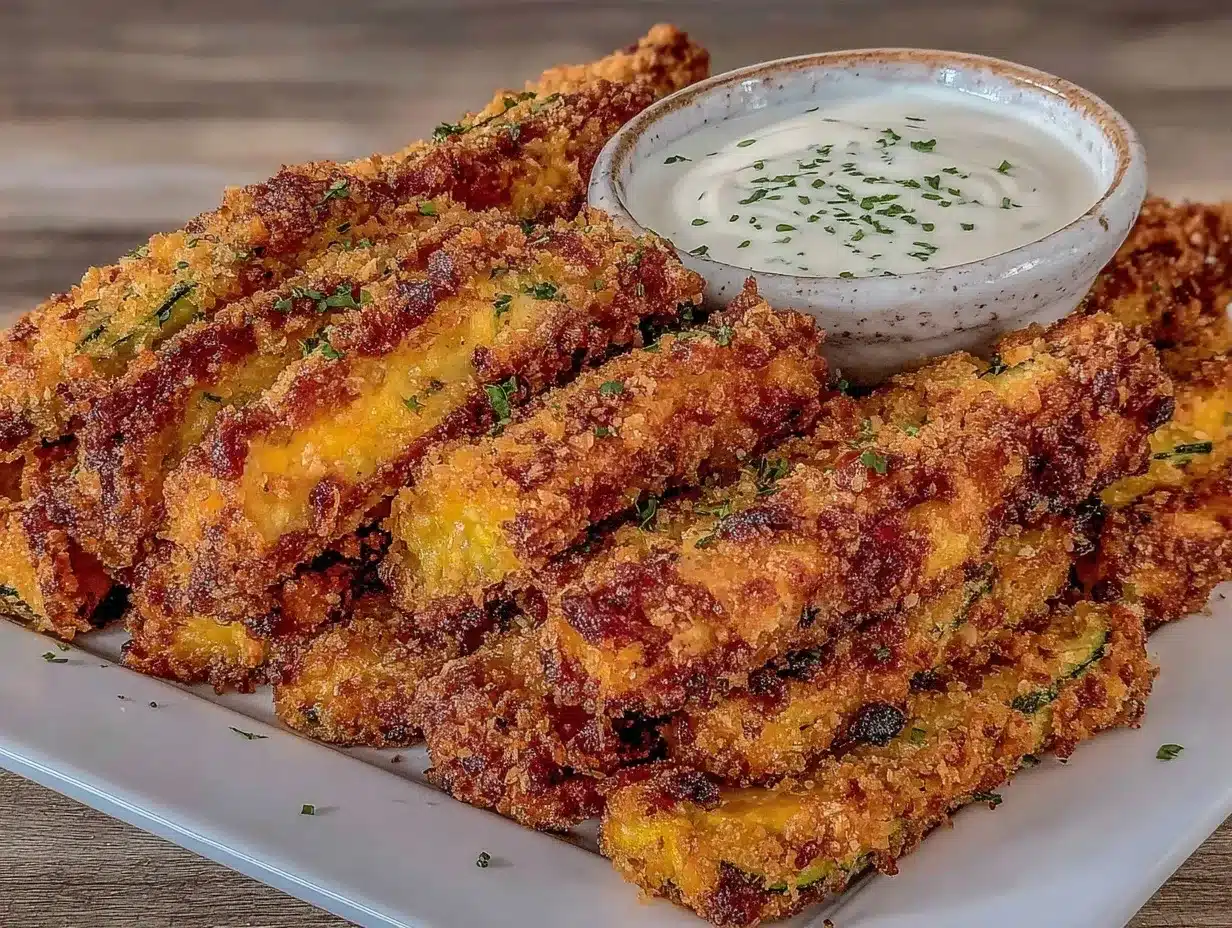
This is non-negotiable if you want crispiness. Regular breadcrumbs are too fine and will get soggy. Panko stays crunchy. I buy the plain kind and toast them lightly in a dry pan before using them—it adds a nutty flavor. If you can’t find Panko, you can pulse regular breadcrumbs in a blender, but Panko is worth the trip to the Asian aisle.
Grated Parmesan Cheese (½ cup / 50g)
Real Parmesan, not the green shaker stuff. The pre-grated stuff has cellulose that prevents it from melting properly and can make your coating grainy. Buy a wedge and grate it yourself. It melts into the breadcrumb mix, adding saltiness and helping the coating stick. If you’re dairy-free, you can skip this or use a nutritional yeast substitute, but the flavor changes significantly.
Eggs (2 large / 100g)
Whisked with a tablespoon of water or milk. This acts as the glue. Some people use milk alone, but I find the egg white provides better structural integrity for the coating. If you’re vegan, you can use a flax egg or just skip the egg and use a cornstarch slurry, but the texture will be different.
All-Purpose Flour (½ cup / 60g)
This is the first layer of defense against sogginess. It dries out the surface of the zucchini so the egg and breadcrumbs adhere better. You can use gluten-free flour blend if needed, but regular flour works perfectly fine.
Spices (1 tsp each: Garlic Powder, Onion Powder, Paprika)
Garlic powder, onion powder, and paprika are my holy trinity here. Salt is added to taste. Don’t skip the paprika; it gives those fries a nice golden color. If you like heat, add a pinch of cayenne or red pepper flakes.
Cooking Spray (Olive Oil or Avocado Oil)
You need to spray these before baking. It’s the secret to getting them crispy in the oven instead of steamed. Don’t skimp here. Lightly coat every side.
Tools Needed
You don’t need fancy equipment. Here’s what I use. Keep it simple.
- Sheet Pans (2 large) — I use two half-sheet pans. Do not crowd the zucchini. If the fries touch each other, they steam instead of bake. I bake one batch at a time for best results.
- Box Grater or Mandoline — I use a box grater with the large holes. It gives the fries a rustic, fry-like shape. A mandoline is faster but dangerous. Be careful.
- Wire Rack (Optional but Recommended) — Placing a wire rack on your sheet pan allows air to circulate underneath. This prevents the bottoms from getting soggy. I have a cheap one from Target that works great.
- Whisk and Shallow Bowls — You need three shallow bowls for the dredging station: flour, egg wash, and breadcrumb mix.
- Pastry Brush or Spray Bottle — For applying the oil evenly. A spray bottle gives you more control than a can of cooking spray.
Cooking Instructions
Let’s make these. I’m walking you through exactly how I do it, step by step.
Step 1: Prep the Zucchini (5 minutes)
Wash your zucchini and trim the ends. Using a box grater, cut the zucchini into long sticks, about the width of a french fry. Aim for ¼-inch thickness. If they’re too thick, they’ll be mushy inside. If they’re too thin, they’ll burn. Place the cut zucchini on a clean kitchen towel and pat them dry. Seriously, pat them dry. Removing surface moisture is the most important step to prevent sogginess. Let them sit for 5 minutes while you prep the rest.
Step 2: Set Up Your Dredging Station (5 minutes)
Preheat your oven to 400°F (200°C). Line two baking sheets with parchment paper (or a silicone mat). If you have a wire rack, place it on the sheets now. Prepare three shallow bowls. Bowl 1: Flour mixed with ½ tsp salt. Bowl 2: Whisked eggs with 1 tbsp water. Bowl 3: Panko breadcrumbs mixed with grated Parmesan, garlic powder, onion powder, paprika, and a pinch of salt.
Step 3: Dredge the Fries (10 minutes)
Take a zucchini stick, shake off excess towel moisture, and roll it in the flour. Shake off the extra flour—it should be lightly coated, not clumpy. Dip it into the egg wash, letting the excess drip off. Finally, press it firmly into the breadcrumb mixture. Make sure it’s fully coated. Place it on the baking sheet. Repeat with all zucchini sticks. Do not overcrowd the pan. Leave at least ½ inch of space between each fry.
Step 4: Oil and Bake (20 minutes)
Generously spray the tops of the fries with olive oil spray. This is crucial for browning. Bake for 10 minutes. Then, carefully flip each fry. Spray the other side with oil. Bake for another 10 minutes, or until the bottoms are golden brown and crispy. Keep an eye on them after 15 minutes—ovens vary, and you want them crisp, not burnt.
Step 5: Cool and Serve (5 minutes)
Remove from the oven and let them cool on the pan for 2-3 minutes. This helps the coating set. If you move them too soon, the breading might slide off. Serve immediately with your favorite dipping sauce. These are best eaten hot, but they hold up okay for a few hours if covered.
Total Time Breakdown: Prep 15 minutes | Cook 20 minutes | Cool 5 minutes. Total: 40 minutes.
Expert Tips
Here’s everything I learned from making this too many times. These tips will save you from soggy disasters.
Don’t Skip the Drying Step
I learned this the hard way. The first time I made these, I just washed and cut the zucchini. The fries came out steamed and limp. The moisture in the zucchini is the enemy of crispiness. Patting them dry with a towel, and letting them air dry for a few minutes, makes a huge difference. If you’re in a rush, let them sit on a wire rack for 10 minutes to air dry.
Use Two Pans, Not One
I used to try to fit everything on one big pan. It never worked. The fries steamed each other. Always use two pans. If you don’t have two, bake in batches. One batch of fries is better than a pan of soggy mush.
Flip Halfway
Even with an air fryer or convection oven, flipping halfway ensures even browning. If you don’t flip, one side will be burnt and the other pale.
Common Problems & Solutions
- Coating Sliding Off: This happens if the flour layer is too thick or if you didn’t shake off the excess. Lightly coat in flour, then egg, then press into crumbs.
- Soggy Bottoms: Use a wire rack. If you bake directly on parchment, moisture gets trapped. A rack lets air circulate.
- Burnt Breadcrumbs: Panko burns faster than regular breadcrumbs. Watch your oven closely after 15 minutes. If they’re browning too fast, tent with foil.
Pro Tricks
- Toast the Panko: Toast your breadcrumbs in a dry skillet for 2 minutes before using them. It adds depth and extra crunch.
- Add Cornstarch: Mix 1 tbsp of cornstarch into the flour for extra crispiness. It creates a thinner, crunchier crust.
Recipe Variations
Once you’ve nailed the basic version, here’s how to mix it up. I love keeping things interesting.
Spicy Cajun Zucchini Fries
What to change: Add 1 tsp Cajun seasoning and ½ tsp cayenne to the breadcrumb mix. Why it works: The heat cuts through the richness of the cheese. My kids love these with ranch dip.
Herb Garden Zucchini Fries
What to change: Swap the paprika for 1 tbsp dried Italian herbs (basil, oregano, thyme). Why it works: Fresh herb flavor is bright and summery. Great for spring game days.
Dairy-Free Option
What to change: Skip the Parmesan. Use nutritional yeast in the breadcrumbs for a cheesy flavor. Use a flax egg or vegan egg substitute. Why it works: It’s still crispy and flavorful, just without the dairy.
Gluten-Free Option
What to change: Use gluten-free Panko or crushed gluten-free crackers. Use gluten-free flour. Why it works: Most GF breadcrumbs are fine, but check the label. Some are too dense.
Baked Potato Style
What to change: Add 1 tsp dried chives and ½ tsp onion powder to the crumbs. Serve with sour cream dip. Why it works: It tastes like a loaded baked potato but with fewer calories.
Serving & Storage
Serving
I serve these with a variety of dips. Classic ranch is a must. Marinara sauce is great for a more Italian vibe. Garlic aioli is my personal favorite. For sides, these pair well with a simple green salad or a pineapple rum punch if you’re serving adults. They also go great with grilled burgers or chicken.
Storage
Refrigerator: Store leftovers in an airtight container for up to 2 days. They will lose some crispiness but are still good.
Reheating: Do not microwave. It will make them rubbery. Reheat in an air fryer at 375°F for 3-4 minutes, or in a toaster oven for 5-6 minutes. This restores the crunch.
Freezer: Yes, these freeze well! Bake them until just golden, let them cool completely, then freeze on a baking sheet. Once frozen, transfer to a bag. They keep for 3 months. Bake from frozen at 400°F for 15-20 minutes. They’re not quite as crisp as fresh, but still delicious for a quick snack.
Meal Prep Tip: I often double the batch on Sundays. Freeze half for quick weeknight snacks. It saves so much time when you’re tired.
Nutrition Information
I’m not a nutritionist, but here’s the breakdown. These numbers are estimates based on standard ingredients.
| Nutrient | Per Serving (approx. 10 fries) |
|---|---|
| Calories | 120 |
| Protein | 5g |
| Carbs | 12g |
| Fiber | 2g |
| Fat | 5g |
| Sodium | 180mg |
My Take: This is a healthy snack option compared to fried fries. It’s lower in fat and calories, and you’re getting some veggies. It’s not “diet food,” but it’s a much better choice than processed snacks. I feel good serving these to my family.
Final Thoughts
Making Healthy Game Day Zucchini Fries isn’t just about eating better. It’s about taking control of what you feed your family without spending a fortune or spending hours in the kitchen. These fries are crispy, flavorful, and kid-approved. They’re proof that healthy eating can be fun and affordable.
If you make this, drop a comment! I love hearing how it turns out in your kitchen. Did your kids eat them? Did you add extra spice? Share your tips. And if you’re looking for more easy, budget-friendly recipes, check out my no-bake peanut butter energy bites for another quick snack idea.
Happy cooking!
FAQs
Can I use frozen zucchini for this recipe?
Absolutely not. Frozen zucchini releases too much water and will turn into mush. You must use fresh zucchini for the best texture. If you have to, you can thaw frozen zucchini and squeeze out all the water, but fresh is always better.
Why are my zucchini fries soggy?
This is usually due to two reasons: not drying the zucchini enough before breading, or overcrowding the pan. Make sure to pat them dry with a towel and leave space between each fry on the baking sheet. Also, ensure you’re spraying them with oil—oil helps them crisp up.
Can I make these in an air fryer?
Yes! Air fryers are great for this. Cook at 375°F for 10-12 minutes, flipping halfway. They come out extra crispy. Just don’t overcrowd the basket.
How do I store leftover zucchini fries?
Store them in an airtight container in the fridge for up to 2 days. Reheat in an air fryer or toaster oven to restore crispiness. Do not microwave.
Can I double the recipe?
Yes, but you’ll need to bake in two batches. Do not try to fit everything on one pan. Crowding leads to steaming, not baking. Two batches of crispy fries is better than one batch of soggy ones.
Pin This Recipe!
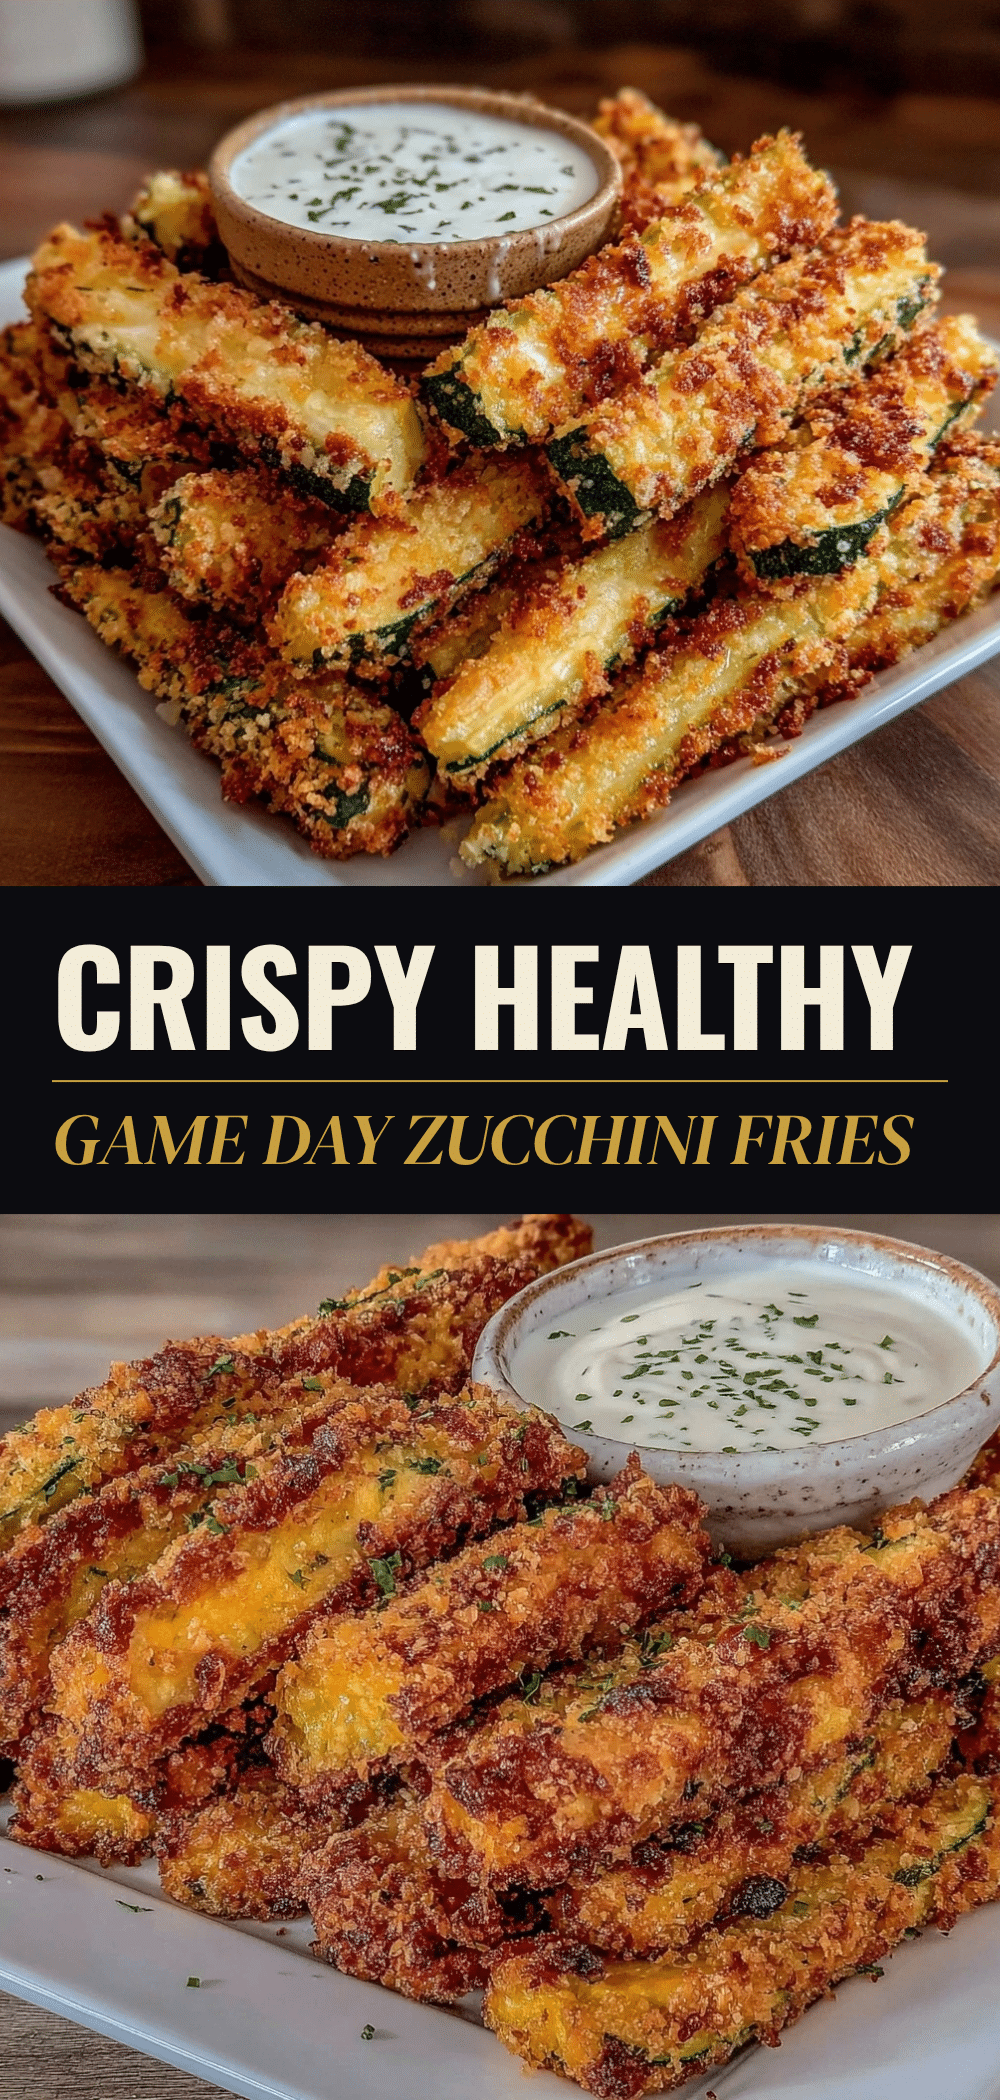
Healthy Game Day Zucchini Fries: 5-Ingredient Baked Veggie Snacks
- Total Time: 40 minutes
- Yield: 4 servings 1x
Description
Crispy, baked zucchini fries coated in panko and parmesan. A budget-friendly, kid-approved snack that is ready in under 45 minutes.
Ingredients
- 2 large zucchini (approx. 600g)
- 1 cup Panko breadcrumbs (80g)
- ½ cup Grated Parmesan cheese (50g)
- 2 large eggs
- ½ cup All-purpose flour (60g)
- 1 tsp Garlic powder
- 1 tsp Onion powder
- 1 tsp Paprika
- Salt to taste
- Cooking spray (Olive oil or Avocado oil)
Instructions
- Preheat oven to 400°F (200°C). Line two baking sheets with parchment paper or place wire racks on them.
- Wash zucchini and trim ends. Cut into ¼-inch thick sticks using a box grater or knife.
- Pat zucchini sticks dry with a clean kitchen towel and let sit for 5 minutes to remove excess moisture.
- Prepare three shallow bowls: Bowl 1 with flour and ½ tsp salt; Bowl 2 with whisked eggs and 1 tbsp water; Bowl 3 with Panko, Parmesan, garlic powder, onion powder, paprika, and a pinch of salt.
- Dredge each zucchini stick in flour (shake off excess), dip in egg wash, then press firmly into the breadcrumb mixture.
- Place fries on baking sheets, ensuring they do not touch (leave ½ inch space).
- Generously spray tops with oil spray.
- Bake for 10 minutes, then flip fries and spray the other side with oil.
- Bake for another 10 minutes until golden brown and crispy.
- Cool on the pan for 2-3 minutes before serving.
Notes
Do not skip drying the zucchini thoroughly to prevent sogginess. Use two pans or bake in batches to avoid overcrowding. For extra crispiness, toast the Panko breadcrumbs in a dry pan before using. Reheat in an air fryer or toaster oven; do not microwave.
- Prep Time: 15 minutes
- Cook Time: 20 minutes
- Category: Snack
- Cuisine: American
Nutrition
- Serving Size: Approx. 10 fries
- Calories: 120
- Sugar: 3
- Sodium: 180
- Fat: 5
- Saturated Fat: 2
- Carbohydrates: 12
- Fiber: 2
- Protein: 5
Keywords: zucchini fries, healthy snacks, game day food, baked vegetables, kid-friendly recipes, budget meals, gluten-free options


