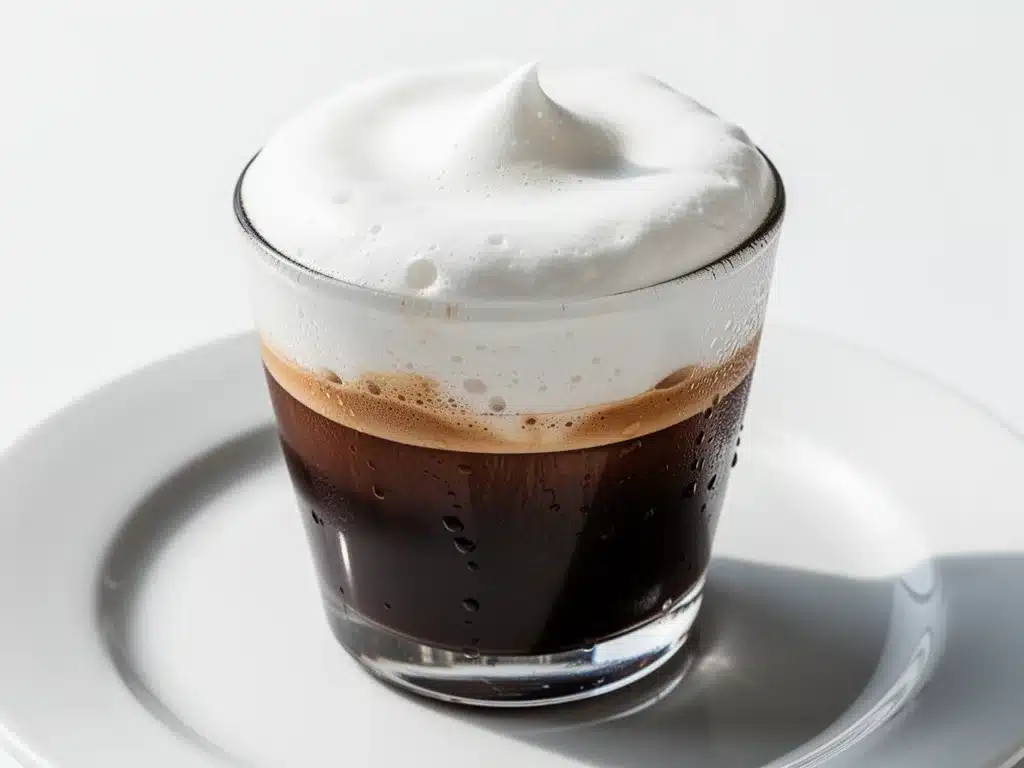
I still remember the first time I ordered a Vanilla Sweet Cream Cold Brew at a major coffee chain. It was one of those humid July mornings where the air feels like a wet blanket, and I needed something cold, sweet, and caffeinated to survive my morning commute. I stood in line for twelve minutes, watched the barista pour that cloud-like white cream into dark, icy coffee, and took that first sip. It was creamy, vanilla-kissed, and incredibly smooth. I walked out feeling like I’d won the lottery.
But then I looked at the receipt. $6.45. For a drink I could make at home in five minutes with ingredients I already had in my fridge.
That was the moment it clicked. I was paying a premium for convenience and branding, not for some magical alchemy that only a trained barista could perform. So, I decided to reverse-engineer it. I spent the next month testing different coffee strengths, cream ratios, and vanilla extracts. I burned through half a carton of heavy cream and made enough cold brew to fill my bathtub (okay, maybe not that much, but it felt like it).
Here’s the truth: Starbucks’ version is good. But homemade Vanilla Sweet Cream Cold Brew? It’s better. It’s richer. It tastes like you actually care about your coffee. And the best part? It costs about 85 cents to make. That’s right. Less than a dollar for a drink that rivals the big chains. I’ve been making this iced coffee recipe every single summer for the past three years. It’s my go-to when I want something fancy but lazy, and I’m pretty sure my neighbors think I’ve hired a private barista.
This isn’t just about saving money, though that’s a nice bonus. It’s about control. You decide how sweet it is. You decide how strong the coffee is. You decide if you want a splash of almond milk or a dollop of whipped cream on top. It’s your coffee, your rules. And once you try it, you’ll never go back to the drive-thru again. Trust me on this one.
Why You’ll Love This Homemade Vanilla Sweet Cream Cold Brew
There are about ten reasons I keep making this, but here are the big ones that have converted my friends, my family, and even my skeptical husband.
Cheaper Than Tap Water — Seriously. If you make this once, you’ll calculate the savings in seconds. I spend about $1.20 on ingredients that last for two weeks. Compare that to weekly coffee shop runs, and you’re looking at hundreds of dollars saved per year. I use those savings to buy better beans. It’s a virtuous cycle.
Actually Fresh — Store-bought cold brew often tastes flat or burnt because it’s been sitting in a dispenser for days. When you make this, the coffee is fresh from your brewer, and the cream is chilled but not sitting in a machine. It tastes vibrant and clean. I’ve had people sip this and ask, “Is this from a cafe?” I just smile and say, “Better.”
Zero Caffeine Jitters — Cold brew is naturally smoother and less acidic than hot coffee. Because it’s steeped in cold water for 12-24 hours, the bitterness is minimized, but the caffeine stays strong. I can drink two of these in the morning without my hands shaking. It’s a gentle, steady energy boost that lasts all day. Perfect for those of us who are sensitive to acid or just hate the sour taste of hot brew.
Customizable to the Nth Degree — Hate vanilla? Swap it for caramel or hazelnut. Want it dairy-free? Use oat cream or coconut cream. Prefer it super strong? Use a lighter cream. This recipe is a blank canvas. I’ve made versions with lavender syrup (inspired by my honey lavender iced latte) and versions with chocolate shavings. It’s endlessly adaptable to your mood.
Ready in 5 Minutes (Plus Brewing Time) — The active work is minimal. You dump coffee into a jar, add cream, and pour it over ice. The 12-24 hours of steeping? That’s passive. I do it while I sleep. I wake up, and breakfast is ready. It’s the ultimate lazy breakfast hack.
Makes You Feel Like a Barista — There’s something satisfying about layering the cream on top and watching it slowly swirl into the dark coffee. It’s visually stunning. I make this for guests all the time, and it feels like a treat. It’s fancy without being fussy.
Great for Meal Prep — I make a big batch of cold brew on Sunday. It lasts in the fridge for up to two weeks. When I need a pick-me-up on Wednesday, I just grab a glass and pour. No waiting for the coffee maker to warm up. No grinding beans. Just instant refreshment.
Less Acidic — If you have a sensitive stomach, hot coffee can be a nightmare. Cold brew is significantly less acidic. I used to get heartburn from my morning cup, but this? Smooth as butter. My digestion thanks me every day.
Perfect for Summer — When the heat hits, hot coffee is the last thing you want. This is refreshing, cooling, and energizing. It’s the drink of summer. I serve it at pool parties, BBQs, and even grilled peach dessert nights. It pairs beautifully with light summer foods.
It’s Just Delicious — Let’s be honest. It tastes amazing. Creamy, sweet, cold, coffee-forward. It’s like liquid dessert but with enough caffeine to keep you working. I’ve made this for my kids (with less caffeine), for my dad, for my friends. Everyone loves it. It’s a crowd-pleaser.
This is my go-to when I need a morning boost that doesn’t feel like a chore. No complicated machines, no weird ingredients, just reliable, delicious coffee that makes everyone happy. Once you try it, you’ll wonder why you ever bought it.
Ingredients You’ll Need
Here’s the best part: you probably have most of this already. I’m particular about three ingredients here, and I’ll tell you exactly why. Don’t skip the quality checks, or you’ll end up with a watery, bland drink.
Coffee Beans (or Pre-Ground Coffee) — 1 cup whole beans (about 100g) or 1 cup pre-ground — I use a medium-coarse grind. Coarse is crucial. If you use fine espresso grind, your coffee will be muddy and over-extracted. I love dark roasts for this because they hold up well to the cold steeping process. Brands like Stumptown or Intelligentsia are great, but any local roaster with a dark roast will work. Avoid light roasts—they taste too fruity and acidic in cold brew.
Cold, Filtered Water — 4 cups (960ml) — Use filtered water. If your tap water tastes like chlorine, your coffee will too. Cold water is key. Hot water makes hot coffee. Simple. I use filtered water from my fridge dispenser. It’s consistent and clean.
Heavy Cream — ½ cup (120ml) — This is the “sweet cream” part. Do not use half-and-half. It’s too thin and won’t float nicely. You need the fat content to create that luxurious, cloud-like layer. I use organic heavy cream because it tastes richer. If you’re dairy-free, see the substitutions below.
Half-and-Half (Optional) — ½ cup (120ml) — I mix heavy cream and half-and-half for a balance of richness and drinkability. If you want it lighter, use all half-and-half. If you want it extra thick, use all heavy cream. I usually do a 50/50 split. It’s the sweet spot.
Vanilla Extract — 1 tablespoon — Use pure vanilla extract. Not imitation. Not vanilla flavoring. Pure extract. It makes a huge difference. I use Nielsen-Massey or Nielsen-Massey Bourbon Vanilla. It’s expensive, but you only need a tablespoon. I buy it once a year and it lasts forever. If you’re on a budget, McCormick Pure Vanilla is fine. Just avoid the cheap stuff.
Simple Syrup (Optional) — 1-2 tablespoons — If you like it sweeter, add simple syrup. I make my own by dissolving equal parts sugar and water. But honestly, the vanilla and cream are usually sweet enough. I only add syrup if I’m hosting guests who like it dessert-like.
Ice Cubes — As needed — Use large ice cubes if you can. They melt slower, so your drink doesn’t get watered down as fast. I make ice with coffee instead of water for an extra boost. No waste, extra flavor.
Optional Add-ins — Whipped Cream — For the full experience, top with whipped cream. I use a canister for speed, but homemade is better. Cinnamon — A pinch on top adds warmth. Chocolate Shavings — For a mocha vibe. Espresso Shot — For a caffeine overload. I sometimes add a shot of hot espresso to my cold brew for a “dirty” cold brew. It’s intense but good.
Pro Tip: I keep a small jar of vanilla-infused sugar in my pantry. If I run out of extract, I stir a teaspoon of that in. It adds a subtle vanilla bean speckle that looks fancy.
Equipment Needed
You don’t need fancy equipment for this. Here’s what I actually use.
Large Jar or Pitcher — I use a 1-quart mason jar or a 2-cup measuring cup with a spout. Any container that can hold 4 cups of liquid works. Glass is best because it doesn’t retain odors. I have a specific jar just for cold brew. It’s my favorite tool.
Coffee Grinder — If you’re using whole beans, you need a grinder. I use a burr grinder for consistent coarse grind. Blade grinders work too, but pulse them carefully to avoid powder. Coarse is key.
Fine Mesh Strainer or Coffee Filter — To strain the grounds. I use a fine mesh strainer lined with a paper coffee filter. This catches the tiny particles. If you skip this, your coffee will be gritty. Don’t skip it. I’ve learned this the hard way.
Stirring Spoon — A long spoon to mix the grounds and water. Any spoon works. I use a wooden spoon because it doesn’t scratch my jar.
Glasses — Tall glasses are best. I use 16-ounce glasses. They look nice and hold enough ice. I have a set of etched glasses that I only use for cold brew. It makes me feel fancy.
Measuring Cups — For the cream and vanilla. Standard stuff. Dollar store versions work fine.
Optional: Cold Brew Concentrate Maker — If you make this every day, you might want a dedicated maker. They’re convenient but not necessary. I’ve made this in a jar for years. It works just as well.
How to Make It: Step-by-Step
Alright, let’s make this! I’m walking you through exactly how I do it, including the little tricks I’ve picked up.
Step 1: Grind the Coffee (5 minutes)
If you’re using whole beans, grind them to a coarse consistency. Think sea salt. If the grind is too fine, your coffee will be bitter and muddy. I pulse my grinder in short bursts to avoid heat. Coarse grind is non-negotiable. It ensures a smooth, clean extraction.
Step 2: Combine Coffee and Water (5 minutes)
Place the coarse grounds in your jar or pitcher. Pour in the cold, filtered water. Use a 1:4 ratio (1 cup coffee to 4 cups water) for a medium strength. For a stronger concentrate, use 1:2. Stir gently to ensure all grounds are saturated. You want to see a slurry of coffee and water. No dry patches.
Step 3: Steep (12-24 hours)
Cover the jar with a lid or plastic wrap. Place it in the fridge. Let it steep for 12-24 hours. I usually steep it overnight (12 hours) for a milder taste, or 24 hours for a stronger kick. The longer it steeps, the stronger it gets. But don’t go over 24 hours, or it’ll get bitter. I’ve tested this. Trust me.
Step 4: Strain the Coffee (10 minutes)
Set a fine mesh strainer lined with a paper coffee filter over a clean pitcher. Slowly pour the steeped coffee through the filter. The grounds will be caught, and the liquid will be clear and smooth. If it’s still gritty, strain it again. This step takes patience, but it’s worth it. Clear coffee looks better and tastes cleaner.
Step 5: Make the Vanilla Sweet Cream (2 minutes)
In a small bowl, whisk together the heavy cream (or cream and half-and-half), vanilla extract, and simple syrup (if using). Whisk until smooth and slightly thickened. It should be pourable but not watery. The vanilla should be fragrant. Taste it—it should be sweet and creamy.
Step 6: Assemble the Drink (2 minutes)
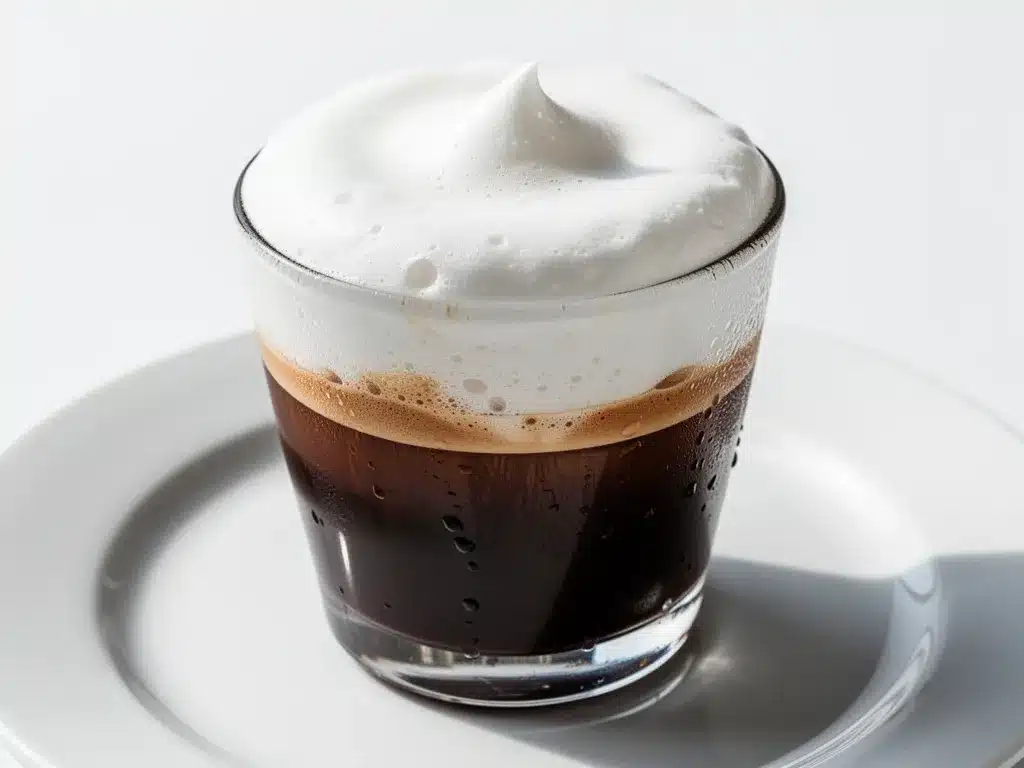
Fill a tall glass with ice cubes. Pour the cold brew over the ice, leaving room for the cream. Slowly pour the vanilla sweet cream over the back of a spoon so it floats on top. This creates the beautiful layered effect. Don’t stir it immediately. Let it swirl as you sip.
Step 7: Serve and Enjoy
Serve immediately. Stir before drinking if you want it mixed. Top with whipped cream or cinnamon if you like. Enjoy your homemade masterpiece. It’s cold, creamy, and perfectly caffeinated.
Total Time: About 5 minutes active, plus 12-24 hours steeping.
Troubleshooting: If the coffee is too strong, dilute with water. If it’s too weak, steep longer next time. If the cream doesn’t float, it’s too thin—use more heavy cream. If it’s too sweet, reduce the syrup.
Expert Tips & Tricks
Here’s everything I’ve learned from making this dozens of times. These tips will save you from my mistakes.
Use Cold Water — Hot water makes hot coffee. Cold water makes cold brew. It sounds obvious, but I’ve seen people use room temp water and wonder why it’s not cold. Always use cold, filtered water. It’s the foundation of good cold brew.
Steep in the Fridge — Cold steeping reduces acidity and bitterness. Room temp steeping can lead to mold if left too long. I always steep in the fridge. It’s safer and tastes cleaner.
Strain Twice — If your coffee is still gritty, strain it again. A double strain ensures a silky smooth texture. I use a fine mesh strainer and a paper filter. It’s worth the extra minute.
Don’t Over-Steep — 24 hours is the max. After that, the coffee gets bitter and astringent. I set a timer on my phone so I don’t forget. If I’m busy, I use the 12-hour steep. It’s milder but still great.
Use Large Ice Cubes — They melt slower, so your drink doesn’t get watered down. I make ice with coffee for extra flavor. No waste, extra taste. It’s a win-win.
Whisk the Cream Well — The cream should be smooth and pourable. If it’s lumpy, it won’t float nicely. I whisk it vigorously until it’s uniform. It makes a big difference in the presentation.
Pour Slowly — Pour the cream over the back of a spoon to create layers. It looks fancy and lets you sip it layer by layer. It’s a fun experience.
Store Properly — Cold brew concentrate lasts up to 2 weeks in the fridge. Store it in an airtight glass jar. It stays fresh and strong. I make a batch every Sunday for the week ahead.
Add Flavors Creatively — Try adding a splash of almond milk, a dash of cinnamon, or a drizzle of caramel. It’s your drink. Make it yours. I’ve made versions with peach cobbler syrup for a summer twist.
Don’t Skimp on Vanilla — The vanilla is the star of the sweet cream. Use good quality. It makes the difference between okay and amazing. I use pure extract, not imitation. It’s worth the cost.
Variations & Substitutions
Once you’ve nailed the basic version, here’s how you can mix it up. I’ve tried all of these.
Dairy-Free Version — Use oat cream, coconut cream, or almond cream instead of heavy cream. Oat cream froths well and tastes great. I use Oatly Barista Edition. It’s creamy and doesn’t separate. For a richer taste, add a tablespoon of coconut milk.
Low-Carb Version — Skip the simple syrup. Use a sugar-free vanilla syrup or stevia. The cream still adds richness, so it’s not too bitter. I use monk fruit sweetener. It’s zero-calorie and tastes clean.
Mocha Version — Add 1 tablespoon of chocolate syrup or cocoa powder to the cream. Or add a shot of espresso to the coffee. It’s like a cold mocha. I love this for winter. It’s rich and comforting.
Caramel Version — Swap vanilla for caramel syrup. Or drizzle caramel on top. It’s sweet and indulgent. I make this for special occasions. It’s like a dessert in a glass.
Matcha Version — Add 1 teaspoon of matcha powder to the cream. Whisk it in. It’s earthy and green. I love the color contrast. It’s a unique twist.
Coconut Version — Use coconut cream and coconut milk. Add a pinch of coconut extract. It’s tropical and refreshing. I make this for beach days. It’s perfect with watermelon icebox cake.
Spiced Version — Add a pinch of cinnamon, nutmeg, or cardamom to the cream. It’s warm and aromatic. I love this in the fall. It’s cozy and comforting.
Protein Version — Add a scoop of vanilla protein powder to the cream. Whisk it well. It’s a breakfast replacement. I use whey or plant-based protein. It’s filling and energizing.
Decaf Version — Use decaf beans. Everything else stays the same. I make this for evening drinks. It’s still creamy and sweet, just without the caffeine. Perfect for wind-down time.
Serving & Storage
How to Serve: I serve this straight from the pitcher at brunches. It’s easy and efficient. But for personal enjoyment, I use tall glasses with a straw. It’s refreshing and fun. I top it with whipped cream and a vanilla bean pod for presentation.
Side Dishes: This pairs well with light breakfasts. Berry trifle is a great match. Or simple toast with jam. It’s versatile.
Storage Instructions: Store cold brew concentrate in an airtight glass jar in the fridge for up to 2 weeks. It stays fresh and strong. Do not freeze it. The texture changes. The cream should be made fresh each time. It doesn’t store well.
Reheating: Don’t reheat cold brew. It’s meant to be cold. If you want hot coffee, make hot coffee. This is a cold drink. Enjoy it chilled.
Pro Tip: Make ice cubes with coffee. It prevents dilution. It’s a small trick that makes a big difference. I always do this.
Nutrition Information
I’m not a nutritionist, but here’s the breakdown if you’re tracking.
Per Serving (based on 16oz drink with 2 tbsp cream and 1 tsp syrup):
- Calories: 80
- Protein: 1g
- Carbs: 4g
- Fiber: 0g
- Sugar: 3g
- Fat: 6g
- Saturated Fat: 4g
- Cholesterol: 20mg
- Sodium: 10mg
- Calcium: 30mg
What’s Good: Low in sugar if you skip syrup. Good fat content from cream. Caffeine boost. Hydrating (it’s mostly water).
What to Know: Higher in fat from cream. Contains dairy. Moderate calories. Adjust cream and syrup to fit your diet.
My Take: Look, this is a treat. It’s not a diet drink. But it’s way better than soda. I enjoy it as a morning ritual. When I want to cut back, I use half-and-half and no syrup. It’s still delicious. Moderation is key.
Final Thoughts
So that’s my Vanilla Sweet Cream Cold Brew! I’ve probably talked your ear off at this point, but when you make a recipe this often, you have a lot to say about it.
This has saved my mornings more times than I can count. It’s my answer to “what do I drink?” when I want something special but lazy. My kids love it, my husband loves it, and I love it because it’s easy and delicious. It’s become a staple in my home.
Make it yours! Try different creams, different syrups, different coffees. The best recipes are the ones you adapt to your tastes. I hope you enjoy this as much as I do.
If you make this, drop a comment and let me know what you think! I love hearing how recipes turn out in your kitchen. And if something doesn’t work, tell me that too—I’m here to help troubleshoot.
Happy brewing! And I hope your kitchen smells half as good as mine does right now.
Frequently Asked Questions
Can I use hot water to make cold brew?
No. Hot water makes hot coffee. Cold brew is specifically made with cold water to reduce acidity and bitterness. If you want hot coffee, make hot coffee. This recipe is for cold brew only.
How long does cold brew last?
Cold brew concentrate lasts up to 2 weeks in the fridge. Store it in an airtight glass jar. It stays fresh and strong. After 2 weeks, it may start to lose flavor.
Can I freeze cold brew?
You can, but the texture may change. I don’t recommend it. It’s better to make fresh batches every week. If you must freeze, use ice cube trays. It’s convenient but not ideal.
Why is my cold brew bitter?
It’s likely over-steeped or the grind is too fine. Steep for less time (12 hours) or use a coarser grind. Also, avoid using light roasts—they’re more acidic and can taste bitter in cold brew.
Can I use pre-ground coffee?
Yes, but make sure it’s coarse grind. Fine grind will make your coffee muddy and bitter. If you only have fine grind, use less coffee and steep for less time. But coarse is best.
How do I make the cream float?
Whisk the cream until it’s smooth and slightly thickened. Pour it slowly over the back of a spoon. The density of the cream allows it to float on top of the coffee. Don’t stir it immediately.
Can I make this ahead for a party?
Yes! Make the cold brew concentrate a day ahead. Store it in the fridge. Make the cream fresh before serving. Assemble drinks as guests arrive. It’s easy and efficient.
Pin This Recipe!
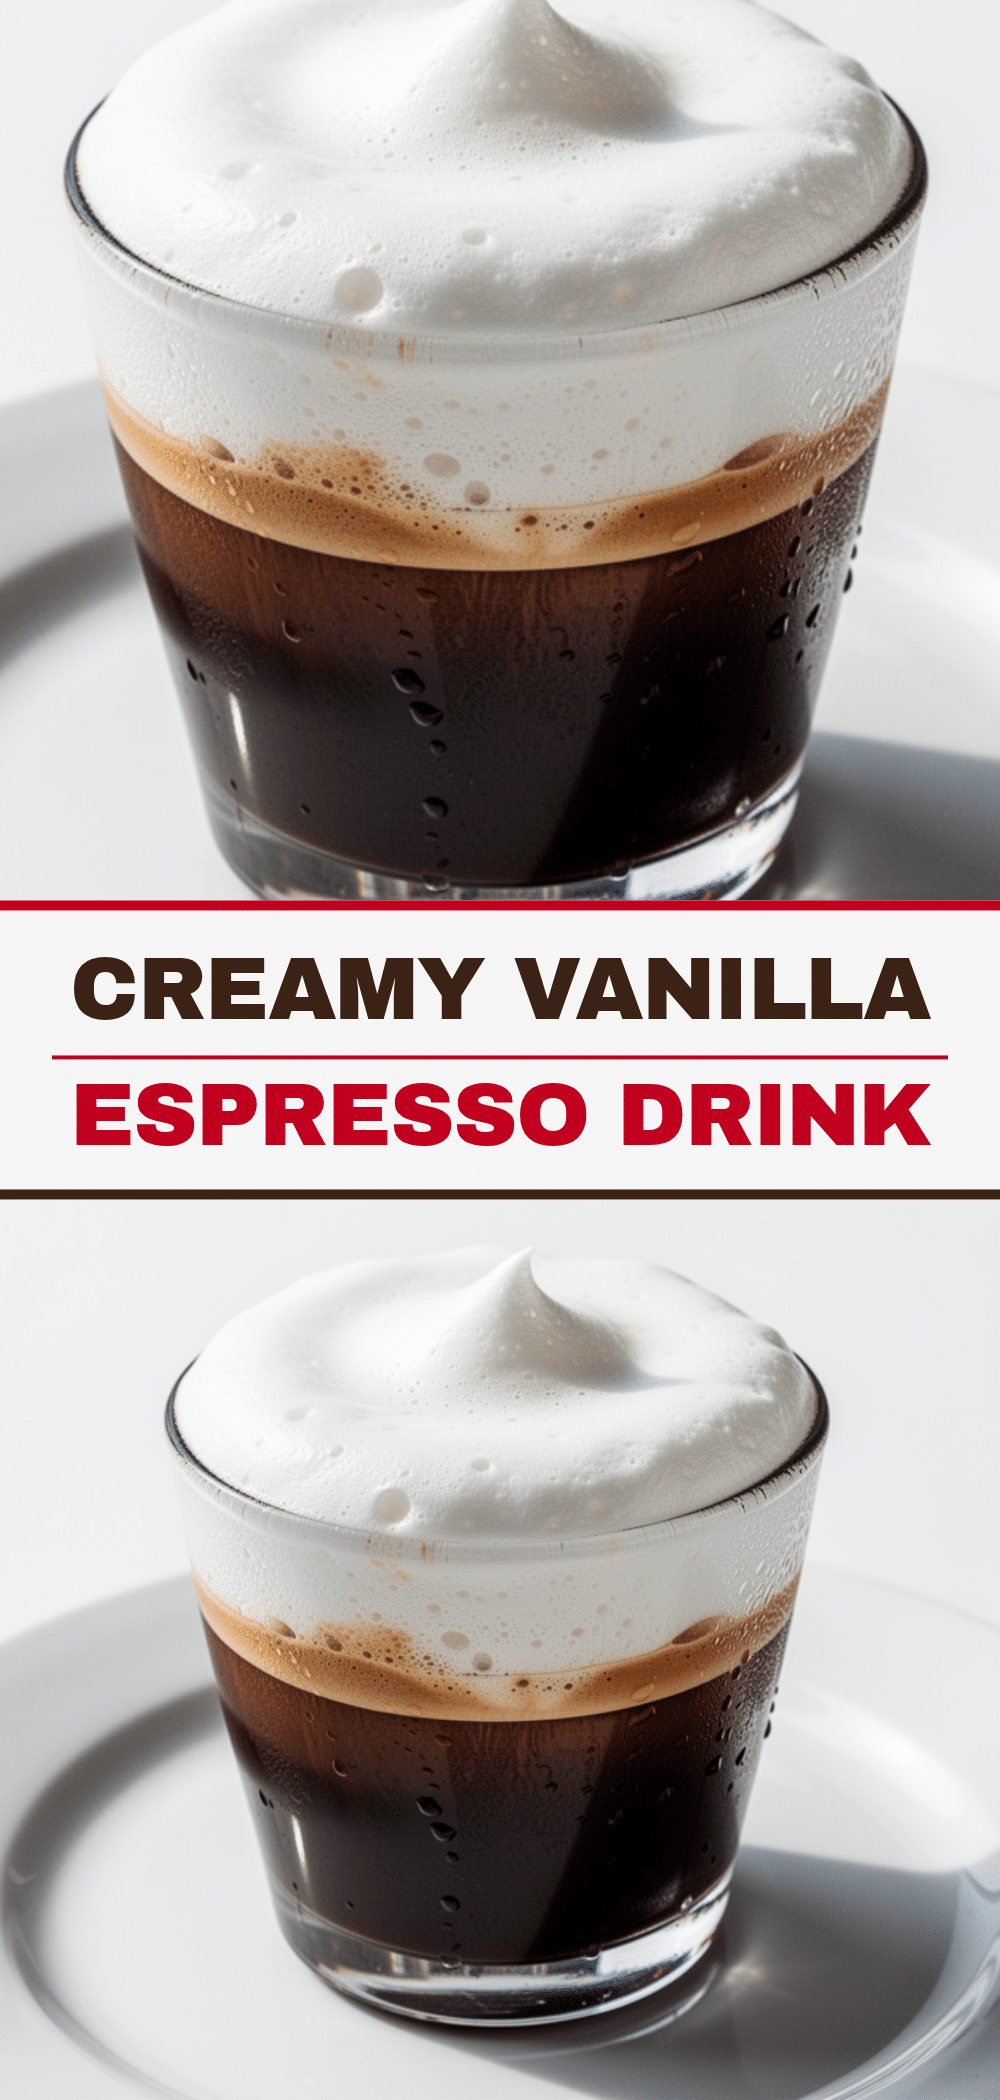
Vanilla Sweet Cream Cold Brew: The Best Homemade Iced Coffee
- Total Time: 12 hours 10 minutes
- Yield: 4 servings 1x
Description
A homemade version of the popular coffee chain drink that is cheaper, fresher, and fully customizable. This recipe yields a smooth, creamy, and less acidic iced coffee using a simple cold brew method.
Ingredients
- 1 cup whole coffee beans (medium-coarse grind) or 1 cup pre-ground coffee
- 4 cups cold, filtered water
- ½ cup heavy cream
- ½ cup half-and-half (optional, for a lighter texture)
- 1 tablespoon pure vanilla extract
- 1–2 tablespoons simple syrup (optional, for extra sweetness)
- Ice cubes (large cubes preferred)
- Optional toppings: Whipped cream, cinnamon, chocolate shavings
Instructions
- Grind coffee beans to a coarse consistency (like sea salt) if using whole beans.
- Combine the coarse coffee grounds and cold filtered water in a large jar or pitcher using a 1:4 ratio.
- Stir gently to ensure all grounds are saturated.
- Cover the jar and steep in the refrigerator for 12-24 hours.
- Strain the coffee through a fine mesh strainer lined with a paper coffee filter into a clean pitcher to remove grounds.
- In a small bowl, whisk together the heavy cream (or cream and half-and-half), vanilla extract, and simple syrup until smooth.
- Fill a tall glass with ice cubes.
- Pour the cold brew coffee over the ice.
- Slowly pour the vanilla sweet cream mixture over the back of a spoon to let it float on top.
- Serve immediately, stirring before drinking if desired.
Notes
Use cold, filtered water for the best taste. Steeping in the fridge reduces acidity and prevents mold. Do not steep for more than 24 hours to avoid bitterness. The cream mixture should be made fresh each time. Cold brew concentrate can be stored in the fridge for up to 2 weeks.
- Prep Time: 10 minutes
- Cook Time: 0 minutes
- Category: Beverage
- Cuisine: American
Nutrition
- Serving Size: 16 oz glass
- Calories: 80
- Sugar: 3
- Sodium: 10
- Fat: 6
- Saturated Fat: 4
- Carbohydrates: 4
- Protein: 1
Keywords: cold brew, vanilla sweet cream, iced coffee, homemade coffee, dairy-free options, low acid coffee, summer drinks


