It was a rainy Tuesday in November, the kind where the house feels small and everyone is a little coiled tight. My seven-year-old, Leo, had been asking to “help cook” for three days straight. Usually, I say yes, but then the reality sets in: flour on the counter, batter on the floor, and me standing over a hot stove with a spatula in one hand and a wet wipe in the other. I was dreading it. I wanted a win. I wanted something that would keep him busy, make him feel capable, and result in something we’d both be proud of.
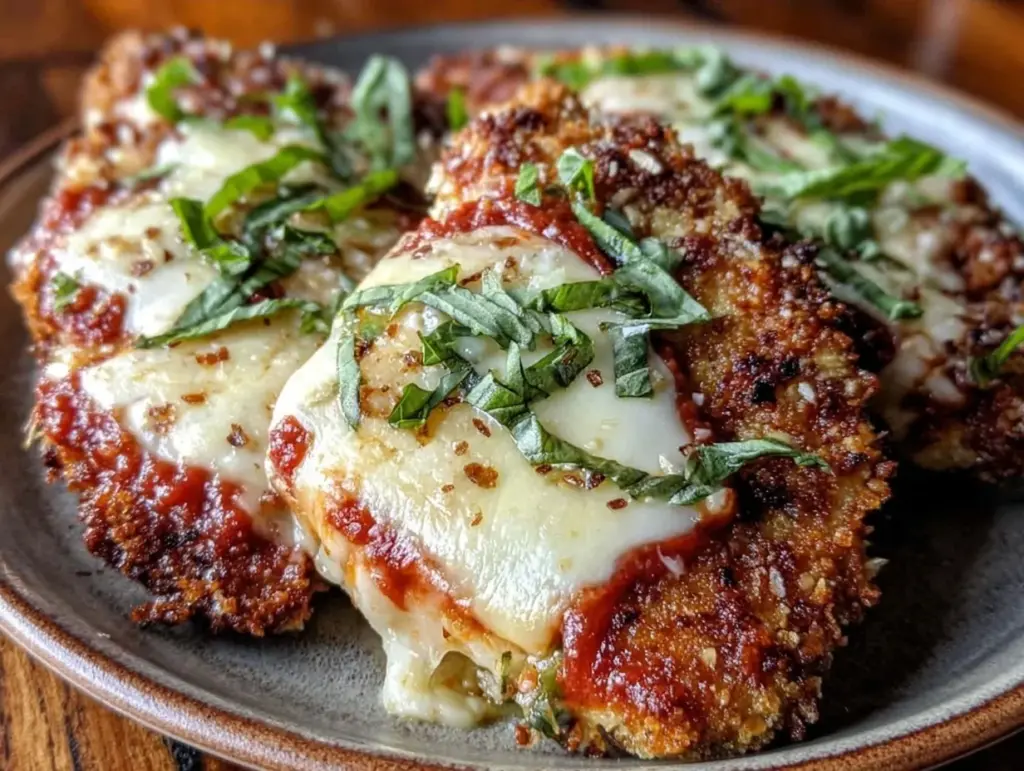
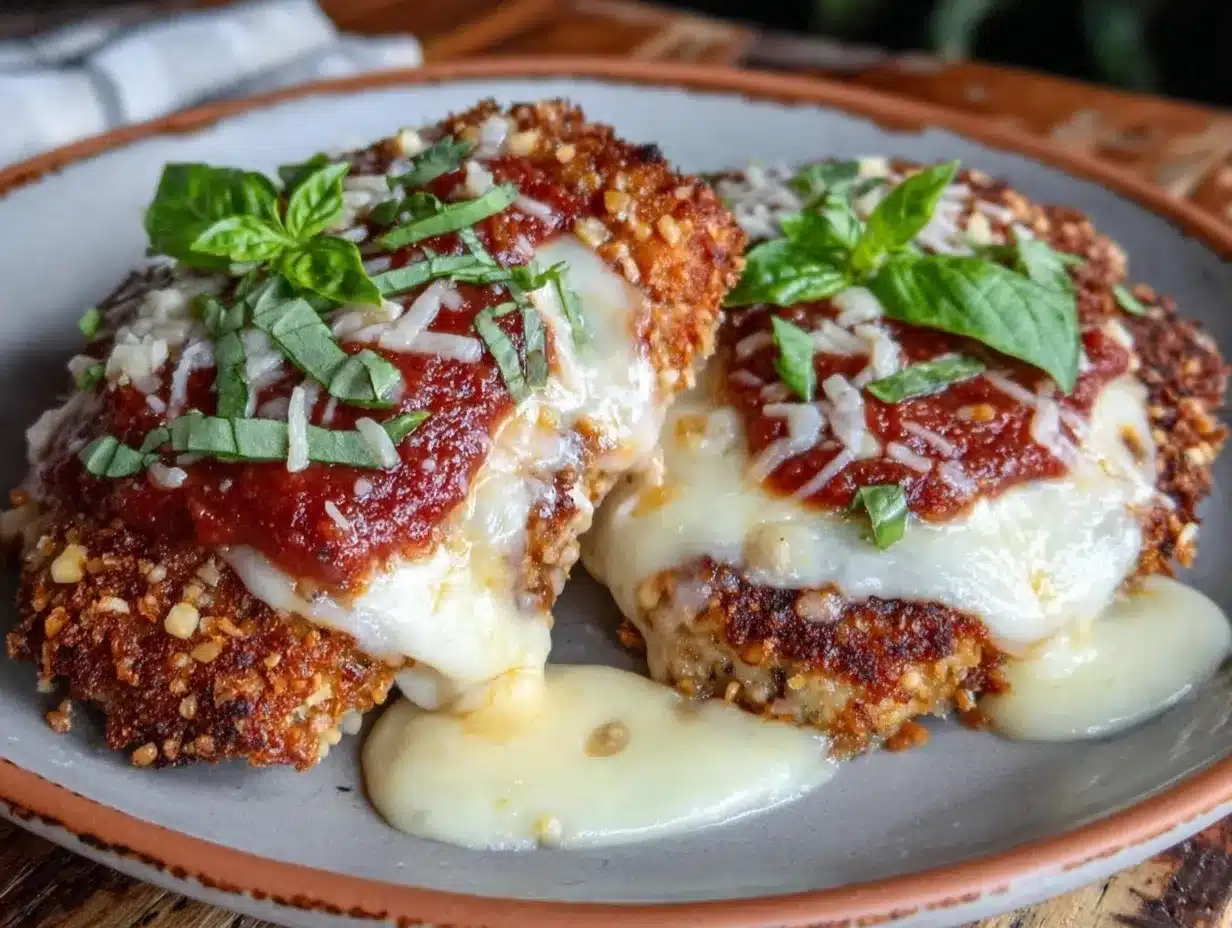
That’s when I decided to try making Crispy Baked Chicken Parmesan with Melty Mozzarella together. Not the deep-fried, oil-splatter version from the restaurant, but the baked kind. The kind that gets shatteringly crisp in the oven without turning my kitchen into a grease trap. The kind where the cheese bubbles and stretches like a golden bridge between two pieces of chicken.
Here’s the thing about baking chicken parmesan: it’s surprisingly forgiving. And it’s perfect for kids because the steps are tactile and safe. There’s no raw chicken handling for them (I do that part), but there’s plenty of mixing, dipping, and sprinkling. We spent forty minutes standing side-by-side at the counter. Leo got to crush the breadcrumbs with a rolling pin—a task he found absolutely thrilling. He got to whisk the eggs. He got to sprinkle the cheese. By the time we sat down to eat, he hadn’t just eaten dinner; he had built it. He ate three pieces, asked for seconds, and spent the rest of the evening bragging to his teacher about “the crispy chicken we made.”
If you’ve been looking for a way to bond with your little ones in the kitchen, or if you just want a dinner that tastes like comfort but feels like a celebration, this is it. This Crispy Baked Chicken Parmesan with Melty Mozzarella isn’t just a recipe. It’s an activity. It’s a way to get your kids involved without the stress. And honestly? It’s better than takeout because you know exactly what’s going into that breading.
Why You’ll Love This Recipe
I’ve made this Crispy Baked Chicken Parmesan with Melty Mozzarella at least a dozen times in the last year. It’s become a staple for busy weeknights, weekend projects, and even impromptu pizza nights (just add more sauce and call it a day). Here’s why it stays on the rotation:
- Kids Actually Help — Most chicken recipes require chopping or handling raw meat, which is a no-go for small hands. This one lets them crush, dip, and sprinkle. It’s safe, messy (in a good way), and engaging. They feel like real chefs.
- Crispy Without the Fryer — I used to think baked breading was sad and soggy. I was wrong. By using panko and a little parmesan in the mix, then baking on a wire rack, you get that restaurant-quality crunch. It’s shatteringly crisp, not soft and doughy.
- Meal Prep Friendly — You can bread the chicken up to two days ahead. Just cover it and refrigerate. When dinner time hits, you literally just pop them in the oven. This saves me so much stress on chaotic nights.
- Freezer Friendly — I often double the batch. I bread all the chicken, freeze the uncooked pieces on a tray, then bag them. When I need a quick dinner, I pull out a handful, toss them on a rack, and bake. It saves hours of prep work.
- Customizable for Picky Eaters — My daughter prefers mild, my son likes heat. I make half with extra red pepper flakes and half plain. The base recipe is so neutral that adding flavor is easy. Plus, serving it with marinara on the side lets everyone control their own sauce level.
This is my go-to when I want dinner to feel special but need it to be simple. It’s the kind of meal that turns a regular Tuesday into a memory.
Key Ingredients for the Best Crisp
Let’s talk about what goes into the bowl. You don’t need a specialty store for this, but you do need to pick the right items. The difference between okay chicken and *great* chicken is in the details.
Chicken Breasts (4 large, approx. 1.5 lbs / 680g) — You want boneless, skinless breasts. If they’re huge, pound them to about ½-inch thickness. This ensures they cook evenly and don’t dry out. Uniformity is key here.
Panko Breadcrumbs (1.5 cups / 150g) — Do not skip the panko. Regular breadcrumbs are too fine and dense. Panko has those jagged, airy flakes that create air pockets in the crust, allowing for maximum crispiness. I buy the Japanese-style bags, usually S&B or Kikkoman, but any brand works.
Grated Parmesan Cheese (0.5 cup / 50g) — This adds saltiness and helps the breading stick. Use freshly grated if you can. The pre-grated stuff has cellulose in it, which prevents it from melting smoothly and can make the coating gritty. I buy a wedge and grate it myself.
Garlic Powder (1 tsp / 5g) — It’s subtle, but it adds depth. Fresh garlic might burn in the oven, so powder is safer and more consistent here.
Dried Oregano (1 tsp / 1g) — A classic Italian herb. It smells like home. If you don’t have it, basil works too.
Eggs (2 large / ~100g) — These are the glue. We’ll whisk them with a little milk to create the egg wash. Make sure they’re room temperature for best mixing.
Milk (2 tbsp / 30ml) — I use whole milk, but skim works fine. It thins out the egg wash slightly so it coats the chicken smoothly without being too thick.
Mozzarella Cheese (2 cups / 200g, shredded) — Use low-moisture mozzarella. The fresh balls in water are too wet and will make your chicken soggy. Pre-shredded is convenient, but if you have time, shred a block yourself. It melts better and has fewer anti-caking agents.
Marinara Sauce (2 cups / 500g) — I use a simple jarred sauce like Rao’s or Classico. It’s consistent and flavorful. If you have homemade, that’s even better. Just make sure it’s not too watery.
Olive Oil (2 tbsp / 30ml) — We brush the chicken with this before baking. It helps the breadcrumbs brown and crisp up. You can use melted butter, but olive oil gives it that Italian flair.
Tools Needed
You don’t need fancy equipment. Here’s what I use, and what you can swap.
Baking Sheet — I use a standard half-sheet pan. It’s big enough to hold four pieces with room for air circulation. If you have a smaller pan, you might need to bake in two batches.
Wire Cooling Rack — This is the secret weapon. Placing the chicken on a rack over the baking sheet allows hot air to circulate underneath. This prevents the bottom from getting soggy. If you don’t have one, you can bake directly on the sheet, but line it with parchment paper and flip the chicken halfway through.
Three Shallow Bowls — You need three bowls for the dredging station: one for flour, one for egg wash, one for breadcrumbs. I use pie plates or shallow cereal bowls. They’re wide enough for easy dipping.
Rolling Pin — Or a heavy skillet. Leo uses this to crush the panko. It’s a fun, safe task for kids. Just make sure the crumbs are in a sturdy zip-top bag or a bowl covered with plastic wrap.
Pastry Brush — For brushing the olive oil on top. A silicone brush is easy to clean.
How to Make It
Here is the step-by-step. I’ve broken it down so you can hand off tasks easily. If you’re cooking with kids, read the steps to them as you go. It makes it feel like a mission.
Step 1: Prep the Chicken (5 minutes)
Pat the chicken breasts dry with paper towels. Moisture is the enemy of crispiness. If the chicken is wet, the breading slides off. If the breasts are very thick, place them between two sheets of plastic wrap and pound them with a meat mallet or a heavy pan until they are about ½-inch thick. This ensures they cook through before the outside burns. Slice them in half horizontally if you want thinner cutlets, which cook faster and crispier.
Step 2: Set Up the Dredging Station (5 minutes)
Arrange three shallow bowls in a row. In the first bowl, add 1 cup of all-purpose flour, 1 tsp salt, and ½ tsp black pepper. Whisk it together. In the second bowl, whisk the 2 eggs with 2 tbsp milk. In the third bowl, mix the 1.5 cups panko, 0.5 cup grated parmesan, 1 tsp garlic powder, and 1 tsp oregano. If you’re with kids, let them stir the breadcrumb mixture. It’s dry and safe.
Step 3: Dredge the Chicken (10 minutes)
This is the fun part. Take a piece of chicken and dredge it in the flour, shaking off any excess. Then dip it into the egg wash, letting the excess drip off. Finally, press it firmly into the breadcrumb mixture. Use your hands to press the crumbs onto the chicken. You want a thick, even coat. Place the breaded chicken on a clean plate. Repeat with all pieces. If you’re with kids, let them do the pressing. It’s tactile and satisfying.
Step 4: Bake the Chicken (15 minutes)
Preheat your oven to 400°F (200°C). Line a baking sheet with parchment paper and place a wire rack on top. Lightly spray the rack with non-stick cooking spray. Arrange the breaded chicken on the rack, leaving space between each piece. Brush the tops lightly with olive oil. This helps them brown. Bake for 15 minutes. The chicken should be mostly cooked through, but not yet topped with cheese.
Step 5: Add Sauce and Cheese (5 minutes)
Remove the pan from the oven. Spoon about 2-3 tablespoons of marinara sauce over each piece of chicken. Sprinkle 2 cups of shredded mozzarella generously on top. Return to the oven and bake for another 5-7 minutes, or until the cheese is bubbly and starting to brown in spots. Keep an eye on it—cheese burns fast.
Step 6: Rest and Serve (5 minutes)
Remove from the oven and let the chicken rest for 5 minutes. This allows the juices to redistribute and the cheese to set slightly so it doesn’t slide off when you cut it. Serve immediately with extra marinara on the side.
Total time: 40 minutes. Active time: 20 minutes. Passive time: 20 minutes. Perfect for a relaxed afternoon.
Expert Tips
Here’s everything I learned from making this too many times.
Don’t Skip the Rack
I used to bake the chicken directly on the pan. The bottoms got soggy. The rack changes everything. It’s a small investment that makes a huge difference in texture. If you don’t have one, use a wire cooling rack from the dish drawer.
Panko Needs Oil
Panko is dry. Without a little oil brushed on top, it stays pale and soft. Brushing with olive oil or melted butter helps it turn golden and crisp. Don’t skimp on this step.
Use Low-Moisture Mozzarella
Fresh mozzarella is delicious in salads, but terrible for baked chicken. It releases too much water. Low-moisture block mozzarella melts perfectly without making a mess. If you only have fresh, squeeze it dry with paper towels first.
Common Problems & Solutions
Problem: Breading falls off. Solution: You didn’t press the crumbs enough. Or you didn’t shake off the excess flour. Make sure each layer is compact.
Problem: Chicken is dry. Solution: You overcooked it. Use a meat thermometer. Aim for 165°F (74°C) internally. If you don’t have one, cut into the thickest part to check.
Problem: Cheese is burnt. Solution: Your oven runs hot. Check the cheese at 4 minutes. Broil for the last minute if you want extra browning, but watch it like a hawk.
Recipe Variations
Once you’ve nailed the basic version, here’s how to mix it up.
Spicy Chicken Parm
Add 1 tsp red pepper flakes to the breadcrumb mixture. Serve with spicy marinara. My son loves this version. It adds a nice kick without overwhelming the flavor.
Herb-Crusted Parm
Swap the oregano for a mix of basil, thyme, and rosemary. Finely chop the fresh herbs and mix them into the panko. It smells incredible.
Veggie Parm
Use eggplant slices or zucchini rounds instead of chicken. The breading process is the same. Bake for 10-12 minutes. It’s a lighter option that still feels indulgent.
Gluten-Free Option
Use gluten-free panko or crushed gluten-free crackers. The texture might be slightly different, but it still works. I’ve tested this with several brands, and it holds up well.
Dairy-Free Option
Use a dairy-free parmesan alternative and a vegan mozzarella shreds. The melt might not be as perfect, but it’s still delicious. I’ve tried several brands, and Daiya and Violife work best.
Serving & Storage
Serving: I serve this with spaghetti or crusty bread. A simple green salad with lemon vinaigrette cuts through the richness. Leo likes to dip his chicken in the sauce, so I serve the sauce on the side. It’s interactive and fun.
Storage: Leftovers keep well in the refrigerator for 3-4 days. Store in an airtight container. The breading will soften, but it’s still good. Reheat in the oven at 350°F (175°C) for 10 minutes to crisp it back up. The microwave makes it soggy, so avoid that if you can.
Freezing: You can freeze the unbaked breaded chicken. Place them on a baking sheet and freeze until solid, then transfer to a freezer bag. They’ll keep for 3 months. Bake from frozen, adding 5-7 minutes to the cook time. You can also freeze the cooked chicken, but the texture suffers. I recommend freezing unbaked.
Nutrition Information
I’m not a nutritionist, but here’s the breakdown per serving (1 piece of chicken with sauce and cheese): Calories: 450, Protein: 35g, Carbs: 25g, Fiber: 2g, Fat: 22g, Sodium: 600mg.
My Take: This is comfort food. It has cheese, carbs, and protein. It’s not a diet meal, but it’s balanced enough for a family dinner. The protein keeps you full, and the veggies (if you serve them) add fiber. It’s better than takeout because you control the sodium and sugar.
Final Thoughts
There’s something magical about cooking with kids. It’s not just about the food. It’s about the time. It’s about watching them concentrate as they press the breadcrumbs onto the chicken. It’s about the pride in their eyes when they sit down to eat what they made. This Crispy Baked Chicken Parmesan with Melty Mozzarella is more than a recipe. It’s a memory maker. So get your aprons on, grab some breadcrumbs, and let’s make some magic in the kitchen.
If you make this, drop a comment! I love hearing how it turns out in your kitchen. And if you’re looking for more kid-friendly meals, check out our crispy parmesan chicken with garlic aioli for a dip-heavy twist, or try the one-pan garlic butter chicken and potatoes for a hands-off approach. Happy cooking!
FAQs
Can I use chicken thighs instead of breasts?
Yes, you can. Boneless, skinless thighs are juicier and more forgiving. They might take 2-3 minutes less in the oven, so keep an eye on them. The breading process is the same.
Why did my breading fall off?
This usually happens if the chicken wasn’t dry before dredging, or if you didn’t press the breadcrumbs firmly enough. Make sure to pat the chicken dry and press the crumbs into the meat.
Can I make this ahead of time?
Yes! Bread the chicken and store it in the refrigerator, covered, for up to 24 hours. When you’re ready to cook, just pop them in the oven. You might need an extra minute or two in the oven if they’re cold from the fridge.
What sauce should I use?
Any marinara or pizza sauce works. I prefer a simple tomato sauce with basil and garlic. If you like it spicy, add red pepper flakes. If you like it sweet, a little honey works too.
How do I reheat leftovers?
Reheat in the oven or air fryer at 350°F (175°C) for 5-10 minutes. This keeps the breading crispy. The microwave will make it soggy, so avoid it if you can.
Can I freeze the cooked chicken?
You can, but the texture won’t be as good. The breading might get soft. I recommend freezing the unbaked breaded chicken for best results.
Is this recipe safe for kids to help with?
Yes! The only part they shouldn’t touch is the raw chicken, which you handle. They can crush the breadcrumbs, whisk the eggs, and sprinkle the cheese. It’s a great way to get them involved in the kitchen.
Pin This Recipe!
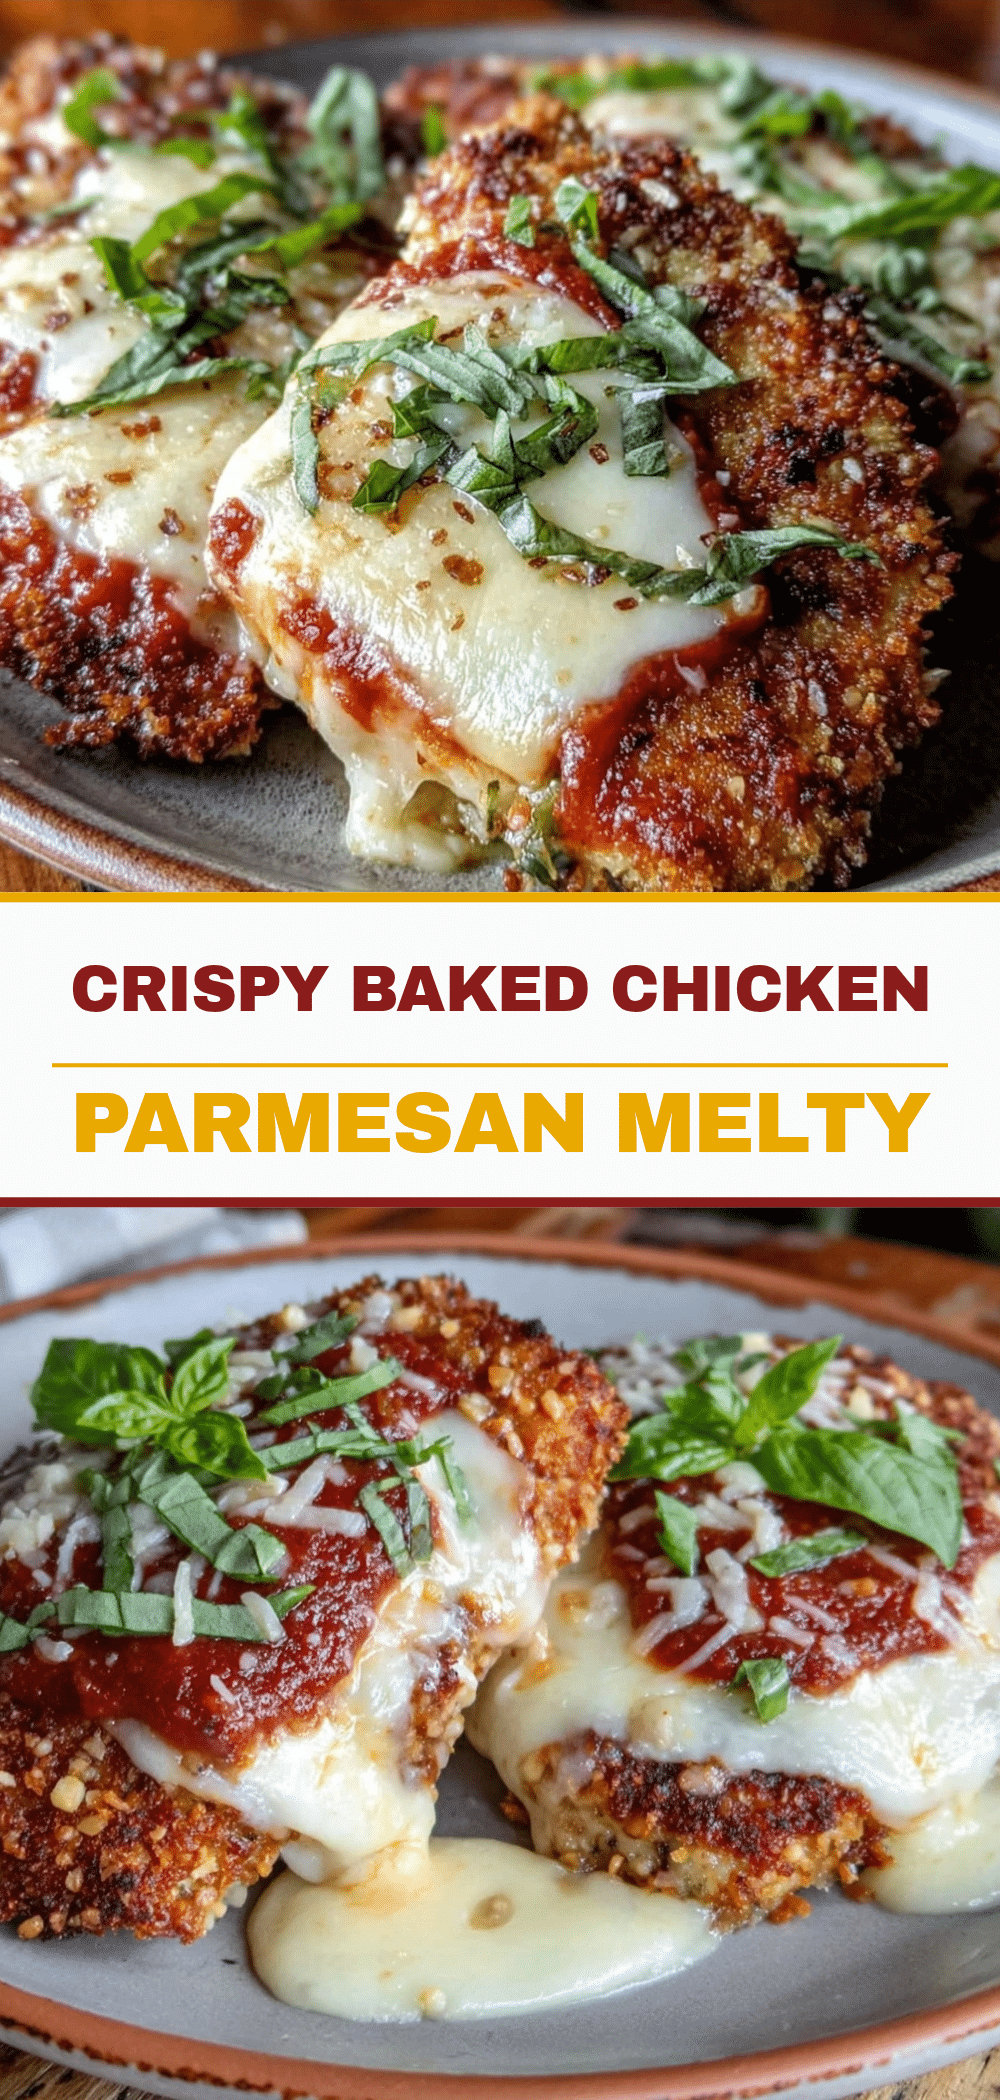
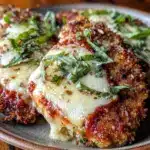
Crispy Baked Chicken Parmesan with Melty Mozzarella
- Total Time: 40 minutes
- Yield: 4 servings 1x
Description
A kid-friendly, baked chicken parmesan recipe that delivers restaurant-quality crispiness without deep frying. Perfect for family bonding, this meal allows children to help with safe, tactile steps like crushing breadcrumbs and sprinkling cheese.
Ingredients
- 4 large boneless, skinless chicken breasts (approx. 1.5 lbs / 680g)
- 1 cup all-purpose flour
- 1 tsp salt
- 1/2 tsp black pepper
- 2 large eggs
- 2 tbsp milk
- 1.5 cups panko breadcrumbs
- 0.5 cup grated parmesan cheese
- 1 tsp garlic powder
- 1 tsp dried oregano
- 2 cups shredded low-moisture mozzarella cheese
- 2 cups marinara sauce
- 2 tbsp olive oil
Instructions
- Preheat oven to 400°F (200°C).
- Pat chicken breasts dry with paper towels. If thick, pound to 1/2-inch thickness and slice horizontally if desired.
- Set up three shallow bowls: Bowl 1 with flour, salt, and pepper; Bowl 2 with whisked eggs and milk; Bowl 3 with panko, parmesan, garlic powder, and oregano.
- Dredge each chicken piece in flour, shaking off excess. Dip into egg wash, then press firmly into breadcrumb mixture to coat evenly.
- Place breaded chicken on a wire rack set over a baking sheet. Lightly brush tops with olive oil.
- Bake for 15 minutes.
- Remove from oven. Spoon 2-3 tablespoons of marinara sauce over each piece and sprinkle with mozzarella cheese.
- Return to oven and bake for another 5-7 minutes until cheese is bubbly and slightly browned.
- Let rest for 5 minutes before serving.
Notes
Use low-moisture mozzarella to prevent sogginess. For extra crispiness, ensure the chicken is dry before dredging and press breadcrumbs firmly. Can be made ahead: bread chicken up to 2 days in advance and refrigerate. Freeze unbaked breaded chicken for up to 3 months.
- Prep Time: 20 minutes
- Cook Time: 20 minutes
- Category: Main Course
- Cuisine: Italian-American
Nutrition
- Serving Size: 1 piece of chicken w
- Calories: 450
- Sodium: 600
- Fat: 22
- Carbohydrates: 25
- Fiber: 2
- Protein: 35
Keywords: chicken parmesan, baked chicken, kid-friendly recipes, family dinner, crispy chicken, meal prep, freezer friendly


