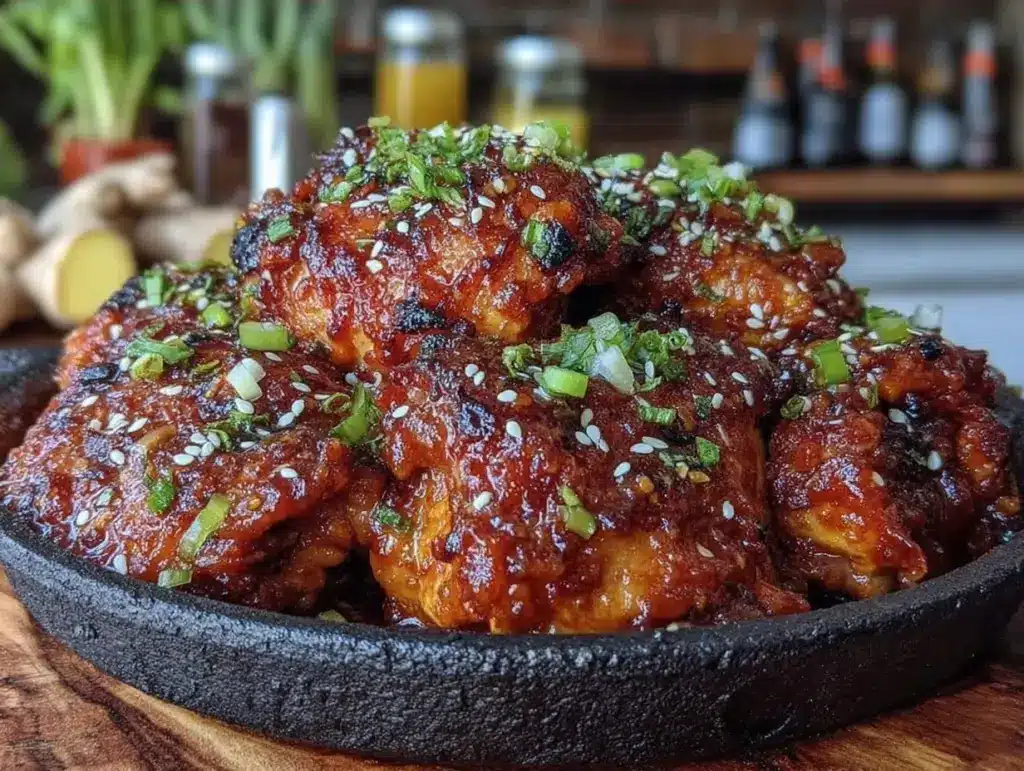
It was 6:30 PM on a Tuesday, and I was staring at the fridge like it held the secrets to the universe. My husband had mentioned “chicken” earlier that morning, but my brain was too fried from work to process it. I didn’t want takeout. I definitely didn’t want to chop fresh vegetables or worry about burning the house down with a wok. I just wanted dinner to be solved.
This is the exact moment I realized my old meal prep strategy was failing me. I was making too many small, disparate meals that all required individual attention. I needed one big win. I needed a protein that could handle being reheated four times without turning into rubbery disappointment. That Tuesday, I threw together a batch of Sticky Baked Sesame Chicken that changed everything.
Here’s the thing about meal prepping: it’s not about restriction. It’s about buying yourself freedom. When I commit to making this sticky baked sesame chicken meal prep for the week, I’m not just cooking food; I’m buying back my evenings. I’m buying the ability to come home, open a container, and eat a hot, flavorful meal in ten minutes flat. No stress. No dishes. Just good food.
I’ve tested this specific method dozens of times because I refuse to eat dry, flavorless chicken for lunch. The key isn’t just the sauce—it’s the baking technique. Unlike deep-fried versions that get soggy, baking keeps the texture intact. The sauce caramelizes in the oven, creating those addictive sticky bits that cling to every piece. By the time Thursday rolls around, I’m still craving it. This Sticky Baked Sesame Chicken isn’t just a recipe; it’s my peace of mind for the week ahead.
Why You’ll Love This Meal Prep Strategy
If you’re on the fence about spending a Sunday afternoon in the kitchen, let me convince you. This isn’t about suffering for your health. It’s about efficiency meeting flavor. Here is why this specific approach to meal prep works so well for busy weeks.
- True Make-Ahead Durability — Most chicken dishes dry out by day three. Not this one. The cornstarch coating and the glaze create a protective barrier that keeps the meat juicy even after reheating. I’ve eaten this on Sunday night and again on Friday morning, and the texture was nearly identical.
- Flavor Deepens Over Time — Unlike salads where the dressing wilts the greens, this sauce actually gets better. The garlic, ginger, and soy meld together in the fridge, creating a deeper, more complex umami flavor by Wednesday. It’s almost like it marinated itself.
- Versatile Base Protein — You can eat this over rice, but it’s also incredible over cauliflower rice, zucchini noodles, or even cold in a salad. It’s the chameleon of meal prep. If you need a low-carb option, it works. If you need a hearty carb load for a busy workday, it works.
- Freezer-Friendly Portioning — This Sticky Baked Sesame Chicken freezes beautifully. I often make a double batch and freeze half immediately. When life gets chaotic and I can’t cook, I have a ready-to-go meal that tastes freshly made.
- Quick Reheat Times — Because the pieces are bite-sized, they reheat evenly and quickly. In the microwave, it takes about 90 seconds. In the oven, it takes 10 minutes. It’s faster than ordering delivery and waiting for a driver to arrive.
This is my go-to when dinner needs to just work. It’s reliable, delicious, and saves me from the 5 PM panic that ruins so many weeknights.
Key Ingredients for Perfect Texture
Let’s talk about what goes into the bowl. You don’t need fancy ingredients, but you do need the right ones. I’ve learned this the hard way by using the wrong cornstarch or cheap soy sauce. Here’s what I use to ensure every container is a winner.
Boneless Skinless Chicken Thighs
(2 lbs / 900g) — I’m not using breasts. Breasts dry out. Thighs have enough fat to stay juicy through reheating. Cut them into 1-inch cubes. Uniform size ensures even cooking. If you buy a large bag, freeze the excess immediately.
Cornstarch
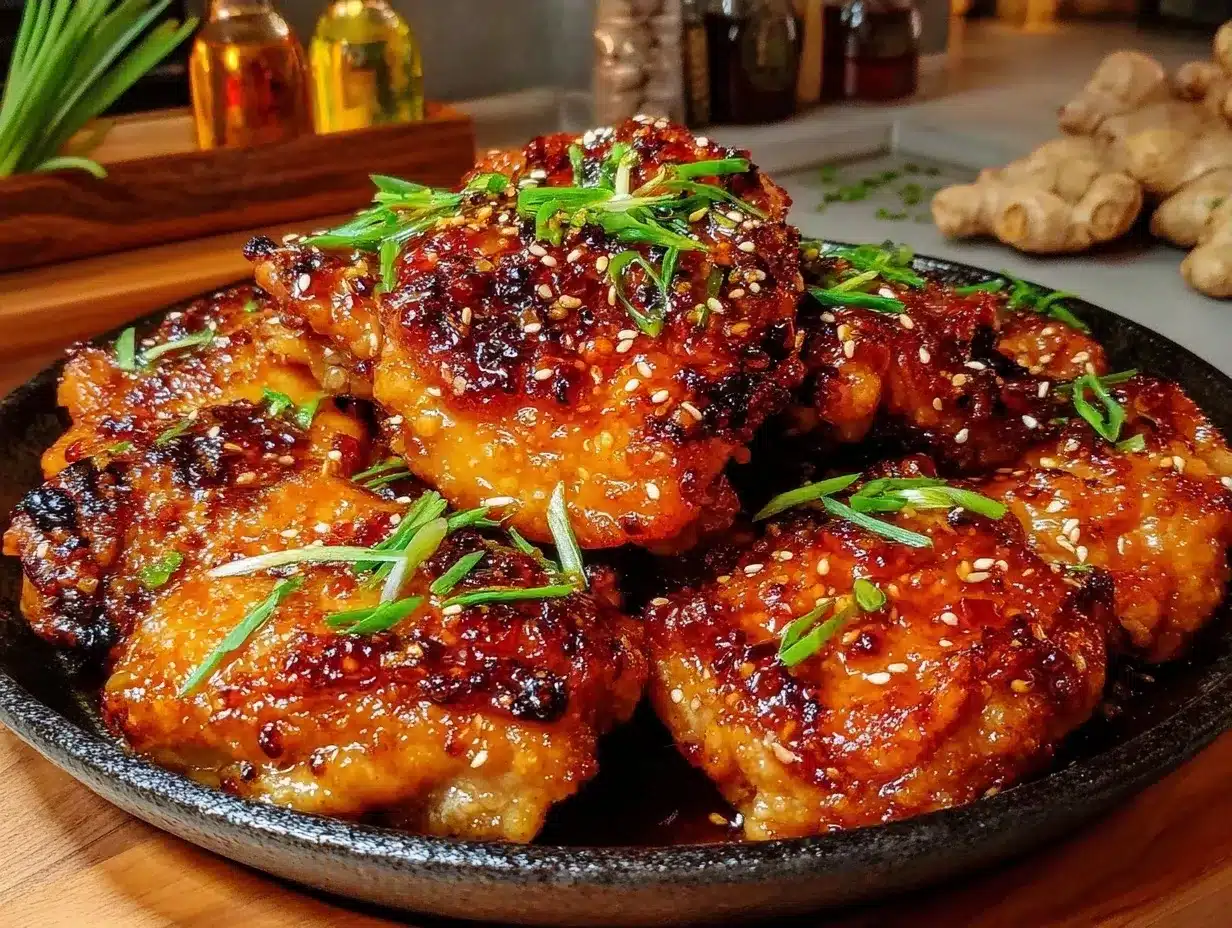
(1/2 cup / 60g) — This is non-negotiable for the crispy exterior. Cornstarch absorbs surface moisture and creates that shattering crispness when baked. Potato starch works too, but cornstarch gives the best crunch. Don’t skip this step.
Low-Sodium Soy Sauce
(1/2 cup / 120ml) — Regular soy sauce can be too salty once it reduces. Low sodium gives you control. I use Kikkoman or a generic low-sodium brand. It provides the salty umami base without overpowering the sweetness.
Honey
(1/3 cup / 110g) — Local honey is nice, but any clear honey works. It balances the salt and creates the sticky glaze. If you’re avoiding refined sugar, maple syrup is a decent substitute, though the flavor will be stronger.
Garlic and Ginger
(4 cloves minced / 1 tbsp fresh grated) — Fresh is key. Jarred ginger tastes metallic and dulls the flavor. I grate the ginger on a microplane for maximum juice. The garlic should be fresh, finely minced so it doesn’t burn in the sauce.
Sesame Oil
(1 tbsp / 15ml) — Toasted sesame oil. Not the raw kind. This adds that nutty aroma that screams “Asian-inspired.” A little goes a long way. If you spill it, don’t cry. It’s potent.
Green Onions and Sesame Seeds
(3 stalks sliced / 2 tbsp toasted) — For garnish. These add color and texture. Toast your sesame seeds in a dry pan for 2 minutes. It takes forever but makes a world of difference in flavor.
Red Pepper Flakes
(1/2 tsp) — Optional, but recommended. A little heat cuts through the sweetness of the honey. It keeps the flavor profile interesting.
Tools Needed for Success
You don’t need a fancy kitchen to make this Sticky Baked Sesame Chicken. You just need the right basics. Here’s what I use every Sunday.
- Large Sheet Pan — I use a half-sheet pan (18×13 inches). If you have a smaller one, you’ll need to bake in two batches. Crowding the pan steams the chicken instead of baking it, which ruins the texture.
- Wire Rack — This is the secret weapon. Placing a wire rack over your sheet pan allows air to circulate underneath the chicken. It mimics frying without the oil. I learned this from making crispy parmesan chicken, and it’s the same principle.
- Medium Saucepan — For reducing the sauce. A small pot prevents burning.
- Meal Prep Containers — I use glass containers with dividers. They’re microwave-safe and don’t stain. Plastic works, but glass keeps the food tasting fresh longer.
- Instant-Read Thermometer — For peace of mind. Chicken should reach 165°F (74°C). It’s the only way to be sure.
That’s it. No fancy gadgets. Just efficient tools that get the job done.
How to Make Sticky Baked Sesame Chicken
Let’s get into the nitty-gritty. This process takes about 45 minutes active time, but most of it is hands-off baking. Here is exactly how I do it.
Step 1: Prep the Chicken (10 minutes)
Pat your chicken thighs completely dry with paper towels. Moisture is the enemy of crispiness. If the chicken is wet, it won’t coat properly. Cut into 1-inch cubes. In a large bowl, toss the chicken with 1 tablespoon of cornstarch, salt, and pepper. Let it sit for 10 minutes. This draws out more moisture and helps the coating adhere.
Step 2: Bake the Chicken (20 minutes)
Preheat your oven to 400°F (200°C). Line a sheet pan with parchment paper and place a wire rack on top. Arrange the chicken cubes in a single layer on the rack. Do not touch them. Bake for 15-20 minutes, flipping halfway through. They should be golden brown and cooked through. Remove and set aside. Do not clean the pan yet; we’re using those flavorful bits.
Step 3: Make the Glaze (5 minutes)
In your medium saucepan, combine 1/2 cup soy sauce, 1/3 cup honey, 1/4 cup water, 1 minced garlic clove, 1 teaspoon grated ginger, and 1 teaspoon sesame oil. Whisk over medium heat. Bring to a simmer. Cook for 3-4 minutes until it thickens slightly. It should coat the back of a spoon. Remove from heat and stir in 1 tablespoon of cornstarch mixed with 1 tablespoon of water (slurry) if you want it thicker. Add red pepper flakes if using.
Step 4: Combine and Finish (5 minutes)
Return the baked chicken to the warm pan (off heat) or back to the oven for 2 minutes. Toss the chicken in the sauce until every piece is coated. The residual heat will finish thickening the sauce. Sprinkle with green onions and toasted sesame seeds.
Total Time: 40 minutes. Cook Time: 20 minutes. Prep Time: 20 minutes.
Expert Tips for Meal Prep Success
Here’s everything I learned from making this too many times. These tips separate the amateurs from the meal-prep pros.
The Sauce Consistency Matters
Don’t let your sauce reduce too much before tossing the chicken. If it’s too thick, it will clump into gluey blobs. If it’s too thin, the chicken gets soggy. Aim for a syrup-like consistency. It should drip slowly, not pour like water. I usually stop cooking the sauce when it looks like it’s just about to be too thick, because it will thicken more when mixed with the chicken.
Portion Immediately
Once the chicken is tossed in the sauce, divide it into your containers right away. Letting it sit in the big bowl while you prep containers can lead to uneven distribution. Some pieces get saucier than others. Be methodical. One scoop per container.
Cool Before Covering
Never put hot food in the fridge. It raises the internal temperature of your refrigerator and can spoil other foods. Let the containers cool to room temperature on the counter for about 30 minutes before sealing and refrigerating. This also prevents condensation, which makes the chicken soggy.
Reheating Strategy
For the best texture, reheat in the oven or air fryer at 350°F for 5-7 minutes. This revives the crispiness. If you microwave it, place a damp paper towel over the container. This creates steam and prevents the chicken from drying out. It’s not perfect, but it’s better than dry chicken.
Recipe Variations for the Week
Once you’ve nailed the basic version, here’s how to mix it up so you don’t get bored.
Spicy Version
Add 1 tablespoon of gochujang (Korean chili paste) to the sauce. It adds a deep, fermented heat that is addictive. I love this version when I need a kick to wake up my taste buds.
Teriyaki Twist
Swap half the soy sauce for mirin and add a tablespoon of sake. It’s sweeter and more delicate. This version pairs beautifully with steamed broccoli.
Veggie-Packed Bowl
Toss raw broccoli florets or snap peas into the sauce before tossing with chicken. The residual heat wilts the veggies just enough. It adds fiber and volume without extra cooking time.
Dairy-Free Note
This recipe is naturally dairy-free. If you’re avoiding soy, use coconut aminos. They’re sweeter and thinner, so you may need to reduce the sauce a bit longer.
Protein Swap
Chicken thighs work best, but you can use shrimp. Shrimp cooks faster (5-7 minutes), so adjust the baking time accordingly. The sauce works perfectly with shrimp too.
Serving & Storage
Serving Ideas
I serve this over jasmine rice or brown rice. It’s also great with cauliflower rice for a lower-carb option. Top with extra green onions, sesame seeds, or even some crushed peanuts for crunch. A side of steamed bok choy or edamame rounds out the meal perfectly.
Storage Guidelines
Refrigerator: Store in airtight containers for up to 4 days. The flavor is best on days 1-3. By day 4, the sauce may have absorbed most of the moisture, so the chicken might be drier.
Freezer: This Sticky Baked Sesame Chicken freezes well for up to 3 months. Portion it out before freezing. Thaw in the fridge overnight before reheating. Note that the texture may be slightly softer after freezing, but the flavor remains excellent.
Reheating: Microwave for 1-2 minutes, stirring halfway. Or reheat in a skillet over medium heat with a splash of water to loosen the sauce.
Nutrition Information
I’m not a nutritionist, but here’s the breakdown per serving (approx. 1/4 of the recipe, with 1 cup rice).
| Nutrient | Amount |
|---|---|
| Calories | 450 |
| Protein | 35g |
| Carbs | 45g |
| Fiber | 2g |
| Fat | 12g |
| Sodium | 900mg |
My Take: This is a balanced meal. The protein is high, which keeps you full. The carbs come from the rice (adjust if you skip it). The sodium is moderate, so drink plenty of water. It’s comfort food with a purpose. Better than takeout, and you control the ingredients.
Final Thoughts
Meal prepping doesn’t have to be a chore. When you find a recipe that works, you unlock a whole new level of freedom. This Sticky Baked Sesame Chicken is that recipe for me. It’s flavorful, it reheats well, and it saves me time. I make it once, and I eat it four times this week. That’s the goal.
If you make this, drop a comment! I love hearing how it turns out in your kitchen. Do you add extra veggies? Do you eat it cold? Let me know. And if you need more meal prep inspiration, check out my one-pot taco pasta for a different flavor profile next week. Happy cooking!
FAQs
Can I use chicken breasts instead of thighs?
Yes, but you need to be careful. Breasts dry out easily. Reduce the baking time to 12-15 minutes and check the temperature frequently. Aim for 165°F exactly. If you overcook breasts, they will be tough after reheating.
How do I prevent the sauce from being too sweet?
Balance is key. If you find it too sweet, add more soy sauce or a splash of rice vinegar. You can also add more garlic and ginger to cut through the sweetness. Taste the sauce before tossing the chicken.
Can I make this in an air fryer?
Absolutely. Air fry at 380°F for 10-12 minutes, shaking the basket halfway. The chicken will be crispier. Toss in the sauce immediately after cooking. It works great for smaller batches.
Why did my chicken turn out soggy?
Two reasons: either the chicken wasn’t patted dry before coating, or the pan was overcrowded. Crowding creates steam. Use a wire rack and give the chicken space. Also, make sure the sauce isn’t too thin before tossing.
Is this recipe gluten-free?
Not as written, because of the soy sauce. Use coconut aminos or a certified gluten-free soy sauce to make it gluten-free. The rest of the ingredients are naturally gluten-free.
Can I double the recipe?
Yes, but you’ll need to bake in two batches. Do not overcrowd the pan. If you bake too much at once, the chicken will steam instead of roast, and you’ll lose the crispy texture.
Pin This Recipe!
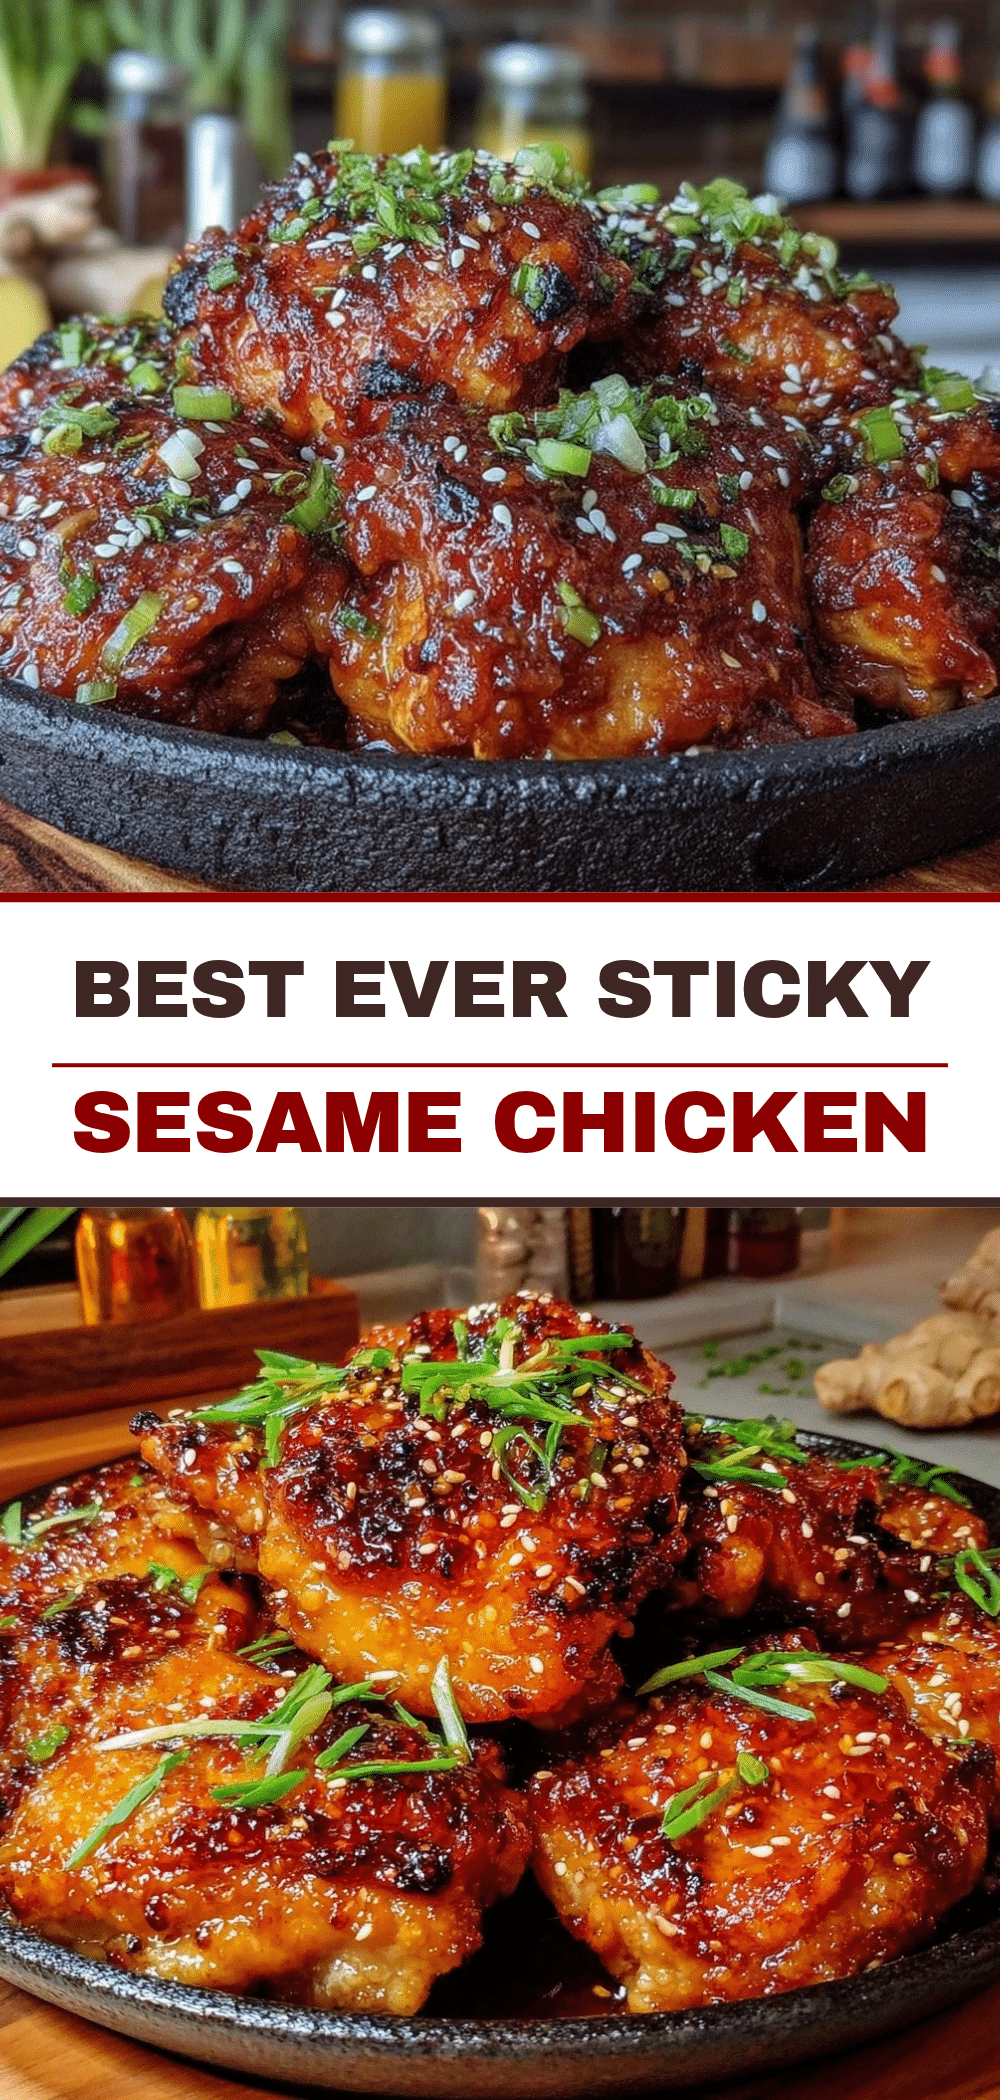

Sticky Baked Sesame Chicken: 4 Meals in 1 Hour
- Total Time: 40 minutes
- Yield: 4 servings 1x
Description
A reliable meal prep recipe for sticky baked sesame chicken that stays juicy and flavorful when reheated. This dish offers a perfect balance of sweet, savory, and umami flavors, making it ideal for busy weeknights.
Ingredients
- 2 lbs (900g) boneless skinless chicken thighs, cut into 1-inch cubes
- 1/2 cup (60g) cornstarch (divided)
- 1 tbsp cornstarch mixed with 1 tbsp water (slurry)
- Salt and pepper to taste
- 1/2 cup (120ml) low-sodium soy sauce
- 1/3 cup (110g) honey
- 1/4 cup water
- 4 cloves garlic, minced
- 1 tbsp fresh ginger, grated
- 1 tbsp toasted sesame oil
- 1/2 tsp red pepper flakes (optional)
- 3 stalks green onions, sliced
- 2 tbsp toasted sesame seeds
Instructions
- Pat chicken thighs completely dry with paper towels and cut into 1-inch cubes.
- In a large bowl, toss chicken with 1 tablespoon of cornstarch, salt, and pepper. Let sit for 10 minutes to draw out moisture.
- Preheat oven to 400°F (200°C). Line a sheet pan with parchment paper and place a wire rack on top.
- Arrange chicken cubes in a single layer on the rack. Bake for 15-20 minutes, flipping halfway through, until golden brown and cooked through (165°F). Remove and set aside.
- In a medium saucepan, combine soy sauce, honey, water, 1 minced garlic clove, 1 teaspoon grated ginger, and 1 teaspoon sesame oil.
- Whisk over medium heat and bring to a simmer. Cook for 3-4 minutes until slightly thickened.
- Stir in the cornstarch slurry if a thicker consistency is desired. Add red pepper flakes if using.
- Return baked chicken to the warm pan or back to the oven for 2 minutes. Toss chicken in the sauce until evenly coated.
- Sprinkle with green onions and toasted sesame seeds before serving.
Notes
For best texture, reheat in the oven or air fryer at 350°F for 5-7 minutes. If microwaving, place a damp paper towel over the container to prevent drying out. Ensure chicken is patted dry before coating to avoid sogginess. Do not overcrowd the pan during baking to ensure crispiness.
- Prep Time: 20 minutes
- Cook Time: 20 minutes
- Category: Main Course
- Cuisine: Asian
Nutrition
- Serving Size: Approx. 1/4 of the r
- Calories: 450
- Sugar: 30
- Sodium: 900
- Fat: 12
- Saturated Fat: 2
- Carbohydrates: 45
- Fiber: 2
- Protein: 35
Keywords: meal prep, sesame chicken, baked chicken, sticky chicken, healthy dinner, high protein, gluten-free option, dairy-free


