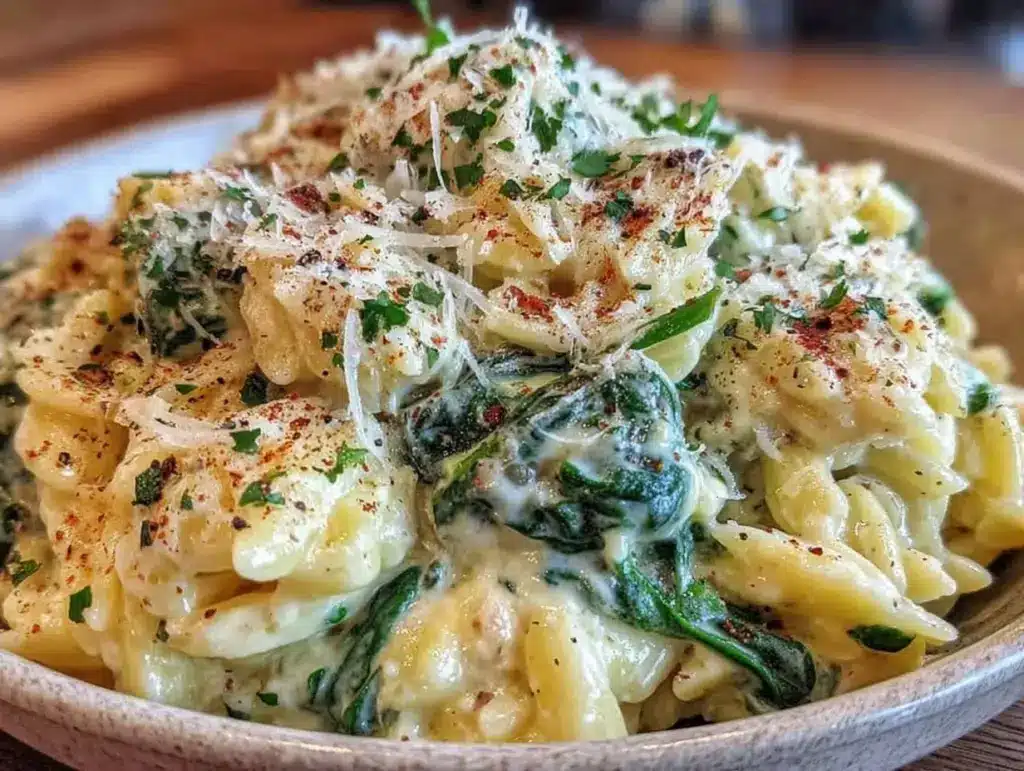
Last July, I was standing in front of my grill at 8 PM, staring at a bag of orzo that had been sitting in my pantry for three weeks. It was supposed to be a side dish for some grilled steaks, but I had no idea how to make it interesting. I’d made boxed pasta sides before, and they were fine, but I wanted something that tasted like it had effort put into it. I grabbed a stick of butter, a handful of parmesan, and a ridiculous amount of garlic, and threw it all into a cast-iron skillet on the grill grate.
I was worried. Pasta on a grill? It sounded like a disaster waiting to happen. Would it burn? Would it stick? Would I end up with a charred mess? But then I stirred it, and the butter melted into the hot pasta, creating this incredible emulsion. The smoke from the charcoal kissed the garlic, adding a depth of flavor I could never get in my kitchen. I took one bite and immediately forgot about the steaks. This creamy garlic parmesan orzo became the star of the night.
That was two years ago. Since then, I’ve made this recipe maybe fifty times. It’s my secret weapon for summer dinners. It’s fast, it’s rich, and it tastes like a restaurant meal without the pretension. People ask me how I make it so creamy without a stove. The answer is simple: direct heat and constant stirring. If you’re tired of the same old potato salad or plain rice, you need to try this. This creamy garlic parmesan orzo ready in 20 minutes is about to become your new grill obsession.
I love that it uses ingredients I already have. You don’t need to go to the store. You just need pasta, cheese, butter, and garlic. But the magic happens outside. The grill adds a smoky note that transforms a basic pasta dish into something memorable. I’ve shared this at barbecues, and it always disappears first. Even the people who claim they don’t like “pasta sides” come back for seconds. That’s the power of cooking with fire.
Why You’ll Love This Recipe
There are a dozen reasons why this dish has earned a permanent spot in my weekly rotation. But let’s be real—it’s not just because it tastes good. It’s because it solves the biggest problem of summer cooking: keeping the kitchen cool while making something impressive.
- Zero Kitchen Heat — My house stays cool. I’m outside anyway. While the orzo cooks, I’m grilling proteins or veggies. It’s efficient and keeps the indoor temperature down. This is perfect for hot July nights when I don’t want to turn on the oven.
- Ready in 20 Minutes — I know, I said that in the title, but it’s true. From boiling the water to plating the dish, it takes exactly twenty minutes. I’ve timed it. If you’re hungry after a workout or just want dinner ASAP, this is it.
- Restaurant-Quality Flavor — The smoky garlic and sharp parmesan create a complex flavor profile. It’s not just “cheesy pasta.” It’s savory, nutty, and slightly charred. It tastes expensive, but it costs pennies.
- One-Pan Cleanup — Well, mostly one pan. You boil the pasta in a pot, then finish it in a skillet. That’s it. No scrubbing baking sheets or washing a dozen bowls. I love easy cleanup as much as I love easy cooking.
- Flexible Side Dish — It pairs with everything. Grilled chicken? Yes. Smoked salmon? Absolutely. Or even just a grilled steak. It’s the ultimate crowd-pleaser that works with any main course.
This is my go-to when dinner needs to just work. It’s reliable, delicious, and always gets compliments. If you’re looking for a way to make your grill meals stand out, this is the answer.
Key Ingredients for the Best Orzo
You don’t need fancy ingredients for this. In fact, keeping it simple is what makes it shine. Here’s what you need, and why I pick what I pick.
Orzo Pasta (8 oz / 225g) — This is the star. Orzo is small, rice-shaped pasta. It cooks fast and absorbs sauce beautifully. I use standard dried orzo from any grocery store. Don’t substitute with regular spaghetti or penne; the texture is different. Orzo is creamy and tender. Look for brands like Barilla or De Cecco.
Unsalted Butter (4 tbsp / 60g) — Butter is the base of the sauce. I use unsalted so I can control the saltiness. Room temperature butter melts faster, but I usually just throw it in cold. It melts quickly over the high heat of the grill. If you’re dairy-free, you can use a high-quality plant-based butter, but the flavor won’t be the same.
Garlic (4 cloves, minced / 1 tbsp) — Yes, four cloves. I’m not shy with garlic. Fresh garlic is non-negotiable. Jarred garlic tastes metallic and flat. I mince it fine so it distributes evenly. If you’re worried about burning, add it halfway through the cooking process, not at the very beginning.
Grated Parmesan Cheese (½ cup / 50g) — Use freshly grated parmesan. The pre-grated stuff in the green shaker has cellulose, which prevents it from melting smoothly. You’ll end up with a grainy sauce. I buy a wedge of parmesan and grate it myself. It melts into the butter and pasta like silk. If you can’t find parmesan, pecorino romano works too, but it’s saltier.
Chicken Broth (½ cup / 120ml) — I use low-sodium chicken broth to add moisture and depth. Water works, but broth adds a savory backbone. If you’re vegetarian, use vegetable broth. Make sure it’s hot when you add it to the pan to keep the cooking process moving.
Black Pepper (½ tsp / 2g) — Freshly cracked black pepper adds a nice bite. Pre-ground pepper loses its potency quickly. I grind it fresh right before I cook. It’s a small detail, but it makes a big difference in the final flavor.
Salt (to taste) — You’ll salt the pasta water, and the parmesan is salty, so taste before adding more. I usually add a pinch at the end if needed.
Tools You’ll Need
You don’t need fancy equipment. Here’s what I use. Keep it simple.
Cast-Iron Skillet — This is my preferred pan. It holds heat well and gives the pasta a slight char. A 10-inch skillet is perfect. If you don’t have cast iron, a stainless steel skillet works too. Avoid non-stick if you’re cooking over high direct heat; it might degrade.
Large Pot with Lid — You need this to boil the orzo. A 4-quart pot is enough. Make sure it has a tight-fitting lid to keep the water boiling efficiently.
Tongs — Use tongs to stir the pasta in the skillet. It’s easier than a spoon and helps prevent breaking the pasta. I have a pair that’s long enough so I don’t burn my hands.
Grill Thermometer — Not strictly necessary, but helpful. You want your grill at medium-high heat, around 400°F (200°C). If you don’t have a thermometer, use the hand test. Hold your hand over the grate; if you can only hold it for 2-3 seconds, it’s hot enough.
Measuring Cups and Spoons — I’m a bit old-school. I like measuring my ingredients to ensure consistency. You can eyeball it, but measuring helps if you’re new to this.
How to Make Creamy Garlic Parmesan Orzo
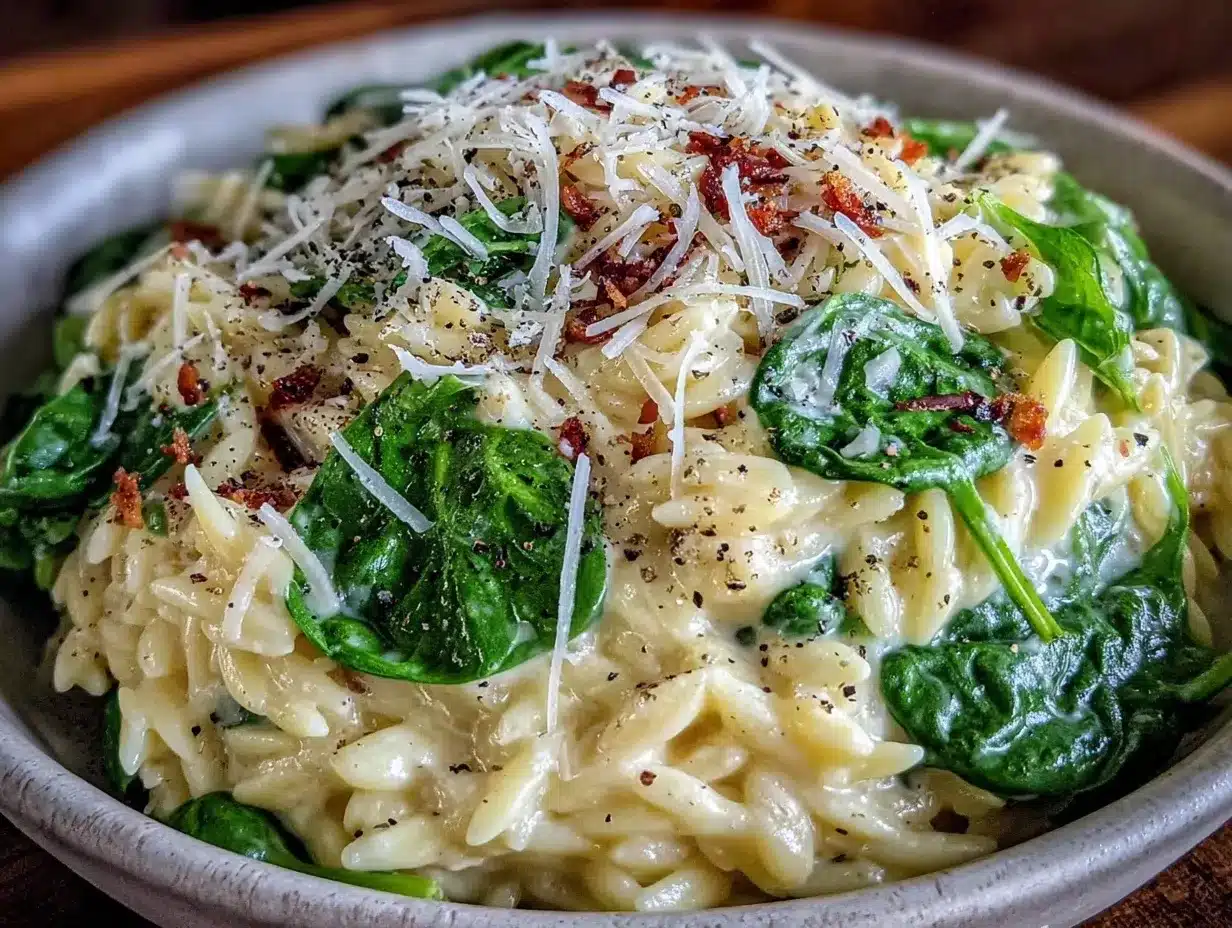
Let’s get cooking. This is straightforward, but timing is key. Don’t walk away.
Step 1: Boil the Orzo (10 minutes)
Fill your large pot with water and bring it to a rolling boil. Add a generous amount of salt—like the ocean. This is your only chance to season the pasta from the inside. Add the orzo and stir immediately to prevent sticking. Cook according to package directions, usually 8-10 minutes, until al dente. It should be tender but still have a slight bite. Drain the pasta and set it aside. Don’t rinse it! You want that starch to help thicken the sauce later.
Step 2: Prep the Grill (5 minutes)
While the pasta cooks, get your grill ready. I use a two-zone fire. One side is direct heat for the skillet, the other is indirect for keeping things warm if needed. Clean the grates thoroughly. Oil them lightly with a high-smoke-point oil like canola or grapeseed. This prevents sticking. Let the grill heat up to medium-high. You want it hot, but not screaming hot.
Step 3: Sauté the Aromatics (2 minutes)
Place your cast-iron skillet on the direct heat zone. Add the butter. Let it melt and foam. Once it stops foaming and starts to smell nutty, add the minced garlic. Stir constantly. You only have about 60-90 seconds here. Garlic burns fast. If it turns brown, toss it and start over. You want it fragrant and golden, not black.
Step 4: Combine and Simmer (3 minutes)
Add the drained orzo to the skillet. Toss it in the garlic butter until every piece is coated. Pour in the chicken broth. Stir well, scraping up any browned bits from the bottom of the pan. These bits are flavor gold. Let it simmer for 2 minutes. The broth will reduce and create a creamy base. Stir frequently to prevent sticking.
Step 5: Finish with Cheese (1 minute)
Remove the skillet from the heat. This is crucial. If you add cheese on direct high heat, it can separate and become oily. Stir in the parmesan cheese and black pepper. The residual heat will melt the cheese into a smooth, creamy sauce. Taste and adjust salt if needed. Serve immediately.
Total time: 20 minutes. Simple, right?
Expert Tips for Grill Perfection
Here’s everything I learned from making this too many times. These tips will save you from common mistakes.
Don’t Overcook the Orzo
This is the #1 mistake. Orzo cooks fast. If it’s mushy before it hits the skillet, it’ll be a paste at the end. Undercook it by 1 minute. It will finish cooking in the sauce. I learned this the hard way when I made it for a party and the texture was soggy. Never again.
Control the Heat
Grill grates are hot. Direct heat can scorch garlic instantly. If your grill is very hot, move the skillet to the edge of the direct zone or use a heat diffuser. I’ve burned garlic so many times I now watch it like a hawk. Low and slow is better than high and fast for the garlic step.
Reserve Pasta Water
Before you drain the pasta, save a cup of the starchy water. If your sauce looks too thick or dry, add a splash of this water. It helps emulsify the cheese and butter into a silky sauce. It’s a trick from Italian grandmothers, and it works every time.
Fresh Cheese Only
I can’t stress this enough. Pre-grated cheese has anti-caking agents. It doesn’t melt. It clumps. Buy a block of parmesan and grate it yourself. It takes 30 seconds and makes a world of difference. Your sauce will be smooth and creamy, not grainy.
Stir Constantly
This isn’t a “set it and forget it” recipe. You need to stir. The starch in the orzo wants to stick to the pan. Constant stirring ensures even cooking and prevents burning. It’s also therapeutic. I find stirring a hot skillet on the grill very calming after a long day.
Recipe Variations to Try
Once you’ve nailed the basic version, here’s how to mix it up. The base recipe is versatile.
Spicy Version
Add ½ teaspoon of red pepper flakes with the garlic. Or stir in a chopped jalapeño. The heat cuts through the richness of the cheese. I love this with grilled shrimp.
Herb-Infused
Stir in 2 tablespoons of fresh chopped basil or parsley at the end. Fresh herbs add brightness and color. It makes the dish look more vibrant. I use basil because it pairs perfectly with garlic and parmesan.
Lemon Zest
Add the zest of one lemon before the cheese. The citrus cuts the fat and adds a fresh note. It’s lighter and perfect for summer. I often do this with grilled chicken.
Vegetable Add-Ins
Sauté chopped spinach or kale in the skillet before adding the pasta. It wilts quickly and adds nutrition. I also like adding roasted cherry tomatoes for a burst of sweetness.
Dairy-Free Option
Use olive oil instead of butter and vegan parmesan. It’s not exactly the same, but it’s close. I recommend a nutritional yeast sprinkle for extra umami flavor.
Serving & Storage
Serving
I serve this straight from the skillet. It looks rustic and inviting. Top with extra parmesan and black pepper. It pairs well with grilled proteins like chicken, steak, or fish. For a lighter meal, serve it with grilled vegetables. I also like it with crispy parmesan chicken for a double cheese hit. Or try it with one-pot taco pasta if you want a different flavor profile entirely.
Storage
This doesn’t freeze well because the dairy can separate upon thawing. It’s best eaten fresh. Leftovers can be stored in an airtight container in the refrigerator for up to 3 days. Reheat gently in a skillet with a splash of water or broth. The microwave can make the sauce grainy, so I prefer the stovetop or grill method for reheating.
Meal Prep
You can prep the ingredients ahead of time. Mince the garlic and grate the cheese the night before. Store them in small containers. When it’s time to cook, you just boil and stir. This saves time during busy weeknights.
Nutrition Information
I’m not a nutritionist, but here’s the breakdown. This is comfort food with cream and cheese. Not diet food. But it’s better than takeout and I know what’s in it.
| Nutrient | Per Serving (approx. 1 cup) |
|---|---|
| Calories | 450 |
| Protein | 15g |
| Carbs | 55g |
| Fiber | 2g |
| Fat | 18g |
| Sodium | 600mg |
It’s calorie-dense, so portion control is key if you’re watching your intake. But honestly, it’s so good you won’t care. It’s worth it.
Final Thoughts
This creamy garlic parmesan orzo ready in 20 minutes is more than just a recipe. It’s an experience. It’s about getting outside, enjoying the fire, and making something delicious with minimal effort. I hope you try it. It’s become a staple in my home, and I think it will be in yours too.
If you make this, drop a comment! I love hearing how it turns out in your kitchen. Did you add extra garlic? Did you use a different cheese? Share your variations. And don’t forget to tag me on social media if you post a photo. I love seeing your creations.
Happy cooking!
FAQs
Can I use a different type of pasta?
You can, but orzo is best. It’s small and absorbs sauce well. Large pasta like penne or rigatoni won’t get as creamy. If you must use something else, try ditalini or small shells. Avoid spaghetti.
Do I have to cook this on the grill?
No, you can cook it in a skillet on the stove. The grill just adds a smoky flavor. If you’re indoors, just use your stovetop. The recipe works either way. I prefer the grill for the flavor, but the stove is fine.
Can I make this ahead of time?
It’s best served fresh. The sauce thickens as it cools. If you make it ahead, you’ll need to add more liquid when reheating. I recommend cooking it just before serving for the best texture.
Is this recipe gluten-free?
Not as written. Orzo contains wheat. You can use gluten-free orzo, but it cooks differently and can be mushy. Check the package instructions. Also, ensure your parmesan and broth are gluten-free.
Why did my sauce separate?
This usually happens if the cheese is added on direct high heat. The fats separate from the solids. Always remove the pan from the heat before adding cheese. Stir gently and let residual heat melt it.
Can I add protein to this?
Yes! Grilled chicken, shrimp, or salmon work great. You can stir the protein into the pasta at the end. I like adding grilled chicken strips for a complete meal.
How do I store leftovers?
Store in an airtight container in the fridge for up to 3 days. Reheat in a skillet with a splash of water or broth. Do not freeze, as the dairy will separate.
Pin This Recipe!
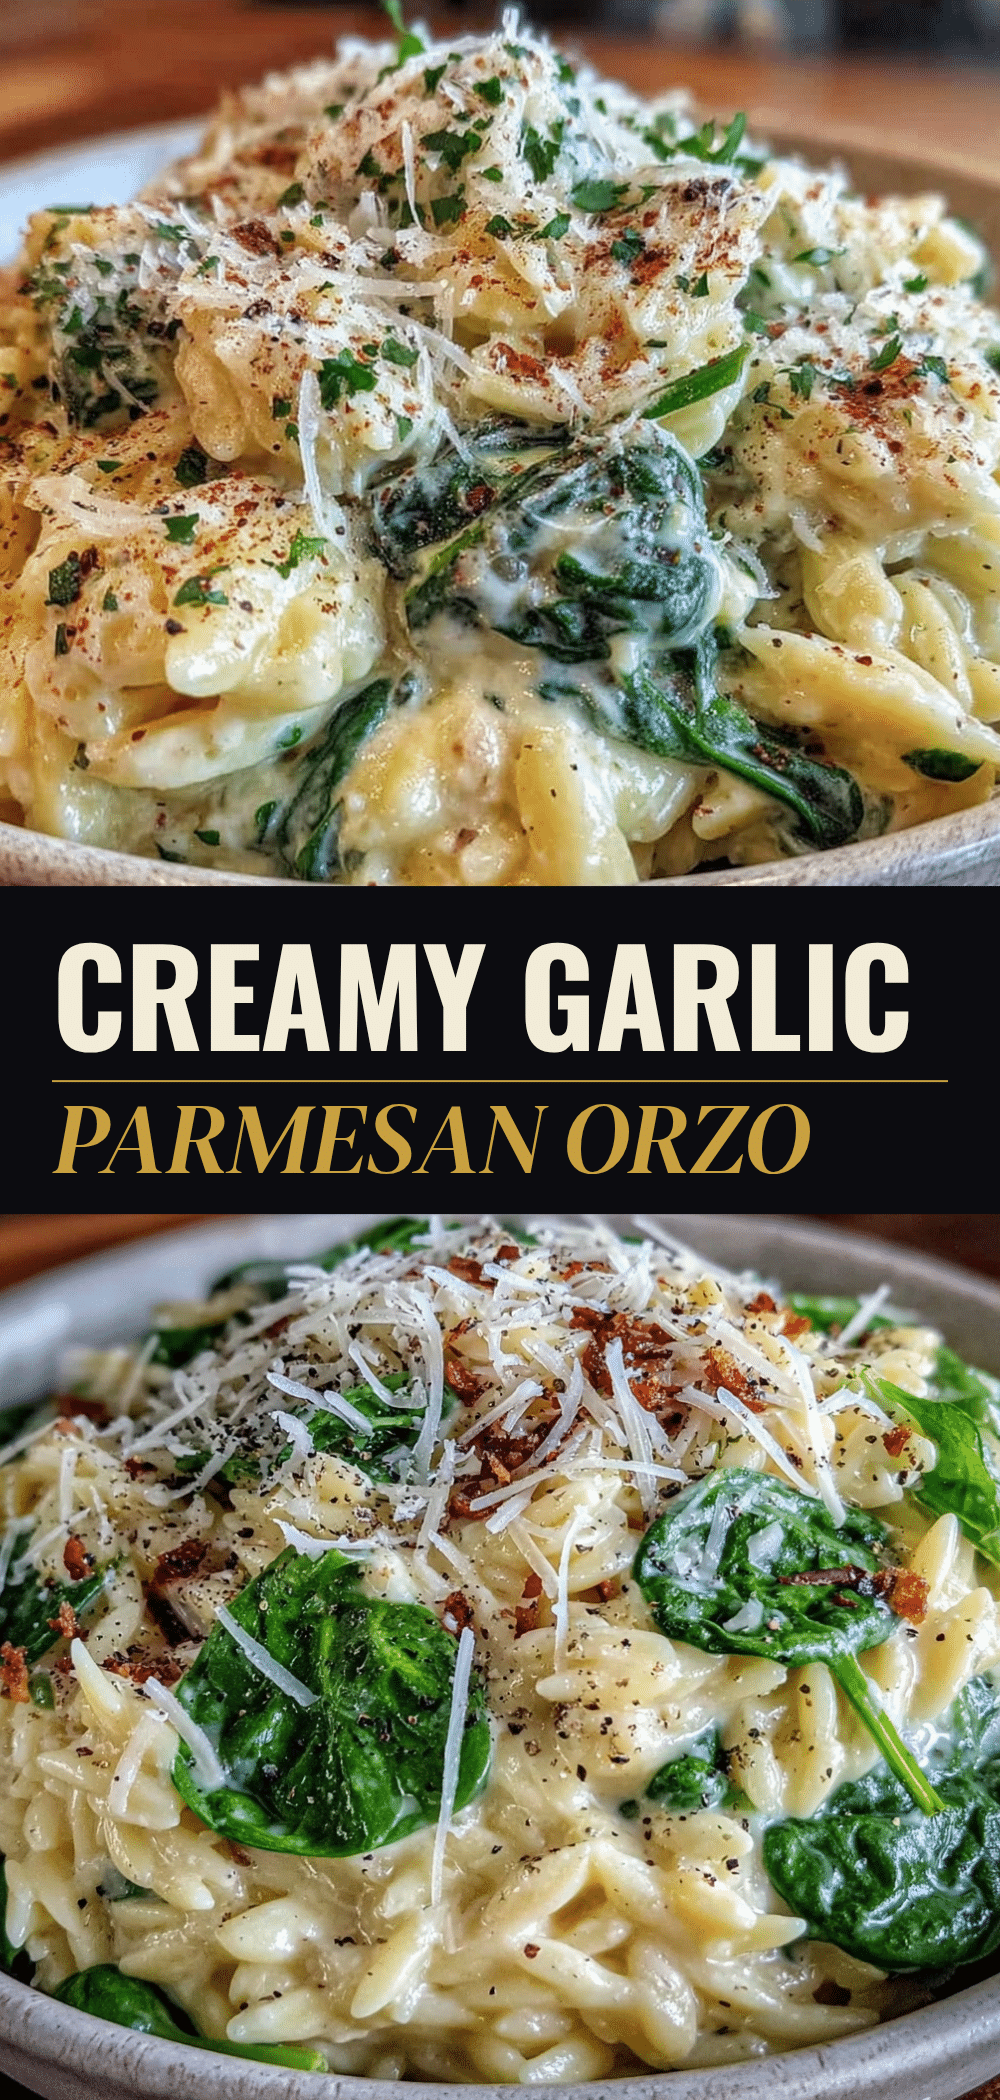
Best Creamy Garlic Parmesan Orzo on the Grill
- Total Time: 20 minutes
- Yield: 4 servings 1x
Description
A quick, smoky, and creamy side dish made by cooking orzo in a cast-iron skillet over a grill. This recipe delivers restaurant-quality flavor with simple ingredients in just 20 minutes.
Ingredients
- 8 oz (225g) Orzo Pasta
- 4 tbsp (60g) Unsalted Butter
- 4 cloves Garlic, minced
- ½ cup (50g) Grated Parmesan Cheese
- ½ cup (120ml) Chicken Broth (low-sodium)
- ½ tsp Black Pepper, freshly cracked
- Salt, to taste
- High-smoke-point oil (for grates)
Instructions
- Fill a large pot with water, bring to a rolling boil, and add generous salt. Add orzo and cook for 8-10 minutes until al dente. Drain, reserving some pasta water, and set aside. Do not rinse.
- Prepare the grill for medium-high heat (around 400°F/200°C) using a two-zone fire. Clean and lightly oil the grates.
- Place a cast-iron skillet on the direct heat zone. Add butter and let it melt and foam. Add minced garlic and stir constantly for 60-90 seconds until fragrant and golden, being careful not to burn.
- Add the drained orzo to the skillet and toss to coat in the garlic butter. Pour in the chicken broth and stir, scraping up browned bits from the bottom.
- Simmer for 2 minutes, stirring frequently, until the broth reduces and creates a creamy base.
- Remove the skillet from the heat. Stir in the grated parmesan cheese and black pepper. Use residual heat to melt the cheese into a smooth sauce. Adjust salt if needed and serve immediately.
Notes
[‘Do not overcook the orzo; it should be slightly undercooked before adding to the skillet as it will finish cooking in the sauce.’, ‘Always remove the skillet from direct heat before adding cheese to prevent separation and oiliness.’, ‘Use freshly grated parmesan; pre-grated cheese contains anti-caking agents that prevent smooth melting.’, ‘Reserve some starchy pasta water to adjust sauce consistency if it becomes too thick.’, ‘Stir constantly to prevent sticking and ensure even cooking.’]
- Prep Time: 5 minutes
- Cook Time: 15 minutes
- Category: Side Dish
- Cuisine: Italian-American
Nutrition
- Serving Size: 1 cup
- Calories: 450
- Sugar: 2
- Sodium: 600
- Fat: 18
- Saturated Fat: 10
- Carbohydrates: 55
- Fiber: 2
- Protein: 15
Keywords: grilled orzo, creamy garlic parmesan, summer side dish, grill recipes, quick pasta, one-pan meal, smoky pasta


