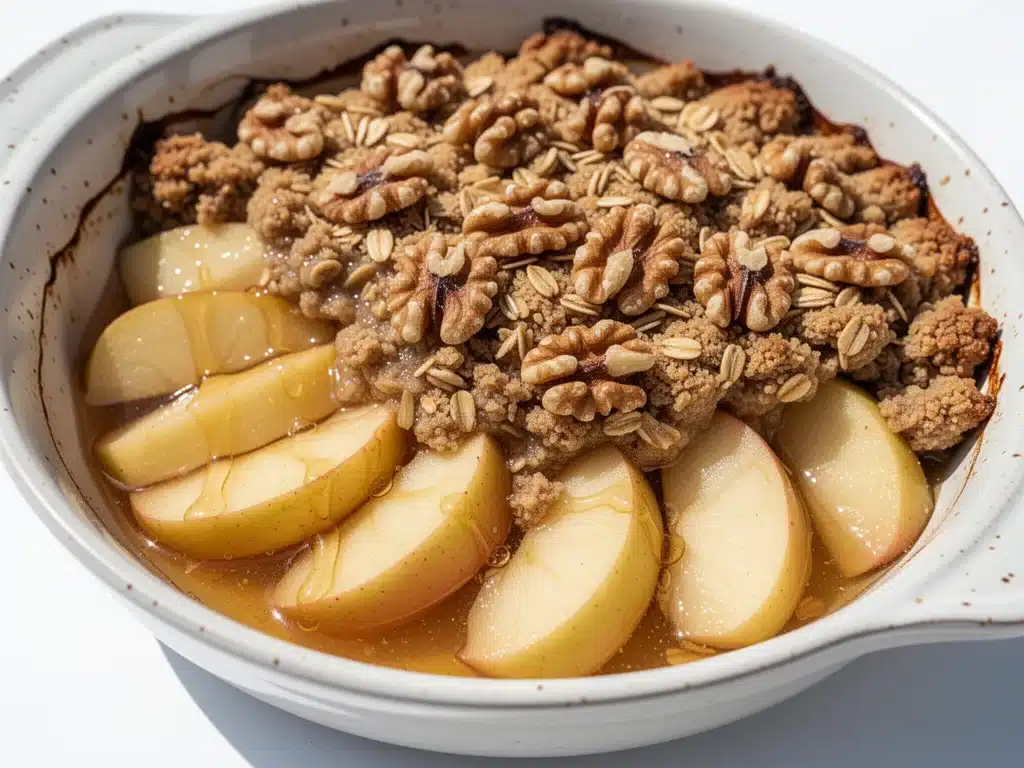
I still remember the first Rosh Hashanah I hosted. I was twenty-four, living in a tiny apartment with a kitchen that barely fit two people, and I had absolutely no idea what I was doing. My family had driven four hours to visit, and I wanted to impress them with something that felt traditional but was easy enough for a novice cook. I had planned to bake a complex apple pie, but then I looked at my pantry, saw a bag of stale oats, and realized I was in way over my head.
So, I panicked. I improvised. I threw together what I now know as the ultimate Rosh Hashanah apple crisp. It was messy, it was simple, and it smelled like heaven. When I pulled that baking dish out of the oven, my mother-in-law took one bite, closed her eyes, and said, “This tastes like home.” That was the moment I knew I had found my signature dessert. It wasn’t fancy. It didn’t require a rolling pin or a lattice cutter. It just tasted like fall, sweetness, and celebration.
Fast forward twelve years, and this Rosh Hashanah apple crisp has become a non-negotiable part of our holiday table. It’s the dessert I make when I’m tired, when I’m hosting a crowd, or when I just need something warm and comforting to share with the people I love. The thing about this recipe is that it’s forgiving. If you use a mix of apples, it’s fine. If your topping is a little clumpy, that’s actually better. It’s rustic, it’s delicious, and it captures the essence of the Jewish New Year perfectly.
Traditionally, we eat sweet foods on Rosh Hashanah to symbolize a sweet new year. Apples and honey are the classic symbols, but sometimes you want something that feels more like a dessert and less like a snack. That’s where this crisp comes in. It bridges the gap between the traditional symbolism and the comfort of a warm, crumbly, cinnamon-spiced treat. I’ve tested this recipe more times than I can count—sometimes with Granny Smiths, sometimes with Honeycrisps, sometimes with a mix—and it always turns out perfect. It’s become my go-to holiday dessert, and I’m sharing it with you so you can have it in your kitchen too.
Why You’ll Love This Rosh Hashanah Apple Crisp
There are about ten reasons I keep coming back to this recipe, but here are the big ones. This isn’t just another apple dessert; it’s the one that actually gets made during the holidays.
It Captures the Tradition — This dessert is built around the core symbolism of Rosh Hashanah: apples and honey. But instead of just dipping apple slices in honey (which gets sticky and messy), we bake the sweetness into the fruit. It honors the tradition in a way that feels special and celebratory.
Stupid Simple — Seriously, if you can chop an apple and mix a bowl of oats, you can make this. There’s no pie dough to roll out. There’s no tricky timing. I’ve walked my teenage son through making this while he was playing video games. It’s foolproof.
Lightning Fast Prep — You’ll spend maybe 15 minutes prepping, and then the oven does all the work. This is crucial for the holidays when you’re juggling appetizers, main courses, and side dishes. I often make this while roasting the chicken or preparing the salad. It frees up my attention for the savory parts of the meal.
Makes Amazing Leftovers — Actually, this tastes better the next day. The flavors meld together, and the topping gets even crunchier if you reheat it. I deliberately make a double batch because I know I’ll want seconds for breakfast (yes, really) or a late-night snack.
Budget-Smart — Apples are cheap, especially in the fall. Oats, flour, butter, and brown sugar are pantry staples. You can make this dessert for under $10, which is a fraction of what you’d pay at a bakery. It’s affordable luxury.
Customizable — I’ve made this with just honey, with honey and maple syrup, and even with a splash of rum for the adults. It’s a canvas for your own creativity. Whether you’re keeping it traditional or adding a twist, it always works.
This is my go-to when I need a dessert that feels special but doesn’t require a degree in pastry arts. No complicated techniques, no weird ingredients, just reliable, delicious food that makes everyone happy. And honestly, the smell that fills your house while it bakes? That’s the best part.
Ingredients You’ll Need
Here’s the best part: you probably have most of this already. I’m particular about the apples, but the rest is pretty standard. I like to keep this list short because who wants to run to the store when you’re in the middle of holiday prep?
For the Apple Filling
Apples (6-7 medium, about 3 pounds / 1.4 kg) — This is the star of the show. I recommend using a mix of tart and sweet apples. Granny Smiths hold their shape well and provide a nice tang, while Honeycrisps or Gala add sweetness. If you use only sweet apples, the dish might be too cloying. If you use only tart, it might be too sour. A mix is perfect. Peel them or leave the skins on—I leave the skins on for extra fiber and color, but it’s up to you.
Honey (½ cup / 120ml) — Since this is Rosh Hashanah, honey is non-negotiable. It symbolizes a sweet year. Use a good quality honey. If you’re dairy-free, you can use maple syrup, but honey is traditional. I like to drizzle half of it into the apples and save the rest for serving.
Maple Syrup (2 tablespoons / 30ml) — Optional, but I add it for depth. It adds a rich, caramel-like flavor that complements the honey. Pure maple syrup only—avoid the pancake syrup stuff.
Ground Cinnamon (1 teaspoon) — The classic spice. It warms up the apples and makes the whole kitchen smell amazing. Don’t skimp on this.
Nutmeg (¼ teaspoon) — Just a pinch. It adds a subtle warmth that you can’t quite place but will miss if it’s not there.
Vanilla Extract (1 teaspoon) — Pure vanilla, please. It rounds out the flavors and makes the fruit taste more vibrant.
Lemon Juice (1 tablespoon / 15ml) — This is the secret weapon. It prevents the apples from browning and adds a bright acidity that cuts through the sweetness. It balances the whole dish.
Cornstarch (1 tablespoon / 8g) — This helps thicken the juices that release from the apples. Without it, you’ll end up with a soupy bottom. Mix it with a little cold water to make a slurry, then stir it in.
For the Crispy Topping
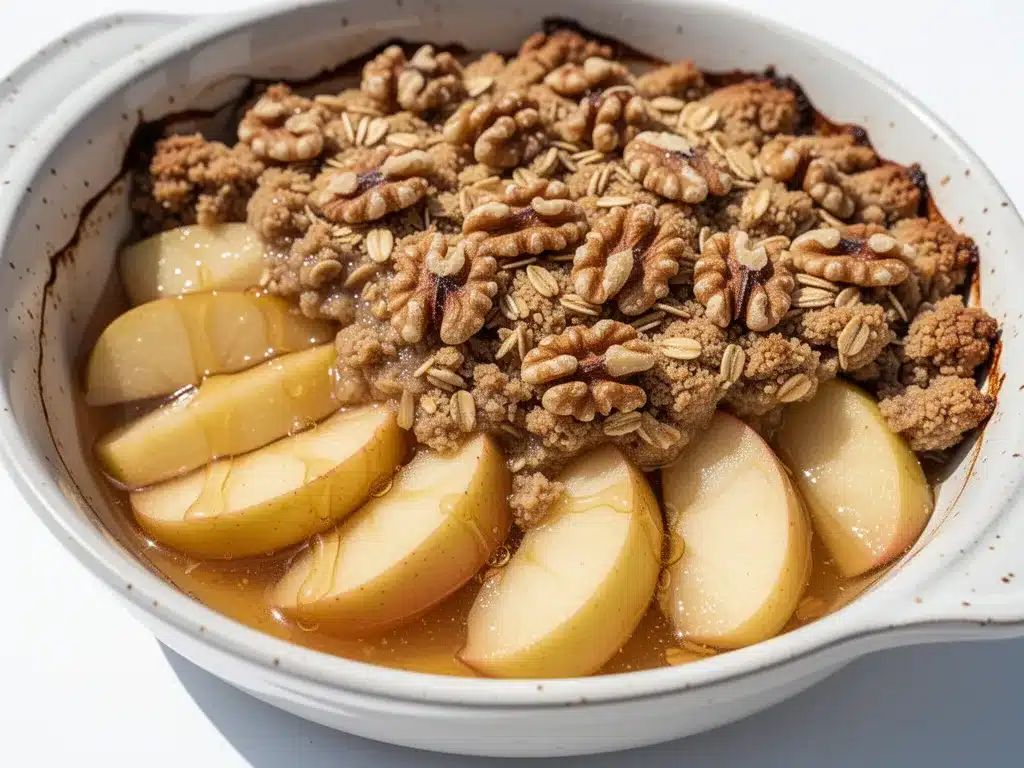
Old-Fashioned Rolled Oats (1 cup / 90g) — Do not use instant oats or steel-cut oats. Old-fashioned oats give you that chewy, hearty texture. They absorb the butter and brown sugar without turning to mush.
All-Purpose Flour (½ cup / 60g) — This binds the topping together so it forms those delicious clusters. If you’re gluten-free, use a 1:1 gluten-free flour blend.
Brown Sugar (½ cup / 100g, packed) — This adds moisture and a caramel flavor. Light or dark brown sugar both work. I prefer dark for a deeper molasses taste.
Cold Butter (½ cup / 115g, cubed) — This is crucial. The butter needs to be cold so it creates little pockets of flakiness as it melts in the oven. Use unsalted butter so you can control the salt. If you’re dairy-free, use a high-quality vegan butter stick.
Sea Salt (¼ teaspoon) — A pinch of salt enhances all the flavors. It’s not optional. Trust me.
Chopped Pecans or Walnuts (½ cup / 60g) — Optional, but I highly recommend it. The nuts add a nice crunch and richness. Pecans are more traditional for fall desserts, but walnuts work too. If you have nut allergies, just skip them.
For Serving
Extra Honey — For drizzling. Have a small pitcher on the table.
Vanilla Ice Cream or Whipped Cream — A warm crisp is even better with a scoop of cold vanilla ice cream. It’s the temperature contrast that makes it addictive.
Equipment Needed
You don’t need fancy equipment for this. Here’s what I actually use.
9×13 Inch Baking Dish — I use a glass Pyrex dish because it heats evenly. A metal pan works too, but glass is easier to clean. Make sure it’s deep enough so the juices don’t spill over.
Large Mixing Bowl — For tossing the apples. A bowl with a wide mouth is easier to work with.
Medium Mixing Bowl — For the topping. Keep it separate so you don’t mix everything together prematurely.
Sharp Knife — For slicing apples. A chef’s knife works best. Be careful—apples can slip.
Peeler — Optional, if you choose to peel the apples. I use a Y-peeler because it’s faster.
Fork or Pastry Cutter — To cut the butter into the flour/oat mixture. A fork works fine if you don’t have a pastry cutter. Your fingers work too, but they might melt the butter if your hands are warm.
Spatula — For stirring the apples and transferring the topping.
Measuring Cups and Spoons — Standard stuff. Dollar store versions work fine.
Cooling Rack — To let the crisp cool slightly before serving. This helps the juices set.
How to Make It: Step-by-Step
Alright, let’s make this! I’m walking you through exactly how I do it, including the little tricks I’ve picked up over the years.
Step 1: Prep Your Oven and Dish (5 minutes)
Preheat your oven to 350°F (175°C). Grease your 9×13 inch baking dish with a little butter or non-stick spray. This prevents sticking and adds flavor. If you’re using a glass dish, you don’t need much grease, but it doesn’t hurt.
Step 2: Prepare the Apples (10 minutes)
Wash and peel (optional) the apples. Core them and slice them into uniform chunks—about ½ inch thick. Uniformity is key so they cook evenly. If some pieces are huge and others are tiny, the small ones will turn to mush before the big ones are tender.
Put the apple slices in your large mixing bowl. Add the honey, maple syrup, cinnamon, nutmeg, vanilla, and lemon juice. Toss everything together until the apples are well coated. You want every slice to have a little bit of flavor.
In a small cup, mix the cornstarch with 2 tablespoons of cold water to make a slurry. Pour this over the apples and toss again. This will thicken the juices as they bake. Spread the apples evenly into your prepared baking dish. They should be packed in but not crushed.
Step 3: Make the Topping (5 minutes)
In your medium bowl, combine the oats, flour, brown sugar, chopped nuts, and sea salt. Mix them together with a fork until they’re evenly distributed.
Add the cold, cubed butter. Here’s the trick: use your fingers, a pastry cutter, or two forks to work the butter into the dry ingredients. You want the mixture to look like coarse crumbs with some larger clumps. Don’t overmix it into a dough. Those clumps are what make the topping crispy. If the butter is too soft, pop the bowl in the fridge for 10 minutes.
Step 4: Assemble and Bake (45-50 minutes)
Spread the topping evenly over the apples. Try to cover all the fruit, but don’t worry if there are small gaps. The juices will bubble up through.
Place the dish in the preheated oven. Bake for 45-50 minutes. You’ll know it’s done when the topping is golden brown and the juices are bubbling vigorously around the edges. If the topping starts browning too quickly, cover it loosely with aluminum foil for the last 10 minutes.
Step 5: Cool and Serve (15 minutes)
Remove the crisp from the oven and let it cool for at least 15 minutes. This is the hardest part, I know. But cooling allows the juices to thicken, so you don’t end up with a runny mess on your plate.
Serve warm, with a generous drizzle of honey and a scoop of vanilla ice cream. Enjoy!
Expert Tips & Tricks
Here’s everything I’ve learned from making this dozens of times. These tips will save you from my mistakes.
Use a Mix of Apples — I can’t stress this enough. Using only one type of apple can lead to a one-note flavor or texture. My favorite combo is 3 Granny Smiths and 4 Honeycrisps. The Granny Smiths keep their structure, and the Honeycrisps break down slightly to create a saucy texture.
Don’t Skip the Lemon — The lemon juice might seem unnecessary, but it brightens the flavor and prevents oxidation. Without it, the apples can taste flat and look brown. It’s a small ingredient that makes a big difference.
Cold Butter is Key — For the topping, cold butter creates steam pockets as it melts, which leads to a flaky, crispy texture. If your butter is soft, your topping will be more like a cookie crust. Cube it straight from the fridge.
Watch the Baking Time — Ovens vary. Check your crisp at 40 minutes. If the topping is golden and the bubbles are thick and slow, it’s done. If it’s still pale, give it 5-10 more minutes. You want that deep golden color.
Let It Cool — I know it’s tempting to dig in immediately, but cooling is essential for the texture. The juices need time to set. If you serve it hot, it will be soupy. Wait 15 minutes. Your patience will be rewarded.
Storage Tip — Store leftovers in an airtight container in the fridge for up to 4 days. Reheat in the oven at 350°F for 10-15 minutes to restore crispiness. The microwave works in a pinch, but it will make the topping soft.
Variations & Substitutions
Once you’ve nailed the basic version, here’s how you can mix it up. I’ve tried all of these.
Dairy-Free Version — Swap the butter for a high-quality vegan butter stick. Use maple syrup instead of honey if you’re avoiding all animal products. The texture and flavor will be nearly identical.
Gluten-Free Version — Use a 1:1 gluten-free flour blend in the topping. Make sure your oats are certified gluten-free if you have celiac disease. Everything else is naturally gluten-free.
Pumpkin Spice Twist — Add ½ teaspoon of pumpkin pie spice to the apples and ¼ teaspoon of ginger to the topping. It’s perfect for Thanksgiving or a fall gathering.
Rum Soak — For the adults, add 2 tablespoons of dark rum to the apple mixture. It adds a rich, boozy depth. Let the rum soak into the apples for 10 minutes before baking.
Streusel Style — For an extra crispy topping, add ¼ cup of cold cubed butter to the dry topping mixture and mix until it resembles coarse sand. This creates larger, crunchier clusters.
Other Fruit Variations — You can substitute some or all of the apples with pears, peaches, or berries. Pears work especially well. Adjust the sugar slightly if using sweeter fruit.
Serving & Storage
How to Serve: I usually serve this straight from the baking dish at the dinner table—it looks rustic and stays warm. But here are other ways I’ve enjoyed it:
Side Dishes: This dessert pairs well with savory holiday meals. If you’re serving this with a main course like slow cooker honey garlic chicken thighs, the sweet and savory contrast is perfect. A simple green salad with a tart vinaigrette also cuts through the richness of the crisp.
Toppings Bar: When I have guests, I put out: extra honey, vanilla ice cream, whipped cream, and chopped pecans. Everyone customizes their bowl.
Wine Pairing: Not a wine expert, but a Riesling or a Moscato d’Asti works great with this. The sweetness of the wine complements the honey and apples.
Storage Instructions:
Refrigerator: Store in an airtight container for up to 4 days. The topping will soften in the fridge, so reheat in the oven to crisp it up.
Reheating: Best method: Oven at 350°F for 10-15 minutes. Microwave method: Heat in 30-second intervals, but expect a softer topping.
Freezing: You can freeze this! Bake it completely, let it cool, then wrap tightly in plastic wrap and foil. Freeze for up to 3 months. Thaw in the fridge overnight and reheat in the oven. It freezes surprisingly well.
Nutrition Information
I’m not a nutritionist, but here’s the breakdown if you’re tracking. This is a dessert, so it’s rich in sugar and fat, but it also has some fiber from the apples and oats.
Per Serving (based on 8 servings):
| Nutrient | Amount |
|---|---|
| Calories | 280 |
| Protein | 3g |
| Carbs | 45g |
| Fiber | 4g |
| Sugar | 28g |
| Fat | 12g |
| Saturated Fat | 7g |
| Sodium | 120mg |
What’s Good: The apples provide vitamins and fiber. The oats offer some complex carbs. It’s a better option than a heavy cake.
What to Know: It’s high in sugar from the honey and brown sugar. Portion control is key. If you’re watching sugar, reduce the honey and brown sugar by half and use more cinnamon for flavor.
Final Thoughts
So that’s my Rosh Hashanah apple crisp! I’ve probably talked your ear off at this point, but when you make a recipe this often, you have a lot to say about it. This has saved holiday dinners more times than I can count. It’s my answer to “what’s for dessert” when I’m tired, don’t want takeout, and still want something that tastes really good.
My kids are happy, my husband’s happy, and I’m happy because I’m not stressed about cooking. It’s simple, it’s traditional, and it tastes like love. Make it yours! Try different add-ins, swap in your favorite apples, adjust the honey. The best recipes are the ones you adapt to your family’s tastes.
If you make this, drop a comment and let me know what you think! I love hearing how recipes turn out in your kitchen. And if something doesn’t work, tell me that too—I’m here to help troubleshoot. Happy cooking! And I hope your kitchen smells half as good as mine does right now.
Frequently Asked Questions
Can I use apple pie filling instead of fresh apples?
You can, but I don’t recommend it. Canned apple pie filling is often too sweet and mushy. It lacks the fresh apple flavor and texture that makes this crisp special. If you’re short on time, you can use frozen apples (thawed and drained), but fresh is always best.
Why did my crisp turn out watery?
This usually happens if you didn’t use enough cornstarch or if you didn’t let it cool before serving. The juices need time to thicken. Next time, make sure you’re using 1 tablespoon of cornstarch and let the crisp cool for at least 15 minutes. Also, using a mix of apples helps—some apples release more water than others.
Can I make this ahead of time?
Yes! You can assemble the crisp up to 24 hours in advance. Cover it tightly with plastic wrap and refrigerate. When you’re ready to bake, take it out of the fridge and let it sit for 20 minutes while the oven preheats. You might need to add 5-10 minutes to the baking time since it’s starting cold.
Is this recipe gluten-free?
The base recipe contains flour, so it’s not gluten-free. However, you can easily make it gluten-free by using a 1:1 gluten-free flour blend in the topping. Just make sure your oats are certified gluten-free if you have celiac disease.
Can I freeze this dessert?
Absolutely! Bake it completely, let it cool, then wrap it tightly in plastic wrap and aluminum foil. Freeze for up to 3 months. Thaw in the fridge overnight and reheat in the oven at 350°F for 15-20 minutes. It freezes surprisingly well and tastes almost as good as fresh.
What’s the best apple for this recipe?
I recommend a mix of tart and sweet apples. Granny Smiths are great for structure, while Honeycrisps, Gala, or Fuji add sweetness. Avoid Red Delicious apples—they tend to turn mealy and bland when baked.
Can I use maple syrup instead of honey?
Yes, you can. It will change the flavor slightly, but it’s still delicious. If you’re keeping it dairy-free, use maple syrup. For traditional Rosh Hashanah symbolism, honey is preferred, but maple syrup is a perfectly valid substitute.
Pin This Recipe!
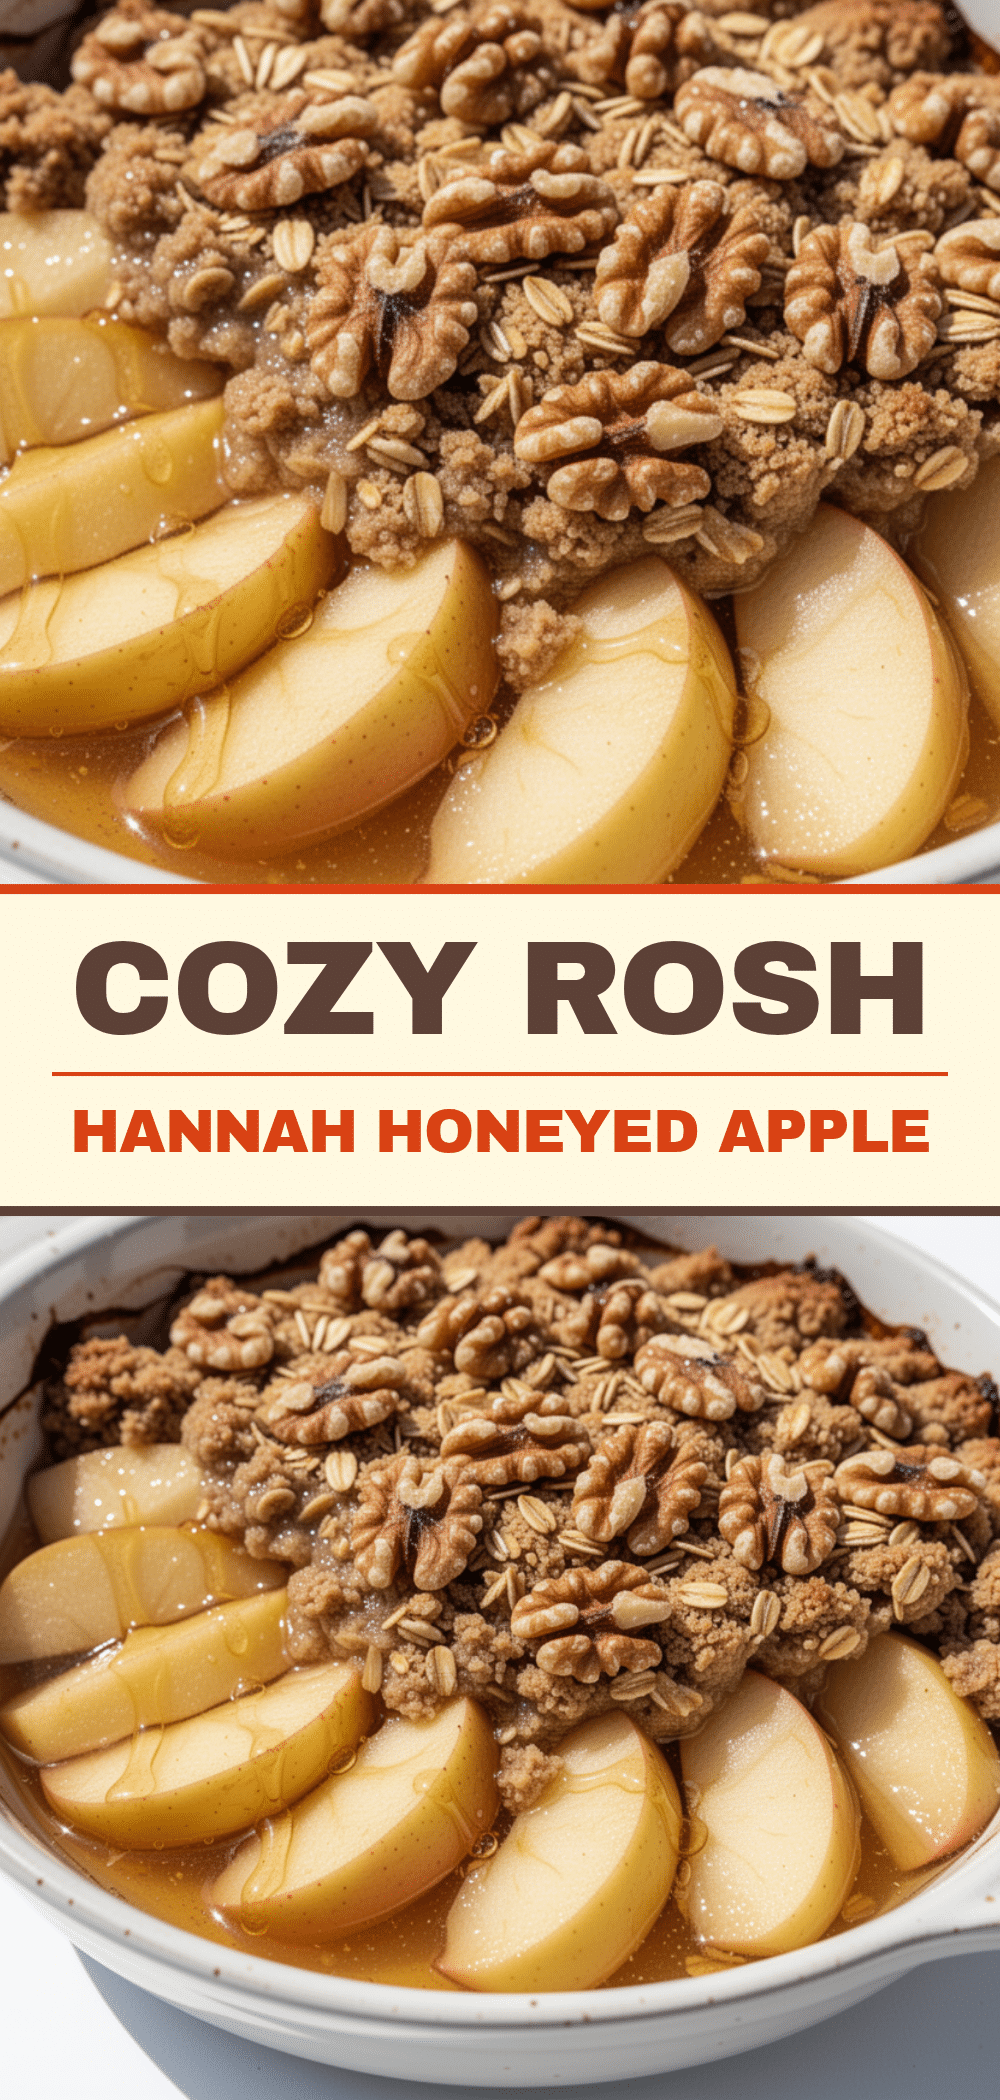
Rosh Hashanah Apple Crisp: Easy Holiday Dessert
- Total Time: 60-65 minutes
- Yield: 8 servings 1x
Description
A simple, rustic, and forgiving apple crisp that captures the tradition of Rosh Hashanah with apples and honey. It features a sweet, cinnamon-spiced apple filling topped with a crunchy oat and butter crumble, perfect for holiday celebrations.
Ingredients
- 6–7 medium apples (about 3 lbs / 1.4 kg), mixed tart and sweet (e.g., Granny Smith and Honeycrisp), peeled or unpeeled, sliced
- ½ cup (120ml) honey
- 2 tablespoons (30ml) pure maple syrup
- 1 teaspoon ground cinnamon
- ¼ teaspoon nutmeg
- 1 teaspoon vanilla extract
- 1 tablespoon (15ml) lemon juice
- 1 tablespoon (8g) cornstarch mixed with 2 tablespoons cold water
- 1 cup (90g) old-fashioned rolled oats
- ½ cup (60g) all-purpose flour
- ½ cup (100g) packed brown sugar
- ½ cup (115g) cold unsalted butter, cubed
- ¼ teaspoon sea salt
- ½ cup (60g) chopped pecans or walnuts (optional)
Instructions
- Preheat oven to 350°F (175°C) and grease a 9×13 inch baking dish.
- Wash, core, and slice apples into uniform ½-inch chunks. Place in a large mixing bowl.
- Add honey, maple syrup, cinnamon, nutmeg, vanilla, and lemon juice to the apples. Toss to coat evenly.
- Add the cornstarch slurry to the apples and toss again. Spread the mixture evenly into the prepared baking dish.
- In a separate medium bowl, combine oats, flour, brown sugar, nuts (if using), and sea salt.
- Add the cold, cubed butter to the dry ingredients. Use a pastry cutter, fork, or fingers to work the butter in until the mixture resembles coarse crumbs with some larger clumps.
- Spread the topping evenly over the apple filling.
- Bake for 45-50 minutes, or until the topping is golden brown and juices are bubbling vigorously. Cover with foil if browning too quickly.
- Remove from oven and let cool for at least 15 minutes to allow juices to thicken.
- Serve warm with extra honey and vanilla ice cream or whipped cream.
Notes
Use a mix of tart and sweet apples for the best flavor and texture. Cold butter is essential for a crispy topping. Let the crisp cool for 15 minutes before serving to prevent a soupy texture. Can be made gluten-free by using a 1:1 gluten-free flour blend and certified gluten-free oats. Can be made dairy-free by using vegan butter and maple syrup instead of honey.
- Prep Time: 15 minutes
- Cook Time: 45-50 minutes
- Category: Dessert
- Cuisine: Jewish
Nutrition
- Serving Size: 1 slice
- Calories: 280
- Sugar: 28
- Sodium: 120
- Fat: 12
- Saturated Fat: 7
- Carbohydrates: 45
- Fiber: 4
- Protein: 3
Keywords: Rosh Hashanah, apple crisp, holiday dessert, Jewish New Year, apples and honey, easy dessert, fall baking, gluten-free option


