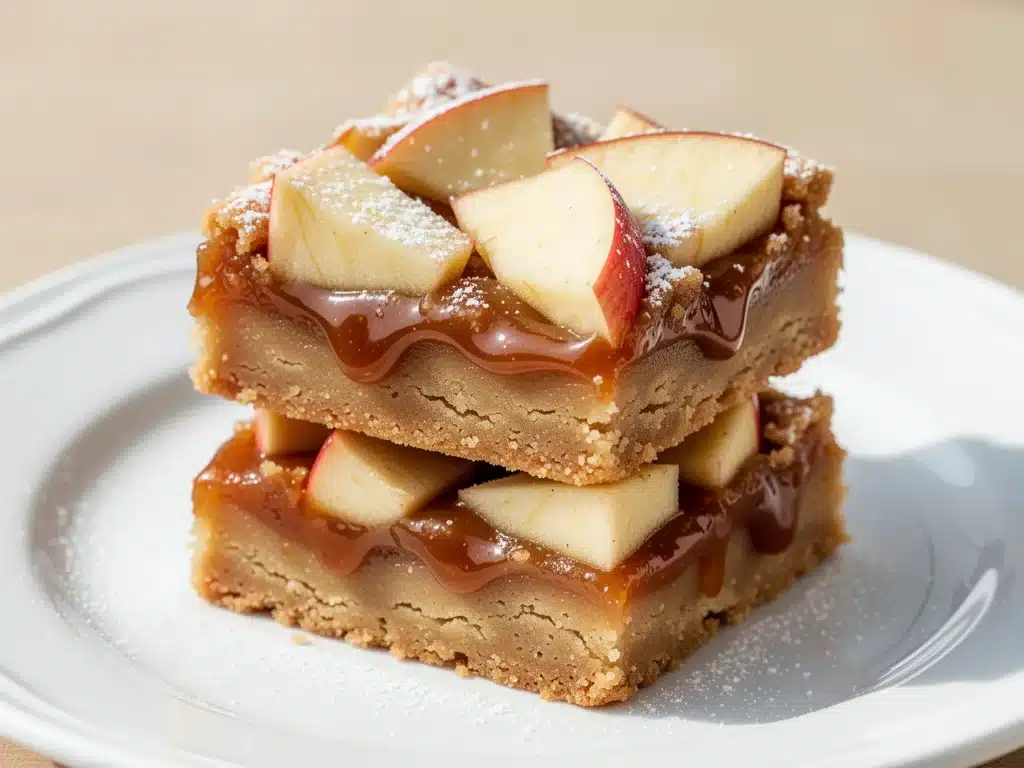
There is a specific kind of magic that happens in October. The air gets crisp, the leaves turn that brilliant shade of burnt orange, and my kitchen transforms into a warm, sticky sanctuary of cinnamon and brown sugar. For years, I resisted fall baking. I told myself I didn’t need another reason to eat cake, and honestly, I preferred my desserts light—maybe a fruit salad or some yogurt with berries. But then I discovered caramel apple bars, and everything changed.
It started with a box mix. Don’t judge me. I was tired, it was raining, and I just wanted something sweet that felt like autumn in a bite. I used a yellow cake mix, dumped in some chopped apples, covered it with caramel sauce, and threw it in the oven. What came out wasn’t just a bar; it was a texture masterpiece. Chewy, buttery, soft, and bursting with apple chunks. My husband took one bite, closed his eyes, and said, “This is better than pie.”
That accidental Tuesday night sparked a obsession. I’ve since tested this caramel apple bars recipe over twenty times, tweaking the ratio of apples to crust, experimenting with different caramel brands, and perfecting the bake time so they are gooey but not soupy. This isn’t just a dessert; it’s a mood. It’s the ultimate comfort food for those gray Sunday afternoons when you want something that tastes like a hug. And the best part? It’s incredibly easy. You don’t need to peel and slice perfect apples for a pie crust. You just chop, dump, and bake.
Whether you’re bringing these to a school bake sale, serving them at a family dinner, or just eating them straight from the pan with a spoon at 11 PM (no judgment here), these bars deliver. They hold their shape, they freeze beautifully, and they taste even better the next day as the flavors meld together. If you love easy fall desserts, you’re going to want to make a double batch.
Why You’ll Love This Recipe
I’ve made my fair share of baked goods over the years, from complex layer cakes to delicate macarons that collapsed in the oven. But this caramel apple bars recipe has earned a permanent spot in my rotation for a few very practical reasons.
Zero Pie Crust Stress — Let’s be real: making a flaky pie crust is an art form I have yet to master. It’s temperamental. It shrinks. It tears. These bars skip all that drama. You’re working with a simple, buttery shortbread-style crust that’s forgiving and easy to press into the pan. If you can mix flour and butter, you can make this base.
Perfect Texture Contrast — There’s nothing worse than a soggy bottom or a dry bar. I’ve nailed the ratio here. The bottom layer is crisp and buttery. The middle is soft, cake-like, and studded with juicy apples. The top is a sticky, sweet caramel glaze. Every bite has a different texture, which keeps it interesting.
Uses Up Extra Apples — If you go to the orchard and come back with five pounds of apples, this is the recipe to use. Unlike apple pie, where you need firm, baking-specific apples, these bars are forgiving. You can use Gala, Fuji, or even a mix. Just chop them up and throw them in.
Make-Ahead Friendly — These bars actually improve with time. I usually make them the day before a gathering. They keep perfectly at room temperature for three days, or in the fridge for up to a week. In fact, I find they taste best on day two, when the caramel has had time to soak into the cake layer slightly.
Portable and Packable — Unlike a slice of pie that slides around on a plate, these bars are sturdy. Cut them into squares, wrap them in parchment, and toss them in a lunchbox or a picnic basket. They’re perfect for road trips, office potlucks, or tailgating.
This is my go-to when I want to impress without spending hours in the kitchen. It’s reliable, delicious, and smells like heaven while it bakes.
Ingredients You’ll Need
One of the best things about this caramel apple bars recipe is the simplicity of the ingredients. You likely have most of these in your pantry already. Here’s exactly what you need and why I’m particular about certain items.
For the Crust
All-purpose flour (2 cups / 250g) — This gives the crust its structure. Don’t try to swap this for whole wheat unless you want a denser, heartier bar. For this recipe, light and buttery is the goal.
Unsalted butter (1 cup / 226g, softened) — Use real butter. Margarine will change the texture and flavor. Softened is key here; you want to be able to cream it with the sugar easily.
Granulated sugar (½ cup / 100g) — Adds sweetness and helps create that crisp, sandy texture in the crust.
Vanilla extract (1 teaspoon) — Just a hint to round out the buttery flavor.
Salt (½ teaspoon) — Essential to balance the sweetness. Don’t skip it.
For the Apple Layer
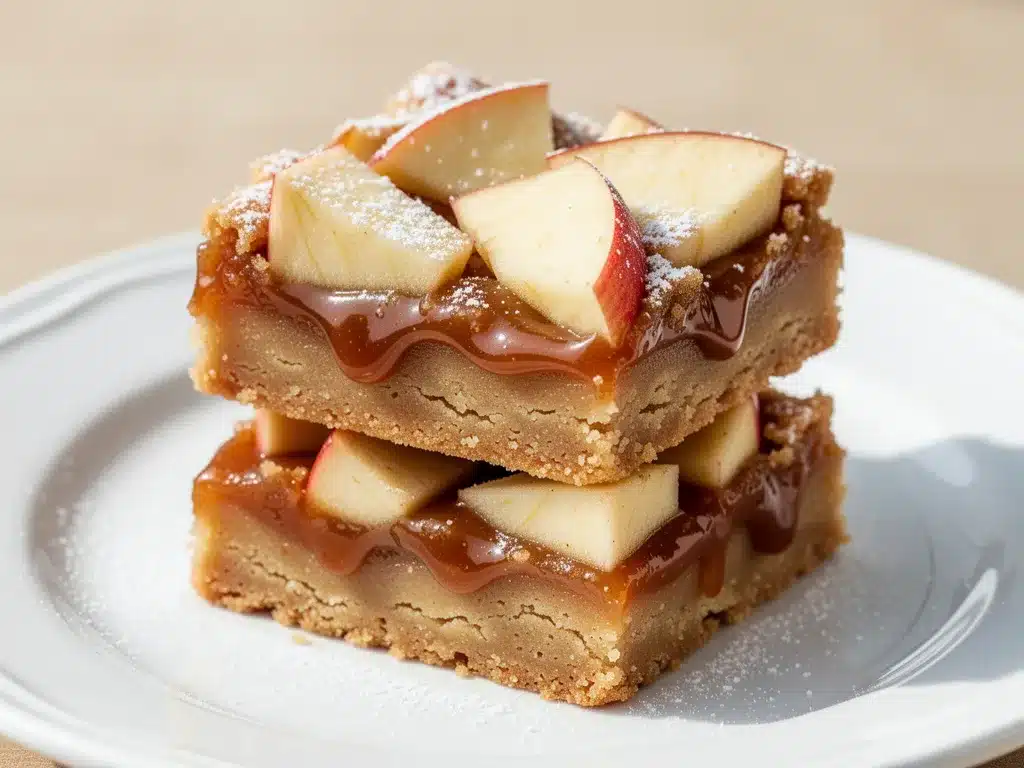
Apples (3 medium, about 450g peeled and diced) — I recommend using a mix of Granny Smith and Honeycrisp. The Granny Smith adds tartness and holds its shape, while Honeycrisp adds sweetness and softness. Peel them first, or the skins can get tough and chewy in the bar.
Granulated sugar (½ cup / 100g) — To sweeten the apples as they bake.
Cinnamon (1 teaspoon) — The star spice of fall. Use fresh ground if you have it.
Nutmeg (¼ teaspoon) — Just a pinch for warmth.
Cornstarch (1 tablespoon) — This is the secret weapon. It thickens the juices released by the apples so your bars aren’t swimming in syrup.
For the Caramel Glaze
Butter (½ cup / 113g, softened) — Again, real butter makes a difference.
Powdered sugar (1 cup / 120g) — Sifted. I can’t stress this enough—sift it. Lumpy glaze is not appetizing.
Milk (2-3 tablespoons) — Whole milk works best for richness, but 2% is fine.
Vanilla extract (1 teaspoon) — For that classic caramel bar flavor.
Optional: Chopped Pecans (½ cup) — I love the crunch they add. Toast them first for extra flavor.
Pro Tip: I always buy a block of sharp cheddar cheese to keep in the fridge. While this is a sweet dessert, having a slice of sharp cheddar with these bars is a tradition in my house. The saltiness cuts through the sweetness perfectly. If you’re curious about cheese pairings, check out my homemade cinnamon roll bites for another treat that pairs wonderfully with cheese.
Equipment Needed
You don’t need fancy gadgets for this. Here’s what I actually use.
9×13 Inch Baking Pan — Standard size. I prefer glass or ceramic because it bakes evenly and makes cleanup easier. Metal pans work too, but watch the bottom so it doesn’t burn.
Electric Mixer or Stand Mixer — For creaming the butter and sugar for the crust and glaze. Hand mixer works fine. You could do it by hand with a wooden spoon, but it takes more elbow grease.
Large Mixing Bowls — One for the crust, one for the apples, one for the glaze.
Measuring Cups and Spoons — Standard stuff.
Pastry Blender or Fork — To cut the butter into the flour if you’re not using a mixer for the crust.
Sharp Knife and Cutting Board — For dicing the apples. Uniform pieces ensure even baking.
Parchment Paper — I line the pan with parchment, leaving an overhang on the sides. This is crucial. It lets you lift the entire slab of bars out of the pan once cooled, making cutting and serving much cleaner.
Sifter or Fine Mesh Strainer — For the powdered sugar. Trust me on this.
How to Make It: Step-by-Step
Alright, let’s get baking. This is straightforward, but there are a few tricks to ensure success.
Step 1: Prep the Pan and Oven
Preheat your oven to 350°F (175°C). Line your 9×13 inch pan with parchment paper. Grease the parchment lightly with butter or cooking spray. This ensures nothing sticks.
Step 2: Make the Crust
In a large bowl, combine the flour, sugar, salt, and cold cubed butter. Use a pastry blender or your fingers to work the butter into the flour until it resembles coarse crumbs. Some pieces of butter should still be visible—this creates flakiness. Press this mixture firmly and evenly into the bottom of your prepared pan. Use the bottom of a measuring cup to pack it down tight. Bake for 15-18 minutes until lightly golden. Remove from oven and reduce heat to 325°F (160°C).
Step 3: Prepare the Apple Filling
In a medium bowl, toss the diced apples with sugar, cinnamon, nutmeg, and cornstarch. Make sure the apples are well coated. Pour this mixture over the hot crust. The heat from the crust will help start the cooking process. Spread evenly.
Step 4: Bake the Bars
Bake at 325°F (160°C) for 35-40 minutes. The edges should be bubbly, and the apples should be tender but not mushy. A toothpick inserted into the center should come out clean or with just a few moist crumbs. Do not overbake, or the apples will turn to sauce.
Step 5: Make the Glaze
While the bars bake, make the glaze. In a mixing bowl, beat the softened butter until creamy. Gradually add the sifted powdered sugar, beating on low speed. Add vanilla and milk. Beat on high for 2-3 minutes until light and fluffy. If it’s too thick, add another teaspoon of milk. If too thin, add more sugar.
Step 6: Glaze and Cool
Once the bars are out of the oven, let them cool in the pan for 10 minutes. Spread the glaze evenly over the warm (not hot) bars. Sprinkle with chopped pecans if using. Let them cool completely in the pan before cutting. This is the hardest part, but patience prevents crumbling.
Expert Tips & Tricks
Here’s everything I’ve learned from making these dozens of times. These tips will save you from common pitfalls.
Don’t Skip the Cornstarch — Apples release a lot of water. Without cornstarch, your bars will be soggy. The cornstarch absorbs that moisture and creates a jam-like consistency.
Uniform Apple Chunks — Try to dice your apples into ½-inch cubes. Too small, and they disappear into the bar. Too large, and you get huge chunks of raw apple that don’t cook through.
Warm Glaze Application — Apply the glaze when the bars are warm. It spreads easier and adheres better. If you wait until they’re completely cold, the glaze might crack or slide off.
Chill Before Cutting — For clean cuts, chill the bars in the fridge for an hour before slicing. The glaze sets, and the crust firms up. Use a sharp knife and wipe it between cuts.
Toast Your Nuts — If using pecans, toast them in a dry skillet for 3-4 minutes before sprinkling. It brings out their natural oils and flavor.
Storage Hack — If you’re bringing these to a party, stack them in an airtight container with parchment paper between layers. They’ll keep for up to 3 days at room temperature.
Variations & Substitutions
Once you’ve mastered the basic version, here’s how you can mix it up. I’ve tried all of these.
Apple Cider Variation — Replace the milk in the glaze with reduced apple cider. It intensifies the apple flavor. Reduce 2 cups of cider down to ¼ cup before mixing.
Pumpkin Spice Twist — Add ½ teaspoon of pumpkin pie spice to the apple layer. It’s a great way to bridge fall flavors.
Maple Glaze — Replace the powdered sugar glaze with a maple glaze. Mix ½ cup maple syrup with 1 cup powdered sugar and 1 tablespoon milk. Drizzle over the warm bars.
White Chocolate Chip — Add ½ cup of white chocolate chips to the apple layer before baking. They melt into gooey pockets.
Dairy-Free — Use vegan butter for the crust and glaze. Use dairy-free milk. The texture will be slightly different but still delicious.
Gluten-Free — Use a 1:1 gluten-free flour blend. Add ½ teaspoon xanthan gum if your blend doesn’t include it. The crust might be slightly more crumbly, so handle with care.
Serving & Storage
How to Serve: I usually serve these at room temperature. They pair beautifully with a cup of hot coffee or tea. For a fancier presentation, add a dollop of whipped cream and a dusting of cinnamon.
Side Dishes: Since these are rich and sweet, I often serve them with something tart or acidic to balance the meal. A simple arugula salad with lemon vinaigrette works well.
Storage: Store in an airtight container at room temperature for up to 3 days. In the fridge for up to 1 week. They freeze well for up to 3 months. Wrap individual bars in plastic wrap and place in a freezer bag. Thaw at room temperature.
Reheating: You don’t need to reheat these, but if you want them warm, microwave a bar for 10-15 seconds. The glaze will melt slightly and become gooey.
Pro Tip: If you’re making these for a crowd, cut them into smaller squares. They’re rich, and people will want to try a little bit of everything.
Nutrition Information
I’m not a nutritionist, but here’s the breakdown if you’re tracking. Note that these are estimates and can vary based on apple size and brand of ingredients.
Per Serving (1 of 16 bars):
- Calories: 280
- Protein: 2g
- Carbs: 42g
- Fiber: 1g
- Sugar: 28g
- Fat: 12g
- Saturated Fat: 7g
- Cholesterol: 30mg
- Sodium: 150mg
What’s Good: It contains apples, which provide some fiber and vitamins. It’s a decent treat for a special occasion.
What to Know: It’s high in sugar and saturated fat due to the butter and caramel glaze. Enjoy in moderation. If you’re watching carbs, consider using a sugar-free powdered sugar for the glaze.
My Take: Look, this is a dessert. It’s meant to be indulgent. I don’t stress about the calories when I make these. I enjoy them, share them, and move on. Life’s too short to skip the sweet stuff.
Final Thoughts
So that’s my go-to caramel apple bars recipe! I’ve probably talked your ear off at this point, but when you make a recipe this often, you have a lot to say about it. These bars have saved many a dinner party, bake sale, and quiet evening. They’re my answer to “what’s for dessert” when I want something that tastes like fall without the effort.
My family loves them, my friends beg me for the recipe, and I’m happy because I’m not stressed about cooking. Make it yours! Try different apples, swap the nuts for walnuts, or add a drizzle of chocolate. The best recipes are the ones you adapt to your tastes.
If you make this, drop a comment and let me know what you think! I love hearing how recipes turn out in your kitchen. And if something doesn’t work, tell me that too—I’m here to help troubleshoot.
Happy baking! And I hope your kitchen smells half as good as mine does right now.
Frequently Asked Questions
Can I use canned apples?
You can, but fresh apples taste so much better. Canned apples are often softer and sweeter, which can make the bars too mushy. If you must use canned, drain them well and pat them dry with paper towels to remove excess syrup.
Why did my bars crumble when I cut them?
Usually, this means the crust wasn’t packed down firmly enough, or you cut them before they cooled completely. Make sure to press the crust tightly into the pan and let the bars cool fully, preferably in the fridge, before slicing.
Can I make this ahead?
Yes! These bars are actually better made a day ahead. Make the crust and apple layer, bake, cool, and then add the glaze. Store in the fridge. Bring to room temperature before serving.
Why did my glaze separate?
This happens if the butter was too hot or the powdered sugar wasn’t sifted. Make sure your butter is softened, not melted. Sift the sugar to remove lumps. If it’s already separated, try whisking in a teaspoon of cold milk to bring it back together.
Can I freeze the bars?
Absolutely. Freeze the baked bars (without glaze) for up to 3 months. Thaw in the fridge, then add the glaze before serving. The glaze doesn’t freeze as well, so it’s best added fresh.
What kind of apples are best?
I recommend a mix of tart and sweet apples. Granny Smith and Honeycrisp are my favorites. Avoid Red Delicious, as they tend to get mealy and bland when baked.
Pin This Recipe!
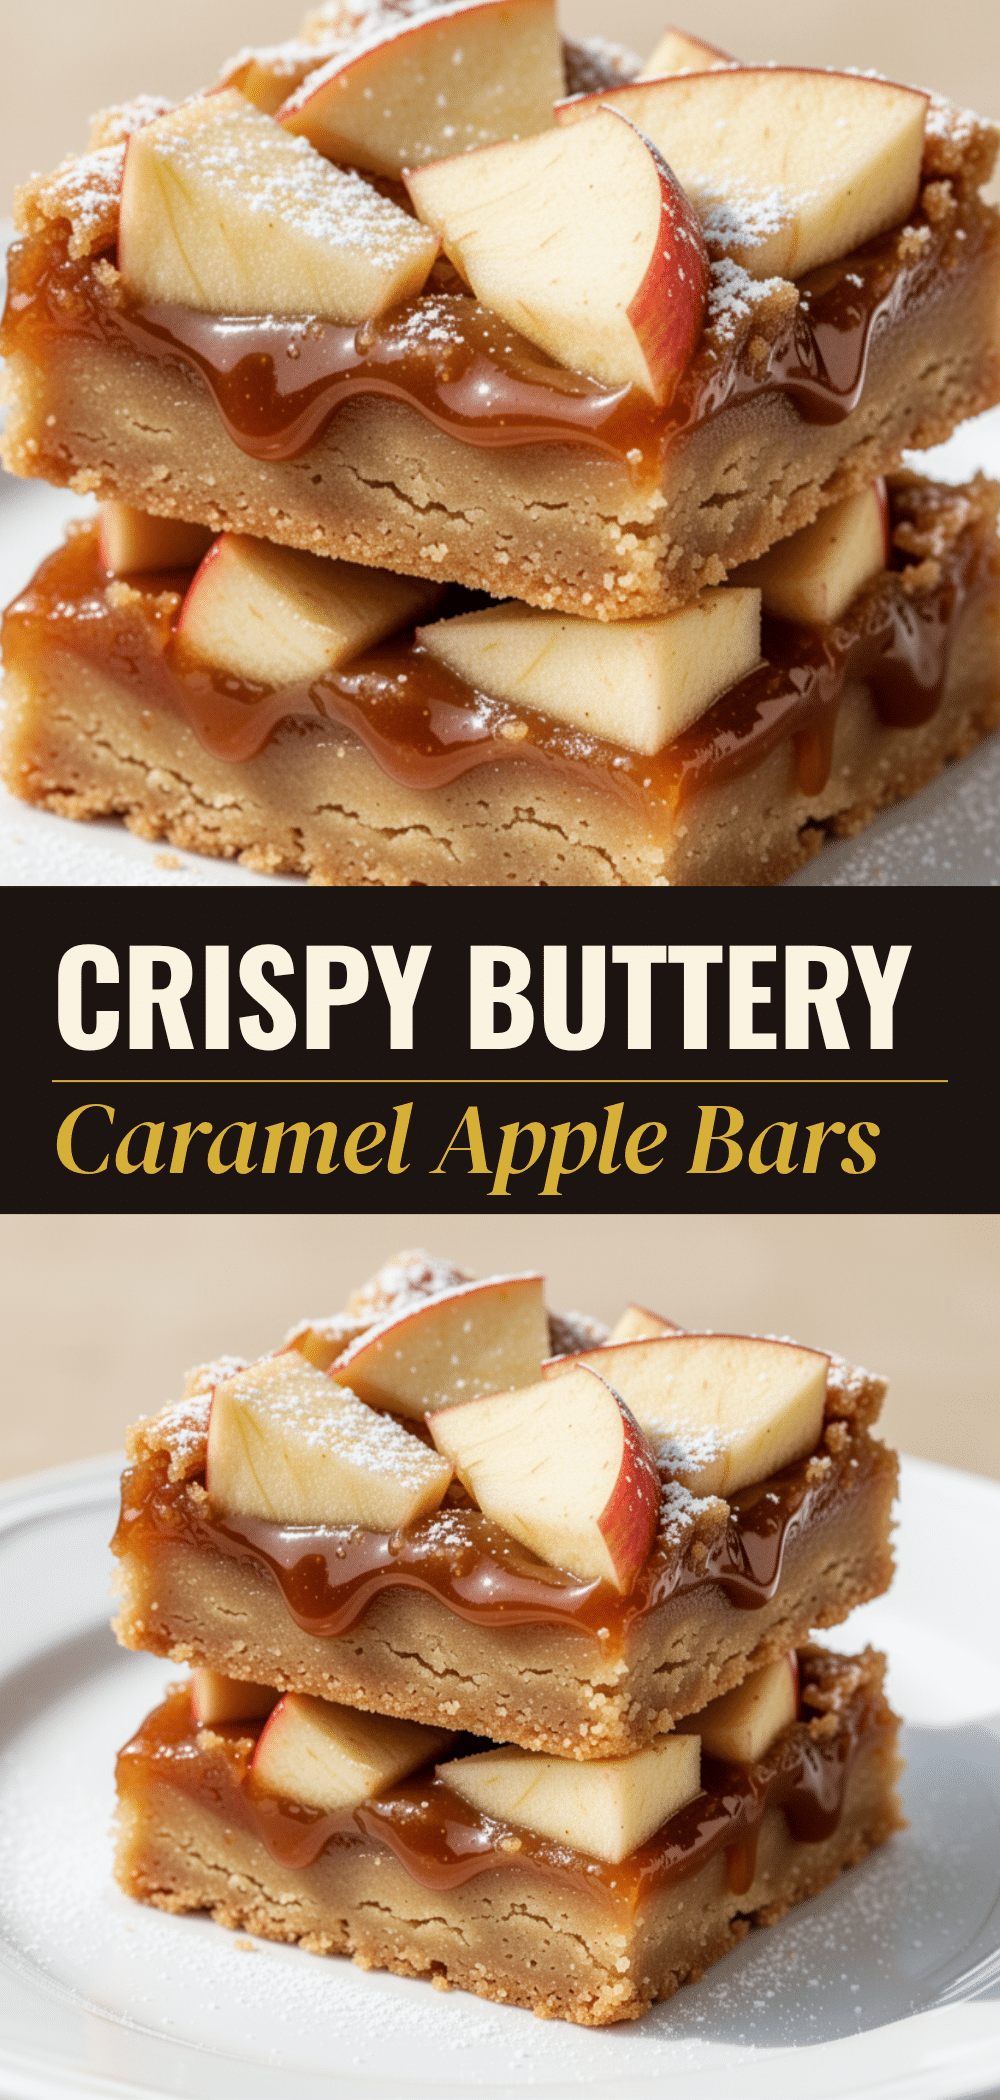
Caramel Apple Bars: Best Easy Fall Dessert
- Total Time: 75 minutes
- Yield: 16 servings 1x
Description
These easy caramel apple bars feature a buttery shortbread crust, a soft apple-cinnamon filling, and a sweet caramel glaze. They are the ultimate fall comfort food that is simple to make, make-ahead friendly, and perfect for bake sales or family dinners.
Ingredients
- 2 cups all-purpose flour
- 1 cup unsalted butter, softened
- 1/2 cup granulated sugar
- 1 teaspoon vanilla extract
- 1/2 teaspoon salt
- 3 medium apples (about 450g), peeled and diced (mix of Granny Smith and Honeycrisp recommended)
- 1/2 cup granulated sugar
- 1 teaspoon cinnamon
- 1/4 teaspoon nutmeg
- 1 tablespoon cornstarch
- 1/2 cup butter, softened
- 1 cup powdered sugar, sifted
- 2–3 tablespoons milk
- 1 teaspoon vanilla extract
- 1/2 cup chopped pecans (optional)
Instructions
- Preheat oven to 350°F (175°C). Line a 9×13 inch baking pan with parchment paper and grease lightly.
- In a large bowl, combine flour, 1/2 cup sugar, salt, and cold cubed butter. Work butter into flour until it resembles coarse crumbs.
- Press the crust mixture firmly into the bottom of the prepared pan. Bake for 15-18 minutes until lightly golden. Reduce oven temperature to 325°F (160°C).
- In a medium bowl, toss diced apples with 1/2 cup sugar, cinnamon, nutmeg, and cornstarch until well coated.
- Pour the apple mixture over the hot crust and spread evenly.
- Bake at 325°F (160°C) for 35-40 minutes until edges are bubbly and apples are tender.
- While bars bake, make the glaze: Beat softened butter until creamy. Gradually add sifted powdered sugar, vanilla, and milk. Beat on high for 2-3 minutes until light and fluffy.
- Let bars cool in the pan for 10 minutes. Spread glaze evenly over the warm bars.
- Sprinkle with chopped pecans if using. Let cool completely in the pan before cutting into squares.
Notes
For clean cuts, chill the bars in the fridge for an hour before slicing. The bars improve with time and taste best on day two. If using canned apples, drain and pat dry thoroughly to avoid soggy bars. Toast pecans in a dry skillet for 3-4 minutes before sprinkling for extra flavor.
- Prep Time: 20 minutes
- Cook Time: 55 minutes
- Category: Dessert
- Cuisine: American
Nutrition
- Serving Size: 1 bar
- Calories: 280
- Sugar: 28
- Sodium: 150
- Fat: 12
- Saturated Fat: 7
- Carbohydrates: 42
- Fiber: 1
- Protein: 2
Keywords: caramel apple bars, fall dessert, easy baking, apple bars, shortbread crust, make ahead dessert, autumn treats


