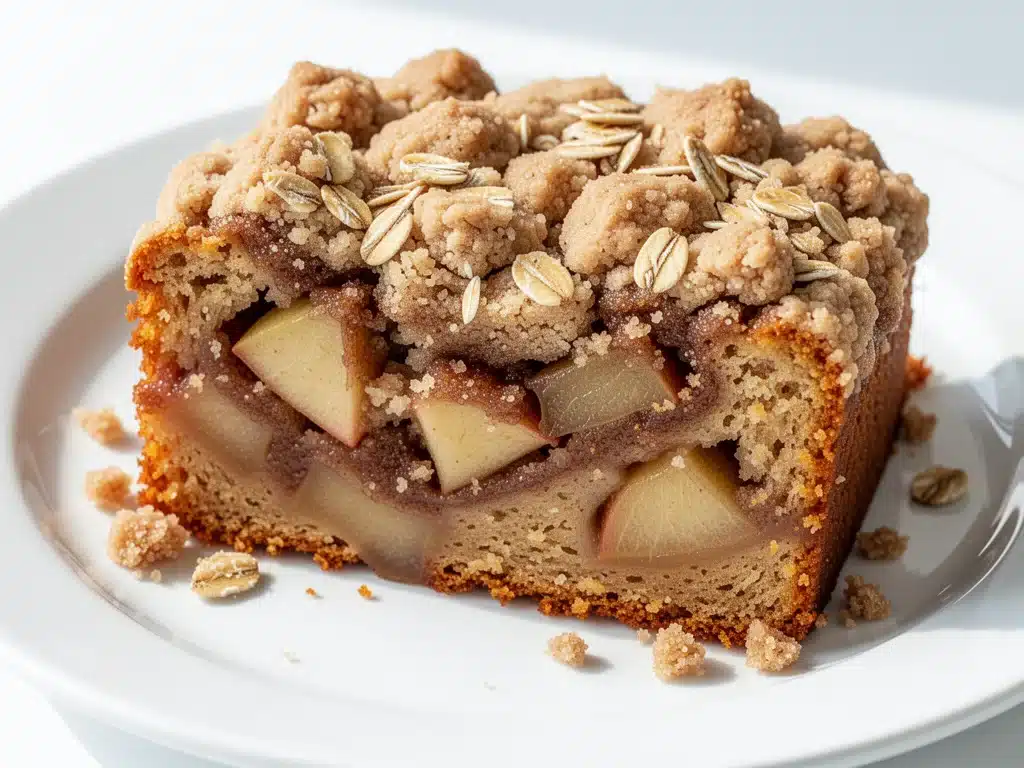
There’s a specific kind of magic that happens when the first real chill hits the air. You know the one. It’s that Tuesday evening in October when you pull on a sweater and realize you can see your breath outside, and suddenly, the idea of grilling or even chopping vegetables for a complicated dinner feels like too much work. That’s when my kitchen transforms. The windows fog up, the house smells like toasted cinnamon, and I’m usually pulling a loaf of Cinnamon Apple Dessert Bread out of the oven.
I’ve been making this bread for about four years now, and it’s become my personal “reset” button. Last weekend, I was feeling particularly drained from a work project that wouldn’t end, and I needed something comforting but not heavy. I didn’t want to order takeout, but I also didn’t have the energy to cook a full meal. So, I grabbed three apples, some brown sugar, and a stick of butter. What came out of the oven wasn’t just a dessert; it was a hug in bread form. My husband came home, took one bite, and literally sighed with relief. That’s the power of this recipe.
This isn’t your average banana bread, though it shares that same comforting, moist crumb. This is richer, spicier, and deeply tied to the season. It sits somewhere between a cake and a quick bread, with chunks of tender apple that caramelize in the buttery cinnamon swirl. I’ve tested this recipe at least ten times, tweaking the amount of cinnamon and the type of apples to get that perfect balance of tart and sweet. The result is a loaf that’s incredibly easy to make—no mixer required, no fancy techniques, just simple ingredients that come together in minutes.
If you’re looking for a way to bring the cozy vibes of autumn into your home without spending hours in the kitchen, this is it. It’s the kind of treat that makes your neighbors ask for the recipe (and maybe a slice). It pairs beautifully with a hot cup of coffee in the morning or a glass of milk in the afternoon. Let’s get baking.
Why You’ll Love This Recipe
I know there are a thousand dessert recipes out there, so why this one? Why now? Here’s the honest truth about why this Cinnamon Apple Dessert Bread has earned a permanent spot in my weekly rotation.
It’s Stupidly Simple — Seriously. If you can chop an apple and stir a bowl, you can make this. I’ve made this while on phone calls with my mom, and while watching my kids play in the living room. There’s no creaming butter and sugar, no folding egg whites, no tempering chocolate. Just dump, stir, pour, and bake. It’s the ultimate low-effort, high-reward dessert.
It Uses What You Have — You probably have most of these ingredients in your pantry right now. Flour, sugar, butter, eggs, cinnamon, and apples. If you have a bag of apples starting to soften in the fridge, this is the rescue mission they need. It’s pantry-friendly and reduces food waste, which is a win for your wallet and the planet.
The Smell is Addictive — I’m not exaggerating when I say this bread changes the atmosphere of your home. The scent of cinnamon and baked apples fills every room, from the kitchen to the hallway. It smells like a fall vacation, even if you’re just sitting on your couch in sweatpants. My kids start hearing the smell before I even take the bread out of the oven, and they come running.
It’s Moist and Tender — One of the biggest complaints I hear about homemade quick breads is that they’re dry or crumbly. This one isn’t. Thanks to the natural moisture in the apples and the buttermilk (trust me, it makes a difference), every slice is soft, dense, and incredibly satisfying. It doesn’t need frosting to be good, though a little cream cheese glaze on top is nice if you’re feeling fancy.
Perfect for Gifting — There’s something deeply thoughtful about baking bread for someone. I’ve wrapped slices of this in wax paper and tied them with twine for neighbors, teachers, and friends. It’s a gesture that says, “I care,” without being over the top. It keeps well, so you can make it ahead and give it when needed.
This bread is my go-to when I need to comfort myself or others. It’s reliable, delicious, and brings a little bit of joy to an ordinary day. No complicated techniques, no weird ingredients, just good, honest food that makes everyone happy.
Ingredients You’ll Need
Here’s the best part: you probably have most of this already. This recipe relies on simple, accessible ingredients that you likely keep on hand. I’m particular about a few things here, specifically the type of apples and the freshness of your spices, and I’ll tell you exactly why.
All-Purpose Flour (2 cups / 250g) — The base of your bread. Don’t try to swap this for whole wheat unless you want a denser, heavier loaf. All-purpose gives that tender, cake-like crumb we’re after. Sift it if it’s been sitting in the cupboard for a while to break up any clumps.
Baking Soda (1 teaspoon) — This is our leavening agent. It reacts with the acid in the buttermilk to create lift. Make sure it’s fresh! If your baking soda is older than six months, it might not work properly, and your bread will be flat. Test it by dropping a little in vinegar—it should fizz like crazy.
Baking Powder (½ teaspoon) — A little extra lift to ensure the bread rises nicely. It’s a backup to the baking soda, helping the structure hold up.
Salt (½ teaspoon) — Don’t skip this. Salt enhances the sweetness and the cinnamon flavor. It balances the sugar so the bread isn’t cloyingly sweet. Use fine sea salt or table salt.
Ground Cinnamon (2 teaspoons) — This is the star spice. Use a good quality cinnamon, like Ceylon or a strong Vietnamese variety. If your cinnamon is old and dusty, your bread will taste bland. Fresh cinnamon smells incredible and tastes vibrant.
Ground Nutmeg (¼ teaspoon) — Just a pinch. Nutmeg adds that warm, earthy depth that screams “fall.” Don’t add too much, or it’ll overpower the cinnamon. A little goes a long way.
Unsalted Butter (½ cup / 113g, melted) — Melted butter keeps the bread moist and tender. Use real butter, not margarine. The flavor difference is huge. Let it cool slightly before mixing so you don’t cook the eggs.
Granulated Sugar (¾ cup / 150g) — For the base batter. It provides sweetness and helps with browning. You can reduce this to ½ cup if you prefer less sweet bread, but I recommend sticking with ¾ cup for that perfect balance.
Light Brown Sugar (½ cup / 100g, packed) — This adds moisture and a hint of molasses flavor. It complements the cinnamon beautifully. If you don’t have brown sugar, you can use more white sugar, but the flavor won’t be as deep.
Eggs (2 large) — Room temperature eggs mix in more evenly and help create a smoother batter. If you’re in a hurry, just place them in a bowl of warm water for 5 minutes.
Vanilla Extract (1 teaspoon) — Pure vanilla extract, not imitation. It adds a warm, aromatic note that ties all the flavors together. I use McCormick or Nielsen-Massey; they’re reliable and flavorful.
Buttermilk (½ cup / 120ml) — This is the secret weapon. The acid in buttermilk tenderizes the gluten in the flour, resulting in a softer crumb. If you don’t have buttermilk, make your own: add 1 tablespoon of lemon juice or white vinegar to a measuring cup, then fill the rest with regular milk. Let it sit for 5-10 minutes until it curdles slightly.
Apples (2 medium, peeled and diced) — This is where you have choices. I recommend a mix of tart and sweet apples. Granny Smith apples hold their shape well and add a nice tartness. Honeycrisp or Fuji apples are sweeter and softer. I like to use 1 Granny Smith and 1 Honeycrisp for the perfect balance. Avoid Red Delicious—they get mealy and mushy when baked.
For the Swirl (Optional but Recommended):
Butter (2 tablespoons, melted) — For brushing the top or mixing with sugar.
Brown Sugar (2 tablespoons) — For the cinnamon swirl.
Cinnamon (1 teaspoon) — Mixed with the brown sugar for the swirl.
I’m particular about the apples here. I’ve tried using applesauce, but it makes the bread too dense. Chopped apples give you those delightful pockets of fruit in every bite. And please, grate your own nutmeg if you have a whole nutmeg. Pre-ground nutmeg loses its flavor quickly, and fresh grating makes a world of difference.
Equipment Needed
You don’t need fancy equipment for this. Here’s what I actually use, and what you can skip.
9×5 Inch Loaf Pan — This is the standard size for quick breads. I use a metal loaf pan because it conducts heat evenly, giving the bread a nice golden crust. Glass or ceramic pans work too, but you might need to lower the oven temperature by 25 degrees to prevent over-browning.
Mixing Bowls — You’ll need one large bowl for the dry ingredients and one medium bowl for the wet ingredients. I prefer glass or stainless steel bowls because they’re easy to clean and don’t retain odors.
Whisk — A simple wire whisk is perfect for combining the dry ingredients. It aerates the flour and baking soda, ensuring an even rise. I use a medium-sized whisk that fits comfortably in my bowl.
Fork or Spatula — For mixing the wet ingredients and folding in the apples. A silicone spatula is great for scraping the sides of the bowl to ensure everything is incorporated. Don’t overmix the batter once you add the flour—just stir until no dry streaks remain.
Peeler and Knife — For peeling and dicing the apples. A Y-peeler is easier to use than a paring peeler, and a sharp chef’s knife makes quick work of dicing. Uniform dice ensures even cooking, so try to keep the pieces about ½ inch in size.
Cooling Rack — Essential for cooling the bread. If you let it cool in the pan, steam can get trapped and make the bottom soggy. A wire rack allows air to circulate, keeping the crust crisp.
Parchment Paper — Optional but highly recommended. Lining your loaf pan with parchment paper makes removing the bread a breeze. Just leave a little overhang on the sides to use as handles. It also makes cleanup almost non-existent.
I’m obsessed with my parchment paper liners—they’re like $5 for a roll and save so much stress. If you don’t have them, just grease your pan generously with butter or cooking spray.
How to Make It: Step-by-Step
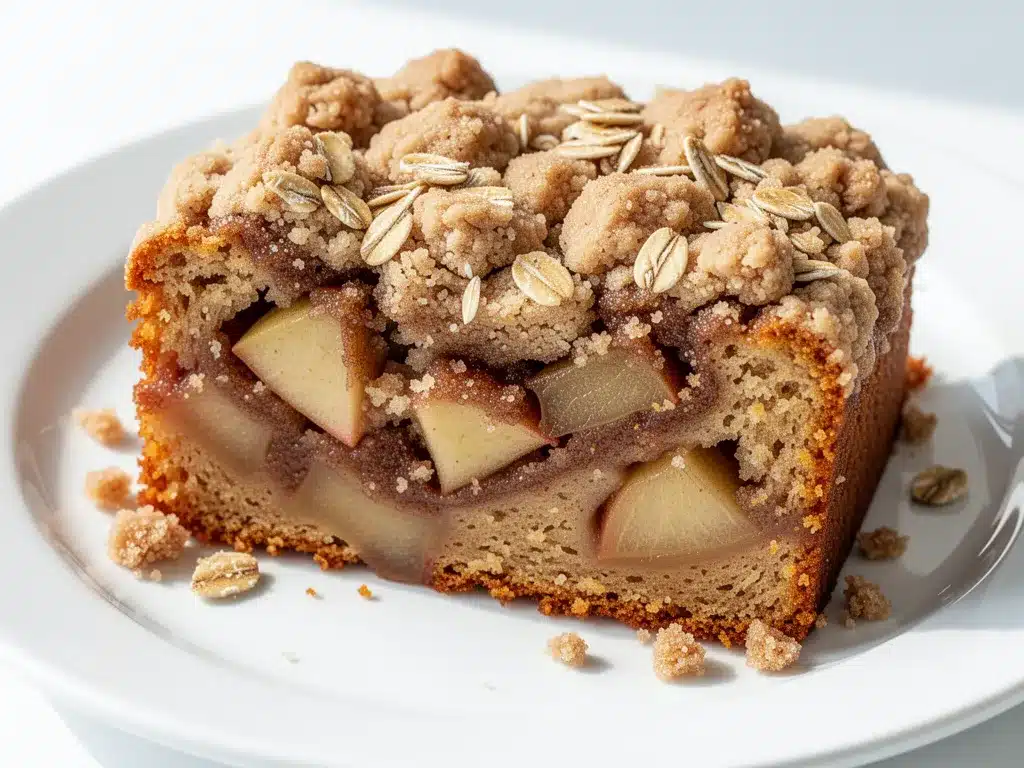
Alright, let’s make this! I’m walking you through exactly how I do it, including the little tricks I’ve picked up over the years. This process is straightforward, but attention to detail matters.
Step 1: Prep Your Pan and Oven (5 minutes)
Preheat your oven to 350°F (175°C). This is crucial—make sure it’s fully heated before you put the bread in. Grease your 9×5 loaf pan with butter or cooking spray, and line it with parchment paper if you’re using it. This ensures the bread won’t stick and will come out cleanly. Take a moment to check your apples. Peel them and dice them into ½-inch cubes. If you’re using the cinnamon swirl, mix 2 tablespoons of brown sugar with 1 teaspoon of cinnamon in a small bowl. Set it aside.
Step 2: Mix the Dry Ingredients (3 minutes)
In a large mixing bowl, whisk together the flour, baking soda, baking powder, salt, ground cinnamon, and nutmeg. Whisking these together ensures that the leavening agents and spices are evenly distributed. If you don’t whisk, you might end up with pockets of baking soda that taste bitter, or clumps of cinnamon. Whisk until the mixture is uniform in color. This takes about 30 seconds, but it’s worth it.
Step 3: Combine the Wet Ingredients (3 minutes)
In a separate medium bowl, whisk the melted butter until it’s smooth. Then add the granulated sugar, brown sugar, eggs, vanilla extract, and buttermilk. Whisk vigorously until the mixture is smooth and well combined. The butter should be melted but not hot, or you’ll cook the eggs. The batter might look slightly curdled—that’s normal, thanks to the buttermilk. Don’t worry about it.
Step 4: Combine Wet and Dry (2 minutes)
Pour the wet ingredients into the dry ingredients. Using a spatula or a wooden spoon, gently fold the mixture together. Stop as soon as the flour is moistened. The batter will be thick and lumpy. Do not overmix! Overmixing develops gluten, which makes the bread tough and dense. You want it tender and soft. There should still be small streaks of flour—that’s okay. Fold in half of your diced apples now. Reserve the rest for the top.
Step 5: Assemble the Loaf (3 minutes)
Pour the batter into your prepared loaf pan. Spread it out evenly with your spatula. Sprinkle the remaining diced apples over the top. If you’re doing the cinnamon swirl, sprinkle the brown sugar-cinnamon mixture over the apples and batter. You can also drizzle a little melted butter over the top for extra richness. Use a knife to gently swirl the cinnamon sugar into the batter—just a few passes, don’t overdo it.
Step 6: Bake (50-60 minutes)
Place the loaf pan in the center of the preheated oven. Bake for 50-60 minutes. After 40 minutes, check the bread. If the top is browning too quickly, loosely tent a piece of aluminum foil over the pan. This prevents the crust from burning while the inside finishes cooking. The bread is done when a toothpick inserted into the center comes out clean or with just a few moist crumbs attached. If it’s wet with batter, bake for 5 more minutes. The top should be golden brown and firm to the touch.
Step 7: Cool and Serve (20 minutes)
Remove the loaf from the oven and let it cool in the pan for 10 minutes. Then, use the parchment paper overhang to lift the bread out of the pan and place it on a cooling rack. Let it cool completely before slicing, about 20 minutes. This step is hard, but slicing warm bread can make it mushy. Once cooled, slice and serve. Enjoy with a cup of coffee or tea.
Expert Tips & Tricks
Here’s everything I’ve learned from making this dozens of times. These tips will save you from my mistakes and ensure your bread turns out perfect every time.
Don’t Overmix the Batter
This is the #1 mistake people make. Once you add the flour, mix just until combined. A lumpy batter is a good batter. Overmixing leads to a tough, dense loaf. I’ve ruined several loaves by trying to make the batter smooth. Trust me, lumpy is better.
Use Room Temperature Eggs
Cold eggs can cause the melted butter to seize up, creating little lumps of butter in your batter. If you forget to take them out, just run them under warm water for a few minutes. It makes a difference in the texture.
Choose the Right Apples
As I mentioned, avoid Red Delicious. They turn into mush. Granny Smith provides tartness and structure, while Honeycrisp or Fuji add sweetness and moisture. A mix is ideal. If you only have one type, that’s fine, but be aware of the flavor profile.
Check for Doneness Early
Ovens vary wildly. Start checking at 45 minutes. Use a toothpick or a cake tester. If it comes out clean, you’re good. If it’s wet, give it 5 more minutes. Don’t rely solely on the timer.
Let It Cool Properly
I know it’s tempting to slice it right away, but wait. Warm bread is soft and can crumble. Cooling allows the structure to set. If you can’t wait, slice it after 15 minutes, but be gentle.
Add a Glaze (Optional)
For an extra touch, mix 1 cup of powdered sugar with 2-3 tablespoons of milk and a splash of vanilla. Drizzle over the cooled bread. It’s not necessary, but it’s delicious. I usually skip it for a more rustic look, but my kids love the sweet glaze.
Storage is Key
Store leftovers in an airtight container at room temperature for up to 3 days. For longer storage, wrap tightly in plastic wrap and freeze for up to 3 months. Thaw at room temperature before serving.
Variations & Substitutions
Once you’ve nailed the basic version, here’s how you can mix it up. I’ve tried all of these, and they all work.
Pumpkin Spice Version
Swap ½ cup of the flour for ½ cup of pumpkin puree. Add ½ teaspoon of pumpkin pie spice instead of nutmeg. It’s a fall favorite that’s moist and flavorful.
Walnut or Pecan Crunch
Add ½ cup of chopped walnuts or pecans to the batter. Toast them in a dry pan for 2 minutes before adding for extra flavor. The nuts add a nice crunch and richness.
Cinnamon Roll Style
Instead of just swirling the cinnamon sugar, roll the batter into a log, spread with butter and cinnamon sugar, and roll it up again before baking. It’s like a cinnamon roll but in loaf form. This is similar to the technique used in homemade cinnamon roll bites, just baked in a loaf pan.
Berry Swirl
Replace the apples with 1 cup of fresh or frozen berries (blueberries, raspberries, or blackberries). Toss them in a little flour before adding to prevent sinking. It’s a fruity twist that’s just as good.
Gluten-Free
Use a 1:1 gluten-free flour blend. Add ½ teaspoon of xanthan gum if your blend doesn’t include it. The texture might be slightly denser, but it’s still delicious.
Dairy-Free
Replace butter with coconut oil or vegan butter. Use almond milk or oat milk with lemon juice for the buttermilk substitute. It’s surprisingly moist and tasty.
Lower Sugar
Reduce the granulated sugar to ½ cup and the brown sugar to ¼ cup. The apples provide enough sweetness, so it’s still sweet enough. Great for those watching their sugar intake.
I’ve also tried adding a pinch of cardamom for a different flavor profile—it’s lovely with apples. And if you’re feeling adventurous, add a splash of bourbon to the batter for a grown-up twist. It’s amazing with a cup of coffee.
Serving & Storage
How to Serve:
I usually serve this bread warm, fresh out of the oven, with a pat of butter melting on top. It’s perfect for breakfast, an afternoon snack, or dessert. Pair it with a hot cup of coffee, tea, or even a glass of cold milk. It’s versatile and fits any occasion.
Side Dishes:
This bread is great on its own, but it also pairs well with a simple green salad or a bowl of soup. For a fall-themed meal, serve it with roasted squash or a hearty chili. It’s also a great addition to a brunch spread with eggs and bacon.
Storage Instructions:
Store in an airtight container at room temperature for up to 3 days. Keep it away from direct sunlight to prevent the sugar from melting. For longer storage, wrap tightly in plastic wrap and freeze for up to 3 months. Thaw at room temperature before serving. Do not refrigerate, as it can dry out the bread.
Reheating:
To reheat, wrap a slice in foil and warm in a 300°F oven for 10 minutes, or microwave for 20-30 seconds. It should be soft and warm. If you’re freezing, thaw overnight in the fridge before reheating.
Pro Tip:
If you’re making this for a gift, wrap slices in wax paper and place them in a freezer bag. It keeps them fresh and makes for a thoughtful present. Add a recipe card and a ribbon for a personal touch.
Nutrition Information
I’m not a nutritionist, but here’s the breakdown if you’re tracking. This is an estimate based on standard ingredients.
Per Serving (based on 10 slices):
– Calories: 280
– Protein: 4g
– Carbs: 42g
– Fiber: 2g
– Sugar: 24g
– Fat: 12g
– Saturated Fat: 7g
– Cholesterol: 45mg
– Sodium: 220mg
What’s Good:
– Provides energy from carbohydrates
– Contains some fiber from apples and flour
– Can be modified for dietary restrictions
What to Know:
– Higher in sugar due to brown sugar and apples
– Contains dairy and gluten
– Moderate sodium content
My Take:
Look, this is a dessert bread. It’s sweet and comforting. It’s not a health food, but it’s better than a cake or cookies. When I make it, I enjoy a slice with my coffee and call it a treat. If you want to lighten it up, reduce the sugar and add more nuts or seeds. But usually? I just enjoy it as is. It’s a small pleasure in a busy day.
Final Thoughts
So that’s my go-to Cinnamon Apple Dessert Bread! I’ve probably talked your ear off at this point, but when you make a recipe this often, you have a lot to say about it. This bread has saved my evenings more times than I can count. It’s my answer to “what’s for dessert” when I’m tired, don’t want to bake a complicated cake, and still want something that tastes really good. My kids are happy, my husband’s happy, and I’m happy because I’m not stressed about cooking.
Make it yours! Try different apples, add nuts, or skip the swirl. The best recipes are the ones you adapt to your family’s tastes. If you make this, drop a comment and let me know what you think! I love hearing how recipes turn out in your kitchen. And if something doesn’t work, tell me that too—I’m here to help troubleshoot.
Happy baking! And I hope your kitchen smells half as good as mine does right now.
Frequently Asked Questions
Can I use frozen apples?
You can, but thaw them first and pat them dry with a paper towel. Excess moisture can make the bread soggy. I prefer fresh apples for the best texture, but frozen works in a pinch. Just make sure they’re not watery.
Why did my bread turn out dense?
This usually happens if you overmix the batter. Once you add the flour, mix just until combined. Also, check your baking soda and baking powder—they might be old and not working properly. Make sure your oven is fully preheated before baking.
Can I make this ahead for a party?
Absolutely! Bake the bread a day ahead and store it in an airtight container. It actually tastes better the next day as the flavors meld. Just slice and serve at room temperature. If you’re traveling with it, keep it in the pan until you arrive.
Can I use other fruits instead of apples?
Yes! Pears work beautifully with cinnamon. Peaches or berries are also great options. Just adjust the liquid content slightly if using juicier fruits. Pears are the closest substitute in terms of texture and flavor.
How do I store leftovers?
Store in an airtight container at room temperature for up to 3 days. For longer storage, wrap tightly in plastic wrap and freeze for up to 3 months. Thaw at room temperature before serving. Do not refrigerate, as it can dry out the bread.
Can I add chocolate chips?
Definitely! Add ½ cup of chocolate chips to the batter. Apple and chocolate is a classic combination. I usually add semi-sweet chocolate chips, but dark chocolate works too. It’s a rich and indulgent twist.
What if I don’t have buttermilk?
You can make your own by adding 1 tablespoon of lemon juice or white vinegar to a measuring cup, then filling the rest with regular milk. Let it sit for 5-10 minutes until it curdles slightly. This creates the same acidity and tenderizing effect as buttermilk.
Pin This Recipe!
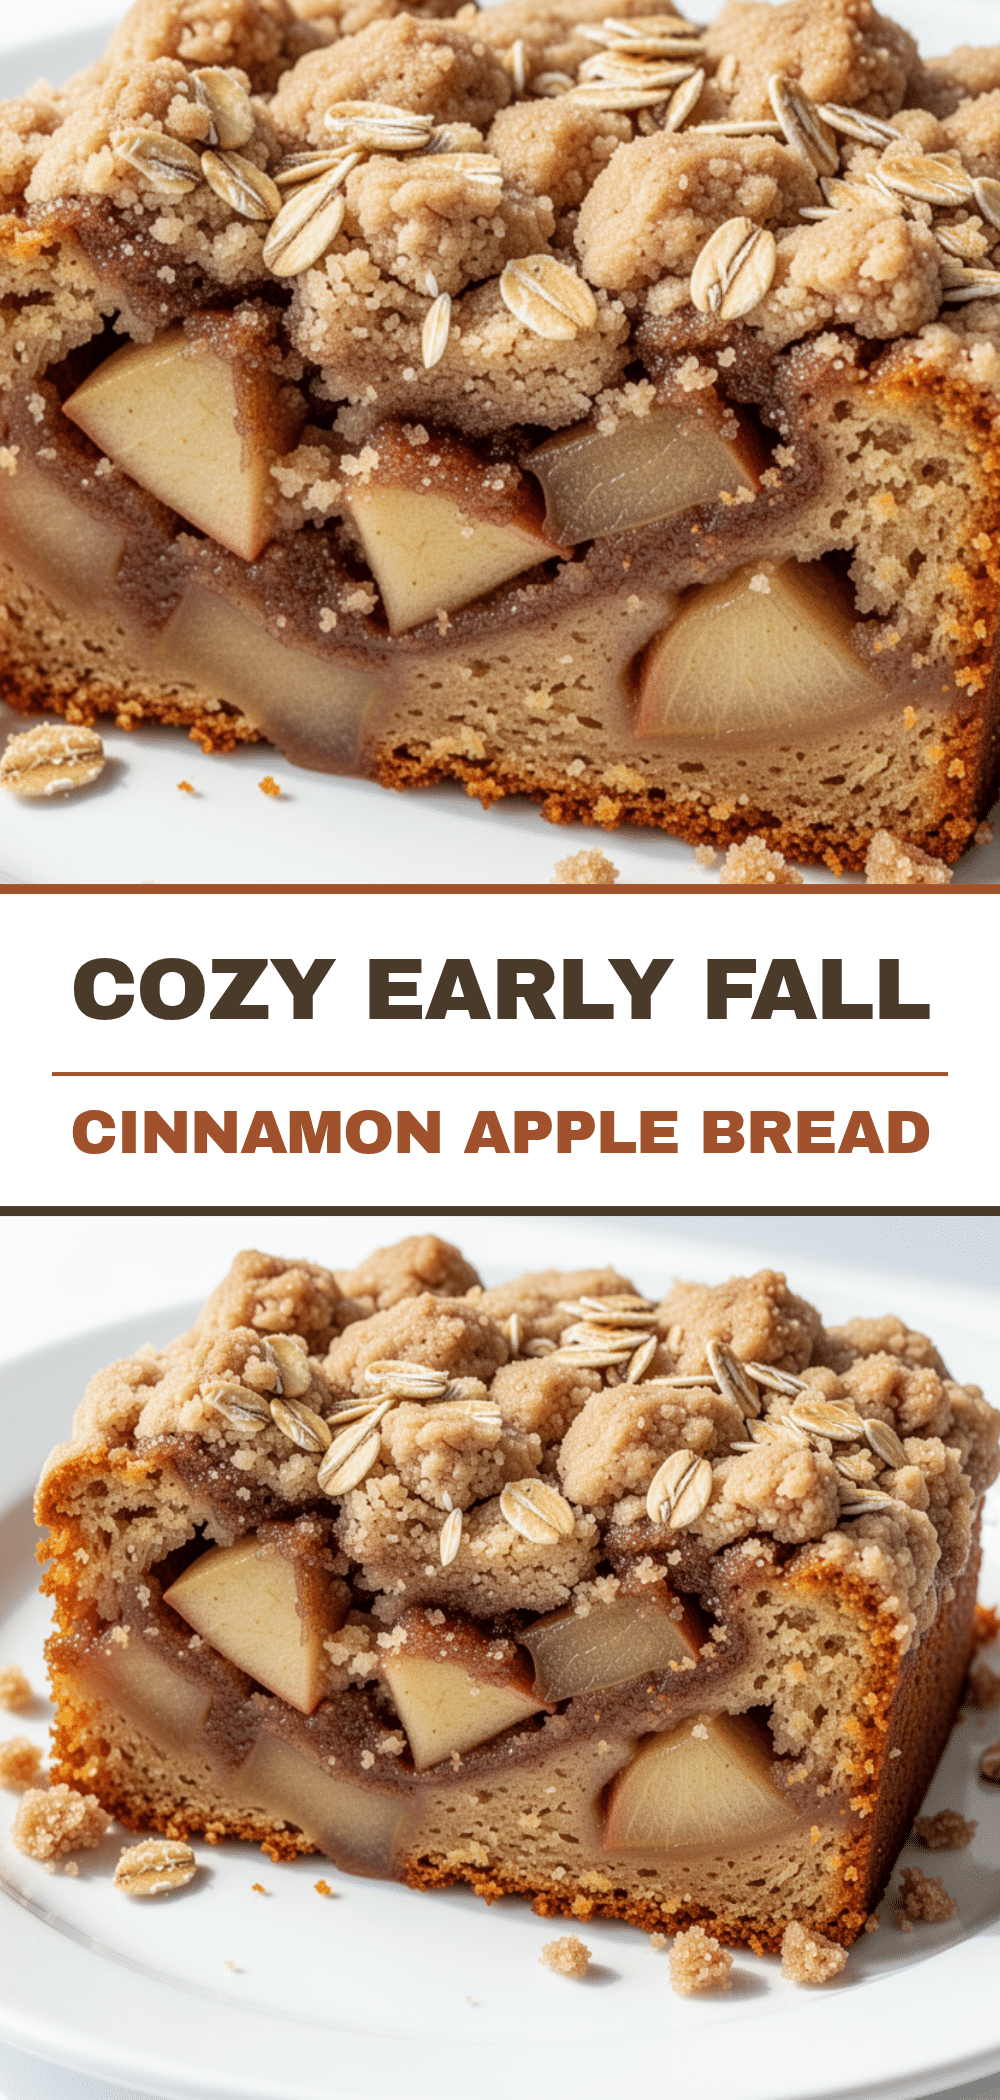
Cinnamon Apple Dessert Bread
- Total Time: 1 hour 15 minutes
- Yield: 10 servings 1x
Description
A cozy, moist, and tender quick bread featuring chunks of caramelized apples and a warm cinnamon swirl. This easy, no-mixer recipe is perfect for autumn and requires simple pantry ingredients.
Ingredients
- 2 cups (250g) All-Purpose Flour
- 1 teaspoon Baking Soda
- ½ teaspoon Baking Powder
- ½ teaspoon Salt
- 2 teaspoons Ground Cinnamon
- ¼ teaspoon Ground Nutmeg
- ½ cup (113g) Unsalted Butter, melted
- ¾ cup (150g) Granulated Sugar
- ½ cup (100g) Light Brown Sugar, packed
- 2 large Eggs, room temperature
- 1 teaspoon Vanilla Extract
- ½ cup (120ml) Buttermilk
- 2 medium Apples, peeled and diced (mix of Granny Smith and Honeycrisp recommended)
- 2 tablespoons Butter, melted (for swirl)
- 2 tablespoons Brown Sugar (for swirl)
- 1 teaspoon Cinnamon (for swirl)
Instructions
- Preheat oven to 350°F (175°C). Grease a 9×5 inch loaf pan and line with parchment paper.
- Peel and dice apples into ½-inch cubes. If making the swirl, mix 2 tablespoons brown sugar with 1 teaspoon cinnamon in a small bowl.
- In a large bowl, whisk together flour, baking soda, baking powder, salt, ground cinnamon, and nutmeg until uniform.
- In a separate medium bowl, whisk melted butter until smooth. Add granulated sugar, brown sugar, eggs, vanilla extract, and buttermilk. Whisk vigorously until smooth.
- Pour wet ingredients into dry ingredients. Gently fold together with a spatula until just moistened. Do not overmix. Fold in half of the diced apples.
- Pour batter into prepared loaf pan. Spread evenly. Sprinkle remaining diced apples over the top.
- If using the swirl, sprinkle the brown sugar-cinnamon mixture over the apples and batter. Drizzle with 2 tablespoons melted butter. Gently swirl with a knife.
- Bake for 50-60 minutes. If the top browns too quickly, tent with aluminum foil after 40 minutes. Test for doneness with a toothpick inserted into the center.
- Cool in the pan for 10 minutes, then transfer to a wire rack to cool completely before slicing.
Notes
Do not overmix the batter to ensure a tender crumb. Use room temperature eggs to prevent the butter from seizing. Avoid Red Delicious apples as they become mushy when baked. For a gluten-free version, use a 1:1 gluten-free flour blend. Store in an airtight container at room temperature for up to 3 days or freeze for up to 3 months.
- Prep Time: 15 minutes
- Cook Time: 50-60 minutes
- Category: Dessert
- Cuisine: American
Nutrition
- Serving Size: 1 slice
- Calories: 280
- Sugar: 24
- Sodium: 220
- Fat: 12
- Saturated Fat: 7
- Carbohydrates: 42
- Fiber: 2
- Protein: 4
Keywords: cinnamon apple bread, fall dessert, quick bread, cozy baking, apple dessert, easy bread recipe, autumn treats


