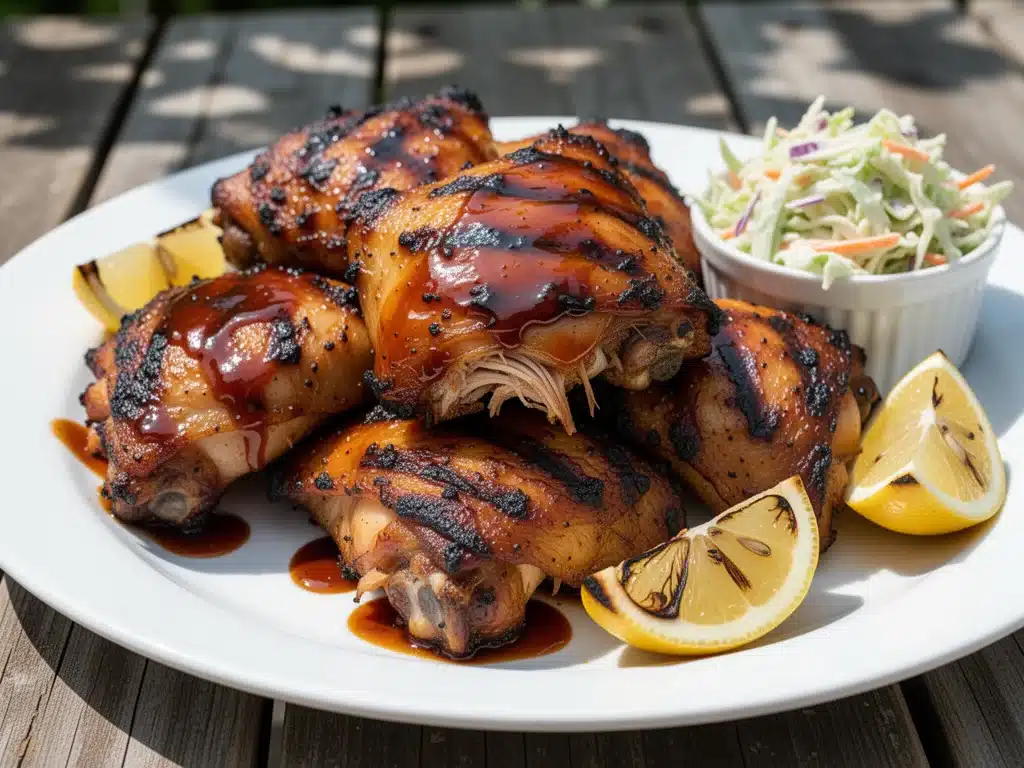
There is a specific kind of panic that sets in when you realize it’s 4:30 PM on a Saturday, the grill is already hot, and you still have no idea what to put on it. I’ve been there. I’ve stood in front of an open fridge, staring at a lone package of chicken breasts, wondering if I should just order pizza like a responsible adult. But then I remember: you don’t need to be a pitmaster to make restaurant-quality BBQ chicken at home. You just need to know which cut of chicken actually survives the heat, and how to keep it from drying out.
That’s where these grilled BBQ chicken thighs come in. I’ve made this recipe for every Labor Day cookout, backyard birthday, and spontaneous Tuesday dinner for the last three years. It’s become less of a recipe and more of a ritual. The skin gets crisp and charred in the best way, the meat stays juicy even if you leave it on the grill for five extra minutes (which, let’s be honest, happens when you’re busy chatting with neighbors), and that sticky, sweet-savory glaze? It’s addictive. I’m talking “lick your fingers” addictive.
People always ask me why I don’t just use chicken breasts. They’re leaner, right? Sure, but they’re also the first thing to turn into chicken shavings on the grill if you’re not watching them like a hawk. Thighs, on the other hand, have a bit more fat. That fat renders out, basting the meat from the inside, keeping it tender and flavorful. Plus, they hold up to that thick, sugary BBQ sauce without falling apart. If you’ve ever tried to grill a delicate piece of white fish or chicken breast with heavy sauce, you know the struggle. This method solves it.
This isn’t just about throwing meat on a grate and hoping for the best. It’s about building layers of flavor. We start with a dry rub to create that crust, we use indirect heat to cook it through gently, and then we finish with a brush of sauce that caramelizes without burning. It’s foolproof. And honestly? It makes you look like you spent hours prepping, when you really just spent ten minutes chopping and fifteen minutes grilling.
Why You’ll Love This Grilled BBQ Chicken Thighs Recipe
I’ve tested dozens of ways to cook chicken on the grill, from skewers to foil packets, and this one keeps winning. Here’s why it’s stayed in my weekly rotation for so long:
Forgiving Heat — Chicken thighs are incredibly tough to mess up. Unlike breast meat, which dries out instantly if you overcook it by a minute, thighs have a wider margin for error. You can leave them on the grill a bit longer, and they’ll still be juicy. I’ve accidentally left these on while helping my kids with a math problem, and they were still perfect. That’s reliability.
Maximum Flavor — The skin-on, bone-in style is key. The bone conducts heat slowly and evenly, while the skin crisps up and protects the meat. When you bite into it, you get that crackle of charred skin, then the tender, smoky meat underneath. It’s texture heaven. If you’re worried about the fat, don’t be. Most of it renders away during the grilling process, leaving just the flavor.
Perfect for Crowds — Cookouts are chaotic. You’re juggling burgers, hot dogs, salads, and drinks. You need one dish that can sit on the grill for a while without falling apart or drying out. These thighs can stay warm on the cooler side of the grill for 20 minutes after they’re done, and they’ll still be good. No sad, cold chicken here.
Less Mess, More Taste — Because we’re using a dry rub first, the sauce sticks better later. I’ve tried marinating chicken in wet BBQ sauce before, and it often slides off or burns. This two-step method (rub first, sauce later) gives you that deep, caramelized flavor without the sticky, burnt mess. It’s cleaner, and it tastes way better.
Leftovers Are Amazing — Let’s be real: leftovers are the real test of any recipe. These thighs are incredible cold on sandwiches the next day, or reheated gently in the oven. The flavors actually deepen overnight. I’ll make a batch on Sunday and have lunch sorted for Monday and Tuesday. It’s a win-win.
So basically, if you want juicy, flavorful chicken that doesn’t require constant babysitting, this is it. It’s the closest you’ll get to that legendary backyard BBQ chicken without hiring a professional chef.
Ingredients You’ll Need
Here’s the best part: you probably have most of this already. I’m not asking you to go to three different specialty stores. This is pantry-friendly, with just a few key items that make a huge difference.
For the Chicken
Bone-in, skin-on chicken thighs (about 3-4 pounds / 1.5 kg) — This is non-negotiable. Skinless thighs work, but they won’t get that crispy skin. Boneless thighs work too, but reduce cooking time by a few minutes. I buy the family pack and freeze what I don’t use immediately. Look for thighs that are similar in size so they cook evenly.
Smoked paprika (2 teaspoons) — This gives you that deep, smoky flavor even if you’re using a gas grill. It’s the secret weapon. If you don’t have it, regular paprika works, but you’ll miss out on that subtle smoke note. I use the Spanish smoked paprika (pimentón) because it’s higher quality.
Garlic powder (1 teaspoon) — Fresh garlic burns on the grill, so powder is your friend here. It creates a nice crust. Don’t skip this; it’s a base flavor.
Onion powder (1 teaspoon) — Adds sweetness and depth. Again, powder works better than fresh here to avoid burning.
Brown sugar (2 tablespoons) — This helps with caramelization. It’s what makes the sauce stick and turn glossy. Use light or dark brown sugar; I usually have light on hand.
Kosher salt (1 tablespoon) — Use kosher or sea salt. Table salt is too fine and can make the chicken too salty quickly. Kosher salt distributes evenly and sticks better to the skin.
Black pepper (1 teaspoon, freshly cracked) — Freshly cracked is best. Pre-ground pepper loses its punch. If you have a pepper mill, use it. If not, buy pre-cracked.
Garlic salt (½ teaspoon) — Just a little bit to boost the garlic flavor. If you’re watching sodium, you can skip this or reduce the kosher salt.
Chili powder (½ teaspoon) — Adds a little warmth and complexity. Not for heat, just for flavor. If you’re sensitive to spice, use less.
For the BBQ Glaze
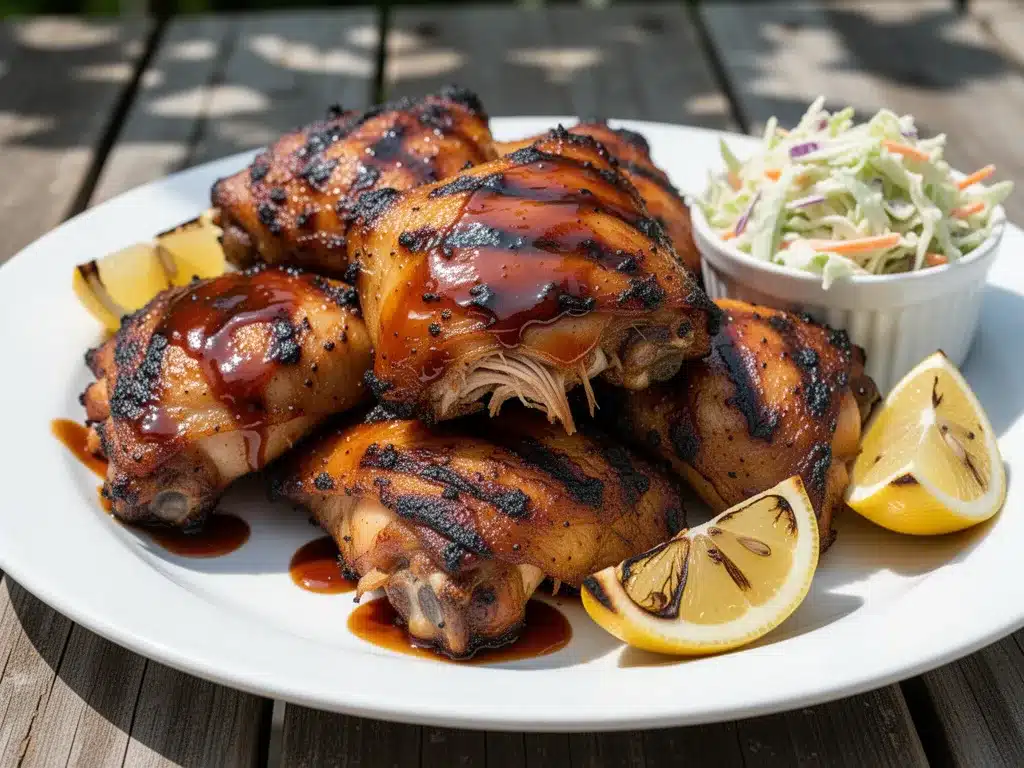
BBQ sauce (1 cup / 240ml) — I’m picky here. I like a sauce that’s sweet but not cloying. Sweet Baby Ray’s is the classic, but I’ve been loving a local craft barbecue sauce lately. Avoid sauces with too many ingredients; you want the flavor to shine. If your sauce is very thick, mix in 2 tablespoons of apple cider vinegar to thin it out slightly for easier brushing.
Apple cider vinegar (2 tablespoons) — Cuts through the sweetness of the BBQ sauce and the richness of the chicken. It’s the balance that makes the flavor pop. Don’t skip it.
Honey (1 tablespoon) — Adds a sticky, glossy finish. It helps the sauce caramelize. If you’re out of honey, maple syrup works in a pinch, but honey is better for grilling.
Worcestershire sauce (1 teaspoon) — Adds umami and depth. It’s a subtle ingredient, but you’ll miss it if it’s not there.
Hot sauce (1 teaspoon, optional) — I add this for a little kick. Sriracha or Frank’s RedHot work well. If you’re serving kids, skip this or use less.
Equipment Needed
You don’t need fancy gear. Here’s what I actually use:
Charcoal or gas grill — I use a charcoal grill because I love the flavor, but a gas grill works perfectly fine. The key is having two zones: direct heat for searing and indirect heat for cooking through. If you only have one zone, you’ll need to move the chicken around.
Grill grates — Make sure they’re clean! I brush them with oil before heating to prevent sticking. Rusty grates are a no-go.
Tongs — For flipping the chicken. Metal tongs are best because they won’t melt. I have a pair from Williams Sonoma that’s been with me for years, but any sturdy tongs work.
Pastry brush — For applying the sauce. Silicone brushes are easier to clean, but natural bristle works too. Just make sure it’s clean.
Instant-read thermometer — This is the only way to be sure your chicken is done. I hate guessing. Insert it into the thickest part of the thigh, avoiding the bone. You’re looking for 165°F (74°C). I keep one in my junk drawer, and it’s changed how I cook everything.
Aluminum foil — Optional, but I use it to tent the chicken if it’s browning too fast. It’s a lifesaver on hot days.
How to Make It: Step-by-Step
Alright, let’s get grilling! This process is straightforward, but there are a few tricks to get it right.
Step 1: Prep the Chicken (10 minutes)
Pat the chicken thighs dry with paper towels. This is crucial. Moisture is the enemy of crispy skin. If the skin is wet, it steams instead of crisps. Once they’re dry, sprinkle them generously with the dry rub ingredients (paprika, garlic powder, onion powder, brown sugar, salt, pepper, garlic salt, chili powder). Rub it in well, especially under the skin if you can get your fingers in there. Let them sit at room temperature for 20-30 minutes while you heat the grill. This helps the seasoning penetrate.
Step 2: Heat the Grill (15 minutes)
Prepare your grill for two-zone cooking. For charcoal, pile the coals on one side. For gas, turn on only one burner. You want the heat to be medium-high, around 375-400°F (190-200°C). Clean the grates and oil them lightly with a paper towel dipped in oil (use tongs to hold the towel). This prevents sticking.
Step 3: Sear the Chicken (5-7 minutes per side)
Place the chicken thighs skin-side down over the direct heat. Listen for the sizzle—that’s a good sign. Cook for 5-7 minutes without moving them. You want a nice char on the skin. Don’t flip too early, or the skin will stick. Once it releases easily from the grate, flip the chicken and cook the other side for another 5-7 minutes. You’re just searing them now, not cooking them through.
Step 4: Cook Through with Indirect Heat (15-20 minutes)
Move the chicken to the indirect heat zone (the side with no coals or burners). Close the lid. This is where the magic happens. The chicken will cook gently and evenly. Cook for 15-20 minutes, flipping once halfway through. The internal temperature should reach 165°F (74°C). If the skin is browning too fast, tent it loosely with foil. This prevents burning while the inside cooks.
Step 5: Glaze the Chicken (5 minutes)
While the chicken is cooking, mix the BBQ sauce, apple cider vinegar, honey, Worcestershire sauce, and hot sauce in a small saucepan. Heat it gently over low heat, just to combine. You don’t need to boil it. Once the chicken is almost done (about 5 minutes before it reaches 165°F), brush a generous layer of sauce on the chicken. Flip and brush the other side. Close the lid for the last 2-3 minutes to let the sauce caramelize. Watch closely—sugar burns fast!
Step 6: Rest and Serve (5 minutes)
Remove the chicken from the grill and let it rest on a plate or cutting board for 5 minutes. This allows the juices to redistribute. If you cut into it immediately, all the juice runs out, and you end up with dry chicken. Resting is non-negotiable. Serve with extra sauce on the side for dipping.
Total time: About 45 minutes (10 prep, 35 cook).
Expert Tips & Tricks
Here’s everything I’ve learned from making this dozens of times. These tips will save you from my mistakes.
Don’t Skip the Dry Rub — I know it seems like extra work, but the dry rub creates a crust that holds the sauce better. If you just slap sauce on raw chicken, it slides off. The rub gives the sauce something to stick to. It’s a game-changer.
Pat Dry, Pat Dry, Pat Dry — I cannot stress this enough. Wet chicken = steamed chicken. Dry chicken = crispy chicken. Use paper towels, and then use more paper towels. It’s worth it.
Two-Zone is Your Friend — If you don’t have two zones, you’ll need to move the chicken around constantly. Set up your grill with a hot side and a cool side. This gives you control. If you’re using a gas grill with only one burner, turn it off on one side and on high on the other.
Sauce at the End — BBQ sauce has sugar. Sugar burns. If you put sauce on too early, you get charred, bitter chicken. Wait until the last 5 minutes to glaze. This keeps the sauce sweet and sticky, not black and crunchy.
Use a Thermometer — I know, I said this before, but I’ll say it again. Eyes are deceiving. A thermometer is not. 165°F is the target. If it’s 160°F, take it off; the residual heat will finish it. If it’s 170°F, it’s overcooked. Don’t guess.
Rest the Meat — I know you’re hungry. I know you want to dig in. But wait 5 minutes. Your chicken will be juicier, and you’ll enjoy it more. Trust me.
Variations & Substitutions
Once you’ve nailed the basic version, here’s how you can mix it up. I’ve tried all of these.
Spicy BBQ — Add 1 tablespoon of cayenne pepper to the dry rub and double the hot sauce in the glaze. This is for those who like it hot. My brother loves this version.
Honey Garlic — Swap the BBQ sauce for a mix of honey, soy sauce, and minced garlic. It’s sweeter and less tangy. This is closer to an Asian-style glaze, but still great on the grill.
Caribbean Style — Use jerk seasoning in the dry rub and pineapple juice in the glaze. Add some chopped scotch bonnet peppers if you’re brave. It’s tropical and spicy.
Gluten-Free — Most BBQ sauces have gluten (in the soy sauce or wheat-based thickeners). Check your label. I use a gluten-free BBQ sauce like Sweet Baby Ray’s Gluten Free. The rest of the ingredients are naturally GF.
Dairy-Free — This recipe is already dairy-free! Just make sure your BBQ sauce doesn’t have hidden dairy (some craft sauces add butter). Check the label.
Chicken Breasts — You can use chicken breasts, but they’ll cook faster and dry out easier. Reduce cooking time by 5-10 minutes and watch them closely. I prefer thighs, but breasts work if you’re careful.
Serving & Storage
How to Serve — I usually serve these with a simple coleslaw and corn on the cob. The crunch of the slaw balances the rich chicken. Grilled peaches are also amazing with this (check out my grilled peaches dessert for inspiration). For a lighter side, try a simple arugula salad with lemon vinaigrette.
Leftovers — Store leftovers in an airtight container in the fridge for up to 4 days. The chicken will keep well. Reheat gently in the oven at 350°F (175°C) for 10-15 minutes, or in the microwave with a splash of water to keep it moist. Don’t reheat in the skillet; it’ll dry out.
Freezing — You can freeze cooked chicken thighs for up to 3 months. Let them cool completely, then freeze in a freezer-safe bag. Thaw in the fridge overnight before reheating. The texture might be slightly softer, but it’s still good.
Make-Ahead — You can prep the dry rub and mix the glaze the day before. Store them in separate containers in the fridge. This saves time on cookout day.
Nutrition Information
I’m not a nutritionist, but here’s the breakdown if you’re tracking. Per serving (based on 4 servings):
- Calories: 450
- Protein: 35g
- Carbs: 25g
- Fiber: 1g
- Sugar: 20g
- Fat: 25g
- Saturated Fat: 7g
- Cholesterol: 160mg
- Sodium: 650mg
What’s Good: High protein, which keeps you full. The chicken thighs provide healthy fats. What to Know: Higher in sodium due to the rub and sauce. If you’re watching sodium, use low-sodium BBQ sauce and reduce the salt in the rub. It’s not a diet food, but it’s not bad for you either. It’s real food.
Final Thoughts
So that’s my go-to grilled BBQ chicken thighs! I’ve probably talked your ear off at this point, but when you make a recipe this often, you have a lot to say about it. This has saved cookouts more times than I can count. It’s my answer to “what’s for dinner” when I want something impressive but easy. My kids are happy, my husband’s happy, and I’m happy because I’m not stressed about cooking.
Make it yours! Try different rubs, swap the sauce, add some vegetables to the grill. The best recipes are the ones you adapt to your family’s tastes. If you make this, drop a comment and let me know what you think! I love hearing how recipes turn out in your kitchen. And if something doesn’t work, tell me that too—I’m here to help troubleshoot.
Happy grilling! And I hope your backyard smells half as good as mine does right now.
Frequently Asked Questions
Can I use chicken breasts instead of thighs?
You can, but they’re much leaner and dry out faster. If you use breasts, reduce the cooking time by about 5-10 minutes and watch them closely. I recommend butterflying them so they cook more evenly. But honestly? Thighs are just better for grilling. They’re more forgiving and stay juicier.
Why did my BBQ sauce burn?
Sugar burns. If you put the sauce on too early, the sugar caramelizes and then turns into carbon. Always add the sauce in the last 5 minutes of cooking. If you’re using a very hot grill, consider lowering the heat or moving the chicken to indirect heat before saucing.
Can I make this in the oven?
Yes! Bake at 400°F (200°C) for 35-40 minutes, flipping halfway through. Brush with sauce in the last 10 minutes. It won’t have the same smoky flavor or crispy skin, but it’s still delicious. If you want a crispier skin, broil for the last 2-3 minutes.
How do I know when the chicken is done?
Use an instant-read thermometer. Insert it into the thickest part of the thigh, avoiding the bone. You’re looking for 165°F (74°C). If you don’t have a thermometer, cut into the thickest part. The juices should run clear, and the meat should not be pink. But the thermometer is the only sure way.
Can I double this recipe?
Absolutely! Just make sure your grill has enough space. You may need to cook in batches. Don’t crowd the grill, or the chicken will steam instead of grill. Double the rub and sauce accordingly.
What sides go well with grilled BBQ chicken thighs?
Classic cookout sides work great: corn on the cob, potato salad, coleslaw, baked beans, or grilled vegetables. For a lighter option, try a simple green salad with vinaigrette. I also love pairing it with a cold honey lavender iced latte for a refreshing drink.
Can I prep the rub ahead of time?
Yes! Mix the dry rub ingredients and store them in an airtight container for up to a month. This makes prep day so much easier. Just shake it up and sprinkle it on the chicken when you’re ready to cook.
Pin This Recipe!
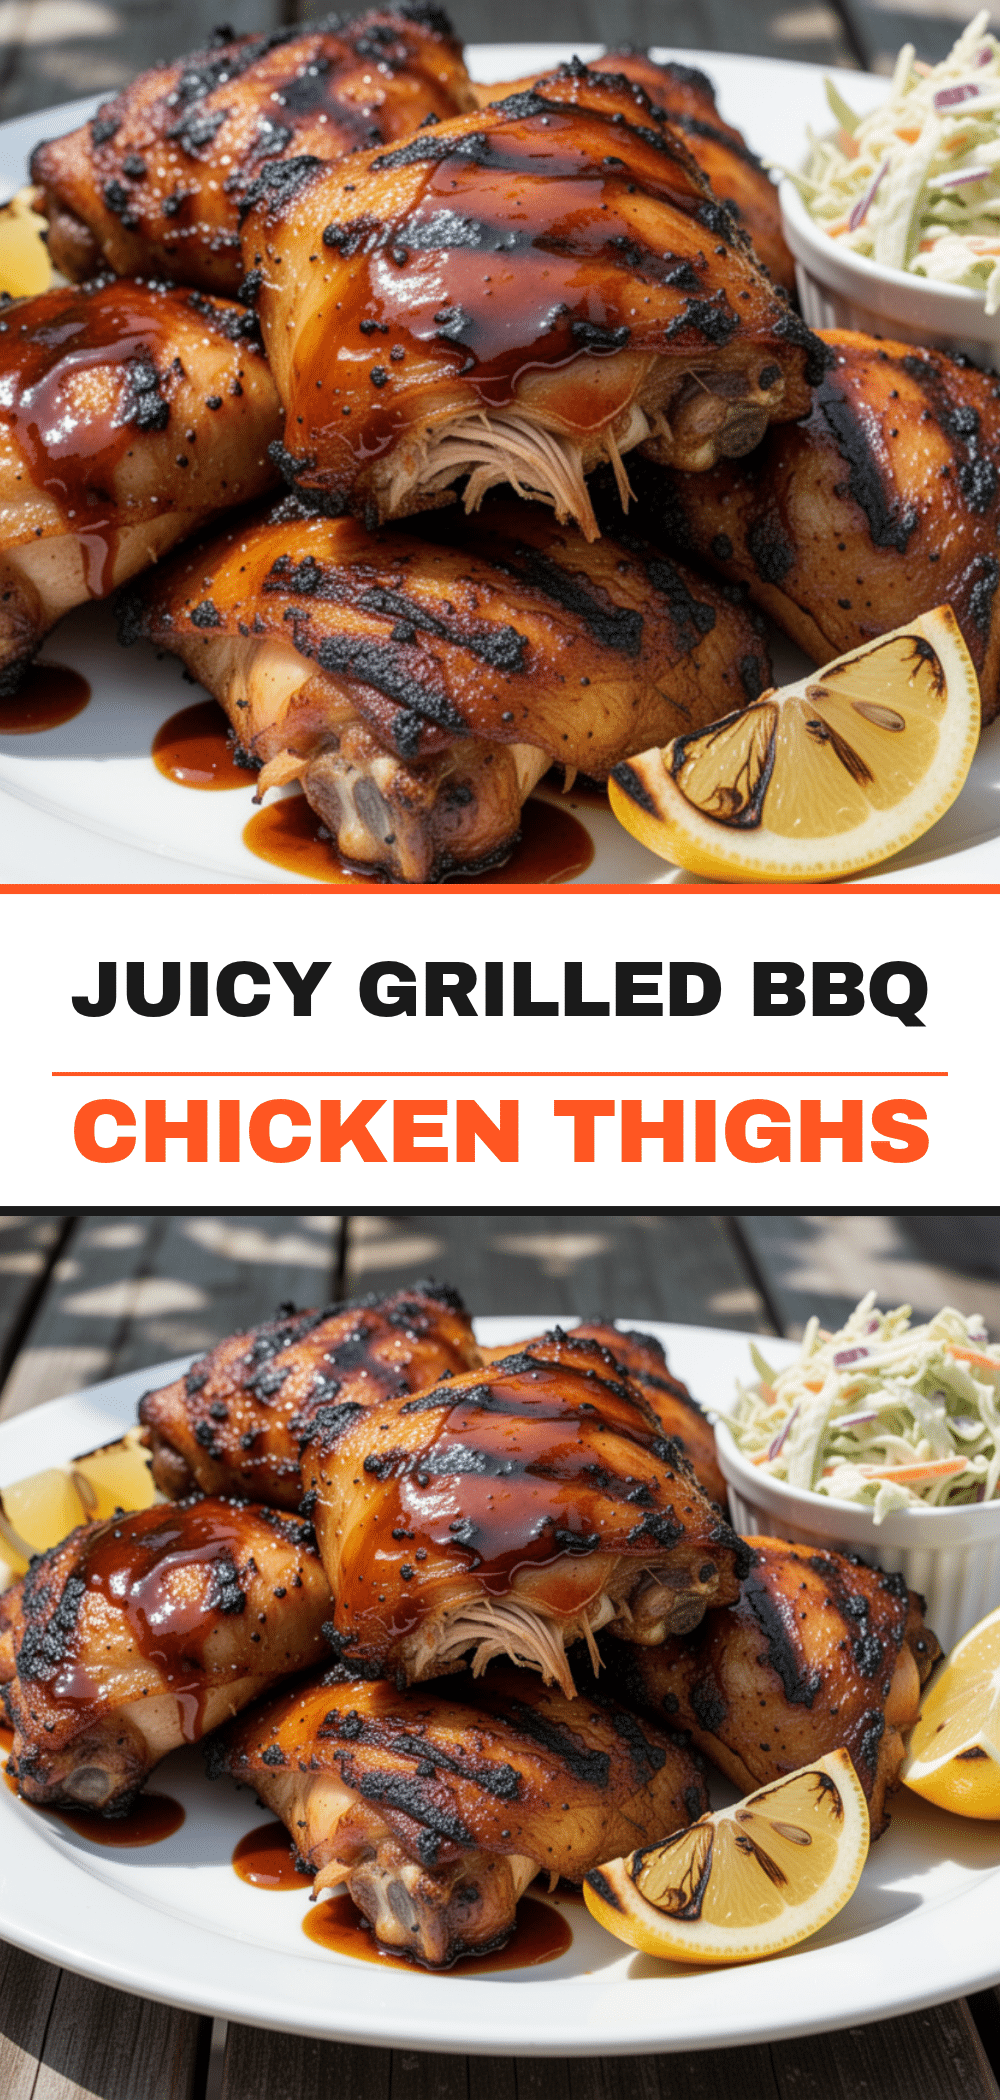

Grilled BBQ Chicken Thighs: Easy Summer Cookout Recipe
- Total Time: 45 minutes
- Yield: 4 servings 1x
Description
Juicy, flavorful grilled BBQ chicken thighs with a crispy charred skin and sweet-savory glaze. This forgiving recipe uses bone-in, skin-on thighs for maximum moisture and flavor, perfect for summer cookouts.
Ingredients
- 3–4 pounds bone-in, skin-on chicken thighs
- 2 teaspoons smoked paprika
- 1 teaspoon garlic powder
- 1 teaspoon onion powder
- 2 tablespoons brown sugar
- 1 tablespoon kosher salt
- 1 teaspoon freshly cracked black pepper
- 1/2 teaspoon garlic salt
- 1/2 teaspoon chili powder
- 1 cup BBQ sauce
- 2 tablespoons apple cider vinegar
- 1 tablespoon honey
- 1 teaspoon Worcestershire sauce
- 1 teaspoon hot sauce (optional)
Instructions
- Pat chicken thighs dry with paper towels to ensure crispy skin.
- Mix smoked paprika, garlic powder, onion powder, brown sugar, kosher salt, black pepper, garlic salt, and chili powder to create a dry rub.
- Generously sprinkle the dry rub over the chicken, rubbing it in well, especially under the skin if possible. Let sit at room temperature for 20-30 minutes.
- Prepare the grill for two-zone cooking (medium-high heat, approx 375-400°F). Clean and oil the grates.
- Place chicken thighs skin-side down over direct heat. Sear for 5-7 minutes without moving, then flip and sear the other side for 5-7 minutes.
- Move chicken to the indirect heat zone. Close the lid and cook for 15-20 minutes, flipping once halfway through, until internal temperature reaches 165°F.
- While chicken cooks, combine BBQ sauce, apple cider vinegar, honey, Worcestershire sauce, and hot sauce in a small saucepan. Heat gently to combine.
- Brush the glaze generously onto the chicken during the last 5 minutes of cooking. Flip and brush the other side. Close lid for 2-3 minutes to caramelize.
- Remove chicken from grill and let rest for 5 minutes before serving.
Notes
Patting the chicken dry is crucial for crispy skin. Use two-zone grilling to prevent burning. Add sauce only in the last 5 minutes to avoid burning the sugar. Chicken thighs are more forgiving than breasts; if using breasts, reduce cooking time by 5-10 minutes. Leftovers can be stored in the fridge for up to 4 days or frozen for 3 months.
- Prep Time: 10 minutes
- Cook Time: 35 minutes
- Category: Main Course
- Cuisine: American
Nutrition
- Serving Size: 1 chicken thigh per
- Calories: 450
- Sugar: 20
- Sodium: 650
- Fat: 25
- Saturated Fat: 7
- Carbohydrates: 25
- Fiber: 1
- Protein: 35
Keywords: grilled chicken, BBQ chicken, chicken thighs, summer cookout, grilling recipes, easy dinner, barbecue sauce, two-zone grilling


