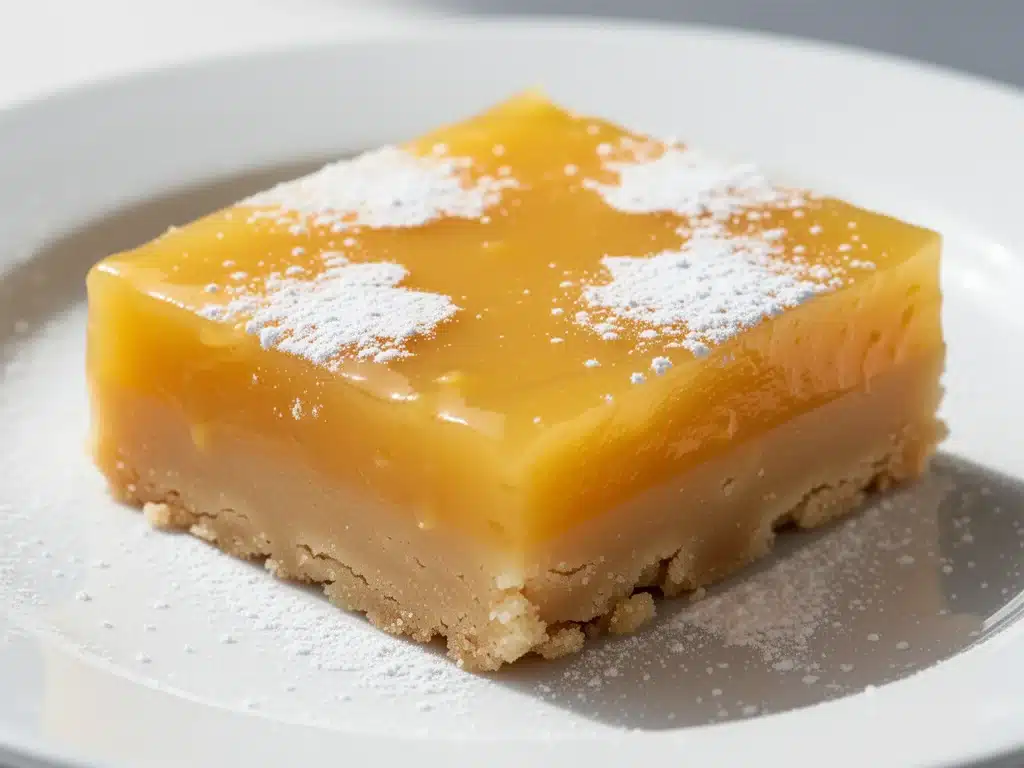
It was one of those humid July afternoons where the air feels like a warm, wet blanket. I had just come from the grocery store, sweating through my shirt, and the last thing I wanted to do was turn on the oven. But my daughter had a dance recital that evening, and I needed something to take for the parents’ table. Store-bought lemon bars from the bakery were too expensive, and honestly, they always tasted artificial—like they were made with lemon juice concentrate from a can. I needed something real. Something that tasted like sunshine but didn’t require me to stand over a stove for an hour.
I looked at my counter. I had butter, flour, sugar, eggs, and—miraculously—a bag of fresh lemons that my neighbor had given me from her tree. That was it. No fancy ingredients, no obscure pantry staples. Just the basics. I threw together what I thought would be a mediocre crust and a thin, watery topping. I popped them in the oven while I ran a lukewarm bath to cool down.
Twenty minutes later, the smell hit me. It wasn’t just sweet; it was sharp, bright, and aggressively lemony. When I pulled the pan out, the bars jiggled slightly in the center but set quickly as they cooled. I cut a square, dusted it with powdered sugar, and took a bite. It was perfect. Crumbly, buttery, tart, and sweet all at once. It tasted like a vacation. That afternoon, I didn’t just have a dessert for the recital; I had a new favorite treat that has since become my go-to for every summer gathering, potluck, or random Tuesday craving.
These Bright Lemon Dessert Bars are the ultimate summer bake. They are tangy shortbread treats that balance richness with acidity in a way that never feels heavy. If you’ve ever struggled with lemon bars that are too sour or too sweet, this recipe is your fix. I’ve tested this version dozens of times to get the crust-to-filling ratio exactly right, and I can promise you: these are the best lemon bars you’ll ever make.
Why You’ll Love This Recipe
There are about ten reasons I keep making these lemon bars, but here are the big ones that keep me coming back to this pan.
Tangy Shortbread Crust — Most lemon bar recipes use a graham cracker crust. I hate that. It’s too sweet and too sandy. I use a buttery shortbread base that’s crisp, flaky, and holds up to the wet filling without getting soggy. It’s the kind of crust you’d actually want to eat on its own. The texture is what makes these bars feel fancy, not cheap.
Real Lemon Flavor — I’m talking about actual zest and fresh juice, not that yellow syrup stuff. The brightness of these bars cuts through the richness of the butter and eggs. It’s a flavor profile that wakes up your palate. One bite and you’re instantly refreshed.
Stupid Simple — Seriously, if you can boil water and chop a lemon, you can make this. I’ve walked my teenage son through it over FaceTime. There’s no creaming, no folding, no tempering eggs. You mix the crust, press it in, mix the filling, pour it on, and bake. It’s foolproof.
Lightning Fast — 30 minutes from start to finish, and only 10 of those are active cooking. I make this on weeknights when I get home at 7pm. The baking time is mostly hands-off, so I can use that time to help with homework or prep for the next day.
Crowd-Pleaser — I’ve served these to my vegetarian sister, my gluten-free neighbor (with a swap), and my I-only-eat-chocolate dad (who surprisingly loved the tang). Everyone asks for the recipe. It’s universally liked because it’s not too sweet, which is rare for dessert bars.
Makes Amazing Leftovers — Actually tastes better the next day. The flavors meld together overnight, making the crust even more tender and the filling silkier. I deliberately make extra for lunch throughout the week, right alongside my grilled peaches dessert for a seasonal spread.
This is my go-to when I need dessert to just work. No complicated techniques, no weird ingredients, just reliable, delicious food that makes everyone happy.
Ingredients You’ll Need
Here’s the best part: you probably have most of this already. This looks like a short list, but most of it is pantry basics. I’m particular about three ingredients here, and I’ll tell you exactly why.
For the Shortbread Crust
Unsalted butter (½ cup / 113g, softened) — Softened is key here. You want it creamy, not melted. Melted butter makes the crust tough and greasy. Softened butter creates that tender, crumbly shortbread texture. I leave mine out for 30 minutes before I start.
Powdered sugar (¼ cup / 30g) — This dissolves completely into the butter, ensuring a smooth crust with no gritty sugar crystals. Don’t use granulated sugar here; it won’t incorporate properly.
All-purpose flour (1 cup / 125g) — Standard flour works perfectly. I always spoon it into the measuring cup and level it off for accuracy. Too much flour makes the crust dry and crumbly in a bad way.
Salt (¼ teaspoon) — Even though it’s a sweet crust, a pinch of salt is crucial. It balances the sweetness and enhances the buttery flavor. Don’t skip it.
For the Tangy Filling
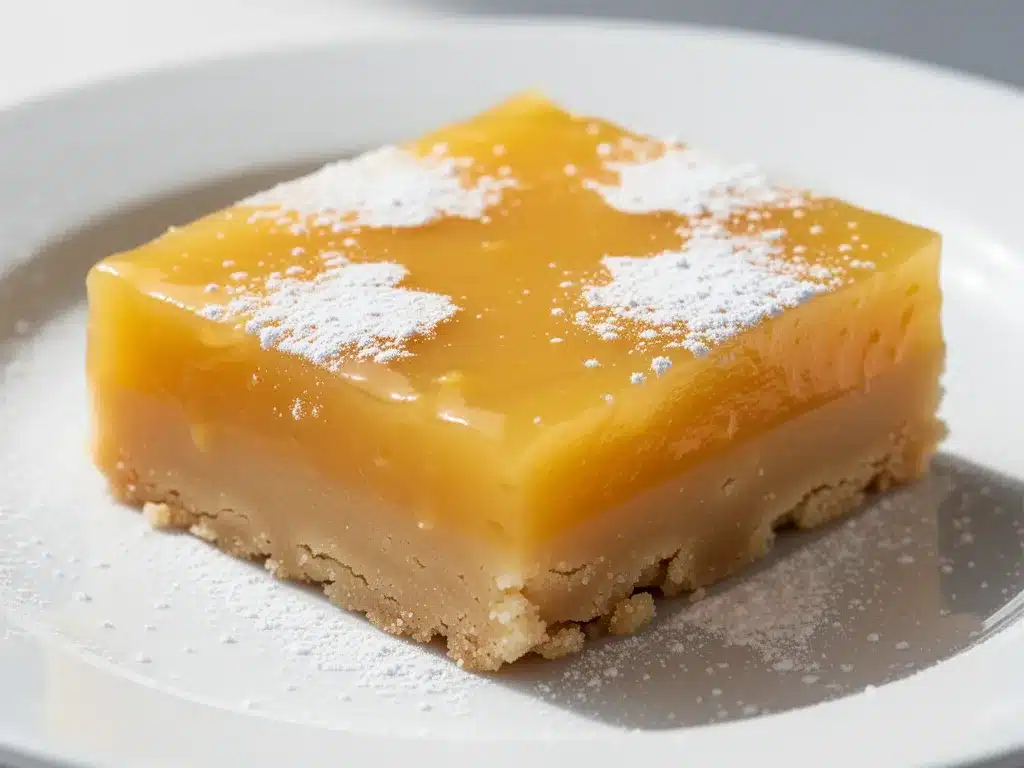
Granulated sugar (1 cup / 200g) — This is the sweetener for the filling. It provides structure and sweetness. I use standard white granulated sugar.
All-purpose flour (¼ cup / 30g) — This acts as a thickener. It binds the eggs and lemon juice together so you get a set bar, not a lemon custard soup. Make sure it’s sifted or whisked well to avoid lumps.
Eggs (3 large) — Room temperature eggs incorporate better into the filling. If they’re cold, they can cause the mixture to seize up slightly. Take them out of the fridge 15 minutes before you start.
Fresh lemon juice (½ cup / 120ml) — This is non-negotiable. Bottled lemon juice tastes metallic and flat. You need about 3-4 large lemons. Squeeze them fresh right before you use them. The acidity is what makes these “bright” lemon bars.
Lemon zest (2 tablespoons) — The oils in the zest provide the intense lemon aroma that juice alone can’t achieve. Use a fine microplane grater for the smoothest zest. Avoid the white pith, which is bitter.
Powdered sugar (for dusting) — Just a light dusting on top. It looks pretty and adds a tiny bit of extra sweetness to cut the tartness.
Equipment Needed
You don’t need fancy equipment for this. Here’s what I actually use.
8×8 inch baking pan — A standard metal or glass pan works best. I prefer metal because it conducts heat evenly for the crust. Line it with parchment paper for easy removal. This is the most important tool.
Mixer — A hand mixer or stand mixer makes the crust mixing easy. But honestly, you can do it by hand with a fork or your fingers. I use a hand mixer for speed.
Whisk — For the filling. You need to whisk vigorously to incorporate air and ensure the flour doesn’t clump. A balloon whisk is ideal.
Microplane grater — For the lemon zest. It’s small, sharp, and perfect for getting just the yellow part of the peel. If you don’t have one, a regular grater works but you’ll need to be very careful.
Citrus juicer — A handheld squeezers helps get every drop out of the lemon. But I often just squeeze by hand if I’m in a hurry.
Spatula — For scraping the bowl and spreading the filling evenly. Silicone spatulas are best because they scrape the bowl clean.
How to Make It: Step-by-Step
Alright, let’s make these Bright Lemon Dessert Bars! I’m walking you through exactly how I do it, including the little tricks I’ve picked up over the years.
Step 1: Prep Your Pan and Oven
Preheat your oven to 350°F (175°C). Line your 8×8 inch baking pan with parchment paper, leaving an overhang on the long sides. This “sling” is crucial for lifting the bars out later without breaking them. Grease the parchment lightly with butter or cooking spray.
Step 2: Make the Shortbread Crust
In a medium bowl, mix the softened butter and powdered sugar until creamy and smooth. This should take about 1-2 minutes. If using a mixer, use low speed. If mixing by hand, use a fork or your fingers. The mixture should look like wet sand. Add the flour and salt. Mix until just combined. It will look crumbly. Do not overmix; you don’t want a dough ball.
Step 3: Press and Blind Bake
Transfer the crumbly mixture to your prepared pan. Use your fingers or the bottom of a measuring cup to press it firmly and evenly into the pan. Make sure the corners are covered. Bake for 15-18 minutes, or until the edges are lightly golden. Remove from the oven and let it cool slightly while you make the filling. Leave the oven on.
Step 4: Make the Filling
In a large bowl, whisk together the granulated sugar and flour until no lumps remain. Add the eggs one at a time, whisking well after each addition. Whisk in the fresh lemon juice and lemon zest. The mixture will be thin and bright yellow. This is normal.
Step 5: Pour and Bake
Pour the filling over the warm crust. It will bubble up a bit. Bake for 20-25 minutes. You’ll know it’s done when the edges are set and puffed, and the center has a slight jiggle but doesn’t look liquid. It should look like a firm custard.
Step 6: Cool Completely
This is the hardest part. Let the bars cool in the pan on a wire rack for at least 1 hour. They will continue to set as they cool. If you cut them warm, they will be mushy. Patience pays off. For best results, chill them in the fridge for 2 hours before slicing.
Step 7: Slice and Serve
Use the parchment sling to lift the entire block out of the pan. Place it on a cutting board. Use a sharp knife to cut into squares. Dust lightly with powdered sugar. Serve immediately.
Expert Tips & Tricks
Here’s everything I’ve learned from making these dozens of times. These tips will save you from my mistakes.
Room Temperature Ingredients — This is the #1 tip. Cold eggs and butter lead to lumpy batter and uneven baking. Take your butter and eggs out of the fridge 30 minutes before you start. It makes a huge difference in texture.
Don’t Skip the Zest — The juice provides the tartness, but the zest provides the flavor. If you only use juice, it tastes like lemon water. If you use zest, it tastes like lemon. Grate the lemons before you juice them to avoid getting pith in your juice.
Press the Crust Firmly — If the crust is loose, the filling will seep underneath and make a soggy bottom. Press it down hard. I use a flat-bottomed glass to compact it evenly.
Cool Completely — I know it’s tempting. But warm lemon bars are messy and soft. They need time to set. If you’re in a rush, chill them in the freezer for 30 minutes to speed up the process.
Sharp Knife for Slicing — Use a sharp chef’s knife. Dull knives will crush the bars and make a mess. Wipe the blade clean between cuts for neat squares.
Common Mistakes (and how to avoid them):
- Mistake: Soggy crust. Fix: Make sure your crust is baked golden before adding filling. Also, don’t skip the cooling time.
- Mistake: Cracked top. Fix: Overbaking causes cracks. Remove the bars when the center still has a slight jiggle. They will finish setting as they cool.
- Mistake: Bland flavor. Fix: Use fresh lemons. Bottled juice has lost its volatile oils. Also, don’t skimp on the zest.
Variations & Substitutions
Once you’ve nailed the basic version, here’s how you can mix it up. I’ve tried all of these.
Blueberry Lemon Bars — Sprinkle 1 cup of fresh blueberries over the baked crust before pouring the filling. The berries burst and create little pockets of color and flavor. This pairs beautifully with other summer treats like my peach cobbler bars.
Coconut Lemon Bars — Add ½ cup of shredded coconut to the crust mixture. It adds a nice tropical twist and extra chewiness.
Lavender Lemon Bars — Add 1 teaspoon of culinary lavender to the sugar before mixing it with the butter. It’s subtle and floral. Great for spring.
Gluten-Free — Use a 1:1 gluten-free flour blend in both the crust and filling. The texture might be slightly more tender, but it works great. I’ve used Bob’s Red Mill and King Arthur, and both are fine.
Dairy-Free — Replace butter with vegan butter sticks (not tub spreads). Use a flax egg or just extra lemon juice if you want to avoid eggs, but the texture will change. For dairy-free, just swap the butter.
Lime Bars — Swap lemons for limes. Use ¾ cup lime juice and 1 tablespoon zest. It’s just as tart, just greener.
Serving & Storage
How to Serve:
I usually serve these straight from the fridge. The cold temperature contrasts nicely with the sweet filling. But here are other ways I’ve enjoyed them:
- With a dollop of whipped cream for a fancy touch.
- With a scoop of vanilla ice cream for a “lemon icebox cake” vibe.
- On their own, with a cup of black tea or coffee.
Side Dishes:
These bars are rich, so they pair well with lighter sides if you’re serving a meal. A simple green salad with vinaigrette cuts the richness. Or serve them alongside honey lavender iced latte for a perfect afternoon snack.
Storage Instructions:
Refrigerator: Store in an airtight container for up to 5 days. They taste best chilled. The crust stays crisp in the fridge.
Freezing: Yes, you can freeze these! Wrap the whole block tightly in plastic wrap and then foil. Freeze for up to 3 months. Thaw in the fridge overnight. They might lose a tiny bit of texture, but they’re still delicious.
Reheating: Don’t reheat these. They’re best cold or room temperature. Heating them makes the filling runny and the crust soft.
Nutrition Information
I’m not a nutritionist, but here’s the breakdown if you’re tracking. These are rich bars, so portion control is key.
Per Serving (based on 16 bars):
- Calories: 180
- Protein: 2g
- Carbs: 24g
- Fiber: 0g
- Sugar: 18g
- Fat: 9g
- Saturated Fat: 5g
- Cholesterol: 45mg
- Sodium: 60mg
What’s Good:
- Small portion size helps control sugar intake.
- Real ingredients, no artificial flavors.
What to Know:
- High in sugar and saturated fat from butter and sugar.
- Contains gluten and dairy.
My Take:
Look, this is a dessert. It’s sweet, buttery, and meant to be enjoyed. It’s not a health food. But it’s way better than store-bought bars, which are full of preservatives. When I make these, I enjoy one square with my coffee and call it a day. Moderation is everything.
Final Thoughts
So that’s my go-to Bright Lemon Dessert Bars! I’ve probably talked your ear off at this point, but when you make a recipe this often, you have a lot to say about it.
This has saved summer dinners more times than I can count. It’s my answer to “what’s for dessert” when I’m tired, don’t want to bake a cake, and still want something that tastes really good. My kids are happy, my husband’s happy, and I’m happy because I’m not stressed about cooking.
Make it yours! Try different add-ins, swap in your favorite citrus, or adjust the sugar (though more is always better in my opinion for the filling). The best recipes are the ones you adapt to your family’s tastes.
If you make this, drop a comment and let me know what you think! I love hearing how recipes turn out in your kitchen. And if something doesn’t work, tell me that too—I’m here to help troubleshoot.
Happy baking! And I hope your kitchen smells half as good as mine does right now.
Frequently Asked Questions
Can I use bottled lemon juice?
You can, but the flavor will be flat and metallic. Fresh lemon juice has volatile oils that give it that bright, zesty punch. If you absolutely must use bottled, use 100% pure lemon juice with no preservatives, but fresh is always better. You’ll need about ½ cup, which is roughly 3-4 lemons.
Why did my lemon bars crack on top?
Cracking usually means they were overbaked. Lemon bars continue to cook even after you take them out of the oven. Remove them when the edges are set but the center still has a slight jiggle. They will firm up as they cool. Also, avoid opening the oven door too often during baking, as temperature fluctuations can cause cracking.
Can I make these ahead for a party?
Absolutely. In fact, they taste better made a day ahead. Make them up to 2 days in advance and store them in the fridge. Bring them to room temperature 30 minutes before serving for the best texture. They also freeze well for up to 3 months.
Why is my crust soggy?
A soggy crust usually happens if the crust isn’t baked long enough before adding the filling, or if the filling is too watery. Make sure your crust is golden brown before pouring the filling. Also, ensure your filling is thickened properly by whisking the flour into the sugar and eggs thoroughly.
Can I use a glass pan?
Yes, but glass pans take longer to heat up. You might need to bake the crust for an extra 2-3 minutes. Also, glass retains heat longer, so the bars might continue to cook after you remove them from the oven. Keep an eye on them.
How do I cut clean squares?
Use a sharp knife. Wipe the blade clean between each cut. If the bars are too soft, chill them in the freezer for 10 minutes before slicing. This firms up the filling and makes cutting much easier.
Can I double this recipe?
You can, but you’ll need a 9×13 inch pan. The baking time will be similar, but keep an eye on them. The crust might need a few extra minutes to brown. Don’t double the recipe in an 8×8 pan; it will overflow.
Pin This Recipe!
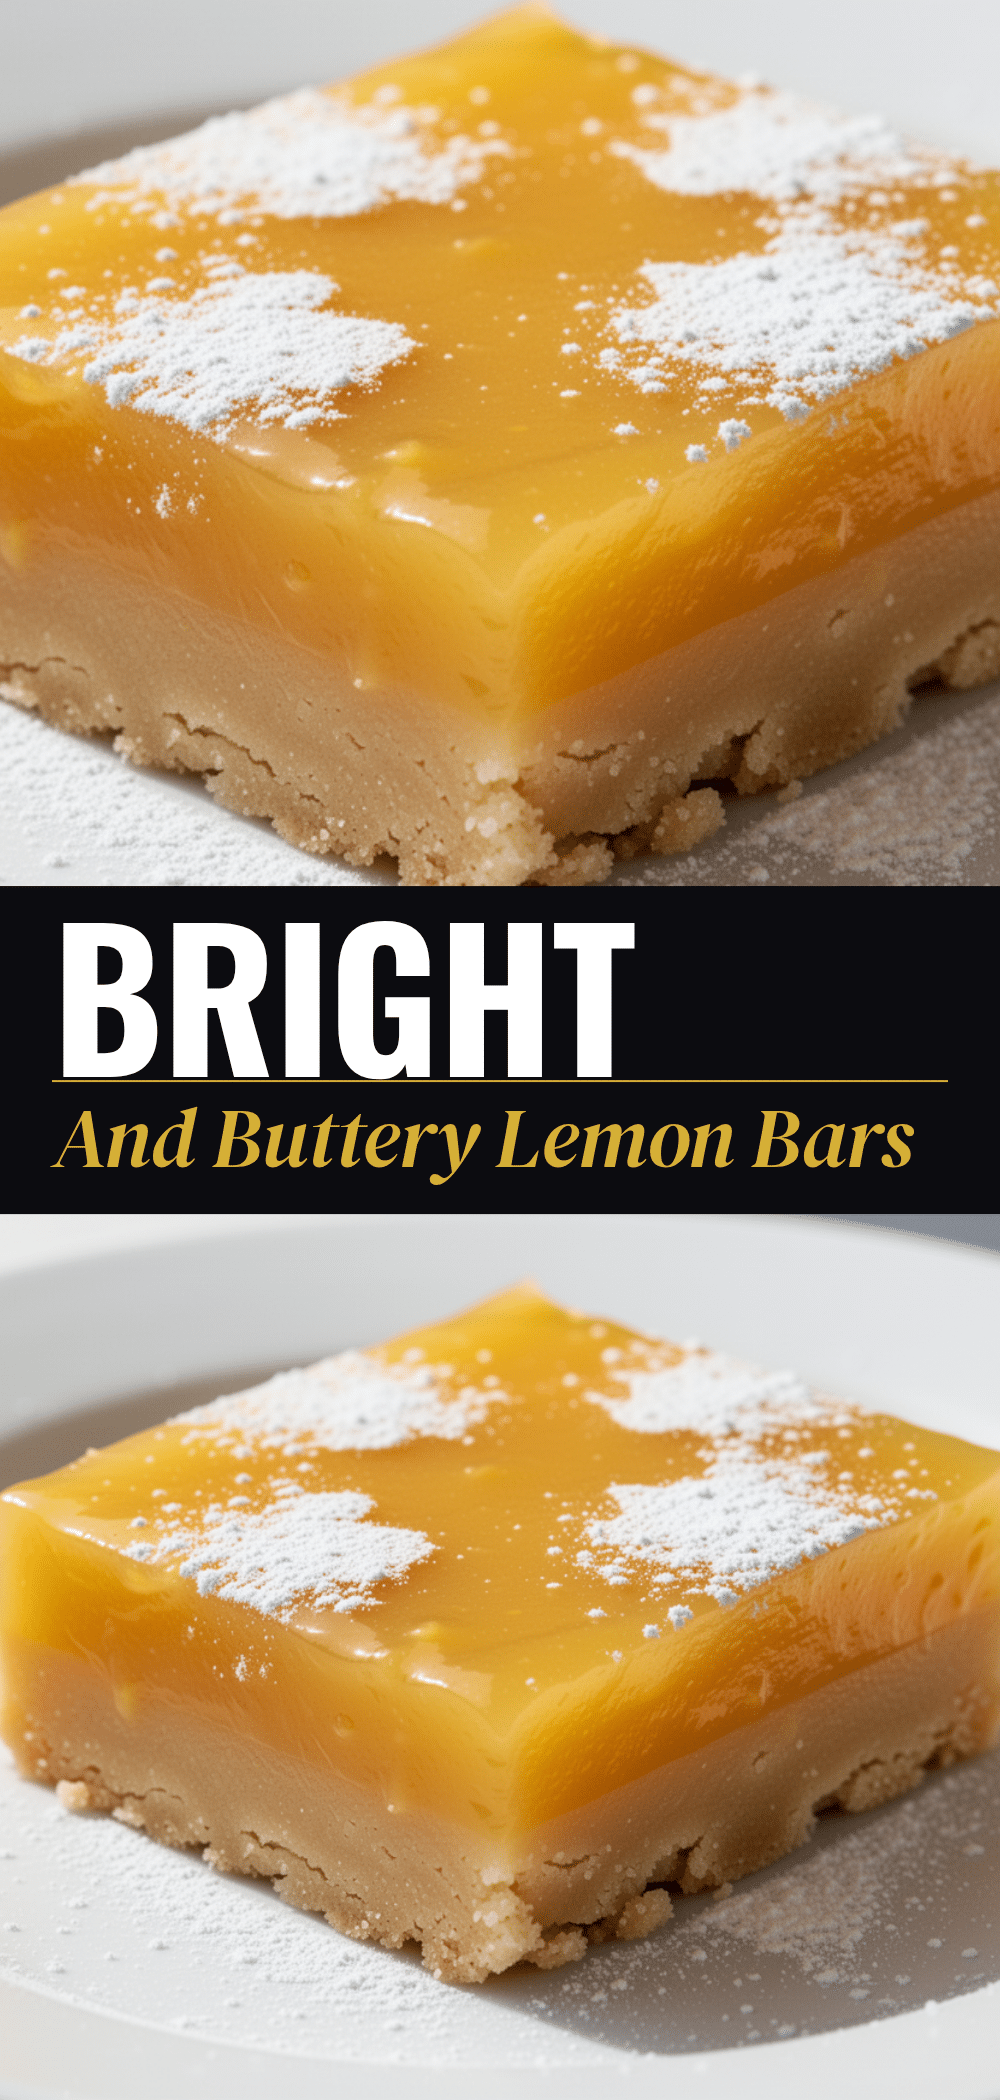

Bright Lemon Dessert Bars: Easy Tangy Shortbread Recipe
- Total Time: 45 minutes
- Yield: 16 servings 1x
Description
These bright lemon dessert bars feature a tangy shortbread crust and a rich, fresh lemon filling. They are easy to make, require minimal active time, and offer the perfect balance of sweet and tart flavors.
Ingredients
- 1/2 cup (113g) unsalted butter, softened
- 1/4 cup (30g) powdered sugar
- 1 cup (125g) all-purpose flour
- 1/4 teaspoon salt
- 1 cup (200g) granulated sugar
- 1/4 cup (30g) all-purpose flour
- 3 large eggs, room temperature
- 1/2 cup (120ml) fresh lemon juice
- 2 tablespoons lemon zest
- Powdered sugar, for dusting
Instructions
- Preheat oven to 350°F (175°C). Line an 8×8 inch baking pan with parchment paper, leaving an overhang on the long sides, and grease lightly.
- In a medium bowl, mix softened butter and powdered sugar until creamy. Add flour and salt, mixing until just combined and crumbly.
- Press the crust mixture firmly and evenly into the prepared pan. Bake for 15-18 minutes until edges are lightly golden. Remove and let cool slightly while making the filling.
- In a large bowl, whisk granulated sugar and flour until no lumps remain. Add eggs one at a time, whisking well after each addition.
- Whisk in fresh lemon juice and lemon zest until smooth.
- Pour the filling over the warm crust. Bake for 20-25 minutes until edges are set and the center has a slight jiggle.
- Cool completely in the pan on a wire rack for at least 1 hour (or chill for 2 hours) to allow bars to set.
- Lift bars out using the parchment sling, slice into squares, and dust with powdered sugar before serving.
Notes
Ensure ingredients are at room temperature for best texture. Do not overbake to avoid cracking. The crust must be pressed firmly to prevent sogginess. Bars taste better the next day as flavors meld. Store in the refrigerator for up to 5 days or freeze for up to 3 months.
- Prep Time: 10 minutes
- Cook Time: 35-43 minutes
- Category: Dessert
- Cuisine: American
Nutrition
- Serving Size: 1 bar
- Calories: 180
- Sugar: 18
- Sodium: 60
- Fat: 9
- Saturated Fat: 5
- Carbohydrates: 24
- Protein: 2
Keywords: lemon bars, shortbread crust, summer dessert, easy baking, tangy lemon, fresh lemon juice, party dessert


