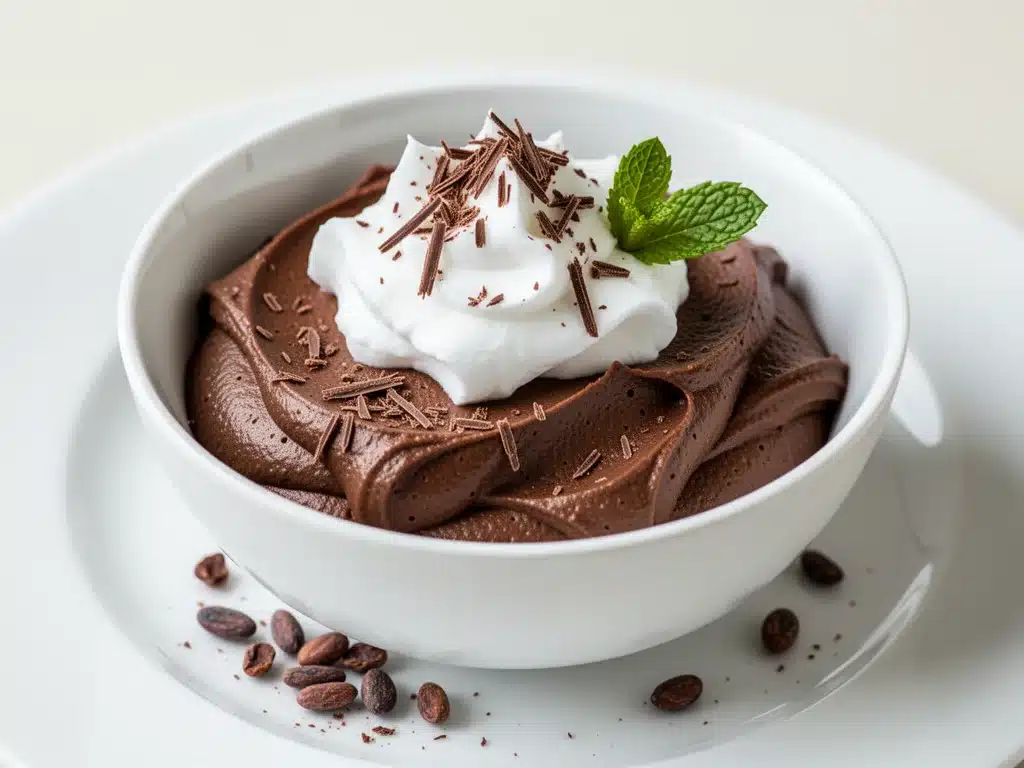
I have a confession to make. For years, I was convinced that dairy-free desserts were just sad compromises. You know the kind—they were dense, grainy, or tasted vaguely like coconut oil and regret. I was that person who would subtly pick the chocolate chips out of the “vegan” brownie at a potluck, convinced that real chocolate mousse required heavy cream, butter, and maybe a little bit of dairy butter for good measure.
Then, about two years ago, I was hosting a dinner party for a group of friends. One of them, Sarah, is lactose intolerant and incredibly picky about sweets. I was panicking because I had already committed to making a rich, decadent chocolate mousse for the group. I didn’t want her to feel left out, but I also didn’t want to serve a separate, sad little bowl of fruit. So, I took a leap of faith. I tried a recipe that used silken tofu and high-quality dark chocolate. I was skeptical. I really was.
But here’s the thing: when I served it, Sarah took one bite and literally closed her eyes. “Is this… is this the dairy-free one?” she asked, sounding genuinely confused. When I nodded, she asked for the recipe right there at the table. That was the moment my world of dairy-free baking shifted. It wasn’t a compromise. It was better.
This dairy-free chocolate mousse has become my go-to dessert for literally everything. It’s the healthy dessert I actually crave when I’m tired, it’s naturally gluten-free, and it’s ready in under 15 minutes of active time. I’ve made it for date nights, for holiday gatherings, and just for myself on Sunday nights when I need a little comfort. It’s silky, it’s rich, and it proves that you don’t need dairy to make something absolutely indulgent.
If you’ve ever thought you couldn’t have real chocolate mousse without cream, stop right there. You’re missing out. I’ve tested this method over a dozen times, tweaking the ratios until it was perfect, and I’m ready to share the secret with you. It’s lighter than traditional mousse, easier to make, and honestly? It tastes like a guilt-free treat that your body will thank you for.
Why You’ll Love This Recipe
There are a million reasons to make this dairy-free chocolate mousse, but let’s be real—you’re here because you want chocolate that feels good to eat. Here’s why this recipe has completely replaced my heavy cream-based desserts:
It’s Actually Light — Traditional mousse is heavy. I mean, heavy-heavy. You eat it and feel like you need to unbutton your pants. This version is airy and fluffy because we use aquafaba (chickpea liquid) and silken tofu to create volume without the weight. It’s the perfect dessert after a big meal, not a food coma.
Pantry Staples Only — You probably have everything you need already. Silken tofu (the kind in the tetra pak, not the firm block), cocoa powder, maple syrup, and a can of chickpeas. No weird, hard-to-find ingredients. If you can make honey garlic chicken on a busy weeknight, you can make this dessert. It’s that simple.
High Protein Boost — Yes, really. Silken tofu is a protein powerhouse. While it doesn’t taste like tofu (I promise, more on that later), it adds a nice protein kick that makes this feel like a nourishing treat rather than just empty sugar. It’s a great way to sneak some nutrition into your sweet tooth.
Ready in 15 Minutes — This isn’t a recipe that requires tempering chocolate or whipping egg whites for an hour. You blend, you chill, you eat. It’s the ultimate no-fuss dessert for when you want something sweet but don’t want to spend your evening at the stove.
Perfectly Sweet — We use maple syrup instead of refined white sugar. It adds a subtle depth of flavor that pairs beautifully with the dark chocolate, and it keeps the glycemic index a bit lower than traditional desserts. It’s sweet, but not cloying.
This mousse has saved me so many times. It’s my answer to “I need something sweet, but I want to feel good about it.” It’s creamy, it’s chocolatey, and it’s entirely plant-based. Trust me, once you try it, you’ll never go back.
Ingredients You’ll Need
Here’s the best part: the ingredient list is short, clean, and recognizable. I’m not going to ask you to hunt down xanthan gum or specialized dairy-free butter. Here’s what you need to make the best dairy-free chocolate mousse:
Silken Tofu (1 block, 12-14 oz / 350-400g) — This is the base. It must be silken tofu, found in the refrigerated section near soy milk, not the firm or extra-firm blocks. Silken tofu has a custard-like texture that blends into pure smoothness. It adds creaminess and protein without any beany taste if you use good chocolate. Brands like Mori-Nu are great because they’re pre-packaged and don’t require pressing.
Dark Chocolate (6 oz / 170g, chopped) — Quality matters here. Since there’s no milk to mask the flavor, you need chocolate that tastes good on its own. Look for 70% cocoa or higher. It should be dairy-free (check the label, some dark chocolates have milk fat). I love Guittard or Lindt’s 70% or 85% bars. Avoid chocolate chips if you can—they have stabilizers that make melting tricky. Chopping a bar yourself ensures a smoother melt.
Aquafaba (½ cup / 120ml) — This is the liquid from a can of chickpeas. It sounds weird, but it’s magic. When whipped, it mimics egg whites, creating air bubbles that make the mousse fluffy. If you don’t have a can of chickpeas, you can buy just aquafaba in cartons, or use the liquid from a can of white beans (like cannellini) for a milder flavor.
Maple Syrup (3-4 tablespoons / 45-60ml) — Pure maple syrup adds sweetness and a hint of vanilla-like flavor. Use Grade B or dark maple syrup for a richer taste. Avoid corn syrup or agave if you want the best flavor profile. Adjust based on how sweet your chocolate is.
Cocoa Powder (2 tablespoons / 10g) — Unsweetened cocoa powder deepens the chocolate flavor. I use natural cocoa powder, but dutched (alkalized) cocoa works too and gives a darker, more reddish hue. Sift it if it’s clumpy.
Vanilla Extract (1 teaspoon / 5ml) — Pure vanilla extract is essential. It rounds out the flavors and makes it taste like a proper dessert, not just melted chocolate. Avoid imitation vanilla.
Sea Salt (¼ teaspoon) — A pinch of salt enhances the chocolate flavor. Don’t skip it. It’s the secret ingredient that makes sweet things taste sweet.
Optional Add-ins:
– Espresso Powder (1 teaspoon) — Just a teaspoon. It doesn’t make it taste like coffee; it just makes the chocolate taste more chocolatey.
– Pinch of Cayenne — For a subtle kick if you’re feeling adventurous.
– Fresh Berries — For serving. Strawberries or raspberries cut through the richness beautifully.
Shopping Tips:
– Check your tofu section for the small cartons of silken tofu. They’re usually in the Asian food aisle or near the dairy.
– If you’re buying chickpeas, buy a can and save the liquid. Freeze the aquafaba in an ice cube tray for future desserts.
– I always keep a bar of good dark chocolate in the pantry specifically for quick desserts like this.
Equipment Needed
You don’t need any fancy gadgets for this. Here’s what I actually use, and what you can swap if you don’t have it:
Food Processor or High-Speed Blender — This is non-negotiable. You need something powerful enough to break down the tofu and melt the chocolate into a smooth emulsion. A standard blender works, but a food processor gives a slightly denser, mousse-like texture. I use my Ninja blender, and it works perfectly.
Double Boiler or Microwave-Safe Bowl — To melt the chocolate gently. A double boiler is ideal because it prevents burning, but a microwave works if you go in short bursts. I prefer the microwave for speed, but be careful not to overheat it.
Hand Mixer or Stand Mixer — For whipping the aquafaba. You need to get stiff peaks, so a hand mixer is easier to control than a whisk. I use a handheld electric whisk, and it takes about 3-4 minutes.
Spatula — A silicone spatula is great for folding the whipped aquafaba into the chocolate mixture without deflating it.
Serving Glasses or Bowls — I like to serve this in small ramekins or coupe glasses. It looks elegant and makes portion control easier (not that I’m one for portion control).
Refrigerator — Obviously, you need space to chill the mousse. Make sure you have room in the fridge for at least 2 hours.
Optional:
– Pastry Bag — If you want to pipe the mousse into glasses for a fancy look, use a piping bag with a star tip. It’s fun and makes it look professional.
– Microplane — For grating chocolate curls on top. It’s a nice touch if you’re hosting.
How to Make It: Step-by-Step
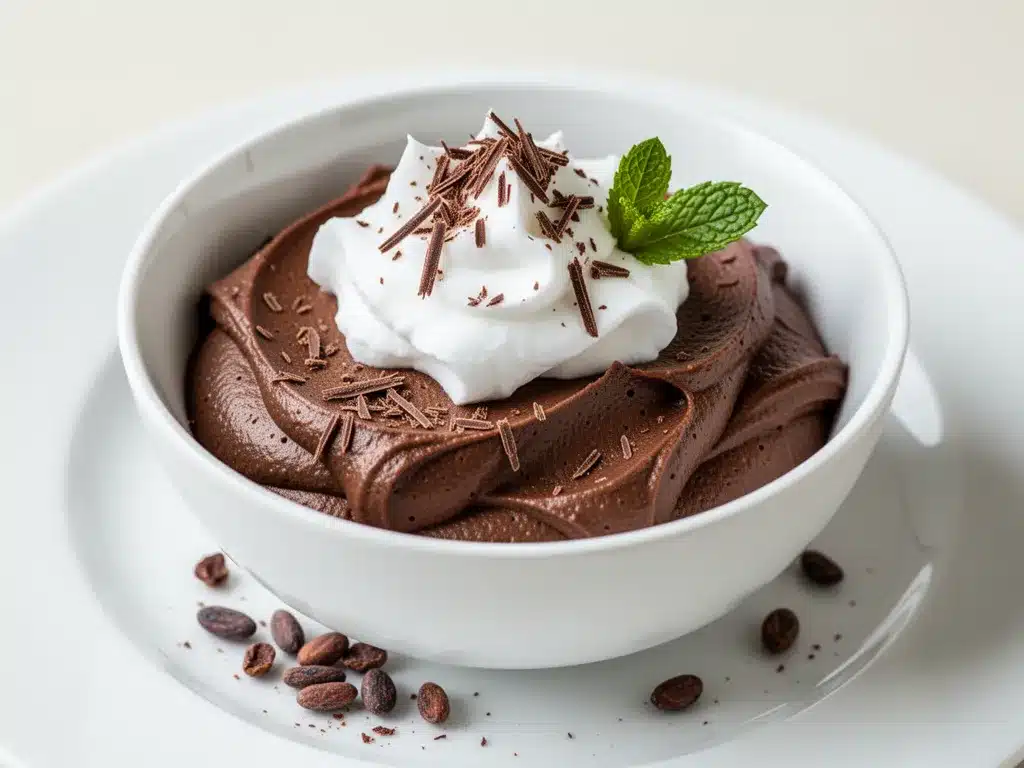
Alright, let’s make this! I’m walking you through exactly how I do it. It’s simple, but there are a few tricks to get that perfect texture.
Step 1: Melt the Chocolate (5 minutes)
Chop your dark chocolate into small pieces. This helps it melt evenly. Place the chocolate in a microwave-safe bowl. Microwave in 30-second intervals, stirring between each. Stop when there are just a few small chunks left, and stir until smooth. The residual heat will melt the rest. Do not overheat—it can seize up. Alternatively, use a double boiler over low heat, stirring constantly until smooth. Set aside to cool slightly (it should be warm, not hot).
Step 2: Blend the Tofu Base (2 minutes)
Drain the silken tofu (if it’s in water) and add it to your food processor or blender. Blend on high until completely smooth. Scrape down the sides. Add the melted chocolate, maple syrup, cocoa powder, vanilla extract, and sea salt. Blend again until the mixture is glossy and smooth. Taste it. If it’s not sweet enough, add a little more maple syrup. If it’s too thick, add a teaspoon of water or plant milk. Set aside.
Step 3: Whip the Aquafaba (3-4 minutes)
This is the magic step. Pour the aquafaba into a clean, dry mixing bowl. It must be free of any oil or tofu residue. Using a hand mixer or stand mixer, whip the aquafaba on high speed. At first, it will look frothy. Keep whipping. It will turn white and fluffy, and then eventually form stiff peaks. This means when you lift the beaters, the peaks stand up straight and don’t droop. This usually takes 3-4 minutes. Don’t rush this step—it’s what makes the mousse airy.
Step 4: Fold the Mixtures Together (2 minutes)
Add about one-third of the whipped aquafaba to the chocolate-tofu mixture and stir gently to lighten it. Then, add the rest of the aquafaba. Using a spatula, gently fold the mixture. Use a cutting motion from the bottom up, turning the bowl as you go. Do not stir vigorously—you want to keep all those air bubbles. Fold until just combined. The mixture will look light, fluffy, and glossy.
Step 5: Chill and Set (2 hours minimum)
Spoon the mousse into serving glasses or a large bowl. Cover with plastic wrap or lids. Refrigerate for at least 2 hours, or preferably overnight. This allows the mousse to set and the flavors to meld. The longer it chills, the better it tastes.
Step 6: Serve
Before serving, you can add toppings. I love a sprinkle of sea salt flakes, fresh raspberries, or a few chocolate shavings. Serve cold. Enjoy!
Total Time: About 15 minutes active, plus 2 hours chilling.
Expert Tips & Tricks
Here’s everything I’ve learned from making this dozens of times. These tips will save you from my mistakes.
Use Cold Aquafaba — Cold aquafaba whips better and faster. Keep the can of chickpeas in the fridge overnight before you plan to make this. It’s a small step that makes a big difference in volume.
Don’t Skip the Salt — I know it’s a dessert, but salt is crucial. It balances the sweetness and enhances the chocolate. I use flaky sea salt for the final garnish, too.
Quality Chocolate Matters — Since there’s no milk to dilute the flavor, your chocolate is the star. Use a bar you enjoy eating on its own. If it tastes bitter and unpleasant, your mousse will too.
Fold Gently — The goal is to keep the air in the aquafaba. If you over-mix, you’ll deflate the mousse and end up with a dense pudding. Be patient and gentle.
Chill Long Enough — You can eat it immediately, but it’s much better after chilling. The texture firms up, and the flavors deepen. I usually make it the night before.
Common Mistakes:
– Mousse is too runny: You didn’t whip the aquafaba enough, or you deflated it while folding. Make sure you have stiff peaks.
– Mousse is grainy: The chocolate wasn’t fully melted or cooled before blending, or the tofu wasn’t smooth enough. Blend longer and ensure the chocolate is smooth.
– Tastes like tofu: You used firm tofu, or the chocolate wasn’t strong enough. Use silken tofu and high-cocoa chocolate. Add more vanilla or a pinch of espresso powder.
Variations & Substitutions
Once you’ve nailed the basic version, here’s how you can mix it up. I’ve tried all of these.
Mint Chocolate Mousse
Add 1 teaspoon of peppermint extract and a few drops of green food coloring. Top with crushed peppermint candies. It’s like a mint chocolate chip in mousse form.
Orange Chocolate Mousse
Add the zest of one orange to the chocolate mixture. The citrus pairs beautifully with dark chocolate. It’s bright and refreshing.
Peanut Butter Mousse
Add 2 tablespoons of natural peanut butter to the tofu mixture. It adds richness and protein. It’s like a Reese’s cup in mousse form.
Coffee Mousse
Add 1 teaspoon of instant espresso powder to the chocolate mixture. It deepens the chocolate flavor without tasting like coffee. Great for coffee lovers.
Berry Swirl
Make a berry compote by simmering fresh or frozen berries with a little maple syrup. Swirl it into the mousse before chilling. It’s colorful and tangy.
Dietary Modifications:
– Sugar-Free: Use a sugar-free dark chocolate and a sugar-free maple syrup alternative like monk fruit syrup.
– Low-Fat: This recipe is already relatively low in fat compared to cream-based mousse. To reduce fat further, use a lower-fat tofu, but it may affect texture.
– Nut-Free: This recipe is naturally nut-free, making it safe for school parties or nut-allergy households.
Serving & Storage
How to Serve:
I usually serve this in small glasses or ramekins. It looks elegant and makes portion control easier. Top with fresh berries, a dusting of cocoa powder, or chocolate shavings. It pairs beautifully with a glass of red wine or a cup of herbal tea.
Side Dishes:
– Fresh strawberries or raspberries
– A few almond slices
– A drizzle of caramel sauce (dairy-free)
– A scoop of dairy-free vanilla ice cream
Storage Instructions:
Store in an airtight container in the refrigerator for up to 5 days. The mousse will hold its texture well. If it separates slightly, give it a gentle stir before serving.
Freezing:
You can freeze this mousse! Spoon it into freezer-safe containers and freeze for up to 1 month. Thaw in the refrigerator overnight. The texture may be slightly less fluffy, but it’s still delicious.
Pro Tip:
If you’re making this for a party, make it the day before. It saves you time and tastes better after the flavors have melded. Just add fresh toppings right before serving.
Nutrition Information
I’m not a nutritionist, but here’s the breakdown if you’re tracking. This is per serving (based on 6 servings).
Per Serving:
– Calories: 180
– Protein: 6g
– Carbs: 22g
– Fiber: 4g
– Sugar: 14g (natural)
– Fat: 9g
– Saturated Fat: 4g
– Cholesterol: 0mg
– Sodium: 120mg
What’s Good:
– High in fiber from the cocoa and tofu
– Good source of plant-based protein
– No added refined sugar (uses maple syrup)
– Free from common allergens like nuts, dairy, and gluten
What to Know:
– The sugar content comes from the maple syrup and chocolate. Adjust the syrup to control sweetness.
– It’s a calorie-dense dessert, so portion control is key if you’re watching calories.
– It’s a great option for those with dairy or nut allergies.
My Take:
Look, this is still a dessert. It has sugar and fat. But it’s made from whole, plant-based ingredients, and it’s packed with protein and fiber. It’s a healthier alternative to traditional mousse, and it satisfies your sweet tooth without the guilt. I enjoy it as a treat, not as a meal replacement.
Final Thoughts
So that’s my dairy-free chocolate mousse! I’ve probably talked your ear off at this point, but when you make a recipe this often, you have a lot to say about it. This has saved me so many times. It’s my answer to “I need something sweet, but I want to feel good about it.” It’s creamy, it’s chocolatey, and it’s entirely plant-based.
Make it yours! Try different add-ins, swap in your favorite toppings, or adjust the sweetness to your liking. The best recipes are the ones you adapt to your tastes. I hope this becomes a staple in your kitchen, just like it has in mine.
If you make this, drop a comment and let me know what you think! I love hearing how recipes turn out in your kitchen. And if something doesn’t work, tell me that too—I’m here to help troubleshoot. Happy cooking!
Frequently Asked Questions
Q: Can I use firm tofu instead of silken tofu?
A: No, you can’t. Firm tofu has a grainy texture and won’t blend into a smooth mousse. Silken tofu is essential for that custard-like consistency. If you only have firm tofu, you can try blending it with extra water, but the texture won’t be the same.
Q: Why did my aquafaba not whip?
A: There might have been oil or soap residue in the bowl or beaters. Aquafaba is very sensitive to fat. Make sure your bowl and beaters are completely clean and dry. Also, ensure the aquafaba is cold. If it’s still not whipping, try adding a tiny pinch of cream of tartar to help stabilize it.
Q: Can I use agave syrup instead of maple syrup?
A: Yes, you can. Agave is sweeter than maple syrup, so use a little less (about 2-3 tablespoons). It has a neutral flavor, so you won’t get the maple notes, but the texture will be the same.
Q: Is this mousse safe for people with soy allergies?
A: No, this recipe contains tofu, which is made from soy. If you have a soy allergy, you can try using cashew cream (soaked and blended cashews) as a base, but the texture will be different.
Q: Can I make this ahead of time?
A: Absolutely! In fact, it’s better made ahead. It needs at least 2 hours to set, but it’s best after 24 hours. You can make it up to 5 days in advance and store it in the fridge.
Q: Why is my mousse too thin?
A: You might not have whipped the aquafaba enough, or you might have deflated it while folding. Make sure you have stiff peaks. If it’s still too thin, you can try adding a little more melted chocolate (cooled) to help it set, or chill it for a longer period.
Q: Can I use white chocolate?
A: Yes, but you’ll need to ensure it’s dairy-free. Many white chocolates contain milk solids. Look for dairy-free white chocolate bars. The flavor will be sweeter and less intense than dark chocolate.
Pin This Recipe!
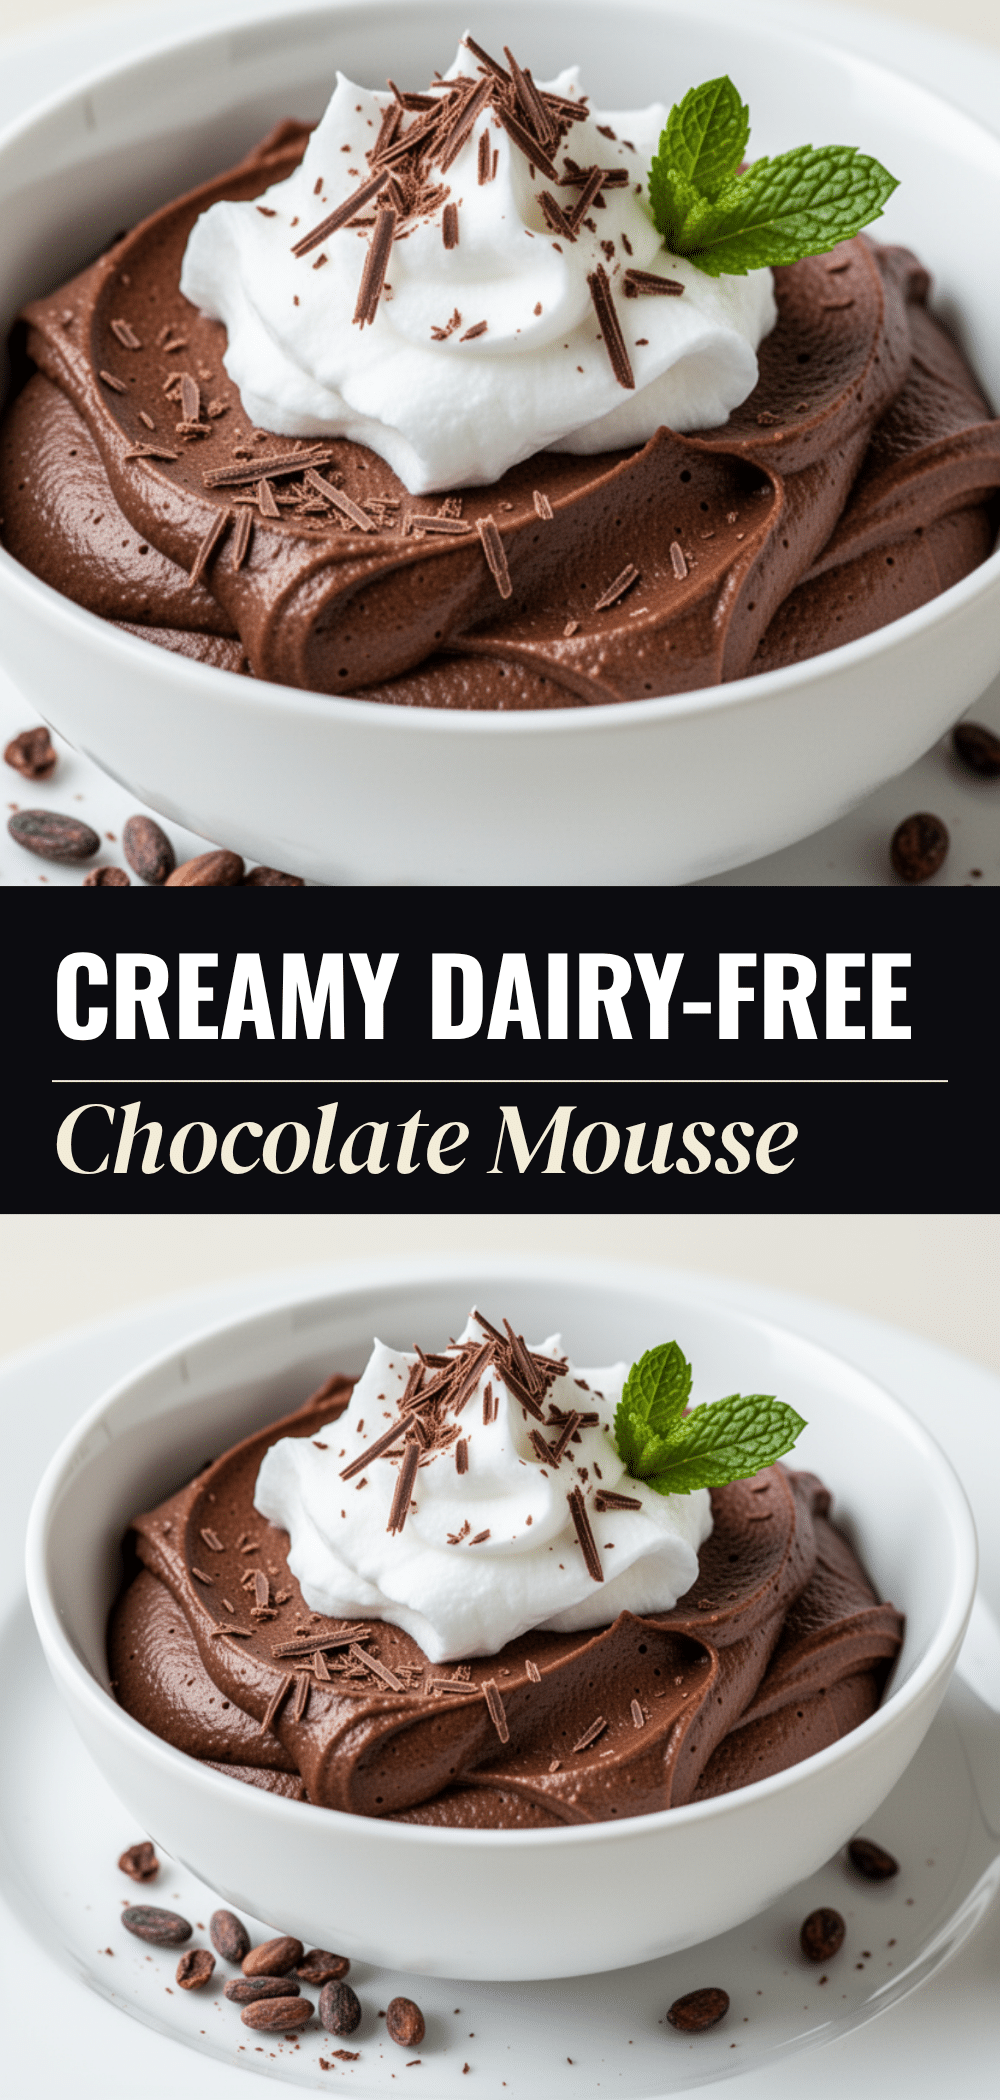
Dairy-Free Chocolate Mousse: Best Healthy Dessert
- Total Time: 2 hours 15 minutes
- Yield: 6 servings 1x
Description
A rich, silky, and airy dairy-free chocolate mousse made with silken tofu and aquafaba. This healthy, gluten-free dessert is ready in under 15 minutes of active time and provides a guilt-free indulgence.
Ingredients
- 1 block (12-14 oz / 350-400g) silken tofu
- 6 oz (170g) high-quality dark chocolate (70% cocoa or higher), chopped
- ½ cup (120ml) aquafaba (liquid from a can of chickpeas)
- 3–4 tablespoons (45-60ml) pure maple syrup
- 2 tablespoons (10g) unsweetened cocoa powder
- 1 teaspoon (5ml) pure vanilla extract
- ¼ teaspoon sea salt
- Optional: 1 teaspoon espresso powder, pinch of cayenne, or fresh berries for serving
Instructions
- Chop the dark chocolate into small pieces. Melt in a microwave-safe bowl in 30-second intervals, stirring between each, until mostly melted. Stir until smooth and set aside to cool slightly (warm, not hot). Alternatively, melt using a double boiler.
- Drain the silken tofu if necessary and add it to a food processor or high-speed blender. Blend on high until completely smooth.
- Add the melted chocolate, maple syrup, cocoa powder, vanilla extract, and sea salt to the tofu. Blend again until the mixture is glossy and smooth. Taste and adjust sweetness if needed.
- Pour the cold aquafaba into a clean, dry mixing bowl. Using a hand mixer or stand mixer, whip on high speed for 3-4 minutes until stiff peaks form.
- Add about one-third of the whipped aquafaba to the chocolate-tofu mixture and stir gently to lighten it. Add the remaining aquafaba.
- Using a spatula, gently fold the mixture until just combined, being careful not to deflate the air bubbles.
- Spoon the mousse into serving glasses or bowls. Cover and refrigerate for at least 2 hours, or preferably overnight, to set.
- Serve chilled with optional toppings like fresh berries, sea salt flakes, or chocolate shavings.
Notes
Ensure the aquafaba is cold and the mixing bowl is completely clean and dry (free of oil) for best whipping results. Use silken tofu, not firm tofu, for a smooth texture. The mousse can be stored in the refrigerator for up to 5 days or frozen for up to 1 month.
- Prep Time: 15 minutes
- Cook Time: 0 minutes
- Category: Dessert
- Cuisine: American
Nutrition
- Serving Size: 1 serving (approx. 1
- Calories: 180
- Sugar: 14
- Sodium: 120
- Fat: 9
- Saturated Fat: 4
- Carbohydrates: 22
- Fiber: 4
- Protein: 6
Keywords: dairy-free, vegan, gluten-free, healthy dessert, chocolate mousse, silken tofu, aquafaba, quick dessert, plant-based


