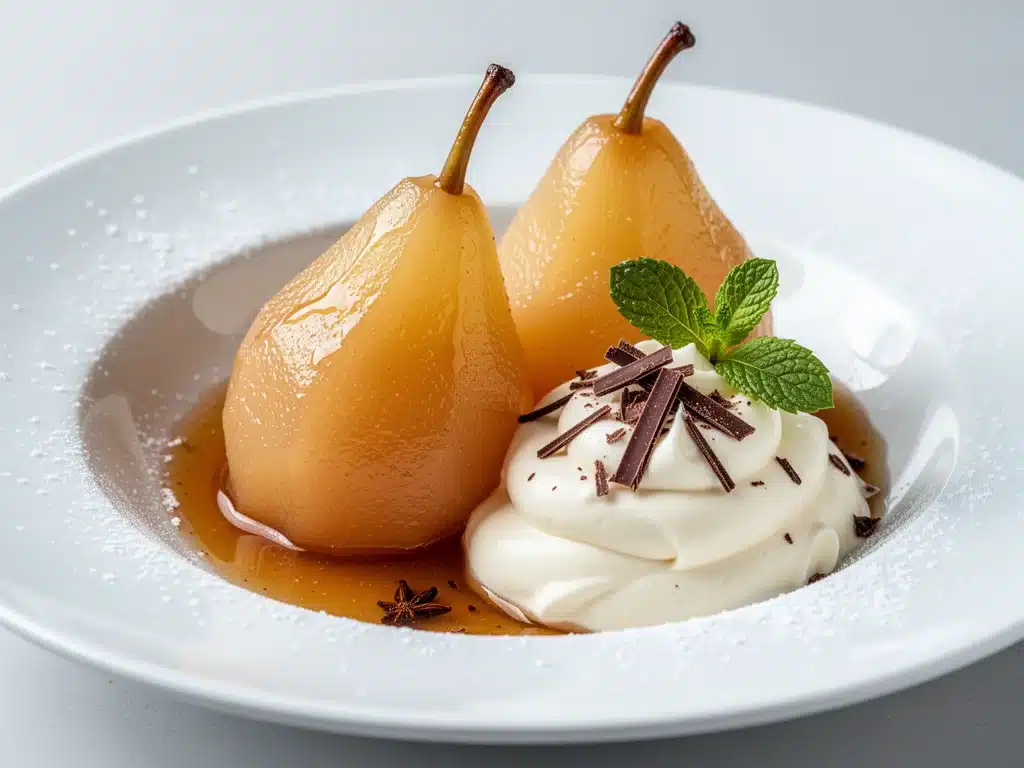
There is a specific kind of magic that happens in late December, right when the holiday chaos reaches its peak. You know the feeling. The house is full of people, the kitchen counter is covered in flour and wrapping paper, and you are staring at the fridge wondering what on earth to serve for dessert that feels fancy but doesn’t require you to stand over a stove for three hours. I learned this lesson the hard way two years ago. I had attempted a complex lattice-top apple tart that looked beautiful in my head but ended up leaking filling onto the oven floor and taking forty-five minutes to bake. My guests were polite, but I was stressed, sweaty, and regretting my life choices.
That was the moment I fell in love with Winter Spiced Poached Pears. It changed everything. This elegant holiday dessert is my secret weapon for hosting. It looks like something you’d order at a high-end bistro, but it’s actually just fruit simmering in spiced wine. The best part? You can make it two days ahead. The pears get more colorful, the flavors meld deeper, and you get to spend your actual party time drinking wine with your guests instead of worrying about a collapsing soufflé.
I’ve tested this recipe at least a dozen times now—through Christmas Eve dinners, New Year’s Eve parties, and random Tuesday nights when I just wanted something warm and comforting. Each time, it has been a hit. It’s sophisticated, yes, but it’s also incredibly forgiving. If you use slightly different pears, it still works. If you swap the wine for juice, it’s still delicious. But when you do it right, with good wine and fresh spices, the aroma filling your kitchen is pure holiday comfort. It’s the kind of dessert that makes people say, “You should open a restaurant,” even though you spent most of the prep time cleaning up the earlier courses.
So, if you’re looking for a way to elevate your holiday table without elevating your blood pressure, this is it. Let’s talk about why these poached pears are the star of the show, what you need to make them, and how to pull them off without breaking a sweat.
Why You’ll Love This Recipe
I’ve made my share of holiday desserts over the years, from heavy pumpkin pies to delicate cheesecakes, and Winter Spiced Poached Pears have earned a permanent spot in my rotation. Here’s why this recipe keeps me coming back, season after season.
Makes a Huge Impression
Let’s be honest: we all want to impress our guests. Poached pears look stunning, especially when they take on that deep ruby color from the red wine. They look intricate and difficult, but you’re going to tell everyone it took ten minutes of active work. That’s the kind of hosting hack that wins friends. It’s elegant, it’s beautiful, and it feels special without feeling heavy.
Zero Last-Minute Stress
This is the ultimate make-ahead dessert. The pears need to chill in the syrup for at least 24 hours to get their color and flavor. That means you can make them on Monday, have them ready for Friday’s party, and not worry about them at all until serving time. I love that I can plan my week around this. It’s the opposite of that panic-inducing dessert that needs to cool right before guests arrive.
Light and Not Overly Sweet
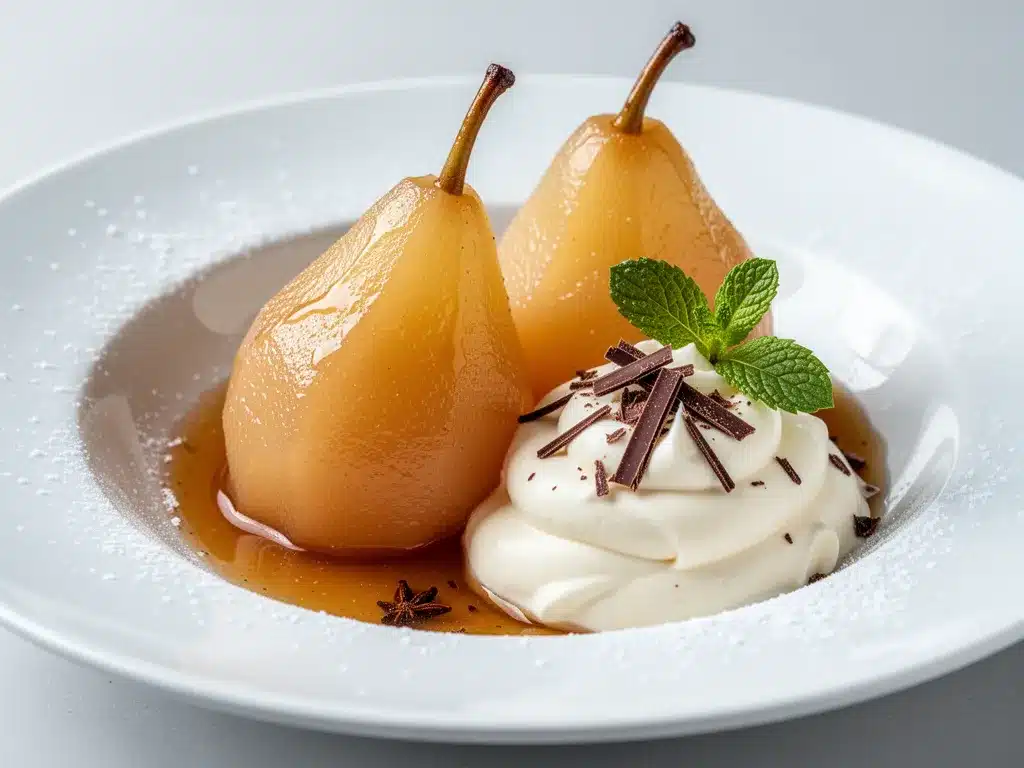
After a heavy holiday meal filled with roasts, stuffing, and mashed potatoes, nobody wants a dense chocolate cake or a sugary pie. Poached pears are light, juicy, and refreshing. The spices—cinnamon, star anise, cloves—add warmth without adding sugar. It feels like a palate cleanser that’s still indulgent. My dad, who usually says “I’m too full for dessert,” always makes room for these. That’s the highest compliment.
Uses Simple, Seasonal Ingredients
You don’t need fancy gadgets or obscure ingredients. You need pears, red wine, sugar, and spices. Most of these are things you probably already have or can grab at any grocery store. It’s budget-friendly compared to other fancy desserts, yet it tastes expensive. I use this recipe to stretch my holiday budget while still keeping the menu high-end.
Beautiful Color Transformation
There is something deeply satisfying about watching pale yellow pears turn a deep, jewel-toned magenta as they simmer. It’s visually mesmerizing. When you slice them open on the plate, the contrast between the white flesh and the pink edges is just gorgeous. It’s very Instagram-worthy, but more importantly, it’s just pretty to look at on the dinner table.
So basically, if you want a dessert that is beautiful, easy, light, and impressive, this is your answer. It’s my go-to when I need dinner to just work, and I’m confident it will become yours too.
Ingredients You’ll Need
Here’s the best part: you probably have most of this already. The beauty of poached pears is how few ingredients it takes to make something magical. I’m particular about a few things here, so let’s break down what you need and why it matters.
The Fruit
Firm Bosc pears (6 medium) — I swear by Bosc pears for this. They are firm, pear-shaped, and hold their structure beautifully during poaching. If you use soft pears like Bartlett or Anjou, they’ll turn into mush. Look for pears that are firm to the touch but have a slight give near the stem. They should smell fragrant. If they’re rock hard, they won’t absorb the syrup well.
The Poaching Liquid
Dry red wine (750ml bottle) — This is the star of the show. You want a dry red wine that you would actually drink. A Pinot Noir or a Cabernet Sauvignon works wonderfully. Don’t use cooking wine—it tastes metallic and harsh. If you don’t drink alcohol, you can substitute with grape juice mixed with a little red wine vinegar, but the wine gives it that sophisticated depth. I usually buy a bottle specifically for this, and if I don’t finish it, I save it for cooking later.
Water (1 cup) — We add water to dilute the wine slightly so the pears don’t get too overwhelmed by the alcohol flavor. It also helps the syrup cover the pears fully.
Granulated sugar (½ to ¾ cup) — This depends on how sweet your wine and pears are. Start with half a cup. Taste the syrup after it boils; if it’s too tart, add more sugar. You want a balanced syrup that is sweet but not cloying.
Vanilla extract (1 teaspoon) — Pure vanilla extract, not imitation. It adds a warm, creamy note that ties everything together. It’s a small detail, but it makes a big difference in the flavor profile.
The Spices
Cinnamon stick (1 large) — A whole stick infuses flavor better than ground cinnamon, which can make the syrup cloudy. If you don’t have a stick, you can use a teaspoon of ground cinnamon, but you’ll need to strain the syrup later.
Star anise (2 pods) — This gives that licorice-like warmth that is quintessentially “holiday.” It smells incredible. If you don’t have star anise, you can skip it, but it adds a special complexity that I love. It pairs beautifully with the red wine.
Whole cloves (4-5 cloves) — Just a few. Cloves are potent. Too many and your pears will taste like medicine. Four or five is the sweet spot.
Orange zest (1 orange) — Zest from one organic orange. The oils in the peel add a bright, citrusy note that cuts through the richness of the wine and sugar. It lightens up the dish. Make sure to wash the orange first!
Optional Add-ins
Fresh ginger (1-inch piece, sliced) — For a spicy kick. I add this sometimes when I want a bit of heat. It pairs well with the cinnamon.
Personal Tips:
- Pear Selection: Go to the store and pick out your pears yourself. Shake them gently; they should feel heavy for their size. That means they’re juicy.
- Wine Choice: Don’t buy the most expensive bottle, but don’t buy the cheapest either. A mid-range Pinot Noir is perfect. It’s fruity and not too tannic.
- Spice Variety: If you like cardamom, add two pods. It adds a floral note that is lovely with pears.
Equipment Needed
You don’t need fancy equipment for this. Here’s what I actually use, along with some honest opinions on alternatives.
Deep Saucepan or Dutch Oven — I use a 6-quart Dutch oven. It needs to be deep enough that the pears are submerged in the liquid. A wide skillet won’t work because the pears will stick out. If you don’t have a Dutch oven, a large, heavy-bottomed pot works fine. Just make sure the lid fits well.
Ladle — For skimming foam and serving syrup. I use a stainless steel ladle. It’s sturdy and easy to clean. A soup spoon works in a pinch.
Knife — A sharp paring knife for peeling and trimming the pears. Dull knives slip and cut you. Learn from my scars.
Peeler — I prefer a Y-peeler for pears. It’s faster and removes less flesh than a paring knife. But if you’re skilled with a knife, go for it. Some people like to leave the skin on for a rustic look, but peeling gives that classic, elegant appearance.
Measuring Cups and Spoons — Standard stuff. Dollar store versions work fine for this.
Storage Containers — You’ll need a large glass container or a few individual bowls to store the pears in the fridge. Glass is best because it doesn’t retain odors and lets you see the color change.
Optional but nice:
- Zester or Microplane — For getting fine orange zest without the bitter white pith. A regular grater works, but you might get too much pith.
- Strainer — If you use ground spices, you’ll need a fine-mesh strainer to remove them before serving.
How to Make It: Step-by-Step
Alright, let’s make this! I’m walking you through exactly how I do it, including the little tricks I’ve picked up over the years. It’s easier than you think.
Step 1: Prep the Pears (10 minutes)
Peel the pears carefully. Keep them whole if you can, but if they’re too awkward to peel without breaking, you can halve them and remove the core. I usually keep them whole for presentation. Trim off the stem and the bottom so they sit flat in the pot. If the bottom is pointy, trim it a little so it’s stable. Set them aside on a plate.
Step 2: Make the Syrup (5 minutes)
In your deep saucepan, combine the red wine, water, sugar, cinnamon stick, star anise, cloves, and orange zest. Stir gently to dissolve the sugar. Bring the mixture to a simmer over medium heat. You don’t need a rolling boil; just gentle bubbles. Let it simmer for 5 minutes to let the spices infuse the liquid. The kitchen will start to smell amazing.
Step 3: Add the Pears (10 minutes)
Gently place the pears into the simmering syrup. They should be mostly submerged. If they’re sticking out, you can place a round of parchment paper on top of the pears to weigh them down. This ensures even cooking and coloring. Reduce the heat to low. Cover the pot with a lid.
Step 4: Poach the Pears (30-45 minutes)
Let the pears simmer gently. Do not boil vigorously, or the pears will break apart. Check them after 30 minutes. Pierce the thickest part with a knife; it should go in easily but not feel mushy. If they’re still firm, let them cook for another 10-15 minutes. The total time depends on the ripeness of your pears. Firm pears take longer. Soft pears cook faster. Be patient.
Step 5: Cool in the Syrup (Crucial Step)
Once the pears are tender, remove the pot from the heat. Let them cool in the syrup to room temperature. This is important. If you take them out hot, they might fall apart. Once cool, cover the pot or transfer the pears and syrup to a storage container. Refrigerate for at least 24 hours. This is where the magic happens. The pears will turn a deep, beautiful red.
Step 6: Serve (5 minutes)
When you’re ready to serve, remove the pears from the fridge. You can serve them whole or sliced. I like to slice them in half lengthwise for a elegant presentation. Spoon some of the chilled syrup over the top. Garnish with a sprig of fresh mint or a few crushed pistachios if you want a little crunch. Serve with a dollop of crème fraîche or vanilla ice cream. The contrast of warm or cold pears with creamy dairy is perfection.
Expert Tips & Tricks
Here’s everything I’ve learned from making this dozens of times. These tips will save you from my mistakes.
Don’t Skip the Chill Time
I know you’re tempted to eat them right away. They smell great. But the color doesn’t develop fully until they’ve chilled overnight. The cold also firms up the pears, making them easier to slice. Trust me. Patience is key.
Control the Heat
Low and slow is the rule. If the syrup is boiling hard, the pears will get tough on the outside and mushy on the inside. You want them to cook evenly. If you hear vigorous bubbling, turn the heat down.
Reserve the Syrup
The leftover syrup is liquid gold. Don’t throw it away! You can use it to drizzle over oatmeal, pancakes, or yogurt. I keep it in the fridge for a few weeks and use it as a sweetener for tea. It’s basically a spiced wine syrup now.
Choose the Right Pears
This cannot be stressed enough. If you use soft pears, they will disintegrate. Buy pears that are firm. If you buy them early, you can ripen them on the counter for a few days, but for poaching, you want them firm. They should not yield much to gentle pressure.
Adjust the Sweetness
Taste the syrup before you add the pears. If it’s too tart, add more sugar. If it’s too sweet, add a squeeze of lemon juice. Balance is everything. You want the wine flavor to shine through.
Common Mistakes (and how to avoid them):
- Mistake: Pears are too dry. Fix: Make sure they are fully submerged. Use a plate or parchment paper to weigh them down.
- Mistake: Syrup is too thin. Fix: After removing the pears, you can boil the syrup to reduce it. Simmer it uncovered for 10-15 minutes until it thickens to a syrup consistency.
- Mistake: Pears are bland. Fix: They didn’t chill long enough. Or you used too much water and not enough wine/sugar. Adjust the ratios next time.
Variations & Substitutions
Once you’ve nailed the basic version, here’s how you can mix it up. I’ve tried all of these.
White Wine Version
Swap the red wine for a dry white wine like Sauvignon Blanc or Chardonnay. Add lemon zest instead of orange. These will be pale yellow but still delicious. Great for spring or summer.
Non-Alcoholic Version
Use grape juice or apple cider instead of wine. Add a splash of red wine vinegar to mimic the acidity of wine. It’s less complex but still sweet and spiced. Good for kids or non-drinkers.
Apple Variation
You can poach apples too! Use firm apples like Granny Smith. They take longer to cook, so check them after 45 minutes. The spices work perfectly with apples.
Ginger Spice Kick
Add a few slices of fresh ginger to the syrup. It adds a warm, spicy heat that is wonderful in winter.
Chocolate Twist
Add a square of dark chocolate to the syrup in the last 5 minutes of simmering. It adds richness and a subtle chocolate note. Very decadent.
Serving & Storage
How to Serve:
I usually serve these straight from the fridge, sliced in half. They look beautiful on a white plate. A dollop of vanilla bean ice cream or whipped cream is classic. For a lighter option, serve with a spoonful of Greek yogurt sweetened with honey.
Side Dishes:
This dessert stands alone, but if you want sides, keep it simple. A few nuts, a piece of dark chocolate, or a small cookie. Don’t overcomplicate it.
Storage Instructions:
Refrigerator: Store the pears and syrup in an airtight container for up to 5 days. They get better with age. The flavors continue to meld.
Freezing: I don’t recommend freezing poached pears. The texture becomes mushy when thawed. They are best fresh from the fridge.
Syrup: You can freeze the syrup for up to 3 months. Thaw it in the fridge and reheat it to use as a topping.
Nutrition Information
I’m not a nutritionist, but here’s the breakdown if you’re tracking. Keep in mind that this varies based on the wine and sugar used.
Per Serving (1 pear, approx 1/6th of recipe):
- Calories: 180
- Carbs: 35g
- Sugar: 28g
- Fat: 0g
- Protein: 1g
- Fiber: 4g
What’s Good:
- High in fiber from the pears
- Antioxidants from the red wine
- Low in fat
What to Know:
- Contains alcohol (though much evaporates)
- High in sugar (from added sugar and fruit)
- Gluten-free and vegan (if no dairy toppings)
My Take:
Look, this is a dessert. It has sugar. But it’s fruit-based, so it’s not empty calories. The fiber helps. And compared to a slice of cake, it’s lighter. Enjoy it as a treat, not a health food. But it’s definitely a better option than heavy pastries.
Final Thoughts
So that’s my go-to Winter Spiced Poached Pears! I’ve probably talked your ear off at this point, but when you make a recipe this often, you have a lot to say about it. This has saved my holiday dinners more times than I can count. It’s my answer to “what’s for dessert” when I’m tired, don’t want takeout, and still want something that tastes really good. My guests are happy, my family is happy, and I’m happy because I’m not stressed about cooking.
Make it yours! Try different spices, swap the wine for juice, or add chocolate. The best recipes are the ones you adapt to your family’s tastes. If you make this, drop a comment and let me know what you think! I love hearing how recipes turn out in your kitchen. And if something doesn’t work, tell me that too—I’m here to help troubleshoot.
Happy cooking! And I hope your kitchen smells half as good as mine does right now.
Frequently Asked Questions
Q: Can I use canned pears?
A: You can, but fresh pears have a better texture. Canned pears are already soft and might fall apart. If you must use canned, drain them well and poach them for a shorter time, just to warm them through and add flavor.
Q: Why did my pears stay pale?
A: This usually happens if the wine wasn’t red enough, or if they didn’t chill long enough. Red wine has pigments that stain the pears. If you used a light red wine, the color might be faint. Also, ensure they chilled for at least 24 hours. The color deepens over time.
Q: Can I make this ahead?
A: Yes! In fact, it’s best made ahead. Make it 2-3 days before serving. It keeps in the fridge for up to 5 days. The flavors improve with time.
Q: What wine should I use?
A: A dry red wine like Pinot Noir, Merlot, or Cabernet Sauvignon works best. Avoid sweet wines, as the syrup is already sweet. You want a wine with good flavor and acidity.
Q: Can I freeze the syrup?
A: Yes! The syrup freezes well for up to 3 months. Thaw it in the fridge and use it as a topping for ice cream or yogurt.
Q: How do I slice them without them falling apart?
A: Make sure they are completely chilled. Cold pears are firmer. Use a sharp knife and slice gently. If they are still soft, refrigerate them longer.
Q: Is this recipe gluten-free?
A: Yes, naturally. Just ensure your wine and spices are gluten-free (most are). Check labels if you have celiac disease.
Pin This Recipe!
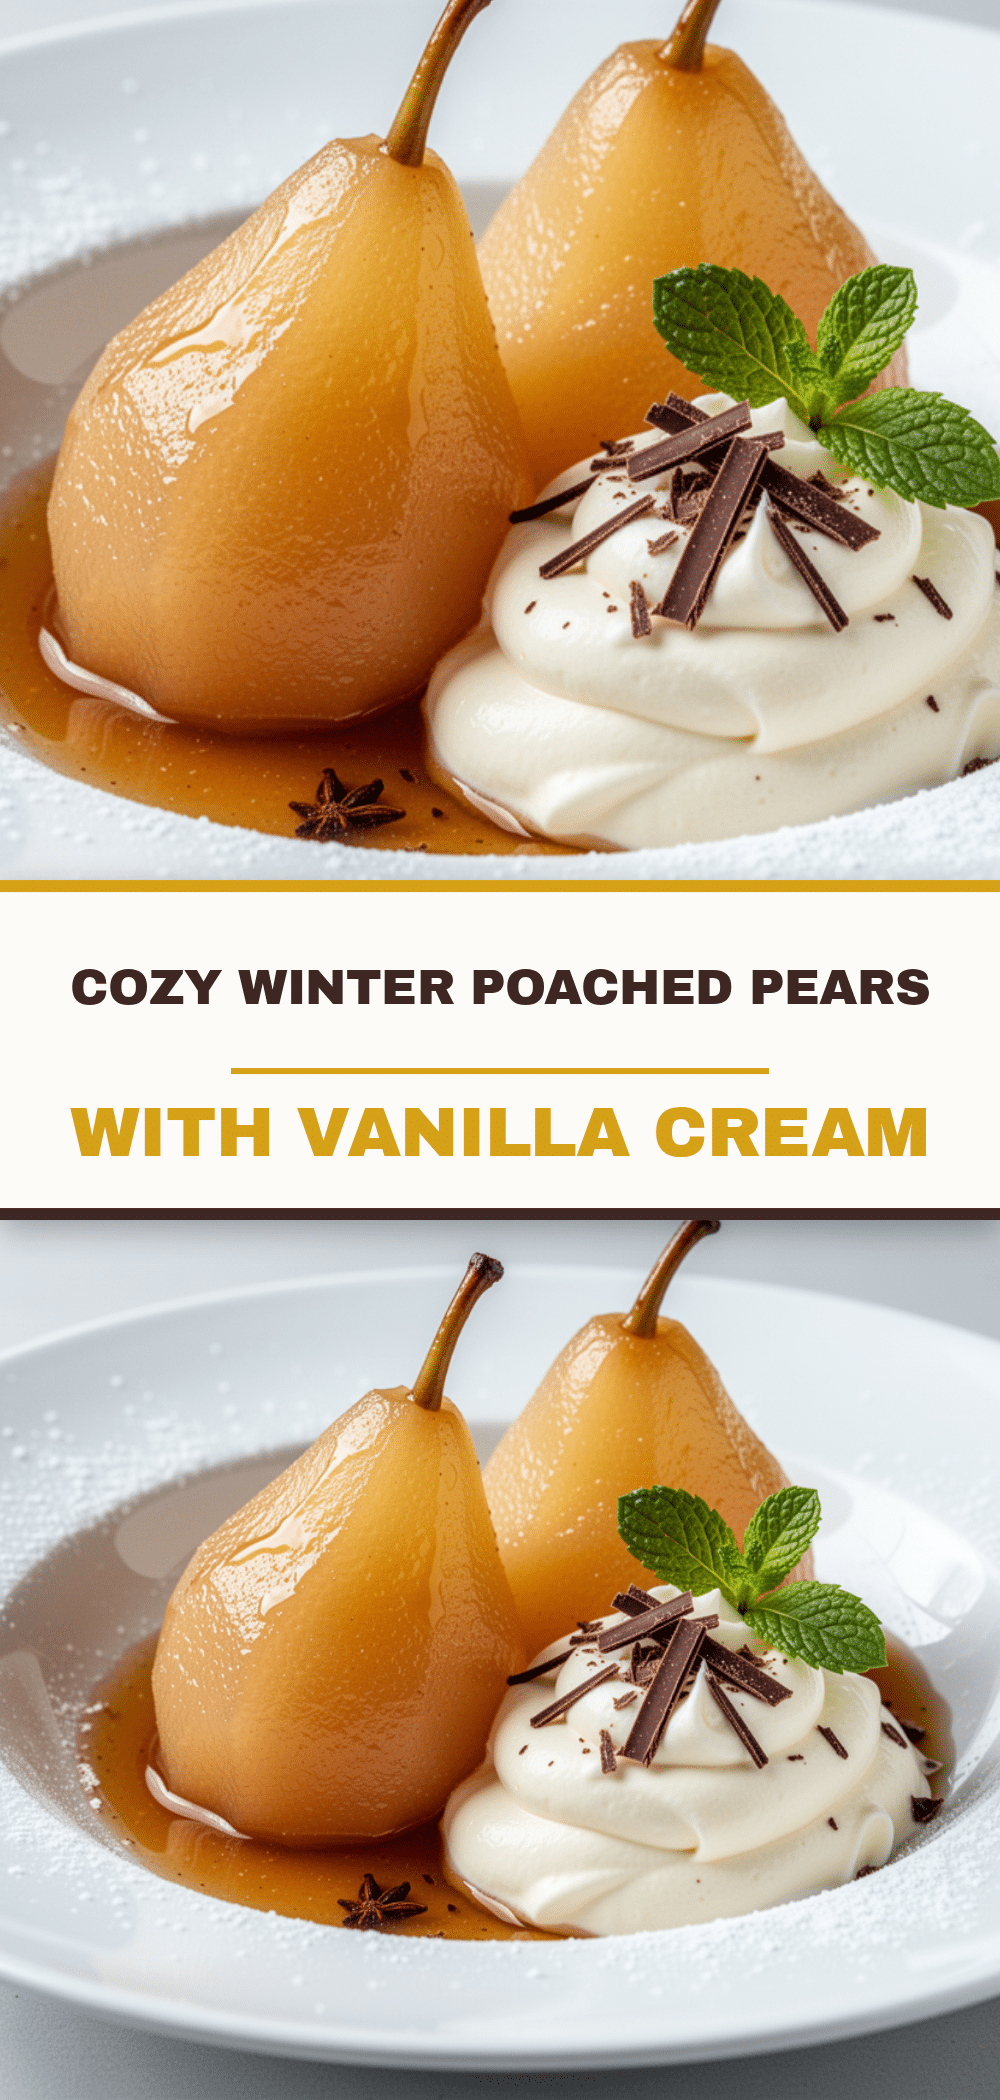
Winter Spiced Poached Pears: 3-Step Elegant Holiday Dessert
- Total Time: 1 hour
- Yield: 6 servings 1x
Description
An elegant, make-ahead holiday dessert featuring firm Bosc pears simmered in a spiced red wine syrup. This light, gluten-free treat is sophisticated yet easy to prepare, allowing you to spend more time with guests and less time in the kitchen.
Ingredients
- 6 medium firm Bosc pears
- 750ml dry red wine (such as Pinot Noir or Cabernet Sauvignon)
- 1 cup water
- 1/2 to 3/4 cup granulated sugar
- 1 teaspoon pure vanilla extract
- 1 large cinnamon stick
- 2 star anise pods
- 4–5 whole cloves
- Zest of 1 organic orange
- 1-inch piece fresh ginger, sliced (optional)
Instructions
- Peel the pears carefully, keeping them whole if possible. Trim the stem and bottom so they sit flat in the pot. Set aside.
- In a deep saucepan or Dutch oven, combine the red wine, water, sugar, cinnamon stick, star anise, cloves, and orange zest. Stir to dissolve the sugar.
- Bring the mixture to a gentle simmer over medium heat and let it simmer for 5 minutes to infuse the spices.
- Gently place the pears into the simmering syrup. If they are not fully submerged, place a round of parchment paper on top to weigh them down.
- Reduce heat to low, cover with a lid, and poach for 30-45 minutes until a knife pierces the thickest part easily but the pears are not mushy.
- Remove the pot from heat and let the pears cool in the syrup to room temperature.
- Cover and refrigerate for at least 24 hours to allow the pears to absorb the color and flavor.
- To serve, remove pears from the fridge. Slice in half lengthwise or serve whole. Spoon chilled syrup over the top and garnish with mint or pistachios if desired. Serve with crème fraîche or vanilla ice cream.
Notes
Use firm Bosc pears as they hold their structure best during poaching. Do not skip the 24-hour chilling time, as this is crucial for the pears to develop their deep ruby color and flavor. The leftover syrup can be frozen for up to 3 months and used as a topping for oatmeal or yogurt. If using ground spices instead of whole spices, strain the syrup before serving.
- Prep Time: 15 minutes
- Cook Time: 45 minutes
- Category: Dessert
- Cuisine: American
Nutrition
- Serving Size: 1 pear
- Calories: 180
- Sugar: 28
- Carbohydrates: 35
- Fiber: 4
- Protein: 1
Keywords: winter dessert, poached pears, holiday recipes, make-ahead dessert, red wine pears, gluten-free dessert, elegant dessert, easy holiday cooking


