There was a Tuesday last month when I came home from work completely drained. My brain was foggy, my inbox was overflowing, and the last thing I wanted to do was stand over a stove for an hour. I opened the fridge and found a package of ground beef that had been sitting there for two days, a bag of shredded cheese, and a jar of salsa that was slowly turning into jelly. I stared at those ingredients and thought, “This is it. This is the night I order pizza.”
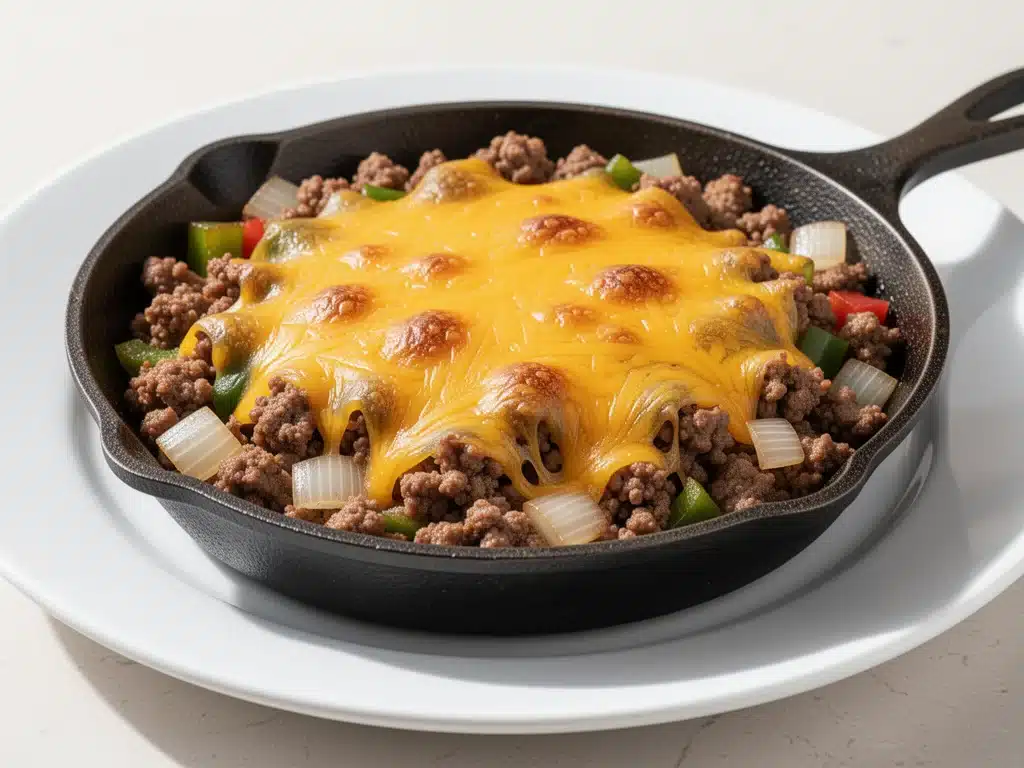
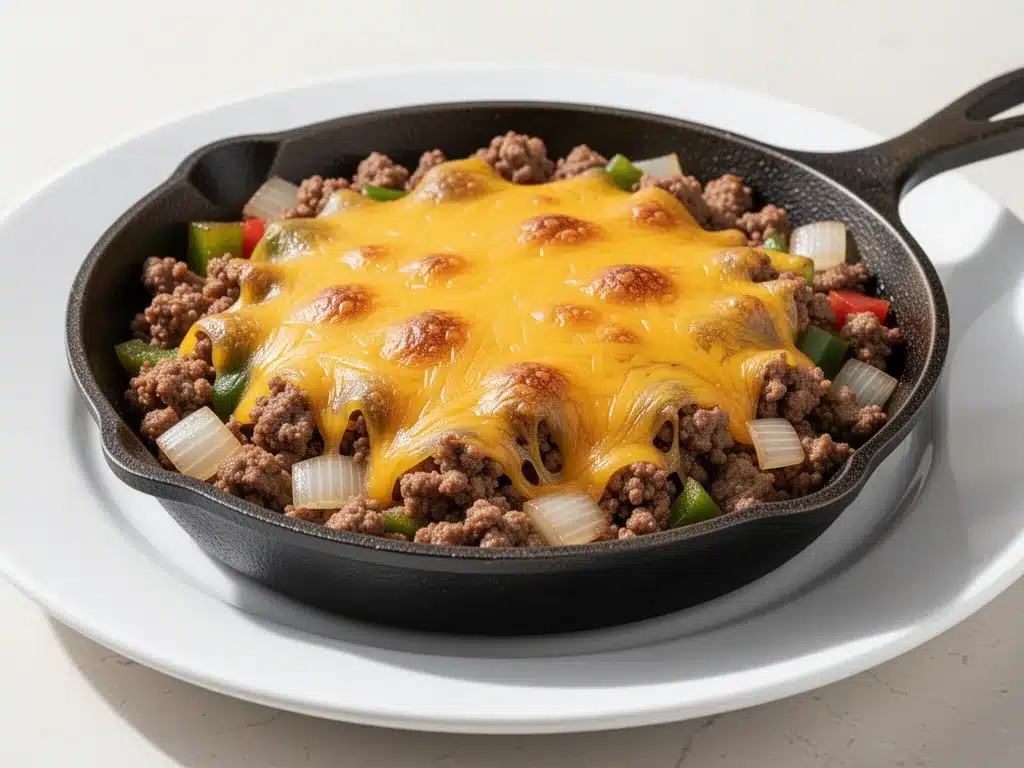
But then I remembered the cheesy ground beef skillet dinner I’d made a few weeks prior. It was one of those meals that just works. You know the kind—minimal effort, maximum comfort, and zero leftovers because everyone clears their plate. I threw the beef in the pan, added the salsa and spices, let it simmer, and then buried it all under a mountain of cheese. Ten minutes later, the smell of melting cheddar and seasoned beef filled the kitchen, and suddenly, I wasn’t tired anymore. I was just hungry.
I’ve made this cheesy ground beef skillet dinner at least a dozen times since then. It’s become my secret weapon for those “I have no energy but I still need to eat” nights. It’s not fancy. It doesn’t require twelve different pots or a trip to the grocery store for obscure ingredients. It’s just honest, hearty food that tastes like it came from a cozy diner but costs a fraction of the price. If you’re looking for a way to get dinner on the table without the stress, this is it. Seriously.
Why You’ll Love This Cheesy Ground Beef Skillet
Look, I’m not going to lie to you. Not every weeknight meal is going to be a culinary masterpiece. Sometimes you just need food that is filling, delicious, and easy. This cheesy ground beef skillet dinner hits all the right notes for me, and I think it will for you too. Here’s why it keeps showing up in my rotation:
- One Pan, Zero Hassle — The best part? Cleanup. Literally one skillet. Maybe a spoon. I can’t tell you how many nights this has saved me from doing a sink full of dishes. It’s the ultimate lazy-chef hack.
- Under 30 Minutes — From thawing the beef (or using fresh) to scraping the last bit off your plate, this takes about 25 minutes. That’s faster than waiting for a delivery driver who got lost. I’ve made this after work with zero prep time.
- Kid-Approved (and Picky-Eater Friendly) — My kids are not known for their adventurous eating habits. But this? They ask for it. The cheese hides the veggies (if you add them), and the beef is savory enough to satisfy even the grumpiest teen. It’s a win-win.
- Super Budget-Friendly — Ground beef is cheap. Salsa is cheap. Cheese is relatively cheap. This feeds four people for probably less than $15, depending on where you shop. It’s way cheaper than takeout and way healthier.
- Customizable AF — Want it spicy? Add jalapeños. Want it healthier? Throw in some spinach. Want it heavier? Add sour cream. This cheesy ground beef skillet dinner is a blank canvas for your cravings.
It’s reliable. It’s comforting. And it makes you feel like a hero for getting dinner on the table without losing your mind. That’s worth something.
Ingredients You’ll Need
Here’s the good news: you probably have most of this stuff already. This isn’t a recipe that requires a special trip to a specialty store. It’s pantry-friendly, fridge-clearing, and totally forgiving. Here’s exactly what you need and why it matters.
For the Base
Ground Beef (1 pound / 450g) — I use 80/20 lean-to-fat ratio. Yes, the fat adds flavor. No, you don’t need to drain it all if you don’t want to (but do drain the excess if it’s swimming in oil). Lean beef works too, but it can be a bit dry. I stick with the 80/20 for that rich, juicy texture.
Yellow Onion (1 medium, diced / about 150g) — This is your flavor foundation. It adds sweetness and depth. I dice it small so it cooks down and disappears into the sauce. If you hate onions, you can skip them, but you’ll miss out on that savory base.
Garlic (3 cloves, minced / about 1 tablespoon) — Fresh garlic is non-negotiable here. Jarred garlic has a weird metallic aftertaste that really clashes with the cheese. Mince it yourself. It takes 30 seconds and makes a huge difference.
Salsa (1 cup / 240g) — This is the secret weapon. It adds moisture, acidity, and flavor all at once. I use a medium salsa, but mild works if you’re sensitive to spice. Avoid the chunky variety if you want a smoother sauce, but chunky is fine if you like texture.
Cheddar Cheese (2 cups / 200g, shredded) — Use real block cheese and grate it yourself. Pre-shredded cheese has anti-caking agents that prevent it from melting smoothly. You want that gooey, stringy pull, not a grainy mess. Sharp cheddar gives the best flavor.
For the Flavor
Black Beans (1 can, 15oz / 425g, drained and rinsed) — These add protein and fiber, making the meal more filling. They also soak up all that cheesy beefy goodness. If you’re avoiding beans, you can skip them, but I highly recommend keeping them.
Corn (1 cup / 150g, frozen or canned) — Sweet corn balances the savory beef and spicy salsa. Frozen is better because it doesn’t have that metallic can taste. If you’re not a fan of corn, swap it for diced bell peppers.
Taco Seasoning (1 packet / 28g) — I usually use a standard packet like Old El Paso or McCormick. It’s got cumin, chili powder, and paprika—all the things that make this taste like Mexican-inspired comfort food. You can make your own blend, but why bother when the packet exists?
Beef Broth (½ cup / 120ml) — This helps create a saucy consistency so it’s not just dry beef. Low-sodium is best so you can control the salt. If you don’t have broth, water works in a pinch, but broth adds more depth.
Optional Add-Ins
Jalapeños (½ cup, sliced) — For heat. Fresh or pickled. I add these if I want a kick.
Sour Cream (for topping) — Adds a cool, creamy contrast to the hot, spicy beef. Essential for me.
Fresh Cilantro (for garnish) — Adds brightness. I chop it up and sprinkle it on top right before serving.
Bell Peppers (1 cup, diced) — I add these with the onions for extra veggies and crunch. Red or green works.
Black Olives (½ cup, sliced) — For a briny punch. Not everyone loves them, but I do.
Equipment Needed
You don’t need fancy gadgets for this. Here’s what I actually use.
12-Inch Skillet — A large skillet is crucial. You need enough surface area to brown the beef properly. I use a cast iron skillet because it holds heat well, but stainless steel or non-stick works too. Just make sure it’s big enough to hold everything without overflowing.
Wooden Spoon — For stirring and breaking up the beef. Silicone works too. Avoid metal if you’re using non-stick.
Colander — For rinsing the beans and corn. Or just drain them in the can if you’re being lazy (but rinse them well to remove sodium).
Sharp Knife — For dicing onions and garlic. Dull knives are dangerous and annoying. Learn to sharpen yours.
Optional: Grater — For grating your own cheese. Box grater works fine. Or buy pre-shredded if you’re in a rush (but quality will suffer).
How to Make It: Step-by-Step
Alright, let’s make this! I’m walking you through exactly how I do it, including the little tricks I’ve picked up over time.
Step 1: Prep Your Ingredients (5 minutes)
Before you turn on the stove, get everything ready. Dice the onion, mince the garlic, drain the beans, and grate the cheese. I know it seems like extra work, but once you start cooking, things move fast. Having everything in bowls or piles makes the process smooth and stress-free.
Step 2: Brown the Beef (5-7 minutes)
Heat your skillet over medium-high heat. Add the ground beef and break it up with your wooden spoon as it cooks. You want small crumbles, not big chunks. Cook until the beef is no longer pink and has browned nicely. This takes about 5-7 minutes. If there’s a lot of excess grease, drain it off now. You want the flavor, not the oil.
Step 3: Add Aromatics (2 minutes)
Push the beef to the side of the pan (or just mix it in) and add the diced onion. Cook for 2 minutes until the onion starts to soften. Add the minced garlic and cook for 30 seconds until fragrant. Don’t let the garlic burn—it gets bitter fast. Just until it smells good.
Step 4: Build the Sauce (5 minutes)
Stir in the salsa, black beans, corn, taco seasoning, and beef broth. Mix everything well. Let it simmer over medium heat for about 5 minutes. The sauce will thicken slightly as the beans and corn release their starches. Taste it now. If it needs more salt, add a pinch. If it’s too thick, add a splash more broth.
Step 5: Melt the Cheese (2 minutes)
Remove the skillet from the heat. This is important. If you leave it on high heat, the cheese can separate and become oily. Sprinkle the shredded cheddar cheese evenly over the top. Cover the skillet with a lid (or a piece of foil) for 2 minutes. The steam will melt the cheese perfectly. Don’t stir yet—just let it melt.
Step 6: Serve
Uncover the skillet. The cheese should be gooey and melted. Stir it gently into the beef mixture, or leave it on top for that dramatic cheese-pull effect. Serve immediately with sour cream, cilantro, and maybe some tortilla chips on the side. It’s ready.
Total Time: About 25 minutes (5 minutes prep, 20 minutes cooking)
Expert Tips & Tricks
Here’s everything I’ve learned from making this dozens of times. These tips will save you from my mistakes.
Don’t Skip the Searing
When browning the beef, don’t stir it constantly. Let it sit for a minute or two to get a nice brown crust. That Maillard reaction adds flavor. If you just boil the beef in its own juices, it’ll taste bland. Let it sear.
Grate Your Own Cheese
I cannot stress this enough. Pre-shredded cheese is coated in cellulose to prevent clumping. That stuff doesn’t melt well. It leaves little white bits in your sauce. Buy a block of sharp cheddar and grate it. It takes 2 minutes and changes everything.
Adjust the Spice
Salsa brands vary wildly in heat. If you’re making this for kids or people who can’t handle spice, use mild salsa and skip the jalapeños. If you like it hot, use a hot salsa and add fresh jalapeños. Taste the mixture before adding cheese so you can adjust seasoning.
Keep It Moist
Ground beef can dry out quickly. The salsa and broth help, but if your beef seems dry after browning, add an extra splash of broth or a spoonful of cream cheese. Cream cheese adds creaminess and moisture. It’s a game-changer.
Meal Prep Friendly
This reheats well! Store it in an airtight container in the fridge for up to 3 days. Reheat in the microwave or on the stove with a splash of water or broth to loosen it up. It’s perfect for lunch boxes.
Variations & Substitutions
Once you’ve nailed the basic version, here’s how you can mix it up. I’ve tried all of these.
Turkey Version
Swap ground beef for ground turkey. It’s leaner and healthier. Just make sure to add a bit more broth or olive oil since turkey is drier. I use this version when I’m trying to eat lighter.
Chicken Version
Use diced chicken breast or thighs instead of beef. Cook the chicken first, then add the veggies. It’s a different vibe but still delicious. I like this one when I want something less heavy.
Vegetarian Version
Skip the meat entirely. Add an extra can of beans and some mushrooms for umami. Mushrooms browned well mimic the texture of ground beef. I use this version when I’m trying to eat less meat.
Spicy Version
Add a diced jalapeño with the onions, use hot salsa, and sprinkle with red pepper flakes. Top with pickled jalapeños. This is for the heat lovers.
Gluten-Free
This recipe is naturally gluten-free! Just make sure your taco seasoning and salsa are certified gluten-free (some brands have hidden gluten). Serve with corn tortillas or rice.
Dairy-Free
Use dairy-free cheese shreds (though they don’t melt as well) or skip the cheese entirely and top with avocado. Avocado adds creaminess without dairy. I use this for my lactose-intolerant friends.
Serving & Storage
How to Serve
I usually serve this straight from the skillet at the dinner table. It looks rustic and stays warm. But here are other ways I’ve enjoyed it:
- Over Rice — Serve it over white or brown rice to soak up the sauce.
- In Tortillas — Scoop it into warm flour or corn tortillas for tacos. Top with lettuce and salsa.
- With Chips — Serve it with tortilla chips on the side for dipping. It’s like a giant, savory dip.
- With Bread — Garlic bread or cornbread pairs well. I love dipping the bread in the cheesy beef.
Storage Instructions
Refrigerator: Store leftovers in an airtight container for up to 3 days. The sauce will thicken in the fridge—totally normal.
Reheating: Best method: Add to a skillet with a splash of water or broth over low heat. Stir until heated through and creamy again. Microwave method: Heat in 30-second intervals, stirring between. Add a splash of liquid if it’s too thick.
Freezing: This doesn’t freeze well because of the dairy. The cheese separates when thawed. Make it fresh or store in the fridge for up to 3 days.
Nutrition Information
I’m not a nutritionist, but here’s the breakdown if you’re tracking.
Per Serving (based on 6 servings):
| Nutrient | Amount |
|---|---|
| Calories | 450 |
| Protein | 28g |
| Carbs | 22g |
| Fiber | 4g |
| Sugar | 4g |
| Fat | 28g |
| Saturated Fat | 12g |
| Cholesterol | 75mg |
| Sodium | 650mg |
What’s Good: High protein from beef and beans. Good fiber content. Calcium from cheese.
What to Know: Higher in calories and fat due to beef and cheese. Moderate sodium (use low-sodium broth and beans to reduce).
My Take: This is comfort food. It’s not a diet recipe. But it’s balanced enough to be a real meal. When I want to make it lighter, I use lean turkey and skip the cheese. But usually? I just enjoy it.
Final Thoughts
So that’s my go-to cheesy ground beef skillet dinner! I’ve probably talked your ear off at this point, but when you make a recipe this often, you have a lot to say about it.
This has saved weeknight dinners more times than I can count. It’s my answer to “what’s for dinner” when I’m tired, don’t want takeout, and still want something that tastes really good. My kids are happy, my husband’s happy, and I’m happy because I’m not stressed about cooking.
Make it yours! Try different add-ins, swap in your favorite vegetables, adjust the spice. The best recipes are the ones you adapt to your family’s tastes.
If you make this, drop a comment and let me know what you think! I love hearing how recipes turn out in your kitchen. And if something doesn’t work, tell me that too—I’m here to help troubleshoot.
Happy cooking! And I hope your kitchen smells half as good as mine does right now.
Frequently Asked Questions
Can I use frozen ground beef?
You can, but it’s better to thaw it first. If you cook it frozen, it’ll steam instead of brown, and you won’t get that nice flavor. Thaw it in the fridge overnight or in the microwave on defrost mode. If you must cook it frozen, break it up as it thaws in the pan, but expect a longer cooking time.
Why did my sauce turn out watery?
Usually, this means you didn’t simmer it long enough, or you added too much salsa/broth. Let the mixture simmer for a full 5-7 minutes to reduce. If it’s still watery, cook it a bit longer uncovered. The beans and corn also absorb liquid, so giving it time helps.
Can I make this ahead for a dinner party?
Sort of. You can prep the ingredients (dice onions, drain beans) ahead of time. But it’s best to cook it fresh. The cheese sauce doesn’t reheat as well as other dishes. If you must make it ahead, cook it, let it cool, store it, and reheat gently with a splash of broth. It won’t be quite as good as fresh, but it’s close.
Can I use different cheese?
Yes! Mozzarella gives a better melt and stretch. Pepper Jack adds spice. Monterey Jack is mild and creamy. You can even use a Mexican blend cheese. Just avoid pre-shredded if you can help it. Freshly grated melts best.
How do I reheat leftovers without it getting dry?
Add a splash of water, broth, or milk to the skillet or microwave-safe bowl. Cover and heat gently. The liquid helps recreate the creamy sauce. If you microwave it without liquid, it’ll dry out fast.
Can I double this recipe?
Absolutely! Double everything and use your biggest pot or a large Dutch oven. The cooking times stay roughly the same, but you may need to stir more often to prevent burning. I do this when I’m feeding a crowd or meal-prepping.
Is this recipe kid-friendly?
Yes! It’s mild, cheesy, and savory. Most kids love it. If your kids are sensitive to spice, use mild salsa and skip the jalapeños. You can also serve it with tortilla chips on the side for dipping, which makes it more fun for them.
Can I add vegetables?
Definitely! Bell peppers, spinach, zucchini, or mushrooms all work great. Add harder veggies (peppers, onions) with the beef. Add soft veggies (spinach, zucchini) at the end so they don’t get mushy. It’s a great way to sneak in extra nutrition.
Pin This Recipe!
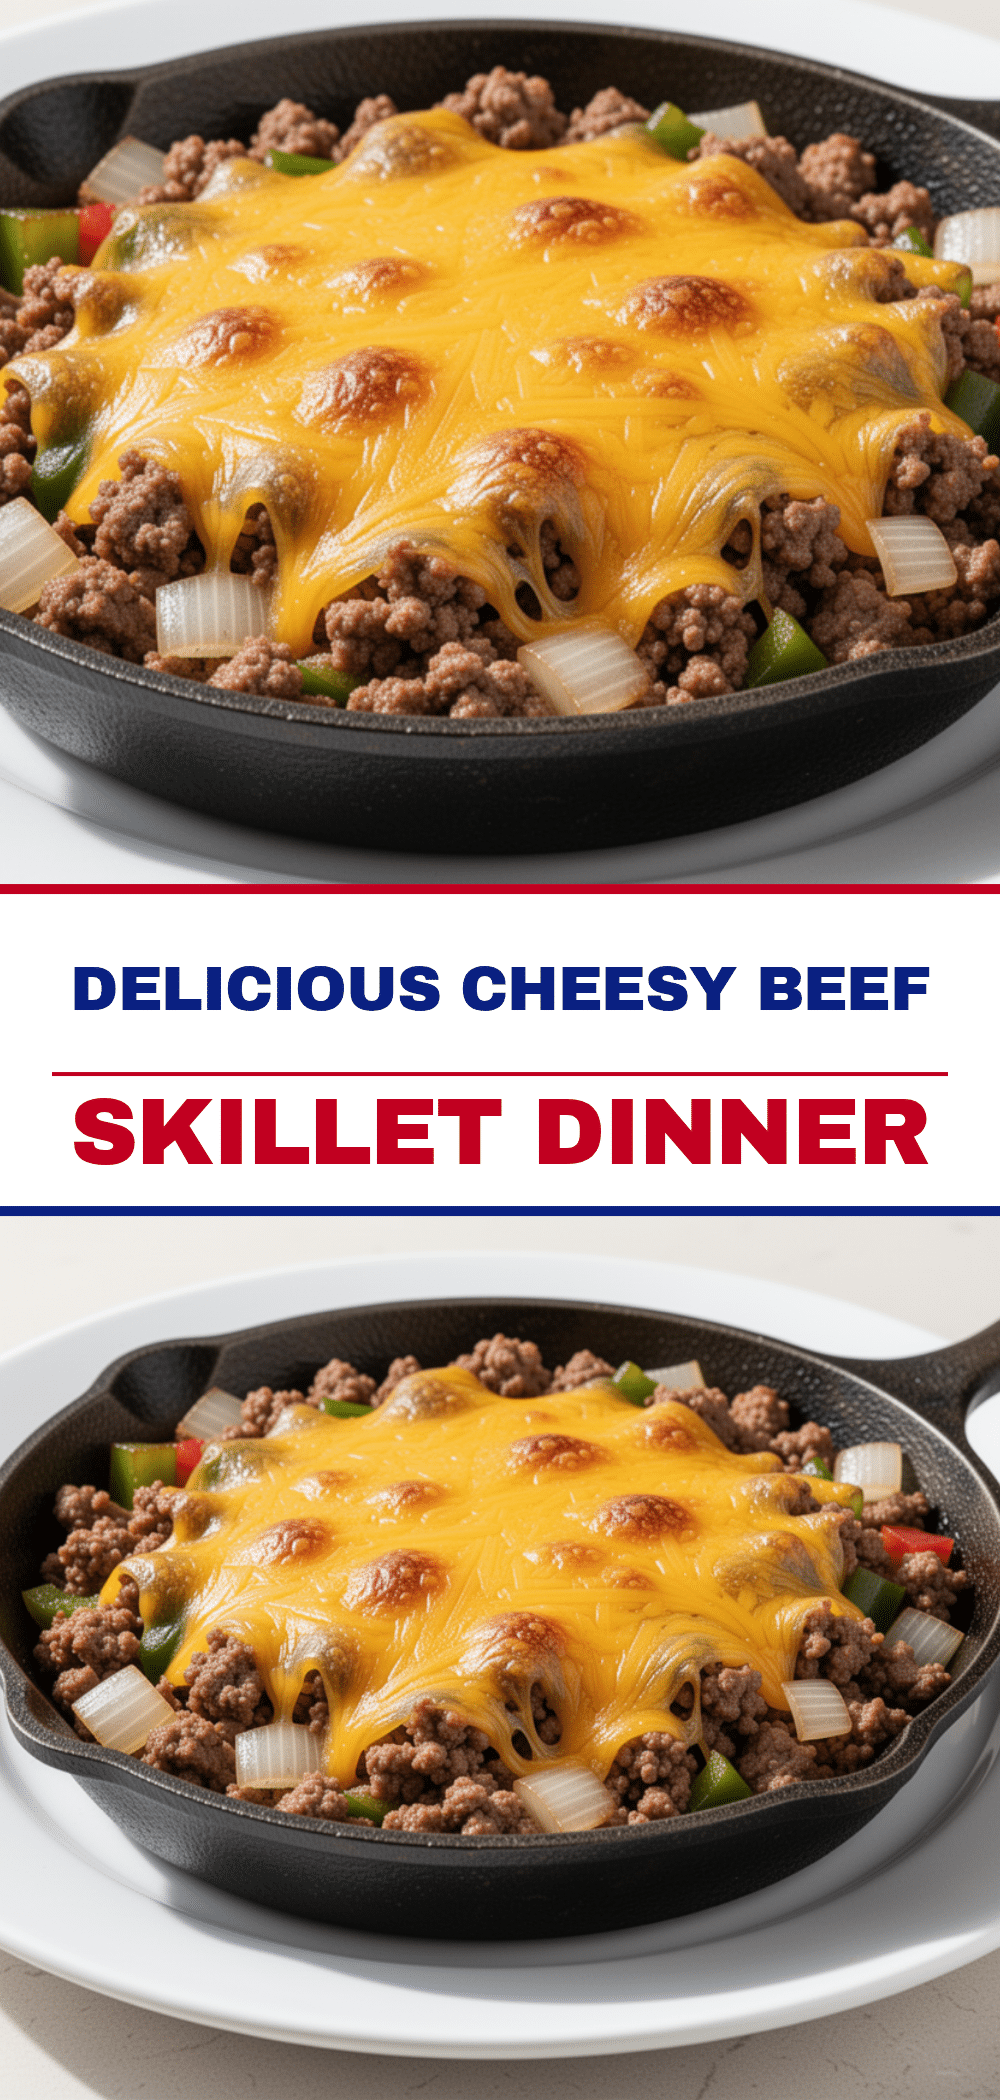
Cheesy Ground Beef Skillet: Easy Weeknight Meal
- Total Time: 25 minutes
- Yield: 6 servings 1x
Description
A quick, one-pan weeknight dinner featuring seasoned ground beef, salsa, beans, and corn, topped with melted cheddar cheese. It’s budget-friendly, customizable, and ready in under 30 minutes.
Ingredients
- 1 pound ground beef (80/20 lean-to-fat ratio)
- 1 medium yellow onion, diced
- 3 cloves garlic, minced
- 1 cup salsa (medium or mild)
- 2 cups sharp cheddar cheese, shredded
- 1 can (15oz) black beans, drained and rinsed
- 1 cup corn (frozen or canned)
- 1 packet taco seasoning (28g)
- 1/2 cup beef broth (low-sodium)
- Optional: 1/2 cup sliced jalapeños
- Optional: Sour cream for topping
- Optional: Fresh cilantro for garnish
- Optional: 1 cup diced bell peppers
- Optional: 1/2 cup sliced black olives
Instructions
- Prep ingredients: Dice onion, mince garlic, drain beans, and grate cheese.
- Heat a 12-inch skillet over medium-high heat. Add ground beef and break it into small crumbles. Cook for 5-7 minutes until browned. Drain excess grease if necessary.
- Add diced onion to the skillet and cook for 2 minutes until softened. Add minced garlic and cook for 30 seconds until fragrant.
- Stir in salsa, black beans, corn, taco seasoning, and beef broth. Mix well and simmer over medium heat for 5 minutes until the sauce thickens slightly.
- Remove the skillet from the heat. Sprinkle shredded cheddar cheese evenly over the top. Cover with a lid or foil and let sit for 2 minutes to melt the cheese.
- Uncover and gently stir the cheese into the beef mixture or leave on top. Serve immediately with optional toppings like sour cream, cilantro, or tortilla chips.
Notes
Grate your own cheese to ensure smooth melting; pre-shredded cheese contains anti-caking agents. Do not skip searing the beef for better flavor. If the mixture is too dry, add a splash of broth or cream cheese. This recipe is naturally gluten-free if using certified gluten-free taco seasoning and salsa.
- Prep Time: 5 minutes
- Cook Time: 20 minutes
- Category: Main Course
- Cuisine: Mexican-Inspired
Nutrition
- Serving Size: 1 serving
- Calories: 450
- Sugar: 4
- Sodium: 650
- Fat: 28
- Saturated Fat: 12
- Carbohydrates: 22
- Fiber: 4
- Protein: 28
Keywords: cheesy ground beef skillet, weeknight dinner, one pan meal, easy beef recipe, family friendly dinner, budget friendly meals


