Last Tuesday, I was standing in my kitchen at 6:45 PM, feeling that specific brand of dread that comes from realizing you have zero dinner plans and a pantry that is mostly empty. My husband had mentioned something about being “hungry enough to eat the furniture,” and I knew I needed to pull a rabbit out of a hat. Or, more accurately, a chicken breast out of the freezer.
I was aiming for something simple. But not boring. I wanted something crispy, cheesy, and fast enough that my husband wouldn’t have time to complain before he sat down at the table. I grabbed some panko breadcrumbs, a block of Parmesan cheese, and a couple of chicken cutlets that had been thawing on the counter. I threw them together without a real plan—just instinct and a little bit of desperation.
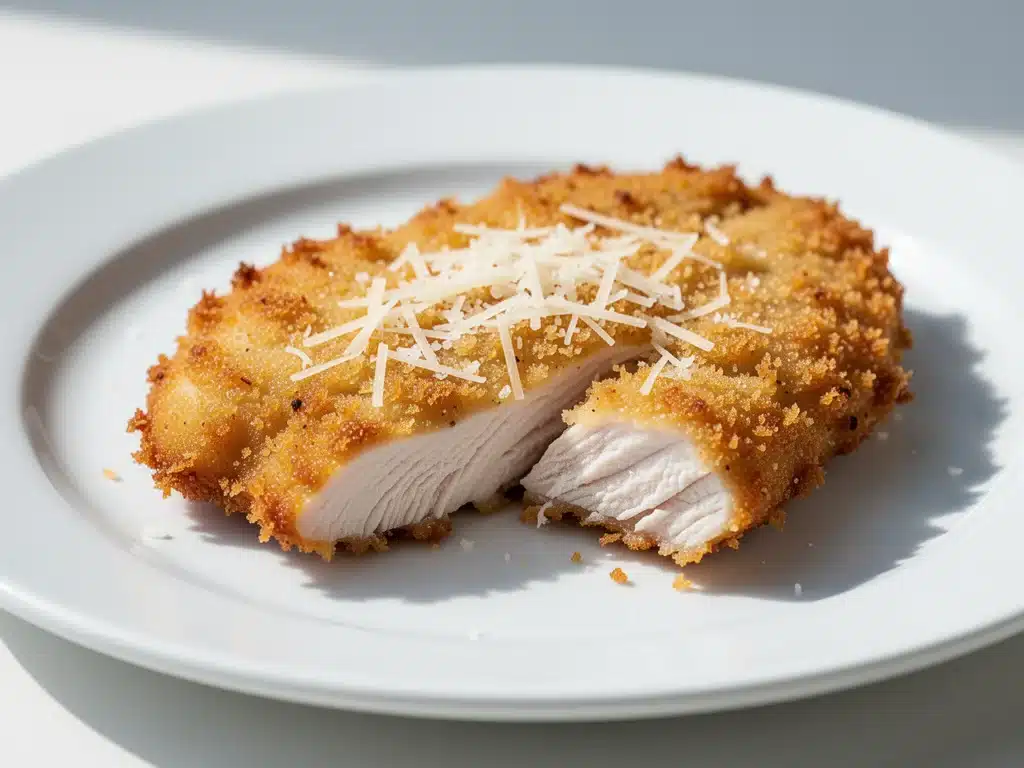
Here’s the thing: I burned the first one. Not because the heat was too high, but because I wasn’t paying attention. I got distracted by a text message, and suddenly, my kitchen smelled like regret. I scraped that blackened mess into the trash, lowered the heat, and tried again. This time, I kept my eyes on the pan. The result? Golden, crunchy, salty perfection. The chicken was tender inside, and the crust was so good I actually ate it off the plate.
That night, we didn’t just eat dinner. We cleaned the plates. My husband asked for seconds. Not because he was stuffed, but because he was genuinely excited to have more of that crispy, cheesy goodness. That was three weeks ago. Since then, I’ve made these crispy parmesan crusted chicken cutlets at least four times. My kids love them. My picky eater husband loves them. I love them because they take 20 minutes from start to finish.
This isn’t just another chicken recipe. It’s the one I reach for when I’m tired, when I’m busy, or when I just need a win. It’s reliable. It’s delicious. And honestly? It’s better than takeout. I’ve tested this method with different types of breadcrumbs, different cheeses, and even different cooking oils. This combination? It’s the winner. Every time.
Why You’ll Make These Chicken Cutlets On Repeat
Look, I make a lot of chicken dinners. There are so many ways to cook chicken that it’s easy to get bored. But these crispy parmesan crusted chicken cutlets are different. They’re not dry. They’re not bland. They’re not complicated. Here’s why they’ve earned a permanent spot in my weekly rotation:
- Stupid Simple — Seriously, if you can dip something in flour and then in egg, you can make this. I’ve walked my teenage son through it over FaceTime while I was running late for work. He nailed it the first time.
- Lightning Fast — 20 minutes from start to finish. 10 minutes of active prep, 10 minutes of cooking. I make this on weeknights when I get home at 7pm and I’m starving. It’s that fast.
- Pantry-Friendly — You probably have 90% of these ingredients already. Flour, eggs, panko, Parmesan, oil. I keep these stocked just so I can make this on a whim. No special trips to the store needed.
- Crowd-Pleaser — I’ve served this to my vegetarian sister (she just skipped the chicken and ate the crust—don’t judge), my gluten-free neighbor (with a quick swap), and my dad who only likes “real food.” Everyone loved it. Even the skeptics.
- Makes Amazing Leftovers — Actually tastes better the next day. The crust stays crispy if you reheat it in the oven or air fryer. I deliberately make extra for lunch throughout the week. It’s my go-to office lunch.
- Budget-Smart — Feeds 4 people for under $10. That’s less than one meal at a fast-food place. And it’s healthier, too. I know exactly what’s in it.
This is my go-to when I need dinner to just work. No complicated techniques, no weird ingredients, just reliable, delicious food that makes everyone happy. And honestly? It feels a little fancy, but it’s totally accessible. You’ll feel like a pro chef after making this.
Ingredients You’ll Need
Here’s the best part: you probably have most of this already. I’m particular about three ingredients here, and I’ll tell you exactly why. The rest is basic pantry stuff.
For the Chicken
Chicken breasts (2 large or 4 small, pounded thin / about 600g total) — I use boneless, skinless chicken breasts. The key is to pound them thin. I like them about ½ inch thick. This ensures they cook evenly and quickly. If you buy thin-cut cutlets, even better. If not, put them in a ziplock bag and whack them with a rolling pin. Don’t skip this step.
All-purpose flour (½ cup / 60g) — This is for the initial dredge. It helps the egg wash stick to the chicken. I use regular all-purpose flour. No need for fancy bread flour here.
Large eggs (2 large) — Beaten with a pinch of salt and pepper. This is the glue that holds the crust on. I whisk them well so there are no lumps. If you’re allergic, you can use buttermilk or a flax egg, but eggs give the best texture.
Kosher salt and black pepper — For seasoning the chicken and the flour. I use kosher salt because it’s easier to control. Table salt is too salty and clumps up.
For the Crust
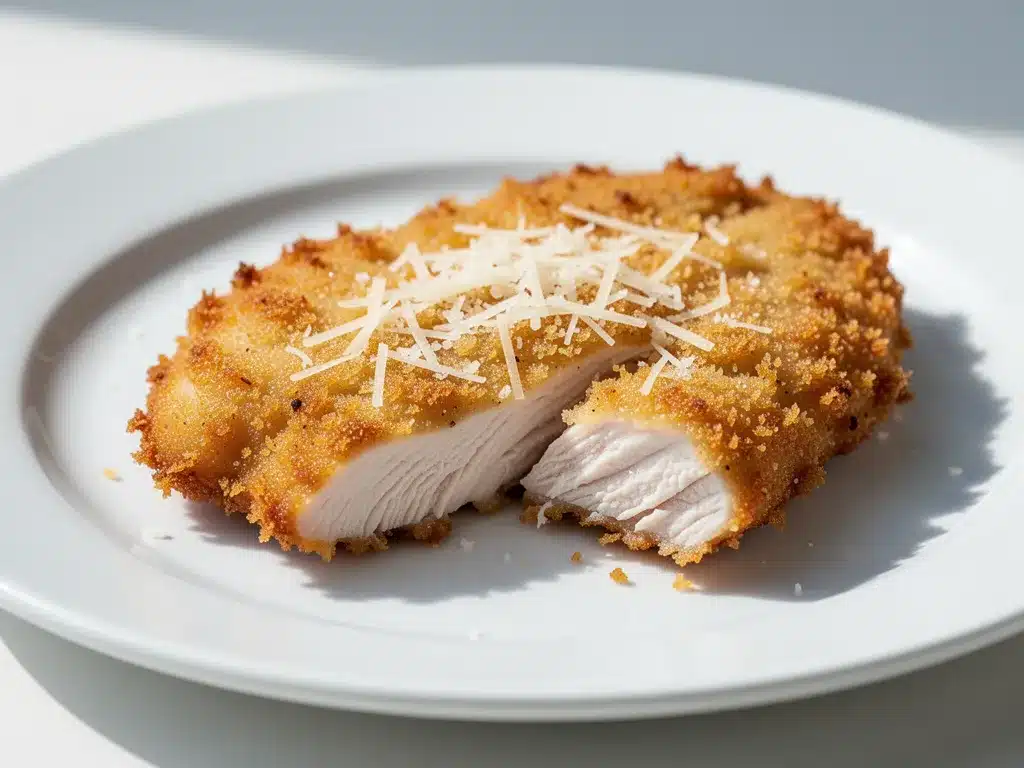
Panko breadcrumbs (1 cup / 80g) — This is the secret weapon. Regular breadcrumbs are too dense. Panko is light, airy, and super crispy. I always use panko for this recipe. It’s worth the extra few cents.
Parmesan cheese (½ cup / 50g, freshly grated) — Buy the block and grate it yourself. Pre-grated Parmesan has anti-caking agents that make the crust gritty and prevent it from browning properly. Freshly grated Parmesan melts into the panko and creates that savory, salty crust. Trust me on this.
Garlic powder (1 teaspoon) — Adds depth without adding fresh garlic bits that might burn. Fresh garlic is great, but for a quick crust, powder is more reliable. It distributes evenly.
Onion powder (½ teaspoon) — Complements the garlic. If you don’t have onion powder, skip it. It’s not essential, but it adds a nice background note.
For Cooking
Vegetable oil or olive oil (3-4 tablespoons) — I use a mix. Half olive oil for flavor, half vegetable oil for a higher smoke point. You need enough oil to coat the bottom of the pan. Not deep frying, but enough to get a golden crust.
Optional Add-ins
Fresh lemon juice — A squeeze after cooking brightens everything up. I always have this ready.
Fresh parsley — Chopped and sprinkled on top for color and freshness. It looks pretty and tastes good.
Ranch seasoning — Some people add a teaspoon of ranch seasoning to the panko mix. It’s delicious, but I prefer the classic Parmesan flavor. You decide.
Equipment Needed
You don’t need fancy equipment for this. Here’s what I actually use. Keep it simple.
Large skillet — 12-inch cast iron or stainless steel works best. I prefer cast iron because it holds heat well, which helps with browning. But any heavy-bottomed skillet works. Non-stick is okay, but you won’t get as good a crust.
Three shallow bowls — For the dredging station. One for flour, one for egg, one for panko. I use pie dishes or shallow cereal bowls. They’re wide enough to easily coat the chicken.
Meat mallet or rolling pin — To pound the chicken breasts thin. If you don’t have a mallet, a heavy pan or a rolling pin works. Just be gentle but firm.
Fork or whisk — For beating the eggs. A fork is fine, but a whisk makes it easier to get a smooth mixture.
Microplane or box grater — For grating the Parmesan cheese. A microplane makes fine, fluffy cheese that melts better. A box grater works too, but the cheese will be chunkier.
Tongs — For flipping the chicken. Tongs give you better control than a spatula. You don’t want to break the crust.
Cutting board — For pounding the chicken. Put the chicken in a ziplock bag first to avoid splatter. It keeps your counter clean.
Paper towels — For blotting excess oil after cooking. Or just serve immediately. I don’t usually blot, but if your oil is too hot, it helps.
How to Make It: Step-by-Step
Alright, let’s make this! I’m walking you through exactly how I do it, including the little tricks I’ve picked up over time. This is straightforward, but details matter.
Step 1: Prep Your Chicken (5 minutes)
Start by pounding the chicken breasts. Place them between two pieces of plastic wrap or in a ziplock bag. Use a meat mallet, rolling pin, or heavy pan to pound them to an even ½-inch thickness. This is crucial. If the chicken is thick in some spots and thin in others, it will cook unevenly. Some parts will be dry, others raw. Aim for uniformity. Once pounded, pat them dry with paper towels. Moisture is the enemy of crispiness.
Step 2: Set Up Your Dredging Station (3 minutes)
Get three shallow bowls ready. In the first bowl, mix the flour with half the salt and half the pepper. In the second bowl, beat the eggs with the remaining salt and pepper. In the third bowl, mix the panko breadcrumbs, grated Parmesan, garlic powder, onion powder, and a pinch of salt. Stir the panko mixture well so the cheese and spices are evenly distributed. This ensures every bite has flavor.
Step 3: Dredge the Chicken (5 minutes)
Take a piece of chicken and dredge it in the flour mixture. Shake off any excess. You want a light coating, not a thick ball of flour. Next, dip it into the egg wash, making sure it’s fully coated. Let any excess egg drip off. Finally, press it into the panko mixture. Use your hands to press the crumbs onto the chicken. You want a thick, even crust. Don’t be shy with the panko. The more crust, the better. Place the coated cutlet on a plate or wire rack while you do the rest.
Step 4: Heat the Oil (2 minutes)
Heat the oil in your large skillet over medium-high heat. You want the oil to be hot but not smoking. A good test is to drop a few panko crumbs into the oil. If they sizzle and turn golden in 30 seconds, the oil is ready. If they sink and don’t sizzle, it’s too cold. If they burn instantly, it’s too hot. Adjust the heat accordingly.
Step 5: Cook the Cutlets (8-10 minutes)
Carefully place the chicken cutlets in the skillet. Don’t crowd the pan. Cook in batches if necessary. You want space around each piece so the steam can escape and the crust can crisp up. Cook for 3-4 minutes on the first side, until golden brown and crispy. Flip carefully with tongs. Cook for another 3-4 minutes on the other side, until the chicken is cooked through (internal temperature of 165°F / 74°C) and the crust is golden. If the crust is browning too fast but the chicken isn’t cooked, lower the heat to medium and cover the pan with a lid for the last minute. This steams the chicken gently without burning the crust.
Step 6: Rest and Serve (2 minutes)
Transfer the cooked cutlets to a wire rack or a plate lined with paper towels. Let them rest for 1-2 minutes. This allows the juices to redistribute, so the chicken stays tender. Squeeze fresh lemon juice over the top and sprinkle with chopped parsley if you like. Serve immediately while the crust is still crispy.
Total Time: About 20 minutes. 5 minutes prep, 3 minutes setup, 5 minutes dredging, 2 minutes heating, 10 minutes cooking. It’s fast.
Expert Tips & Tricks
Here’s everything I’ve learned from making this dozens of times. These tips will save you from my mistakes.
Pound the Chicken Evenly
This is the #1 tip. Uneven chicken means uneven cooking. I’ve had raw centers and dry edges before. Now, I always pound them to ½ inch. It’s worth the extra 2 minutes.
Press the Crust On
Don’t just roll the chicken in the panko. Press it on. Use your fingers to push the crumbs into the egg. This ensures the crust sticks during cooking. If you don’t press, the crust will fall off in the pan. Trust me.
Don’t Skip the Resting Time
I know it’s tempting to eat it right away. But let it rest for 1-2 minutes. The juices will settle, and the chicken will be juicier. It’s a small step that makes a big difference.
Keep the Oil at Medium-High
If the oil is too cool, the chicken will absorb it and become greasy. If it’s too hot, the crust will burn before the chicken cooks. Medium-high is the sweet spot. Adjust as needed.
Use Fresh Parmesan
I can’t stress this enough. Pre-grated Parmesan has cellulose in it to prevent clumping. This stops it from melting properly and makes the crust gritty. Grate your own. It takes 2 minutes and tastes 100x better.
Batch Cooking
If you’re making a large batch, keep the cooked cutlets warm in a 200°F oven on a wire rack. This keeps them crispy. Don’t stack them on a plate, or they’ll get soggy.
Variations & Substitutions
Once you’ve nailed the basic version, here’s how you can mix it up. I’ve tried all of these.
Spicy Parmesan Chicken
Add 1 teaspoon of cayenne pepper or red pepper flakes to the panko mixture. It adds a nice kick. I like this version when I want something with a bit of heat.
Herb-Crusted Chicken
Add 1 teaspoon of dried Italian seasoning or dried oregano to the panko. It adds a savory, herbal note. Great with pasta or salad.
Gluten-Free Version
Use gluten-free panko breadcrumbs or crushed gluten-free crackers. The rest of the recipe is naturally gluten-free. I’ve used gluten-free panko and it works great. Just make sure to press the crust on well.
Baked Version
For a lighter option, bake the cutlets on a wire rack over a baking sheet at 400°F for 15-20 minutes, flipping halfway. Spray with cooking oil before baking. It’s not as crispy as pan-frying, but it’s easier and less messy. I do this when I’m cooking for a crowd.
Dairy-Free Option
Skip the Parmesan and use nutritional yeast in the panko mixture. It adds a cheesy, savory flavor. Or use a dairy-free cheese alternative. It’s not the same, but it works.
Chicken Thighs
You can use boneless, skinless chicken thighs instead of breasts. They’re juicier and more flavorful. Pound them thin and cook for the same amount of time. I prefer thighs for their richness.
Serving & Storage
How to Serve
I usually serve these with a simple green salad, roasted vegetables, or mashed potatoes. They’re versatile. For a fancy touch, serve with a lemon wedge and extra Parmesan on the side. My kids love dipping them in ranch or marinara sauce.
Side Dishes
- Garlic mashed potatoes
- Roasted asparagus or broccoli
- Simple green salad with vinaigrette
- Pasta with marinara sauce
- Steamed rice
Storage Instructions
Refrigerator: Store leftovers in an airtight container for up to 3 days. The crust will soften in the fridge, but the flavor remains good.
Reheating: To keep the crust crispy, reheat in the oven or air fryer at 375°F for 5-7 minutes. Microwave reheating will make the crust soggy. If you must microwave, do it in short bursts and let it sit for a minute after.
Freezing: You can freeze the coated cutlets before cooking. Place them on a baking sheet and freeze until solid, then transfer to a freezer bag. Cook from frozen, adding a few minutes to the cooking time. I don’t recommend freezing cooked cutlets, as the texture suffers.
Nutrition Information
I’m not a nutritionist, but here’s the breakdown if you’re tracking. This is per serving (based on 4 servings).
Per Serving:
- Calories: 350
- Protein: 35g
- Carbs: 15g
- Fiber: 1g
- Sugar: 1g
- Fat: 18g
- Saturated Fat: 5g
- Cholesterol: 120mg
- Sodium: 450mg
What’s Good:
- High in protein, which keeps you full.
- Low in carbs if you skip the breading (but why would you?).
- Contains calcium from the Parmesan.
What to Know:
- Higher in calories due to the breading and oil.
- Contains gluten and dairy.
- Sodium can be high if you use too much salt. Use low-sodium broth if you’re watching sodium.
My Take:
Look, this is comfort food. It’s crispy, cheesy, and delicious. It’s not a diet recipe. But it’s way better than takeout, costs less, and I know exactly what’s in it. When I want to make it lighter, I bake it instead of frying and use less oil. But usually? I just eat a reasonable portion and enjoy it.
Final Thoughts
So that’s my crispy parmesan crusted chicken cutlets! I’ve probably talked your ear off at this point, but when you make a recipe this often, you have a lot to say about it. This has saved weeknight dinners more times than I can count. It’s my answer to “what’s for dinner” when I’m tired, don’t want takeout, and still want something that tastes really good. My kids are happy, my husband’s happy, and I’m happy because I’m not stressed about cooking.
Make it yours! Try different add-ins, swap in your favorite herbs, adjust the spice level. The best recipes are the ones you adapt to your family’s tastes. If you make this, drop a comment and let me know what you think! I love hearing how recipes turn out in your kitchen. And if something doesn’t work, tell me that too—I’m here to help troubleshoot.
Happy cooking! And I hope your kitchen smells half as good as mine does right now.
Frequently Asked Questions
Can I use regular breadcrumbs instead of panko?
You can, but the texture won’t be as crispy. Panko is lighter and airier, which creates that signature crunch. Regular breadcrumbs are denser and can make the crust heavy. If you must use regular breadcrumbs, toast them in the pan for a minute before coating the chicken. It helps, but panko is still better.
Why did my crust fall off the chicken?
This usually happens if you didn’t press the crumbs on firmly enough, or if the chicken was too wet before dredging. Make sure to pat the chicken dry before coating. Also, press the panko mixture onto the chicken with your hands. And don’t flip the chicken too soon. Let the crust set for a minute or two before flipping.
Can I bake these instead of frying?
Yes! For a lighter version, bake them on a wire rack over a baking sheet at 400°F for 15-20 minutes, flipping halfway. Spray the tops with cooking oil before baking to help them brown. They won’t be as crispy as pan-fried, but they’re still delicious and much easier to clean up.
How do I reheat leftovers without them getting soggy?
Avoid the microwave if you can. The best way to reheat is in the oven or air fryer. Place them on a wire rack in a 375°F oven for 5-7 minutes, or in an air fryer at 375°F for 3-4 minutes. This will crisp up the crust again. If you must microwave, do it in short bursts and let it rest for a minute after.
Can I freeze the raw cutlets?
Yes! Coat the cutlets as directed, then place them on a baking sheet and freeze until solid. Transfer to a freezer bag or airtight container. Cook from frozen, adding 2-3 minutes to the cooking time. I do this for meal prep. It’s so convenient.
What’s the best oil to use for frying?
I use a mix of olive oil and vegetable oil. Olive oil adds flavor, but it has a lower smoke point. Vegetable oil has a higher smoke point and is more neutral. You can also use avocado oil or canola oil. Avoid butter, as it burns easily. Just enough oil to coat the bottom of the pan is all you need.
Pin This Recipe!
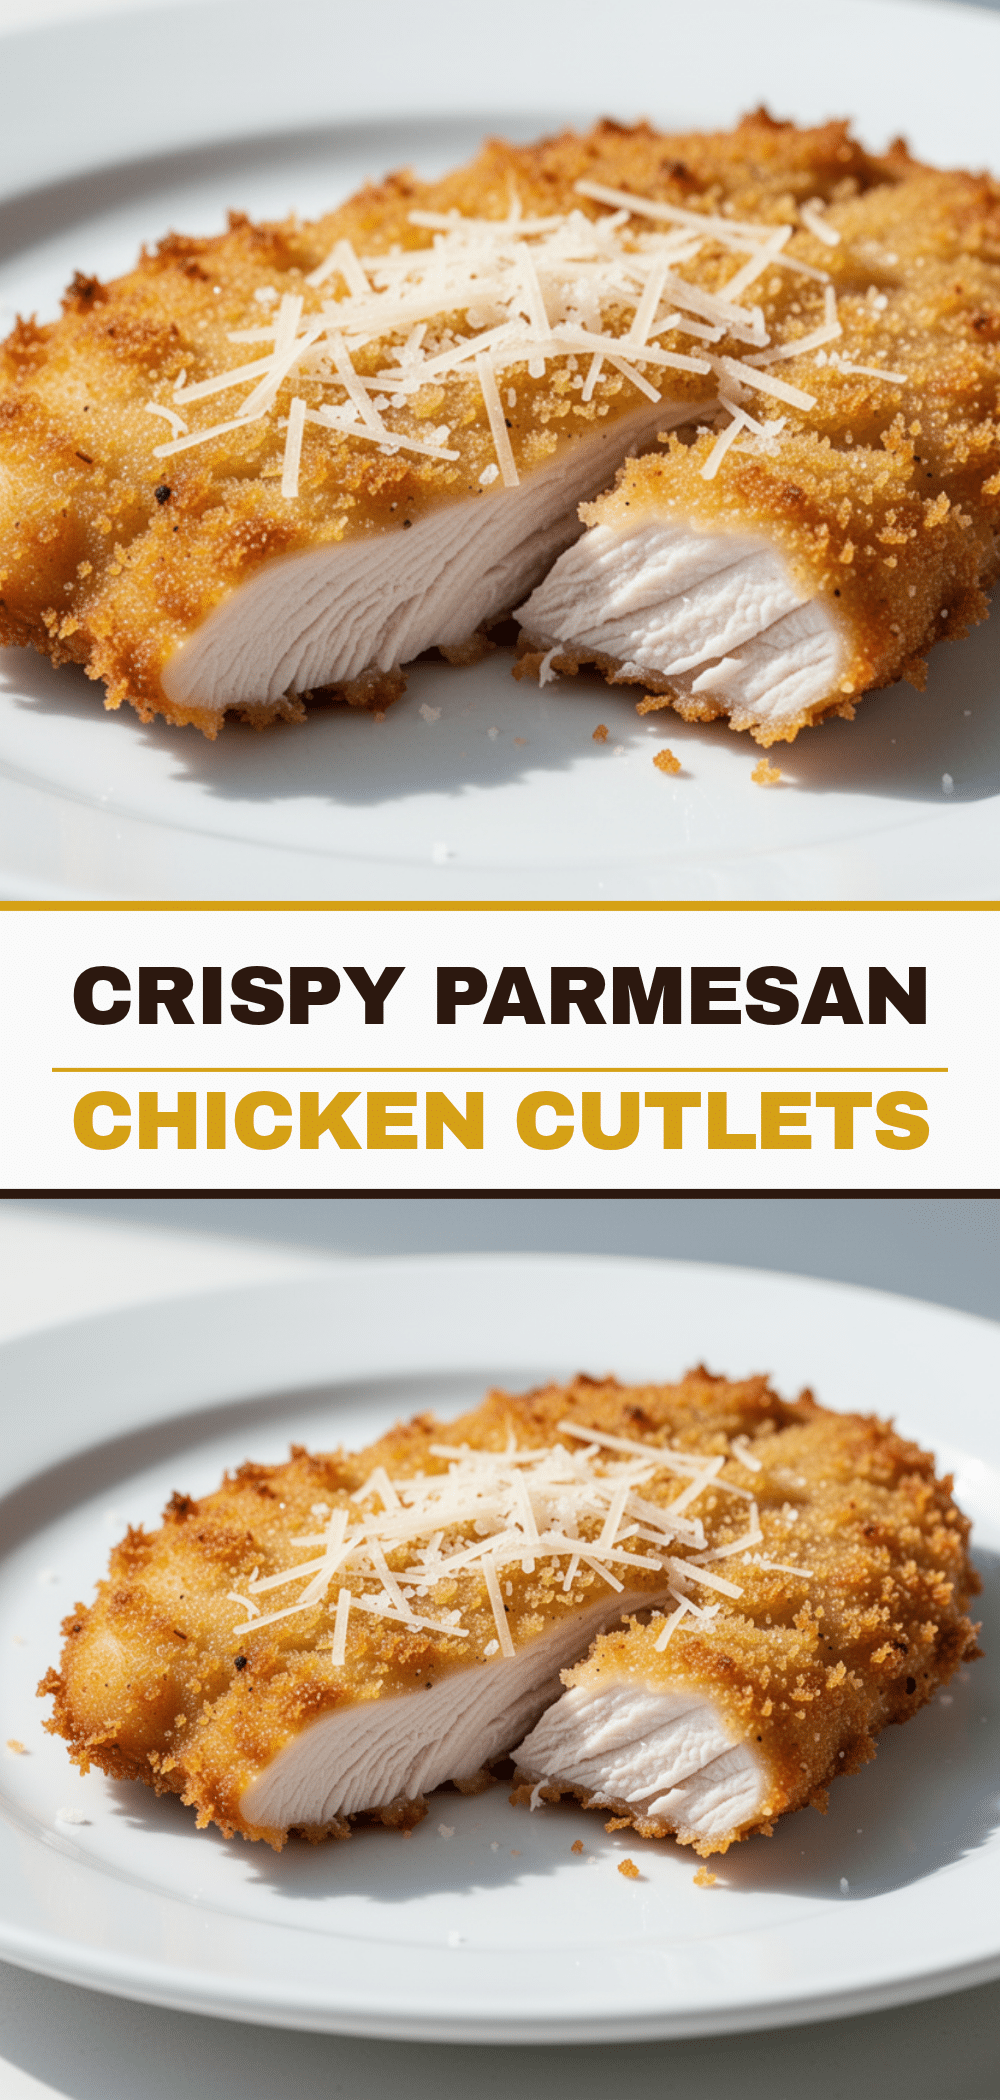
Crispy Parmesan Crusted Chicken Cutlets: Easy 20-Min Dinner
- Total Time: 20 minutes
- Yield: 4 servings 1x
Description
A fast, reliable, and crowd-pleasing weeknight dinner featuring chicken cutlets coated in a crispy panko and Parmesan crust, ready in just 20 minutes.
Ingredients
- 2 large or 4 small boneless, skinless chicken breasts (about 600g total, pounded to ½-inch thickness)
- ½ cup (60g) all-purpose flour
- 2 large eggs, beaten with a pinch of salt and pepper
- Kosher salt and black pepper
- 1 cup (80g) panko breadcrumbs
- ½ cup (50g) freshly grated Parmesan cheese
- 1 teaspoon garlic powder
- ½ teaspoon onion powder
- 3–4 tablespoons vegetable oil or olive oil (or a mix)
- Fresh lemon juice (optional, for serving)
- Fresh parsley, chopped (optional, for garnish)
Instructions
- Place chicken breasts between plastic wrap or in a ziplock bag and pound to an even ½-inch thickness. Pat dry with paper towels.
- Set up three shallow bowls: one with flour mixed with half the salt and pepper; one with beaten eggs and remaining salt and pepper; one with panko, grated Parmesan, garlic powder, onion powder, and a pinch of salt.
- Dredge each chicken cutlet in the flour, shaking off excess. Dip into the egg wash, letting excess drip off. Press firmly into the panko mixture to coat evenly.
- Heat oil in a large skillet over medium-high heat until hot but not smoking.
- Place cutlets in the skillet without crowding. Cook for 3-4 minutes per side until golden brown and crispy, and internal temperature reaches 165°F (74°C).
- Transfer cooked cutlets to a wire rack or plate lined with paper towels. Let rest for 1-2 minutes.
- Serve immediately with a squeeze of fresh lemon juice and chopped parsley if desired.
Notes
Pound the chicken evenly to ensure uniform cooking. Press the panko crust firmly onto the chicken to prevent it from falling off. Use freshly grated Parmesan for best texture and browning. For a lighter option, bake at 400°F for 15-20 minutes, flipping halfway. To reheat leftovers, use an oven or air fryer at 375°F to maintain crispiness; avoid microwaving.
- Prep Time: 10 minutes
- Cook Time: 10 minutes
- Category: Main Course
- Cuisine: American
Nutrition
- Serving Size: 1 cutlet per serving
- Calories: 350
- Sugar: 1
- Sodium: 450
- Fat: 18
- Saturated Fat: 5
- Carbohydrates: 15
- Fiber: 1
- Protein: 35
Keywords: chicken cutlets, parmesan chicken, panko chicken, quick dinner, weeknight meals, crispy chicken, easy recipes, 20 minute meals


