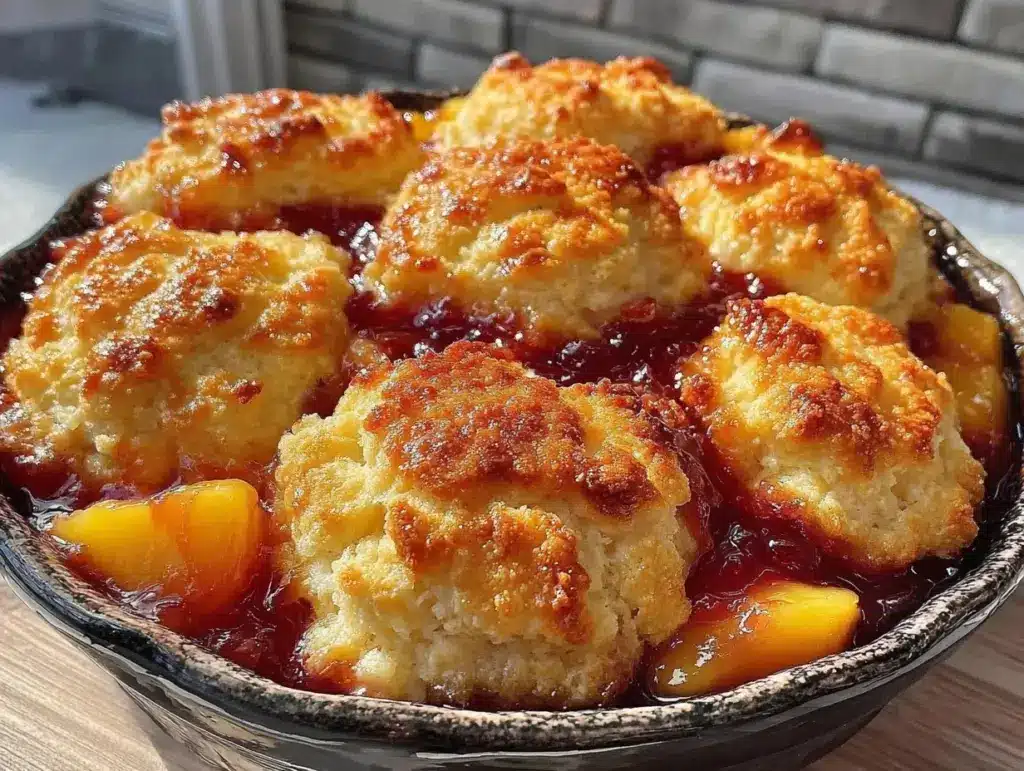
Three years ago, I made the classic mistake. It was late July, the air conditioning was rattling in the window, and I had a basket of peaches that were turning mushy by the hour. I baked one big cobbler. It was glorious. Golden, crumbly, bursting with juice. I ate two bowls that night. Then I stared at the remaining pie plate for three days, feeling guilty every time I opened the fridge. By day four, the peaches had gone soggy and sad. I threw it out. It was a waste of perfect fruit and four hours of my life.
I was done with single-serving desserts that demanded immediate attention. I wanted something that worked for my chaotic week. I wanted Old Fashioned Peach Cobbler Meal Prep to be a reality, not just a Pinterest pin I’d ignore. After testing this method about ten times—adjusting the crumble ratio, testing different baking dishes, and figuring out the exact reheating window—I finally cracked the code. Now, I make one big batch on Sunday morning while my coffee brews. I portion it into four individual containers. I have warm, comforting dessert ready to go for Monday through Thursday nights. No guilt. No waste. Just four easy freezer meals that taste like they just came out of the oven.
This approach changed how I view dessert. It’s not an afterthought anymore; it’s part of my weekly rhythm. The Old Fashioned Peach Cobbler Meal Prep strategy lets me enjoy summer’s best fruit even in the dead of winter. And honestly? The reheated version is almost better. The flavors meld together overnight, and that crumble topping gets delightfully crisp again. If you’re tired of baking small batches that disappear too fast, this method is your new best friend. Let’s get into exactly how I do it.
Why You’ll Love This Meal Prep Strategy
Look, I get it. Baking a whole cobbler feels like a commitment. But when you break it down, this Old Fashioned Peach Cobbler Meal Prep is actually the most efficient way to get dessert on the table. Here is why this specific method has replaced all my other dessert plans:
- Zero Weeknight Stress — Monday nights are usually the hardest. After work, I don’t want to chop fruit or mix batter. With this prep, I just pull a container from the freezer or fridge and pop it in the microwave or oven. It’s done in minutes. I’ve made this while answering emails or watching a quick episode of a show. It’s that simple.
- Fresh Taste, Frozen Convenience — People think freezer meals taste like cardboard. Not this. The peach filling actually thickens as it sits, creating a syrup that coats every bite. When you reheat it, the smell is identical to a fresh bake. I’ve had guests over and asked if I baked fresh that day. They were shocked to learn it was reheated from a container.
- Portion Control Without the Guilt — When you bake one giant pan, it’s easy to eat three servings. When you pre-portion into four containers, you eat exactly one. It’s satisfying but not overwhelming. I find myself craving dessert less often because I know exactly what I’m getting.
- Freezer Friendly — This is the real game-changer. Unlike some desserts that turn watery or soggy in the freezer, the starch in the crumble topping holds up beautifully. I’ve kept these for up to three months without a drop in quality. It’s like having a mini bakery in your freezer.
- Batch Efficiency — I do the chopping and mixing once. The active time is about 20 minutes. The rest is passive baking time. Whether I bake it all at once or in two smaller batches, the effort is the same. I get four desserts for the work of one. It’s efficient cooking at its finest.
This isn’t just about convenience; it’s about reclaiming your evenings. This is my go-to when I know I have a busy week ahead and I refuse to let dessert become a source of stress.
Key Ingredients for Perfect Portions
You don’t need fancy ingredients for this. In fact, the beauty of Old Fashioned Peach Cobbler Meal Prep is that it relies on humble, accessible items. Here is exactly what I use, with precise measurements to ensure consistency every single time.
Fresh or Frozen Peaches
Peaches (6 cups, sliced / 900g) — I prefer fresh peaches in season because they have that floral sweetness. But here’s the secret: frozen peaches work incredibly well too, especially if you buy them on sale. If you use frozen, do not thaw them completely before mixing; just chop them slightly if they’re huge. They release more liquid, so I add an extra tablespoon of cornstarch to the mix. This prevents the bottom of your cobbler from getting soupy.
All-Purpose Flour
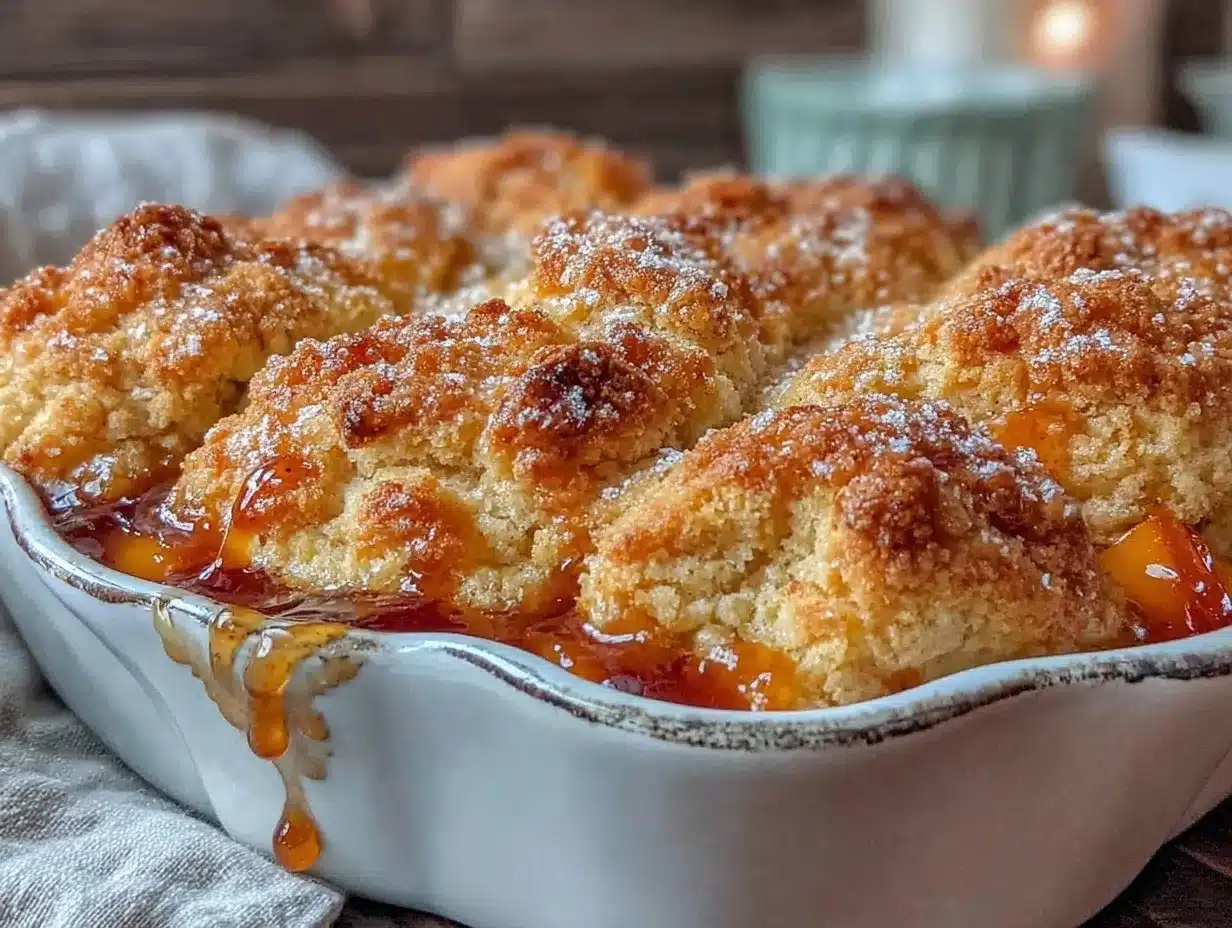
All-Purpose Flour (1 cup / 120g) — This is the base for the crumble. I use standard all-purpose flour. It gives that classic, cake-like texture that we all love. If you need gluten-free, I recommend a 1:1 gluten-free baking blend, but the texture will be slightly more crumbly. I’ve tested this with almond flour, and it was too dense. Stick to AP flour for the best results.
Granulated Sugar
Granulated Sugar (1/2 cup / 100g) — This sweetens the peaches and helps create the syrup. I don’t reduce this much because the sugar helps preserve the fruit during freezing. If you prefer less sweetness, you can drop it to 1/3 cup, but the peaches might taste tart. I like it balanced.
Butter
Unsalted Butter (1/2 cup / 113g) — Cold butter is key for the crumble topping. I cube it directly from the fridge. This creates those distinct, flaky bits that melt in your mouth. Don’t use margarine; the water content is too high, and you’ll end up with a greasy topping instead of a crisp one.
Cinnamon and Nutmeg
Ground Cinnamon (1 tsp / 2g) and Ground Nutmeg (1/4 tsp / 0.5g) — These spices are non-negotiable. They give the cobbler that “old-fashioned” warmth. If you don’t have nutmeg, skip it, but the cinnamon is essential. I use a single origin cinnamon for a deeper flavor profile.
Cornstarch
Cornstarch (2 tbsp / 16g) — This is the thickener. Since we are meal prepping, we need the sauce to hold its shape when reheated. Cornstarch does this better than flour. It creates a glossy, sticky syrup that clings to the peaches without being gelatinous.
Vanilla Extract
Vanilla Extract (1 tsp / 5ml) — A splash of vanilla rounds out the peach flavor. Use real vanilla extract, not imitation. It makes a noticeable difference in the final taste, especially after freezing.
Tools Needed for Success
You don’t need fancy equipment. Here’s what I use to make this Old Fashioned Peach Cobbler Meal Prep efficient and consistent.
Large Mixing Bowl — I use a 4-quart stainless steel bowl. It’s big enough to toss the peaches with sugar and spices without spilling. A glass bowl works too, but steel feels sturdier.
Measuring Cups and Spoons — Accuracy matters in baking, especially when you’re dividing batter into portions. I use standard nested cups for dry ingredients and a liquid measuring cup for the melted butter.
4 Individual Baking Dishes — I use 8-ounce ceramic ramekins or small glass baking dishes. Ceramic retains heat well, which helps the crumble stay crisp during reheating. Glass allows you to see the bottom browning. Avoid metal ramekins if you plan to freeze them directly, as they can react with the acidic fruit over time.
Freezer-Safe Containers — If you bake first and store later, you’ll need airtight freezer containers. I prefer plastic containers with snap-lock lids because they don’t break if dropped. If you freeze before baking, you can use the ceramic dishes directly if they are freezer-safe (check the bottom of the dish).
Pastry Cutter or Fork — For mixing the butter into the flour for the topping, I use a fork. It’s simple and effective. No need for a food processor unless you’re making a huge batch.
How to Make Old Fashioned Peach Cobbler Meal Prep
Let’s walk through the process. I divide this into two phases: the prep and the cook/store. This method ensures every portion is identical.
Step 1: Prep the Peaches (10 minutes)
If you’re using fresh peaches, peel them if you prefer a smoother texture, though leaving the skin on adds color and fiber. Slice them into 1/4-inch wedges. You want them thin enough to cook through but thick enough to hold shape. Place the sliced peaches in your large mixing bowl. Sprinkle with granulated sugar, cornstarch, cinnamon, nutmeg, and vanilla. Toss gently until every slice is coated. Let this sit for 10 minutes. This draws out the juices, creating a natural syrup that will thicken into the sauce.
Step 2: Make the Crumble Topping (5 minutes)
In a separate medium bowl, whisk together the all-purpose flour and a pinch of salt. Add the cold, cubed butter. Use a fork or your fingers to work the butter into the flour. You’re looking for a mixture that resembles coarse crumbs with some pea-sized chunks of butter remaining. These chunks create flaky layers. Do not overmix; if it becomes a paste, the topping will be dense. Set aside.
Step 3: Assemble the Portions (5 minutes)
Divide the peach mixture evenly among your four individual baking dishes. Each dish should get about 1.5 cups of fruit. Spoon the crumble topping evenly over the fruit. Press it down lightly so it adheres to the juices. If you are baking immediately, add a small pat of butter on top of each crumble. If you are freezing, skip this step; you’ll add fresh butter right before baking later.
Step 4: Bake or Freeze (30-40 minutes or indefinite)
For Immediate Eating: Preheat your oven to 375°F (190°C). Place the dishes on a baking sheet (to catch any drips) and bake for 30-40 minutes. The topping should be golden brown, and the filling should be bubbling vigorously around the edges. Let them cool for 10 minutes before serving.
For Freezing: Cover the dishes tightly with plastic wrap and then foil. Label with the date and name. Freeze for up to 3 months. When you’re ready to eat, you can bake them from frozen (add 10-15 minutes to bake time) or thaw overnight in the fridge.
Total Time: 20 minutes active, 30-40 minutes baking. You get four individual servings from one batch.
Expert Tips from a Serial Prepper
Here’s everything I learned from making this too many times. These tips will save you from common pitfalls.
The Game-Changers:
Don’t Skip the Resting Time
The first time I made this, I assembled and baked immediately. The result? Watery peaches and a dry topping. Letting the fruit sit with the sugar is crucial. It breaks down the cell walls and releases pectin, which helps thicken the sauce. Give those 10 minutes. It’s worth it.
Freeze in the Dish, Not the Container
If you freeze the unbaked cobbler in the actual baking dish, you avoid transferring soggy fruit into a plastic container. Just wrap the dish well. When you’re ready to eat, you can bake it directly in the dish. If you bake first, then store, let it cool completely before covering. Trapped steam makes the crumble soggy.
Add Fresh Butter Before Reheating
If you freeze the unbaked version, add a small knob of butter on top of the crumble right before you put it in the oven. This mimics the fresh-baked texture. The cold butter melts into the crumbs, creating that rich, bakery-style finish.
Common Problems & Solutions:
Bottom is Too Wet — This happens if the peaches were too juicy. Always add the cornstarch. If you used frozen peaches without thawing, ensure you added an extra teaspoon of cornstarch.
Topping is Burnt — Ovens vary. If the top is browning too fast, cover the dish loosely with foil for the last 10 minutes of baking. This protects the crumble while the fruit finishes cooking.
Reheated Texture is Mushy — Microwaving can make the crumble soft. For the best texture, reheat in a toaster oven or conventional oven at 350°F for 15 minutes. The dry heat restores the crispness.
Recipe Variations to Mix It Up
Once you’ve nailed the basic version, here’s how to mix it up. The base method works for many fruits.
Berry Cobbler
Swap peaches for mixed berries (blueberries, raspberries, blackberries). Berries are more tart, so increase the sugar to 3/4 cup. Add a teaspoon of lemon zest to brighten the flavor. This pairs beautifully with my sweet cherry dessert cobbler style.
Apple Cinnamon
Use thinly sliced apples (Granny Smith or Honeycrisp). Toss with extra cinnamon and a tablespoon of brown sugar. Apples take longer to cook, so bake for 5 minutes longer. This is perfect for fall meal prep.
Chai Spiced Peach
Add 1/2 teaspoon of cardamom, ginger, and cloves to the peach mixture. It adds a warm, complex spice profile that feels luxurious. Great with a cup of cozy fall chai latte.
Vegan Version
Use coconut oil or vegan butter sticks for the topping. The fruit filling is naturally vegan. The texture is nearly identical to the dairy version.
Gluten-Free
Use a 1:1 gluten-free flour blend. Add an extra tablespoon of cornstarch to the topping to help it bind, as GF flours can be crumblier.
Serving & Storage
Serving Suggestions
I serve these warm. A scoop of vanilla ice cream is classic, but a dollop of Greek yogurt adds protein and cuts the sweetness. If you want a crunch, sprinkle chopped pecans or walnuts on top before reheating. It pairs well with a simple green salad if you’re having it for a light dinner, or just enjoy it as a standalone treat.
Storage Instructions
Room Temperature: Do not leave out for more than 2 hours. The fruit filling is perishable.
Refrigerator: Store baked cobbler in airtight containers for up to 4 days. Reheat in the microwave for 1-2 minutes or in the oven for 15 minutes.
Freezer: Unbaked portions freeze for up to 3 months. Baked portions freeze for 2 months. Wrap tightly in plastic and foil to prevent freezer burn.
Meal Prep Tip: Label your containers with the baking time. “Bake from frozen: 45 mins at 375°F” saves you from guessing later.
Nutrition Information
I’m not a nutritionist, but here’s the breakdown per serving (one individual cobbler):
| Nutrient | Amount |
|---|---|
| Calories | 320 |
| Protein | 3g |
| Carbohydrates | 52g |
| Fiber | 4g |
| Fat | 12g |
| Sodium | 15mg |
My Take: This is comfort food. It has sugar and butter. It’s not a health food. But it’s better than store-bought pastries, and you know exactly what’s in it. The fruit provides fiber and vitamins. Enjoy it as a treat, not a daily staple.
Final Thoughts
This Old Fashioned Peach Cobbler Meal Prep method has been a lifesaver for my weekly routine. It turns a stressful weekend baking project into a simple, efficient task that pays off all week long. I love that I can have a taste of summer even in the middle of winter. If you make this, drop a comment! I love hearing how it turns out in your kitchen. Do you prefer baking from frozen or thawed? Let me know. Happy cooking!
FAQs
Can I freeze the baked cobbler?
Yes, but the texture of the topping might soften slightly upon reheating. For the best results, freeze the unbaked cobbler. If you must freeze baked, let it cool completely, wrap tightly, and reheat in the oven to restore crispness.
Do I need to thaw before baking?
No. You can bake the frozen cobbler directly from the freezer. Just add 10-15 minutes to the baking time. Check that the filling is bubbling in the center to ensure it’s heated through.
Can I use canned peaches?
You can, but drain them well. Canned peaches are softer and wetter. Pat them dry with a paper towel before mixing with sugar. You may need to reduce the cornstarch slightly since they release less juice than fresh fruit.
How do I reheat without a microwave?
For the best texture, reheat in a 350°F oven for 15-20 minutes. This restores the crumble topping’s crunch. If using a toaster oven, follow the same time frame.
Can I double the recipe?
Absolutely. Just use larger baking dishes or more ramekins. Keep an eye on the baking time, as larger batches may need a few extra minutes. The ratio of ingredients stays the same.
What if I don’t have cornstarch?
You can use all-purpose flour instead, but you’ll need 3 tablespoons instead of 2. The sauce will be slightly thicker and less glossy, but it will still work fine.
Is this suitable for meal prep for kids?
Yes, it’s perfect for kids. The portions are manageable, and the fruit is a great way to get some vitamins in. I often let my kids help mix the peaches and sprinkle the topping. It’s a fun, easy activity.
Pin This Recipe!
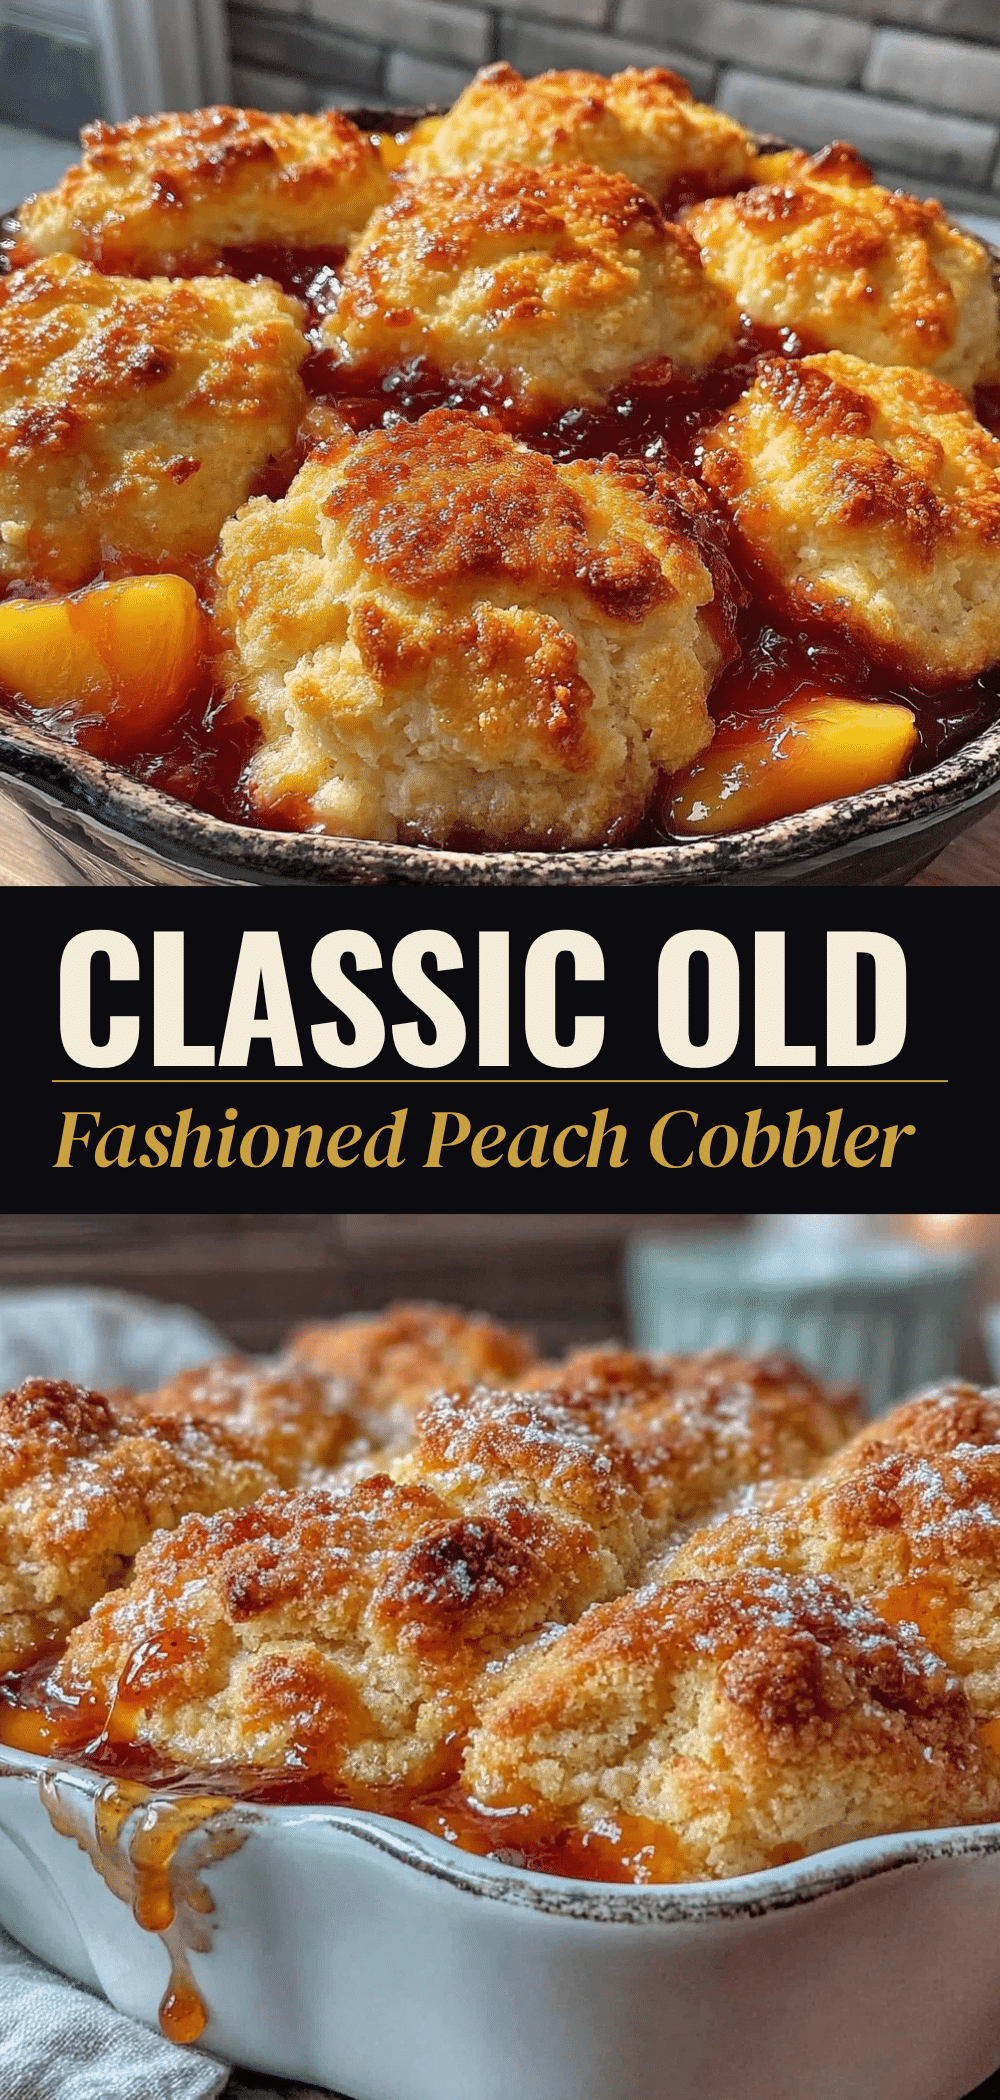
Old Fashioned Peach Cobbler Meal Prep
- Total Time: 50-60 minutes
- Yield: 4 servings 1x
Description
A convenient meal prep strategy for Old Fashioned Peach Cobbler that yields four individual freezer-friendly portions, allowing for easy reheating and zero waste.
Ingredients
- 6 cups sliced peaches (fresh or frozen)
- 1 cup all-purpose flour
- 1/2 cup granulated sugar
- 1/2 cup unsalted butter, cold and cubed
- 1 tsp ground cinnamon
- 1/4 tsp ground nutmeg
- 2 tbsp cornstarch
- 1 tsp vanilla extract
- Pinch of salt
Instructions
- Preheat oven to 375°F (190°C) if baking immediately.
- In a large mixing bowl, combine sliced peaches, granulated sugar, cornstarch, cinnamon, nutmeg, and vanilla. Toss gently to coat.
- Let the peach mixture sit for 10 minutes to draw out juices.
- In a separate medium bowl, whisk together flour and a pinch of salt.
- Add cold, cubed butter to the flour mixture. Use a fork or pastry cutter to work the butter in until the mixture resembles coarse crumbs with pea-sized butter chunks.
- Divide the peach mixture evenly among four 8-ounce individual baking dishes or ramekins.
- Spoon the crumble topping evenly over the fruit in each dish, pressing down lightly.
- For immediate baking: Bake for 30-40 minutes until topping is golden brown and filling is bubbling. Cool for 10 minutes before serving.
- For freezing: Cover dishes tightly with plastic wrap and foil. Freeze for up to 3 months. Bake from frozen, adding 10-15 minutes to baking time, or thaw overnight in the fridge first.
Notes
If using frozen peaches, do not thaw completely before mixing and add an extra tablespoon of cornstarch. For best texture when reheating frozen unbaked portions, add a small pat of butter on top before baking. Avoid microwaving if you want to maintain the crispness of the crumble topping; use an oven or toaster oven instead.
- Prep Time: 20 minutes
- Cook Time: 30-40 minutes
- Category: Dessert
- Cuisine: American
Nutrition
- Serving Size: 1 individual cobbler
- Calories: 320
- Sugar: 35
- Sodium: 15
- Fat: 12
- Saturated Fat: 7
- Carbohydrates: 52
- Fiber: 4
- Protein: 3
Keywords: peach cobbler, meal prep, freezer meals, dessert prep, old fashioned cobbler, batch cooking, easy dessert


