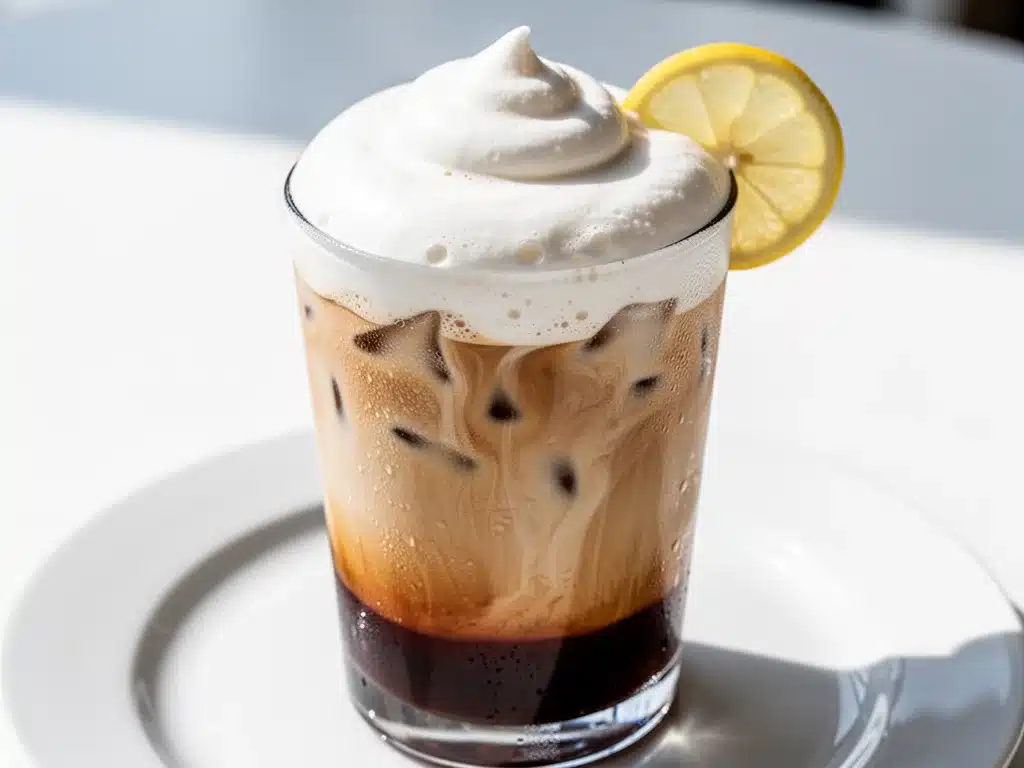
It’s 7:15 AM on a Tuesday, and I’m standing in line at my local coffee shop. The line is moving at the speed of glacial ice, which is appropriate because I’m already running late. But here I am, waiting for my usual: an iced coffee with that thick, cloud-like foam on top that costs more than my hourly wage. I watch the barista whip up this sweet, vanilla-scented cloud, pour it over the ice, and watch it slowly cascade down the sides of the cup in these beautiful, marble-like ribbons. I take that first sip—the cold, bitter coffee mixing with the sweet, airy foam—and I feel like I’ve won the lottery.
Then I look at the receipt. $6.50. For a drink that essentially costs about 40 cents to make at home.
I came home from that coffee shop that day with a new mission. I wasn’t just going to drink this stuff anymore; I was going to hack it. I wanted to recreate that Vanilla Sweet Cream Cold Foam Iced Coffee experience without the Starbucks markup or the 20-minute wait. And honestly? I think I nailed it.
There’s something magical about cold foam. It’s not just whipped cream—it’s lighter, airier, and melts into your drink in the most satisfying way. It’s the kind of treat that feels indulgent but doesn’t ruin your diet if you’re watching your sugar intake (though this version is definitely a treat). I’ve tested this Vanilla Sweet Cream Cold Foam Iced Coffee recipe at least a dozen times over the last few months. I’ve tried different creams, different milks, different whisks, and different vanilla extracts. What I’m sharing with you today is the golden standard. It’s the version that makes my husband stop mid-sip and ask, “How did you make this? This tastes exactly like the big chain version, but better.”
So, let’s skip the coffee shop line. Grab your blender (or a whisk and some elbow grease), and let’s make the best iced coffee drink you’ve ever had at home.
Why You’ll Love This Copycat Starbucks Cold Foam Recipe
Look, I get it. You can buy cold foam at almost every coffee shop now. But there’s a huge difference between getting it at a chain and making it in your own kitchen. When you make this Vanilla Sweet Cream Cold Foam Iced Coffee at home, you control the quality. You control the sweetness. And most importantly, you save a fortune.
Here’s why this recipe has completely taken over our morning routine:
- Insanely Cheap — Seriously. One batch of cold foam costs about 30 cents. A cup at the shop is $6 or more. Over a year, that’s nearly $2,000 saved. I use those savings to buy better coffee beans. It’s a win-win.
- Ready in 2 Minutes — You don’t need to steam milk or heat anything up. This is a cold process. Whip the cream, pour the coffee, done. It’s faster than boiling water for tea.
- Customizable Sweetness — At the coffee shop, you’re stuck with their standard pump count. Here? You decide. Want it barely sweet? Use half a teaspoon of vanilla. Want it dessert-like? Use a full teaspoon. You’re the boss.
- Gluten-Free Friendly — If you have sensitivities, this is naturally gluten-free (just check your coffee and vanilla extract). No hidden thickeners or weird additives that sometimes sneak into commercial syrups.
- Texture Perfection — There’s nothing worse than cold foam that’s just sad, curdled milk sitting on top of your drink. This recipe creates a stable, fluffy foam that holds its shape for at least 10 minutes while you sip. It creates those gorgeous layers that look amazing on Instagram.
This isn’t just a coffee drink; it’s a morning ritual that feels fancy but is actually super simple. It’s the Vanilla Sweet Cream Cold Foam Iced Coffee upgrade you didn’t know you needed.
Ingredients You’ll Need
Here’s the best part: you probably have most of these ingredients already. This isn’t a recipe that requires a trip to three different specialty stores. It’s pantry-friendly and simple.
For the Cold Foam:
Heavy Cream (½ cup / 120ml) — This is the non-negotiable star. You need the fat content to create those air bubbles. Half-and-half won’t work because it’s too watery. Skim milk will turn into soup. You need heavy whipping cream. Look for the one with at least 36% fat.
Whole Milk (¼ cup / 60ml) — This lightens the heavy cream just enough so it’s not too dense. It helps create that fluffy, airy texture. If you’re dairy-free, use a high-fat coconut milk or oat milk creamer, though the texture will be slightly different.
Vanilla Syrup (2 tablespoons) — This is the flavor backbone. I prefer using a syrup over just extract because syrup adds viscosity and sweetness without making the foam watery. If you don’t have syrup, you can use vanilla extract, but you’ll need to add a little sugar. I’ll explain how to do that in the tips section.
Granulated Sugar (1 teaspoon, optional) — If your vanilla syrup isn’t very sweet, or if you like a sweeter foam, add this. If you’re using a pre-sweetened syrup like Torani or Monin, you can skip this.
For the Coffee:
Brewed Coffee (1.5 cups / 360ml) — I use a medium roast. It has enough body to stand up to the sweet cream but isn’t too bitter. Cold brew concentrate works great too if you have some on hand—just dilute it with water or milk to taste.
Ice — Lots of it. You want the coffee cold so the foam doesn’t melt immediately.
Optional Add-ins:
- Vanilla Extract (½ teaspoon) — For extra aroma if you’re not using syrup.
- Sea Salt (a tiny pinch) — Just a pinch in the foam enhances the vanilla flavor. It’s a chef’s trick.
Shopping Tip: I always keep a bottle of vanilla syrup in my pantry. It’s versatile. I use it in my honey lavender iced latte too, so it’s a great staple to have on hand. If you don’t like vanilla, you can swap this for caramel syrup to make a Caramel Cold Foam version.
Equipment Needed
You don’t need fancy equipment for this. Here’s what I actually use in my kitchen.
Electric Milk Frother or Handheld Whisk — This is the easiest way. The handheld battery-operated ones work perfectly. If you have an electric steam wand, you can use that, but keep it cold—just aerate, don’t heat.
Blender — If you don’t have a frother, a small blender works great. I use my personal-size blender for this. It whips the cream faster and creates a slightly denser foam.
Mason Jar or Shaker Cup — If you don’t have a frother or blender, you can shake the ingredients vigorously in a mason jar with a tight lid. It takes about 30 seconds of arm workout, but it works. I’ve done this when traveling.
Large Glass or Mug — I prefer tall glasses so you can see those beautiful layers. A 16oz glass is perfect for a standard serving.
Measuring Spoons and Cups — Accuracy matters here. Too much milk and the foam won’t whip. Too much cream and it might be too heavy. Measure your ingredients.
Knife and Cutting Board — Only if you’re adding garnishes like vanilla bean seeds or cinnamon.
Pro Tip: If you’re using a handheld frother, make sure the container you’re using is narrow enough for the whisk to reach the bottom. Wide bowls make it hard to create a vortex.
How to Make Vanilla Sweet Cream Cold Foam Iced Coffee
Alright, let’s make this! I’m walking you through exactly how I do it, including the little tricks I’ve picked up to ensure your foam is perfect every single time.
Step 1: Brew and Chill Your Coffee
Start with fresh coffee. I brew a small batch in the morning, but if you’re prepping ahead, brew it the night before and let it cool in the fridge. Cold coffee is crucial because if the coffee is warm, it will melt the foam instantly. You want that contrast of cold coffee and cold foam. If you’re in a rush, you can brew hot coffee and put it in the freezer for 15 minutes to speed up the cooling process, but don’t let it freeze.
Step 2: Combine the Foam Ingredients
In a small bowl or measuring cup, combine the heavy cream, whole milk, vanilla syrup, and sugar (if using). Whisk them together gently just to combine. You don’t need to whip it yet; just make sure the syrup is dissolved into the dairy.
Step 3: Whip the Foam
Here’s the critical step. Take your handheld frother or blender and whip the mixture. If using a frother, hold it at the bottom of the liquid and slowly pull it up, creating a whirlpool. Do this for about 15-20 seconds. You want the volume to double and the texture to look like soft-serve ice cream. It should hold its shape when you lift the frother. If using a blender, pulse it 3-4 times. Don’t over-blend, or you’ll turn it into butter.
Visual Cue: The foam should look glossy and thick, not watery or bubbly like soap suds. If it looks thin, whip it a few seconds longer. If it looks grainy, you might have over-whipped it.
Step 4: Prepare the Glass
Take your tall glass and fill it to the top with ice. Pour in your cold coffee, leaving about an inch of space at the top. If you like milk in your coffee, add a splash of cold milk or creamer now, before the foam.
Step 5: The Pour
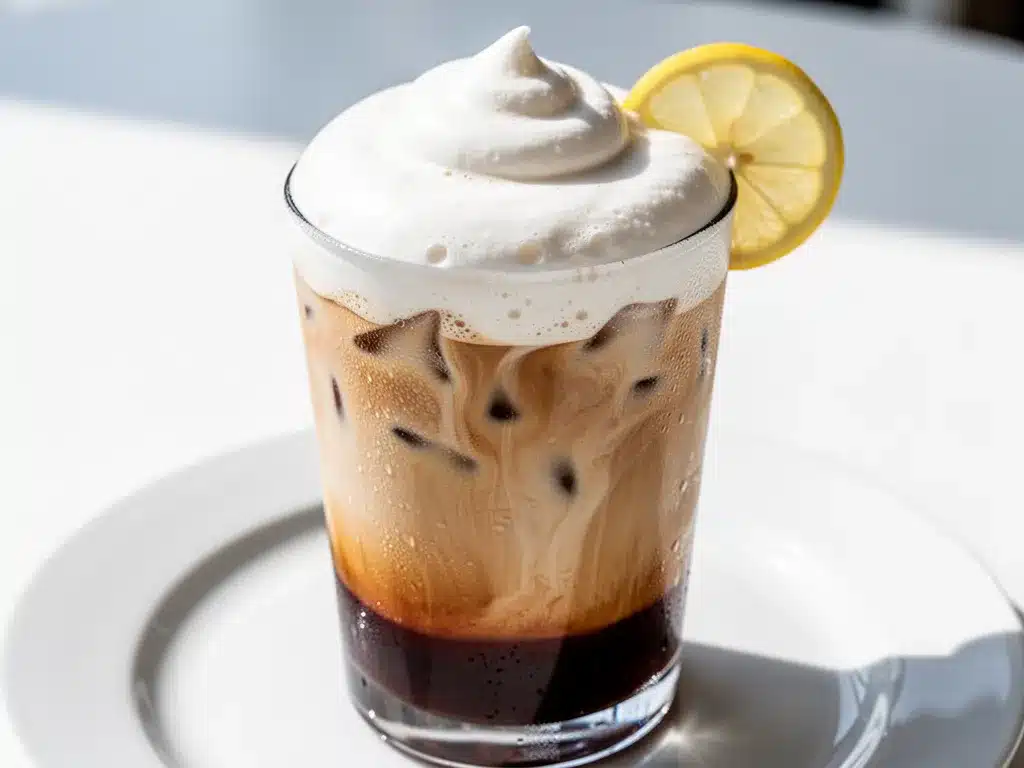
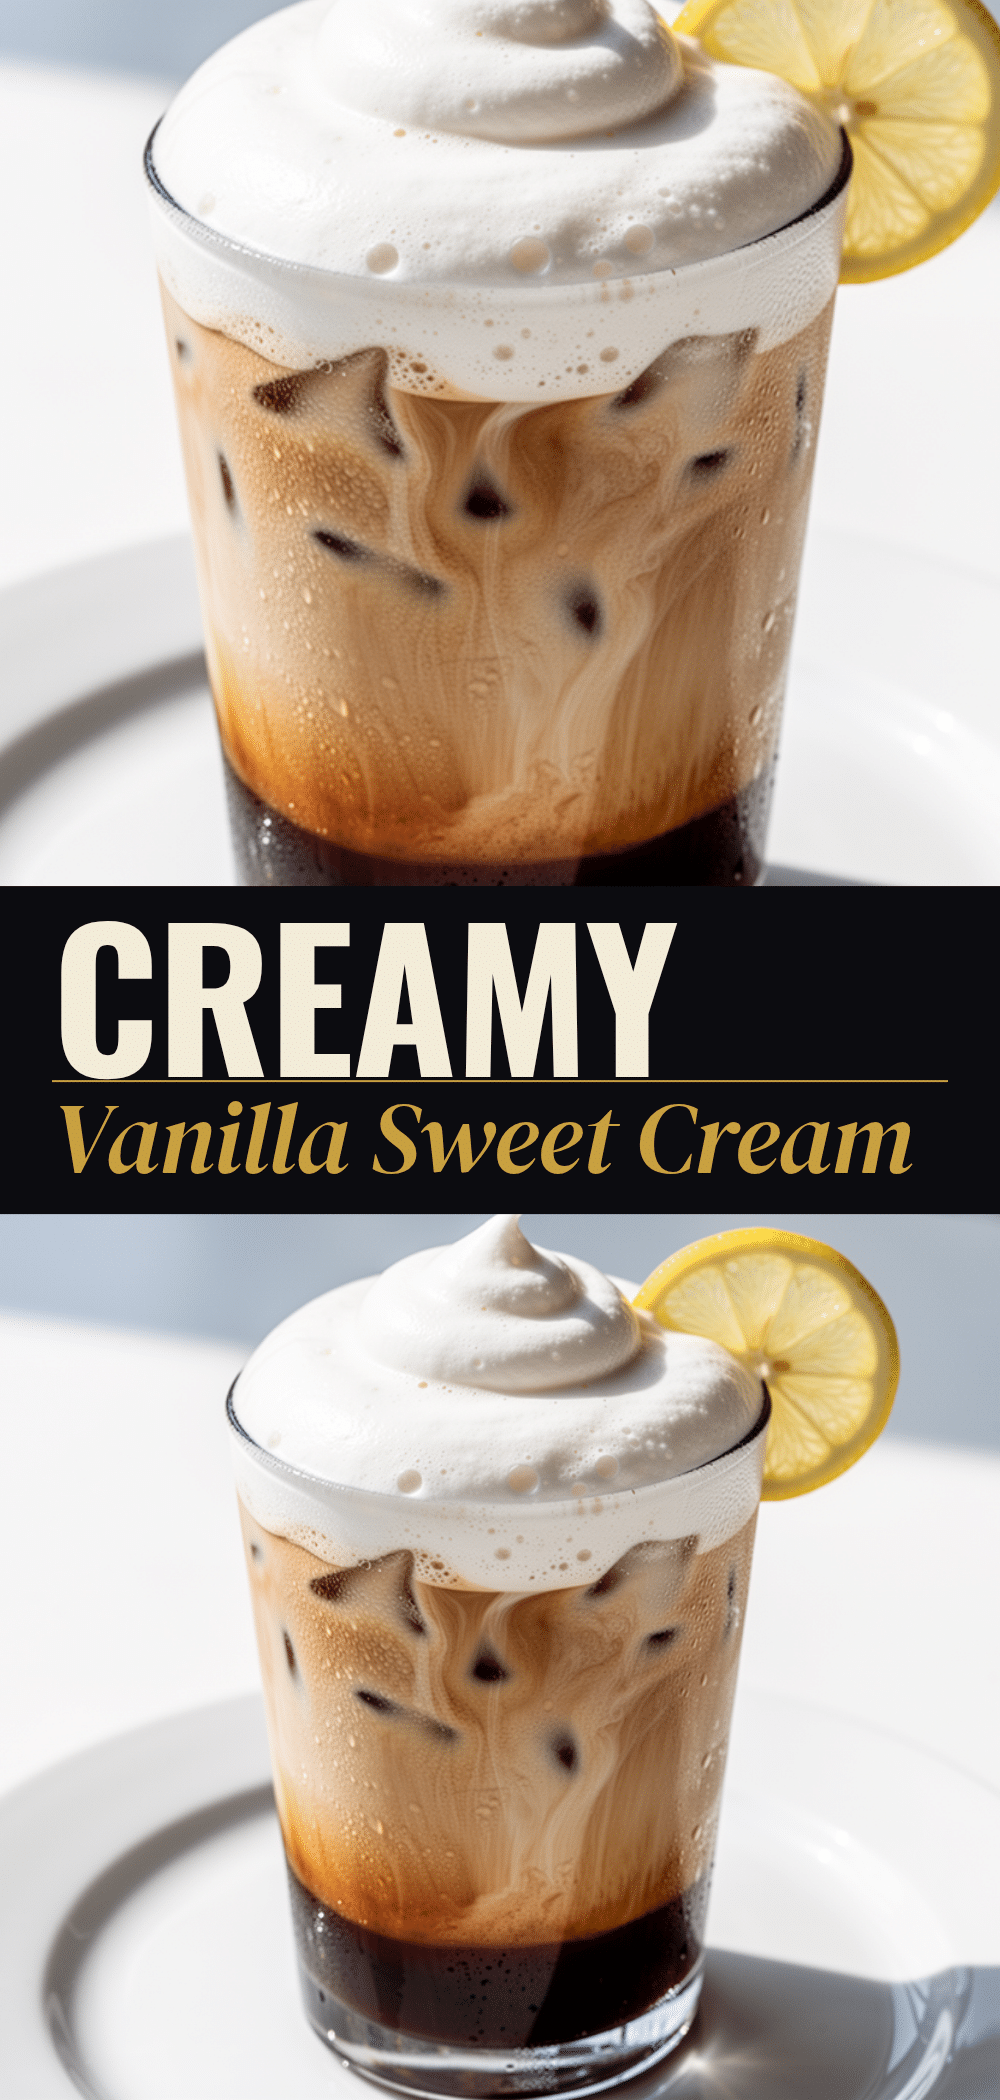
This is the fun part. Spoon or pour the cold foam gently over the back of a spoon onto the surface of the coffee. This helps it float on top rather than mixing in immediately. You want distinct layers. The foam should sit on top like a cloud.
Step 6: Serve and Enjoy
Drink it as is for the full experience—sip through the foam first, then mix it in as it melts. Or stir it all up for a sweet, creamy iced coffee. I usually do a mix of both. Garnish with a dash of cinnamon or a few vanilla bean seeds if you want to look fancy.
Total Time: 5 minutes (2 minutes active, 3 minutes for coffee prep if brewing fresh).
Expert Tips & Tricks
Here’s everything I’ve learned from making this dozens of times. These tips will save you from my mistakes.
The Cream Must Be Cold
This is non-negotiable. If your heavy cream is warm, it won’t whip. Keep your cream in the fridge until the very last second. If you’re in a hot kitchen, put the bowl in the fridge for 5 minutes before whipping. Cold fat whips better.
Don’t Over-Whip
It’s easy to go too far. Once the foam starts to thicken, check it frequently. If you whip it too much, it becomes grainy and starts to separate. You want soft peaks, not stiff peaks like for a cake. Think more like whipped cream for a pie, but slightly looser.
The Syrup Matters
Using a thick vanilla syrup is better than just vanilla extract. Extract is alcohol-based and can make the foam separate if you use too much. If you only have extract, use ½ teaspoon and add 1 tablespoon of simple syrup (equal parts sugar and water, heated until dissolved). This mimics the texture of commercial syrup.
Use a Narrow Container
When whipping with a handheld frother, use a tall, narrow cup. A wide bowl makes it hard to create the vortex needed to incorporate air. I use the same measuring cup I mixed the ingredients in—it’s the perfect size.
Drink It Quickly
Cold foam starts to melt after about 10-15 minutes. It’s best enjoyed immediately. The layers are pretty, but they disappear fast. Don’t let it sit on your desk all morning.
Variations & Substitutions
Once you’ve mastered the basic Vanilla Sweet Cream Cold Foam Iced Coffee, here’s how you can mix it up. I’ve tried all of these.
Caramel Cold Foam
Swap the vanilla syrup for caramel syrup. It’s slightly richer and pairs beautifully with darker roasts. I love this with a mocha cold brew.
Strawberry Cream Foam
Add 2 tablespoons of strawberry puree (fresh or frozen blended) to the cream mixture. It turns pink and tastes like a strawberry shortcake coffee. This pairs well with lighter, fruity coffees.
Matcha Cold Foam
Make the vanilla foam as usual, but sprinkle 1 teaspoon of high-quality matcha powder into the foam before whipping. It adds a earthy, green tea flavor that’s surprisingly good.
Dairy-Free Version
Use full-fat coconut cream (the solid part from a can of coconut milk) and oat milk. Whip it just like regular cream. It’s thicker and heavier but still delicious. I use this when my lactose-intolerant friend comes over.
Sugar-Free Version
Use a sugar-free vanilla syrup (like Lakanto or Splenda brand) and skip the added sugar. The foam will still whip, but it might be slightly less stable. Drink it quickly!
Seasonal Variations
In the fall, I add a pinch of pumpkin spice to the foam. In the winter, I use peppermint syrup. It’s a great way to keep things interesting without changing the base recipe.
Serving & Storage
How to Serve
I serve this straight up in a clear glass so you can see the layers. It’s visually appealing and makes the drink feel special. Pair it with a watermelon icebox cake for a light summer breakfast or brunch. The contrast of the cold, creamy coffee with the light, fruity dessert is perfect.
Storage
You can store the whipped foam in an airtight container in the fridge for up to 24 hours. It will lose some of its fluffiness but can be re-whipped briefly before using. However, it’s always best made fresh.
Do not freeze the foam. It will separate and turn into a solid block of cream when thawed.
Reheating
You don’t reheat this. It’s a cold drink. If your coffee warms up, add more ice.
Nutrition Information
I’m not a nutritionist, but here’s the breakdown if you’re tracking. This is an indulgent treat, so keep portion sizes in mind.
Per Serving (1 glass):
- Calories: 220
- Protein: 3g
- Carbs: 18g
- Fiber: 0g
- Sugar: 16g
- Fat: 14g
- Saturated Fat: 9g
What’s Good:
- It’s gluten-free.
- You control the sugar content.
- It’s a small portion, so it’s easier to manage than a large sugary drink.
What to Know:
- High in saturated fat due to the heavy cream.
- Contains dairy.
- Sugar content can be adjusted down by using sugar-free syrup.
My Take:
Look, this is a treat. It’s not a health food. But it’s way better than the version from the coffee shop because you know exactly what’s in it. When I want to make it lighter, I use 2% milk instead of whole milk and reduce the cream to ¼ cup. It’s still good, just less rich. But usually? I just enjoy the full version and balance it out with a healthy lunch.
Final Thoughts
So that’s my go-to Vanilla Sweet Cream Cold Foam Iced Coffee! I’ve probably talked your ear off at this point, but when you make a recipe this often, you have a lot to say about it.
This drink has saved me so much money and time. It’s my answer to “I want something fancy” when I’m at home. My kids love it too—they think it’s a special treat, and it makes them feel grown-up. Plus, it’s so easy that even my teenage son can make it himself on weekends.
Make it yours! Try different syrups, different coffees, different milks. The best recipes are the ones you adapt to your tastes. If you make this, drop a comment and let me know what you think! I love hearing how recipes turn out in your kitchen. And if something doesn’t work, tell me that too—I’m here to help troubleshoot.
Happy brewing! And I hope your kitchen smells half as good as mine does right now.
Frequently Asked Questions
Can I use half-and-half instead of heavy cream?
You can, but the foam will be much thinner and less stable. Half-and-half has less fat, so it won’t hold air as well. If you want to try it, use a combination of half-and-half and a little bit of heavy cream. Or, try using a non-dairy creamer that’s designed for frothing. But honestly, heavy cream is the way to go for that authentic Starbucks texture.
Why did my foam turn out watery?
This usually happens if the cream wasn’t cold enough, or if you added too much milk. The ratio of cream to milk is important. If you want a lighter foam, add more milk, but if you want it thick, use more cream. Also, make sure you didn’t over-whip it, which can cause it to break and become watery.
Can I make this ahead for a party?
You can whip the foam ahead of time and store it in the fridge in an airtight container for up to 24 hours. Just re-whip it briefly before serving. The coffee should be brewed and chilled separately. Assemble the drinks right before serving to keep the layers distinct.
Why did my foam separate?
If your foam looks curdled or separated, it’s likely because the cream was too warm, or you over-whipped it. Fat separates when it gets too hot or is agitated too much. Make sure your cream is cold and whip gently until soft peaks form.
Can I use vanilla extract instead of syrup?
Yes, but you’ll need to add sugar to compensate for the lack of sweetness and viscosity. Use ½ teaspoon of vanilla extract and 1-2 tablespoons of sugar. Dissolve the sugar in a little warm water to make a simple syrup, then mix it with the cream. It won’t be exactly the same as using syrup, but it’s a good substitute.
How do I reheat leftovers?
You don’t reheat this. It’s a cold drink. If you have leftover foam, you can stir it into hot coffee to make a sweet cream latte, but it won’t have the same airy texture. It’s best to make it fresh.
Can I double this recipe?
Absolutely! Double the ingredients and whip in a larger bowl. Just make sure your frother or blender can handle the volume. I usually make a double batch when I have guests over. It’s a hit every time.
Pin This Recipe!
Vanilla Sweet Cream Cold Foam Iced Coffee: 3-Step Starbucks Copycat
- Total Time: 5 minutes
- Yield: 1 serving 1x
Description
Recreate the popular Starbucks drink at home with this simple, 5-minute recipe. This copycat vanilla sweet cream cold foam iced coffee is cheaper, customizable, and naturally gluten-free.
Ingredients
- 1.5 cups brewed coffee (medium roast or cold brew concentrate, chilled)
- 1.5 cups ice
- 1/2 cup heavy whipping cream (cold)
- 1/4 cup whole milk
- 2 tablespoons vanilla syrup
- 1 teaspoon granulated sugar (optional, depending on syrup sweetness)
- 1/2 teaspoon vanilla extract (optional, if not using syrup)
- Pinch of sea salt (optional)
Instructions
- Brew coffee and chill it completely in the refrigerator or freezer to ensure it is cold.
- In a small bowl or measuring cup, combine the heavy cream, whole milk, vanilla syrup, and sugar (if using). Whisk gently to dissolve the syrup.
- Using a handheld frother, blender, or mason jar, whip the cream mixture for 15-20 seconds until it doubles in volume and reaches a soft-serve ice cream consistency.
- Fill a tall glass (16oz) to the top with ice.
- Pour the cold coffee over the ice, leaving about an inch of space at the top.
- Gently spoon or pour the whipped cold foam over the back of a spoon onto the surface of the coffee to create distinct layers.
- Serve immediately, sipping through the foam first or stirring it in as desired.
Notes
Ensure all ingredients, especially the heavy cream, are very cold for best whipping results. Do not over-whip the foam or it will become grainy. The foam is best enjoyed immediately as it melts after 10-15 minutes. You can store the whipped foam in an airtight container in the fridge for up to 24 hours, but re-whip briefly before using.
- Prep Time: 2 minutes
- Cook Time: 0 minutes
- Category: Beverage
- Cuisine: American
Nutrition
- Serving Size: 1 glass
- Calories: 220
- Sugar: 16
- Fat: 14
- Saturated Fat: 9
- Carbohydrates: 18
- Protein: 3
Keywords: Starbucks copycat, cold foam, iced coffee, vanilla sweet cream, homemade coffee drink, gluten-free drink, easy breakfast recipe


