It was 6:45 PM on a Tuesday, and I was having one of those days where the clock seems to move in slow motion while my stomach screams in protest. The kids had been home all day, the laundry pile was judging me from the corner, and the last thing I wanted to do was order overpriced takeout that would arrive lukewarm and sad. I needed dinner. Like, five minutes ago.
I opened the fridge and stared into the abyss. There was a half-empty jar of honey, a head of garlic that had seen better days, and two chicken breasts that were begging to be cooked. I didn’t have time to marinate anything overnight. I didn’t have time to preheat the oven. I needed something fast, sweet, savory, and forgiving enough that I could make it while helping my youngest with a math problem.
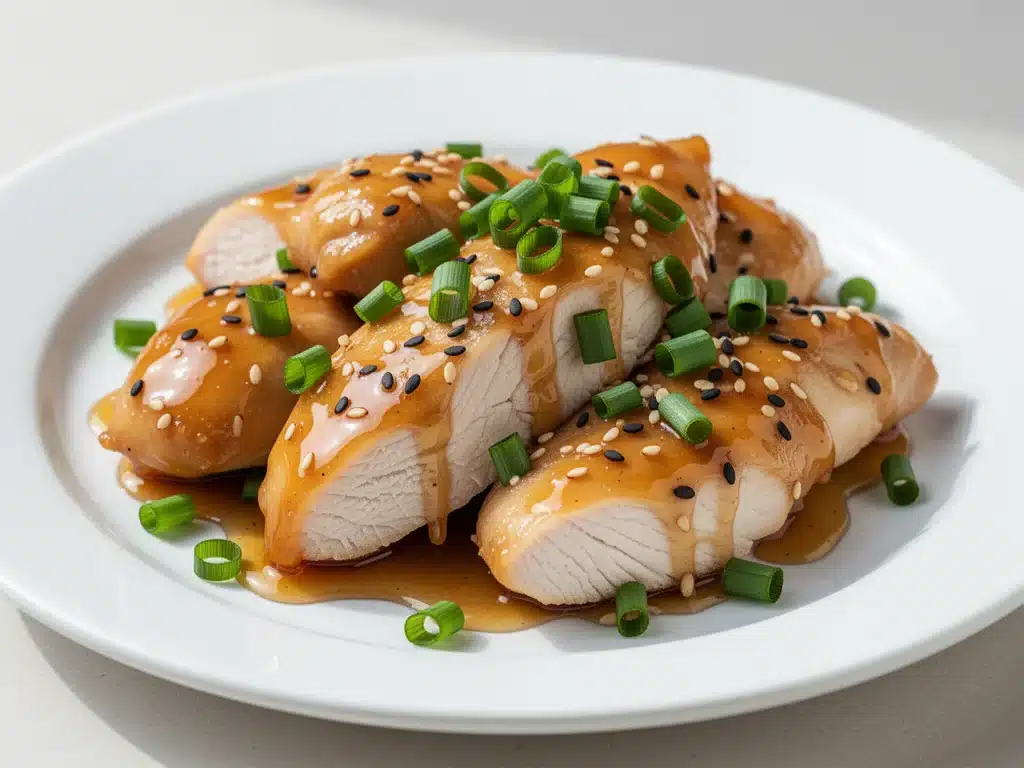
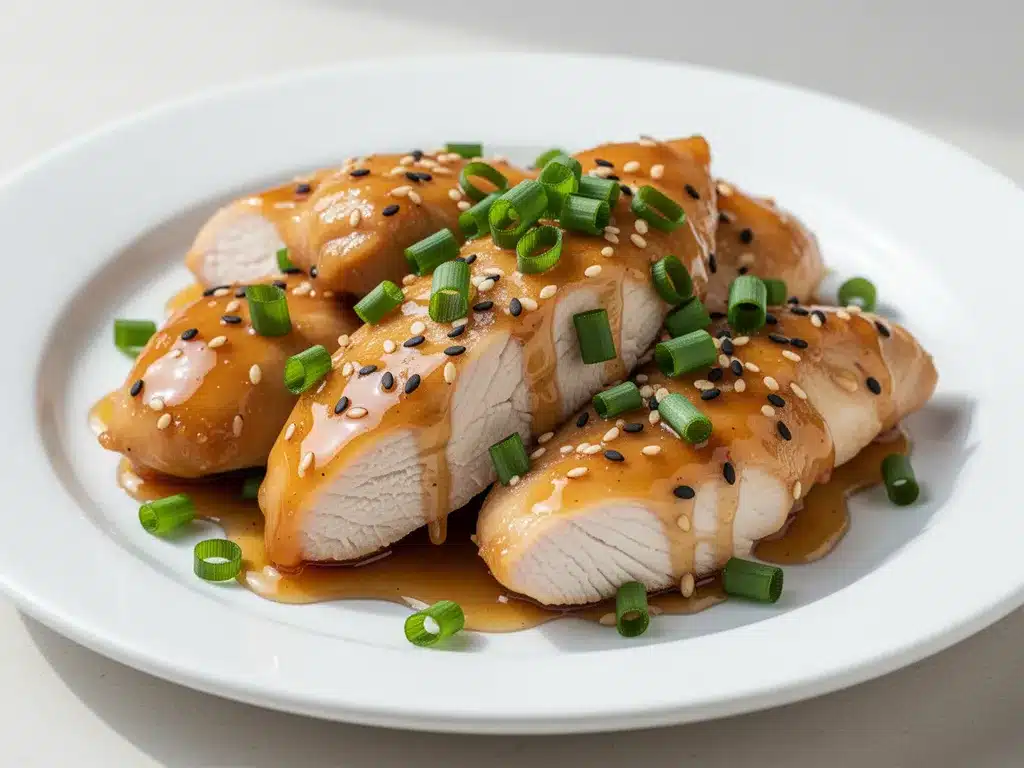
So I threw together a quick sauce in a bowl, tossed in the chicken, and let the skillet do the work. What came out of that pan wasn’t just “edible.” It was sticky, glossy, and so flavorful that my husband actually stopped scrolling on his phone to eat. It was honey garlic chicken, and it took exactly 20 minutes from start to finish.
I’ve made this specific version of the recipe dozens of times since that chaotic Tuesday. I’ve tweaked the garlic ratio (more is always better), tested different thickeners, and figured out the exact heat level that keeps the honey from burning. The result? A dish that tastes like it came from a Chinese takeout container but costs a fraction of the price and has zero preservatives. If you’re tired of the same old chicken routine, this is your new best friend.
Why You’ll Love This Honey Garlic Chicken Recipe
Let’s be real for a second. Weeknight cooking is hard. You’re tired, you’re hungry, and you’re trying to avoid decision fatigue. This honey garlic chicken works because it checks every single box without requiring a culinary degree or a trip to a specialty grocery store.
- Stupid Simple — Seriously, if you can whisk ingredients in a bowl and flip chicken in a pan, you can master this. I’ve walked my teenage son through this recipe over FaceTime, and he nailed it the first time.
- Lightning Fast — 20 minutes. Not 30. Not “prep time plus cook time.” Twenty minutes from chopping to plating. I make this on nights when I get home with zero energy and still want to feed my family something hot and delicious.
- Pantry-Friendly — You probably have 90% of these ingredients already. Honey, garlic, soy sauce, cornstarch, chicken. These are staples. I keep them stocked specifically so I can throw this together on a whim.
- Flavor Bomb — It’s sweet, salty, garlicky, and savory all at once. It’s the kind of flavor profile that makes people ask for seconds before they’ve even finished their first bite. My kids, who usually pick at their food, clean their plates.
- Leftover Magic — This stuff is incredible reheated. The sauce thickens up and clings even better the next day. I deliberately make extra for lunch because cold honey garlic chicken on toast is a breakfast of champions.
- Budget-Smart — Feeds 4 people for under $12. That’s less than the cost of one order of takeout, and this tastes better anyway because you control the quality of ingredients.
This is my go-to when I need dinner to just work. No complicated techniques, no weird ingredients, just reliable, delicious food that makes everyone happy.
Ingredients You’ll Need for Honey Garlic Chicken
Here’s the best part: you probably have most of this already. This recipe relies on simple, accessible ingredients that punch way above their weight class. I’m particular about three things here, and I’ll tell you exactly why they matter.
For the Chicken
Chicken breasts or thighs (1.5 lbs / 680g) — I use boneless, skinless chicken breasts for leaner protein, but thighs are juicier and more forgiving if you overcook them slightly. Slice them into bite-sized pieces or keep them as whole cutlets. If you prefer thicker pieces, just extend the cook time by 2 minutes.
Cornstarch (2 tablespoons) — This is the secret weapon. It creates a light, crispy coating on the chicken that helps the sauce cling. Don’t skip it. Flour works, but it gets doughy. Cornstarch keeps it crisp.
Salt and black pepper (to taste) — Basic seasoning. Don’t be shy with the salt. The sauce is sweet, so the chicken needs a solid savory base.
For the Honey Garlic Sauce
Garlic (6-8 cloves, minced / about 3 tablespoons) — Yes, that many. Fresh only. No jarred garlic in this recipe. It has a metallic aftertaste that ruins the balance. Mince it finely so it cooks quickly and distributes evenly. If you’re using a garlic press, go for it, but mincing gives better texture.
Honey (½ cup / 120ml) — Use real honey. Avoid processed corn syrup blends. I like using clover or wildflower honey for a floral note, but any clear honey works. If your honey is crystallized, microwave it for 15 seconds to loosen it up.
Soy sauce (¼ cup / 60ml) — Regular soy sauce is fine, but low-sodium is better so you can control the saltiness. Tamari works for gluten-free versions. Avoid “light” soy sauce as it’s too thin and watery.
Rice vinegar (1 tablespoon) — Adds brightness and cuts through the sweetness. White vinegar works in a pinch, but rice vinegar is milder and more authentic. Apple cider vinegar is too fruity.
Brown sugar (1 tablespoon) — Optional, but it adds depth and helps the sauce caramelize. If your honey is very sweet, you can skip this. I usually include it for that rich, sticky glaze.
Water (½ cup / 120ml) — Dilutes the sauce so it coats the chicken evenly without being too thick or too thin.
Sesame oil (1 teaspoon) — Just a teaspoon. It adds that classic nutty aroma. Don’t use too much or it’ll overpower the garlic. Toasted sesame oil is best.
For Garnish
Green onions (2 stalks, sliced) — Adds color and a fresh crunch. Essential for presentation.
Sesame seeds (1 tablespoon) — Optional, but looks pretty and adds a nice nutty crunch.
Red pepper flakes (optional) — If you like a little heat, sprinkle these on top. The sweetness and spice combo is addictive.
Equipment Needed
You don’t need fancy equipment for this. Here’s what I actually use in my kitchen.
Large skillet or wok — A 12-inch skillet works best. I prefer cast iron or stainless steel because they hold heat well. Non-stick works too, especially if you’re worried about the honey sticking. Just be gentle when flipping.
Sharp knife — For slicing the chicken and mincing garlic. Dull knives are dangerous and make mincing garlic a nightmare. Learn to sharpen yours.
Measuring cups and spoons — Standard stuff. Dollar store versions work fine. Precision matters here because the sauce balance is key.
Whisk — For mixing the sauce. A small whisk is perfect. Fork works in a pinch.
Small bowl — For mixing the sauce ingredients before pouring. Saves you from stirring in the pan.
Plate or tray — For holding the seasoned chicken before cooking.
How to Make Honey Garlic Chicken: Step-by-Step
Alright, let’s make this! I’m walking you through exactly how I do it, including the little tricks I’ve picked up over the years. This process is straightforward, but there are a few key moments that make the difference between good and great.
Step 1: Prep the Chicken (5 minutes)
Pat the chicken pieces dry with paper towels. This is crucial—wet chicken steams instead of sears. Slice the chicken into even pieces, about 1-inch thick or bite-sized. Season generously with salt and pepper. Toss the chicken pieces in cornstarch until lightly coated. Shake off any excess. The coating should be thin and even, not clumpy. This creates that signature crispy texture.
Step 2: Make the Sauce (2 minutes)
While the chicken rests, whisk together the honey, soy sauce, rice vinegar, brown sugar, water, and sesame oil in a small bowl. Add the minced garlic last so it doesn’t stick to the bottom of the bowl. Taste the sauce—it should be sweet, salty, and tangy. Adjust if needed. If it’s too sweet, add a splash more vinegar. Too salty? Add a bit more water or honey.
Step 3: Cook the Chicken (8-10 minutes)
Heat a large skillet over medium-high heat with 1 tablespoon of oil. Once the oil shimmers, add the chicken pieces in a single layer. Don’t overcrowd the pan—cook in batches if necessary. Let the chicken cook undisturbed for 3-4 minutes until golden brown and crispy on one side. Flip and cook for another 3-4 minutes until cooked through and crispy on the other side. The internal temperature should reach 165°F (74°C). Remove chicken from the pan and set aside on a plate.
Step 4: Build the Sauce (3 minutes)
Reduce the heat to medium. Pour the sauce mixture into the same skillet. It will bubble and sizzle. Stir constantly for 1-2 minutes until the sauce thickens and becomes glossy. The cornstarch in the sauce will activate with the heat. If it thickens too fast, add a splash more water. If it’s too thin, let it simmer for another minute.
Step 5: Combine and Finish (2 minutes)
Add the cooked chicken back into the skillet with the sauce. Toss gently to coat every piece. The sauce should cling to the chicken like a sticky blanket. Cook for 1 minute to let the flavors meld. Remove from heat.
Step 6: Serve
Serve immediately over steamed rice or noodles. Garnish with sliced green onions and sesame seeds. Add red pepper flakes if you want heat. The sauce will continue to thicken as it cools, so serve while it’s hot and glossy.
Total Time: About 20 minutes (5 minutes prep, 15 minutes cook)
Expert Tips & Tricks for Perfect Honey Garlic Chicken
Here’s everything I’ve learned from making this dozens of times. These tips will save you from my mistakes.
Don’t Skip the Cornstarch
This is the #1 tip. The cornstarch coating creates a barrier that keeps the chicken juicy while adding crispiness. Without it, the chicken just steams in the sauce and becomes soggy. I’ve made this without cornstarch once, and the result was disappointing. Now I never forget.
High Heat for Searing
Cook the chicken over medium-high heat to get that golden crust. Low heat will make the chicken release moisture and boil instead of sear. You want browning, not steaming. If your pan isn’t hot enough, wait another minute.
Garlic Management
Garlic burns easily. Since you’re adding it to the sauce *after* the chicken is cooked, you avoid the risk of burning it in the oil. If you prefer to sauté the garlic first, do it for only 30 seconds before adding the sauce ingredients. Burnt garlic tastes bitter and ruins the whole dish.
Sauce Consistency
The sauce should coat the back of a spoon. If it’s too thick, it’ll clump on the chicken. If it’s too thin, it’ll run off. Adjust with water or simmering time. Remember, it will thicken more as it cools, so pull it from heat when it’s still slightly runny.
Common Mistakes (and how to avoid them)
Mistake: Chicken is dry
Fix: Don’t overcook it. Chicken breasts cook fast. Use a thermometer if you’re unsure. Take it off the heat at 160°F—it’ll continue cooking to 165°F on the plate.
Mistake: Sauce is too sweet
Fix: Add more soy sauce and rice vinegar. Balance is key. Sweet needs salt and acid to shine.
Mistake: Sauce is too salty
Fix: Add more honey and water. Dilute the saltiness. You can also add a splash of cream or coconut milk to mellow it out.
Variations & Substitutions
Once you’ve nailed the basic version, here’s how you can mix it up. I’ve tried all of these, and they all work.
Spicy Honey Garlic
Add 1 teaspoon of sriracha or chili garlic sauce to the sauce mixture. It adds a nice kick that pairs perfectly with the sweetness. This is my favorite version when I want something with a bit of heat.
Vegetable-Packed
Sauté bell peppers, broccoli, or snap peas in the pan before removing the chicken. Add them back in at the end with the sauce. This adds volume and nutrients without changing the flavor profile. I do this when I need to sneak more veggies into my family’s diet.
Gluten-Free
Use tamari instead of soy sauce and ensure your cornstarch is certified gluten-free (most are). Everything else is naturally gluten-free. I’ve made this for my celiac friend, and she loved it.
Slow Cooker Version
If you’re short on time in the evening but have time in the morning, check out my slow cooker honey garlic chicken thighs. It’s a 5-ingredient dinner that does all the work for you while you’re at school or work. The flavors meld beautifully over 6-8 hours on low.
Alternative Proteins
Shrimp — Cook shrimp for 2-3 minutes per side. They cook fast, so add them at the end. Tofu — Press firm tofu, cube it, and fry until crispy. Great vegetarian option. Pork — Use pork tenderloin or chops. Adjust cook time as needed.
Dietary Modifications
Lower Sugar — Reduce honey to ¼ cup and use a sugar substitute like erythritol or monk fruit for the brown sugar. It’s not as sticky, but it works. Keto — Skip the cornstarch and use xanthan gum to thicken the sauce. Use erythritol instead of brown sugar. It’s different but still tasty.
Serving & Storage
How to serve this beauty? I usually serve it straight from the skillet at the dinner table—it looks rustic and stays warm. But here are other ways I’ve enjoyed it:
Side Dishes
- Steamed jasmine rice (classic pair)
- Fried rice (use leftover rice for best texture)
- Lo mein or udon noodles
- Simple green salad with sesame dressing
- Roasted broccoli or green beans
Toppings Bar
When I have guests, I put out: sliced green onions, sesame seeds, red pepper flakes, and extra honey for drizzling. Everyone customizes their bowl.
Storage Instructions
Refrigerator: Store in an airtight container for up to 4 days. The sauce will thicken in the fridge—totally normal.
Reheating: Best method: Add to a skillet with a splash of water or broth over low heat. Stir until heated through and creamy again. Microwave method: Heat in 30-second intervals, stirring between. Add a splash of water if it’s too thick.
Freezing: Honestly, this doesn’t freeze well because of the sauce consistency. The texture changes when thawed. Make it fresh or store in the fridge for up to 4 days.
Pro tip: If leftovers are drying out, stir in a tablespoon of honey and a splash of water when reheating. Brings back that sticky, glossy texture.
Nutrition Information
I’m not a nutritionist, but here’s the breakdown if you’re tracking. This is per serving (based on 4 servings).
| Nutrient | Amount |
|---|---|
| Calories | 320 |
| Protein | 28g |
| Carbs | 32g |
| Fiber | 0g |
| Sugar | 28g |
| Fat | 8g |
| Sodium | 680mg |
What’s Good: High protein from chicken. Quick and easy meal prep option.
What to Know: Higher in sugar from honey. Contains soy. Moderate sodium.
My Take: Look, this is comfort food with honey and soy sauce. It’s not a diet recipe. But it’s way better than takeout, costs less, and I know exactly what’s in it. When I want to make it lighter, I use more vegetables and less sauce. But usually? I just eat a reasonable portion and enjoy it.
Final Thoughts
So that’s my go-to honey garlic chicken! I’ve probably talked your ear off at this point, but when you make a recipe this often, you have a lot to say about it. This has saved weeknight dinners more times than I can count. It’s my answer to “what’s for dinner” when I’m tired, don’t want takeout, and still want something that tastes really good.
Make it yours! Try different add-ins, swap in your favorite vegetables, adjust the garlic (though more is always better in my opinion). The best recipes are the ones you adapt to your family’s tastes. If you make this, drop a comment and let me know what you think! I love hearing how recipes turn out in your kitchen. And if something doesn’t work, tell me that too—I’m here to help troubleshoot.
Happy cooking! And I hope your kitchen smells half as good as mine does right now.
Frequently Asked Questions
Can I use chicken thighs instead of breasts?
Absolutely. Thighs are juicier and more flavorful, which is great for this recipe. They also take slightly longer to cook, so add 2-3 minutes to the cook time. I actually prefer thighs because they’re harder to dry out. Just make sure to slice them into even pieces for uniform cooking.
Why did my sauce turn out too thick?
Too much cornstarch or not enough liquid. The cornstarch thickens quickly with heat. If it’s too thick, add water a tablespoon at a time while stirring. If it’s already thickened on the chicken, add a splash of water to the pan and stir to loosen it up before adding the chicken back in.
Can I make this ahead for a dinner party?
Sort of. You can prep the chicken and mix the sauce up to 2 days ahead and store them separately in the fridge. Cook the chicken and make the sauce fresh right before serving (takes 15 minutes). It won’t be quite as good as fresh, but it’s close and saves you stress during the party. I do this all the time.
Can I use jarred minced garlic?
You can, but fresh tastes so much better in this recipe. Jarred garlic has a different texture and a slightly metallic taste that really shows up in a sauce this prominent. If you must use it, use half the amount because it’s more concentrated. But honestly, mincing 6 cloves takes like 2 minutes. Buy pre-peeled garlic cloves if you want to save time.
How do I reheat leftovers without it getting dry?
Add a splash of water or broth to a skillet, add your leftover chicken, and heat gently over low heat, stirring frequently. The extra liquid brings back the saucy texture. Microwave sort of works but tends to dry it out. If you do microwave, definitely add a splash of water first and heat in short bursts, stirring between.
Can I double this recipe?
Yes! Double everything and use your largest skillet. The cooking times stay the same, but you may need to cook the chicken in two batches to avoid overcrowding. Overcrowding leads to steaming instead of searing, which ruins the texture. I double this when I’m meal-prepping or feeding a crowd.
What’s the best side dish to serve with this?
Steamed jasmine rice is the classic choice because it soaks up the sauce perfectly. Fried rice is also amazing if you have leftover rice. For a lighter option, serve it over cauliflower rice or with a simple green salad. If you want to go all out, serve it with crispy parmesan-crusted chicken cutlets as a comparison side, though that’s a different recipe entirely. Honestly, just serve it with whatever you’re in the mood for.
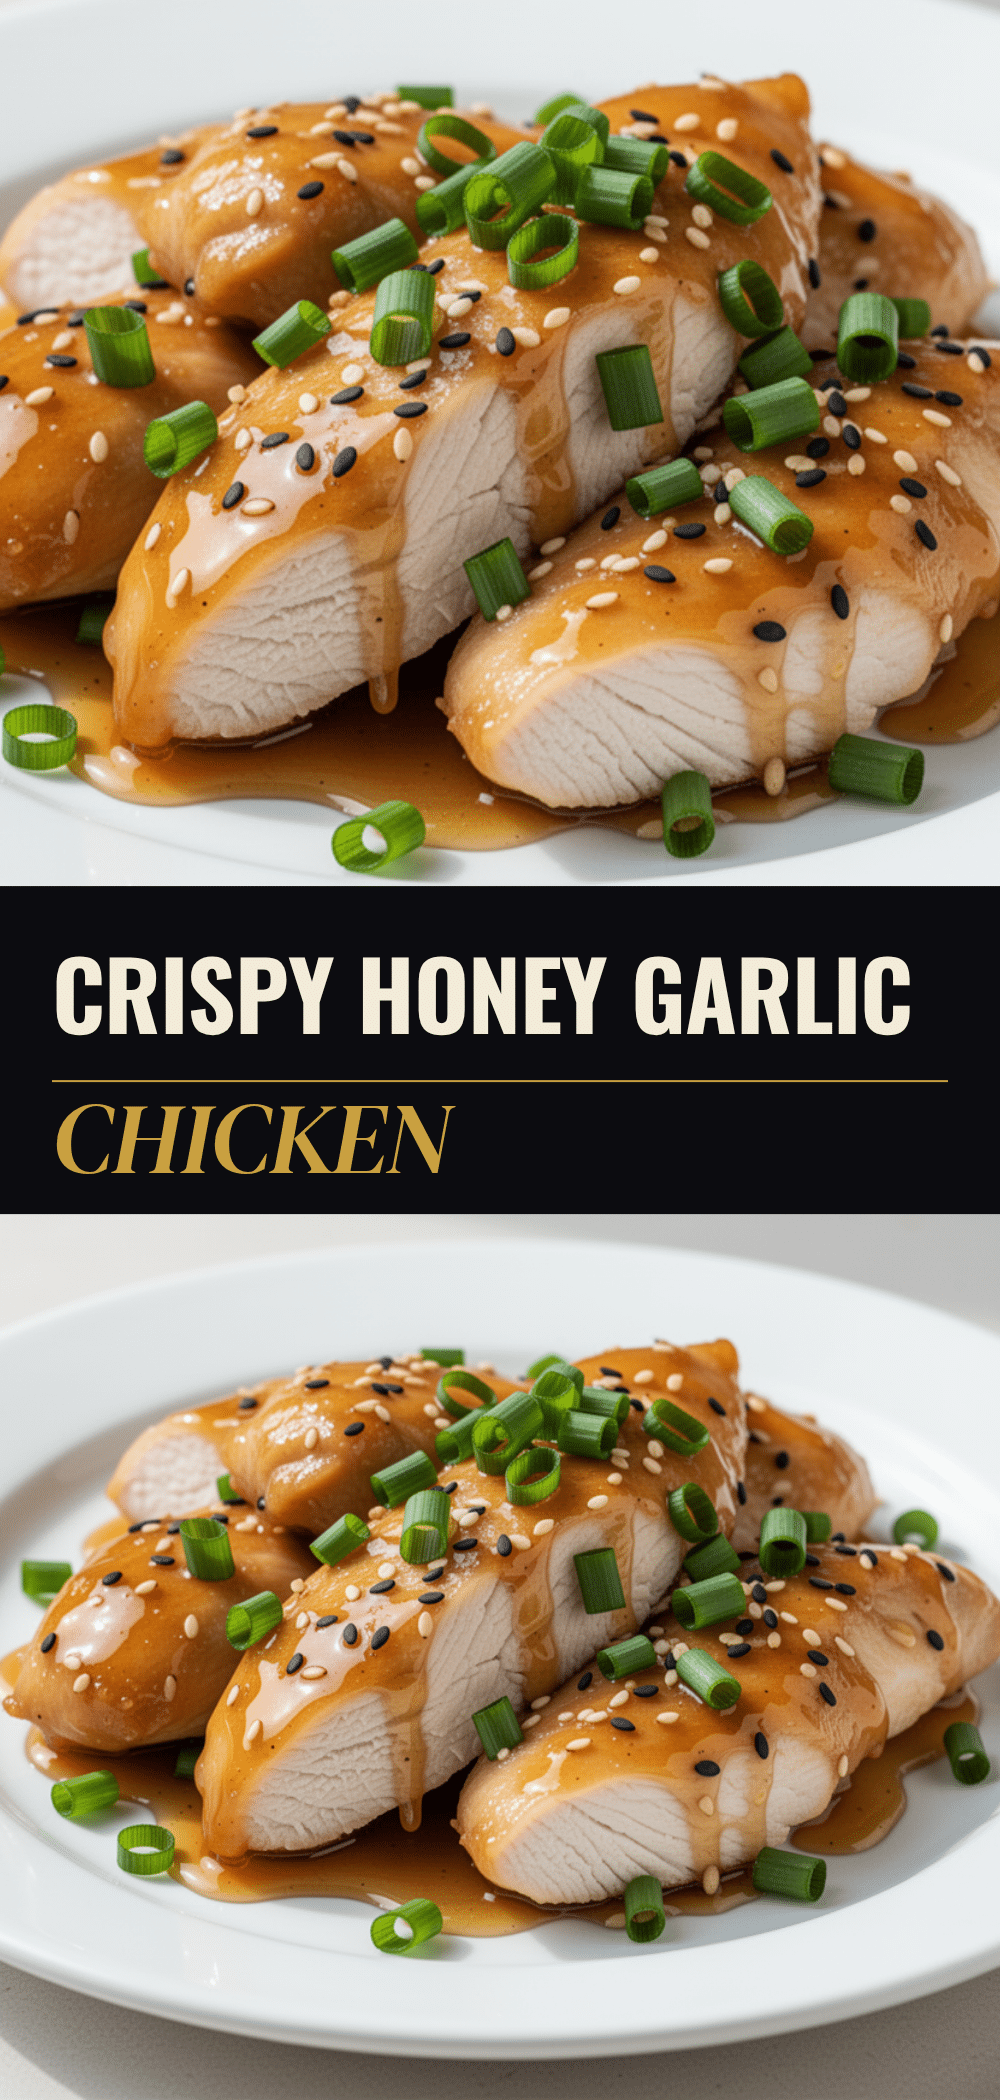
Pin This Recipe!
Honey Garlic Chicken: 20-Minute Easy Dinner
- Total Time: 20 minutes
- Yield: 4 servings 1x
Description
A quick and easy weeknight dinner featuring sticky, glossy chicken breasts coated in a sweet and savory honey garlic sauce, ready in just 20 minutes.
Ingredients
- 1.5 lbs boneless, skinless chicken breasts or thighs, sliced into bite-sized pieces
- 2 tablespoons cornstarch
- Salt and black pepper, to taste
- 1 tablespoon cooking oil
- 6–8 cloves garlic, minced
- ½ cup honey
- ¼ cup soy sauce (or tamari for gluten-free)
- 1 tablespoon rice vinegar
- 1 tablespoon brown sugar
- ½ cup water
- 1 teaspoon toasted sesame oil
- 2 stalks green onions, sliced (for garnish)
- 1 tablespoon sesame seeds (for garnish)
- Red pepper flakes (optional, for garnish)
Instructions
- Pat chicken pieces dry with paper towels and slice into even pieces. Season generously with salt and pepper, then toss in cornstarch until lightly coated. Shake off excess.
- In a small bowl, whisk together honey, soy sauce, rice vinegar, brown sugar, water, and sesame oil. Add minced garlic last.
- Heat a large skillet over medium-high heat with 1 tablespoon of oil. Add chicken in a single layer (cook in batches if necessary). Cook undisturbed for 3-4 minutes until golden brown, then flip and cook another 3-4 minutes until cooked through (165°F). Remove chicken and set aside.
- Reduce heat to medium. Pour the sauce mixture into the same skillet. Stir constantly for 1-2 minutes until the sauce thickens and becomes glossy.
- Add the cooked chicken back into the skillet with the sauce. Toss gently to coat every piece and cook for 1 minute to meld flavors.
- Serve immediately over steamed rice or noodles, garnished with green onions, sesame seeds, and red pepper flakes if desired.
Notes
Do not skip the cornstarch as it creates a crispy coating. Use fresh garlic for best flavor. If the sauce thickens too much, add a splash of water. Chicken thighs can be used instead of breasts for juicier results.
- Prep Time: 5 minutes
- Cook Time: 15 minutes
- Category: Main Course
- Cuisine: Asian Fusion
Nutrition
- Serving Size: 1 serving (approx. 1
- Calories: 320
- Sugar: 28
- Sodium: 680
- Fat: 8
- Saturated Fat: 1
- Carbohydrates: 32
- Protein: 28
Keywords: honey garlic chicken, quick dinner, weeknight meals, easy chicken recipe, 20 minute dinner, gluten-free option


