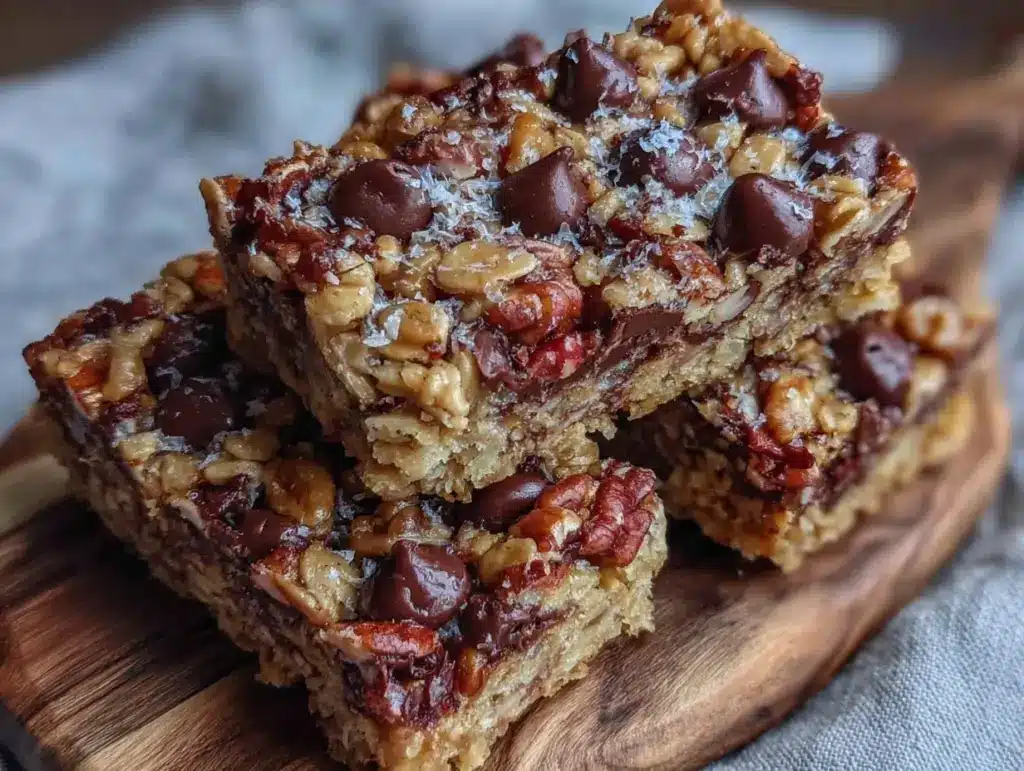
I have a confession to make. For years, I thought granola bars were just a fancy word for “compressed cardboard with sugar.” You know the kind. You buy them because you’re tired, you’re hungry, and you need something that fits in a bag, but the first bite tastes like sawdust and regret. I used to buy boxes of them for my morning commute, only to throw half of them away because they were stale and dry. That ended last autumn when I ran out of everything in my pantry except oats, peanut butter, honey, and chocolate chips.
I was staring at these ingredients, feeling pretty defeated. I didn’t want to bake. The idea of preheating an oven, waiting for it to cool, and dealing with a sticky baking sheet sounded like too much work for a Tuesday evening. So, I decided to try something I’d seen mentioned in passing: a no-bake version. I mixed everything in a pot, pressed it into a pan, and put it in the fridge. I honestly expected a disaster. Maybe it would be too hard to chew, or maybe it would melt into a puddle of chocolate sludge.
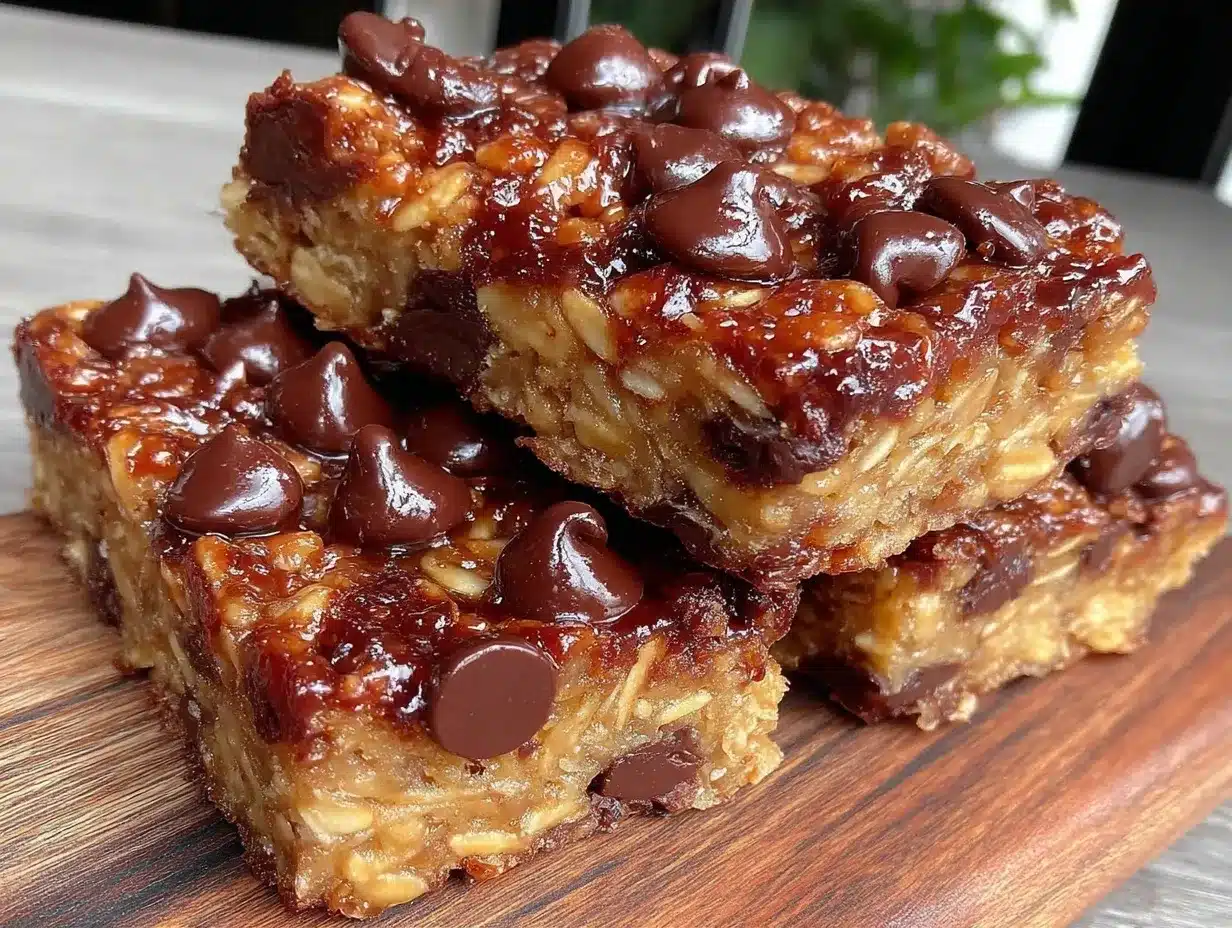
Instead, I got perfection. The first bar I pulled out was dense, chewy, and packed with those melty chocolate chips I love. It tasted like a cookie, but it had the substance of a meal. I ate one standing over the counter, and I realized I had finally cracked the code. This no-bake chewy chocolate chip granola bar is not just a snack; it’s a lifeline for anyone who wants a homemade treat without the hassle. I’ve made this no-bake chewy chocolate chip granola bar at least twenty times since that night. It’s become my go-to for lunchboxes, hiking trips, and late-night cravings. You really can’t mess this up.
What makes this recipe special isn’t just the taste, though it is delicious. It’s the simplicity. There’s no baking, no measuring cups for dry ingredients that need sifting, and no waiting around. It’s minimalist cooking at its finest. If you can only make one thing this week that feels indulgent but is actually just oats and peanut butter, make this. It’s the ultimate beginner-friendly treat because it forgives your mistakes. Too much honey? It’s still chewy. Too many chips? It’s still good. Let’s walk through how to make your own.
Why You’ll Love This No-Bake Chewy Chocolate Chip Granola Bar
There are a few reasons this no-bake chewy chocolate chip granola bar has taken over my kitchen rotation, and I suspect it will do the same for you.
- Zero Oven Required — I hate waiting for ovens to preheat. This recipe uses heat only to melt the binder ingredients. You’re done in 15 minutes of active time. I made this while watching a show, and it was ready before the credits rolled.
- Five Ingredients Max — Minimalism is my love language. You need oats, peanut butter, honey, chocolate chips, and maybe a pinch of salt. That’s it. No fancy syrups, no obscure flours. Just pantry staples you probably already have.
- Perfectly Chewy Texture — Store-bought bars are often hard as rocks. This no-bake chewy chocolate chip granola bar stays soft and chewy for days because of the ratio of wet to dry ingredients. It has that satisfying resistance when you bite into it, not a crumbly mess.
- Meal Prep Friendly — I make a batch on Sunday, and I have snacks for the entire week. They store beautifully in the fridge, so they don’t go bad. I pack them for work, and my coworkers always ask where I bought them.
- Customizable Any Way You Want — Hate peanut butter? Use sunflower seed butter. Love nuts? Add almonds. Want less sugar? Use dark chocolate chips. This recipe is a canvas, not a rigid set of rules.
This is my go-to when I want something sweet but substantial. It’s better than no-bake peanut butter energy bites because it’s a full bar, not just a bite-sized piece. You really can’t mess this up, and that confidence is everything.
Key Ingredients for the Best No-Bake Chewy Chocolate Chip Granola Bar
Let’s talk about what goes into this no-bake chewy chocolate chip granola bar. Since there are so few ingredients, quality matters more than usual. Here’s what I use and why.
Old-Fashioned Rolled Oats
(3 cups / 270g)
This is the base. Do not use quick oats or steel-cut oats. Quick oats will turn into mush because they’re too thin, and steel-cut oats are too hard and won’t bind properly. You want the flat, sturdy flakes of old-fashioned oats. They provide that chewy texture we’re after. I buy the store brand; it’s the same quality as the fancy stuff.
Peanut Butter
(1 cup / 250g)
Use natural or conventional creamy peanut butter. Avoid the “no-stir” kinds if they have added hydrogenated oils, as they can sometimes make the bars waxy. I prefer creamy because it binds better than chunky. If you’re nut-free, back-to-school mini chocolate chip muffins are a great alternative for school lunches, but for this, sunflower seed butter works perfectly as a 1:1 substitute.
Honey
(3/4 cup / 240g)
Honey is the glue. It provides the chewiness. Maple syrup is a common substitute, but it has more water content, which can make the bars softer or even sticky. If you use maple syrup, you might need to chill them longer. I stick with honey for that reliable, firm-yet-chewy bite.
Chocolate Chips
(1 cup / 170g)
Semi-sweet or milk chocolate chips. I like semi-sweet because the bitterness cuts through the sweetness of the honey and peanut butter. If you want to reduce sugar, use dark chocolate chips. Don’t use chocolate bars chopped up yourself unless you’re okay with uneven distribution. Chips melt evenly.
Salt
(1/2 tsp / 3g)
Do not skip this. Salt makes the peanut butter and chocolate taste like themselves. Without it, the bars taste flat and cloyingly sweet. Use fine sea salt or table salt.
Vanilla Extract
(1 tsp / 5ml)
A splash of vanilla adds warmth and depth. It’s optional, but I find it makes the bars taste more “bakery-like.” Use pure vanilla extract, not imitation.
Tools Needed for This No-Bake Chewy Chocolate Chip Granola Bar
You don’t need fancy equipment. Here’s what I use. Most of this is stuff you already have in your kitchen.
- Large Saucepan — I use a 3-quart saucepan. It needs to be big enough to hold all the ingredients when they melt. If it’s too small, things will spill over.
- Spatula — A heat-proof silicone spatula is essential for stirring the melting mixture. A wooden spoon works too, but silicone scrapes the sides better.
- 9×9 Inch Baking Pan — This is the standard size. Line it with parchment paper. This is the most important tool for easy removal.
- Parchment Paper — Do not use aluminum foil. The bars will stick. Parchment allows you to lift the entire block out of the pan to cut it.
- Large Mixing Bowl — You’ll transfer the hot mixture here to mix in the oats and chips. A bowl prevents burns from the hot pan.
How to Make No-Bake Chewy Chocolate Chip Granola Bars
Here is exactly how I make this no-bake chewy chocolate chip granola bar. It’s simple, but pay attention to the melting step. That’s where most people go wrong.
Step 1: Prep Your Pan (2 minutes)
Line your 9×9 inch baking pan with parchment paper. Leave an overhang on the two long sides so you can lift the bars out later like a sling. I lightly spray the parchment with cooking spray just to be safe, though it’s usually not needed if you use enough butter or oil in the mix.
Step 2: Melt the Binder (5 minutes)
In your saucepan, combine the peanut butter and honey. Heat over medium-low heat. Stir constantly. You want this to melt together smoothly. It should look glossy and liquid, like a thick syrup. Do not let it boil or burn. If it’s too thick, add a teaspoon of water. This mixture is the glue, so it needs to be fully liquid before you add the dry ingredients.
Step 3: Combine Dry Ingredients (1 minute)
Transfer the hot peanut butter-honey mixture to your large mixing bowl. Immediately add the oats, salt, and vanilla. Stir quickly. The heat from the mixture will start to soften the oats slightly, which helps them stick together. If you wait too long, the mixture will start to set up in the bowl, making it hard to mix.
Step 4: Fold in Chocolate Chips (2 minutes)
Add the chocolate chips to the oat mixture. Fold them in gently. You don’t want to crush the oats. Just enough to distribute the chips evenly. The mixture will look thick and sticky. This is good. It should look like a heavy cookie dough.
Step 5: Press into Pan (5 minutes)
Transfer the mixture to your prepared pan. This is the hardest part because it’s sticky. Wet your hands slightly with water or oil to prevent sticking. Press the mixture down firmly. I use the bottom of a measuring cup or a glass to pack it down tight. If you don’t pack it down, the bars will fall apart when you cut them. Aim for an even layer. Don’t worry about perfect edges; you’ll trim those later.
Step 6: Chill and Cut (30 minutes)
Place the pan in the fridge for at least 30 minutes. The bars need to set. If you cut them warm, they will be mushy. Once firm, lift the block out of the pan using the parchment sling. Cut into bars. I like 12 bars, but you can do 16 for smaller snacks. Store in an airtight container.
Total time: About 15 minutes active, plus 30 minutes chilling. That’s it. No baking, no waiting for ovens. Just simple, honest food.
Expert Tips for Perfect No-Bake Chewy Chocolate Chip Granola Bars
Here’s everything I learned from making this too many times. These tips will save you from common pitfalls.
The Packing Matters Most
This is the #1 mistake. If you just dump the mixture in the pan and give it a light press, the bars will crumble. You need to press down hard. Think of it like making rice balls. The pressure creates the chewiness and holds the shape. I press until my arm feels tired. It’s worth it.
Heat Control is Key
When melting the peanut butter and honey, keep the heat low. Peanut butter can separate if it gets too hot. If you see oil separating, take it off the heat and stir vigorously. If it’s too hot, it can also burn the honey, giving it a bitter taste. Gentle heat wins.
Work Fast
The mixture starts to set as it cools. Once you add the oats, you have about 3-4 minutes to get it into the pan and pressed down. If you stop to take a photo or answer the door, it might get too stiff to press. Have your pan ready before you start melting.
Storage is Simple
These bars keep well in the fridge for up to two weeks. They also freeze well for up to three months. I wrap them individually in plastic wrap before freezing. This way, you can grab one straight from the freezer for a mid-afternoon snack. They thaw quickly at room temperature.
No-Bake Chewy Chocolate Chip Granola Bar Variations
Once you’ve nailed the basic version, here’s how to mix it up. This recipe is incredibly forgiving.
Trail Mix Bars
Add 1/2 cup of mixed nuts (almonds, walnuts, pecans) and 1/4 cup of dried cranberries. The crunch adds a nice texture contrast to the chewy oats. This is great for hiking.
Coconut Chocolate
Substitute half the chocolate chips with unsweetened shredded coconut. Toast the coconut in a dry pan first for extra flavor. The tropical vibe pairs surprisingly well with peanut butter.
White Chocolate Macadamia
Swap semi-sweet chips for white chocolate chips and add 1/2 cup macadamia nuts. This tastes like a cookie. It’s sweeter, so reduce the honey slightly if you want it less sweet.
Protein Power
Add 2 scoops of vanilla protein powder. Note: This will absorb moisture, so you may need to add an extra tablespoon of honey or peanut butter to keep it chewy. These are denser but great for post-workout.
Seed Butter Swap
Use sunflower seed butter or almond butter instead of peanut butter. This is perfect for nut-free schools or allergies. Sunflower seed butter can turn green when heated, which is harmless but looks weird. If that bothers you, use almond butter.
Serving and Storage for Your No-Bake Chewy Chocolate Chip Granola Bar
Serving
I serve these as a snack, but they work as a light breakfast too. Pair with a glass of milk or a coffee. They go well with watermelon mint cooler on a hot day because the cool drink balances the dense bar. For kids, pack them in lunchboxes with a piece of fruit.
Storage
Room Temp: Not recommended. The peanut butter can go rancid quickly at room temp, and the chocolate might melt. Keep them in the fridge.
Refrigerator: Store in an airtight container with parchment paper between layers. They last 2 weeks.
Freezer: Wrap individually in plastic wrap, then place in a freezer bag. They last 3 months. Thaw for 10 minutes before eating.
Nutrition Information for No-Bake Chewy Chocolate Chip Granola Bar
I’m not a nutritionist, but here’s the breakdown per bar (makes 12 bars).
| Nutrient | Amount |
|---|---|
| Calories | 280 |
| Protein | 8g |
| Carbs | 32g |
| Fiber | 3g |
| Fat | 14g |
| Sugar | 18g |
My Take: This is a calorie-dense snack. It’s packed with healthy fats from the peanut butter and fiber from the oats. It’s not “diet food,” but it’s better than a candy bar. It keeps you full for hours. If you’re watching sugar, use dark chocolate and reduce the honey slightly.
Final Thoughts on No-Bake Chewy Chocolate Chip Granola Bars
Making this no-bake chewy chocolate chip granola bar has changed how I think about snacks. It’s proof that you don’t need a complicated recipe to make something delicious. It’s simple, it’s satisfying, and it’s incredibly easy to make. I hope you try it. If you do, drop a comment and let me know how you like them. Do you add extra nuts? Do you use dark chocolate? I love hearing how you customize it.
Happy cooking!
FAQs About No-Bake Chewy Chocolate Chip Granola Bars
Can I use quick oats instead of old-fashioned oats?
I don’t recommend it. Quick oats are too fine and will make the bars mushy and dense. Old-fashioned oats provide the structure and chewiness. If you only have quick oats, you can pulse them in a blender for a few seconds to make them chunkier, but it’s not ideal.
Why are my bars too hard?
This usually happens if you use too many oats or not enough honey/peanut butter. Make sure you’re pressing them down firmly, but also check your ratios. If they’re too hard, they might be over-chilled. Let them sit at room temperature for 10 minutes before eating. Also, ensure you didn’t boil the honey, which can make it harden like candy.
Why are my bars too soft or crumbly?
If they’re crumbly, you probably didn’t press them down hard enough. If they’re too soft and sticky, you might have used too much honey or not chilled them long enough. Try chilling them for another 30 minutes. Next time, reduce the honey by 2 tablespoons.
Can I make these nut-free?
Yes! Use sunflower seed butter instead of peanut butter. Make sure your chocolate chips are also nut-free (check the label). This is a great option for school lunches. Just like freezer oatmeal cookie sandwiches, these are easy to pack and share.
Can I substitute honey with maple syrup?
You can, but the bars will be softer. Maple syrup has more water than honey. If you use maple syrup, chill the bars for at least 1 hour to ensure they set. The flavor will be slightly different, but still delicious.
How do I store these bars?
Store them in an airtight container in the fridge. They last up to 2 weeks. You can also freeze them for up to 3 months. Wrap them individually in plastic wrap to prevent freezer burn.
Can I add protein powder?
Yes, but it absorbs moisture. Add 2 scoops of protein powder, but you may need to add an extra tablespoon of honey or peanut butter to keep the bars chewy. Start with a small amount and adjust as needed.
Pin This Recipe!
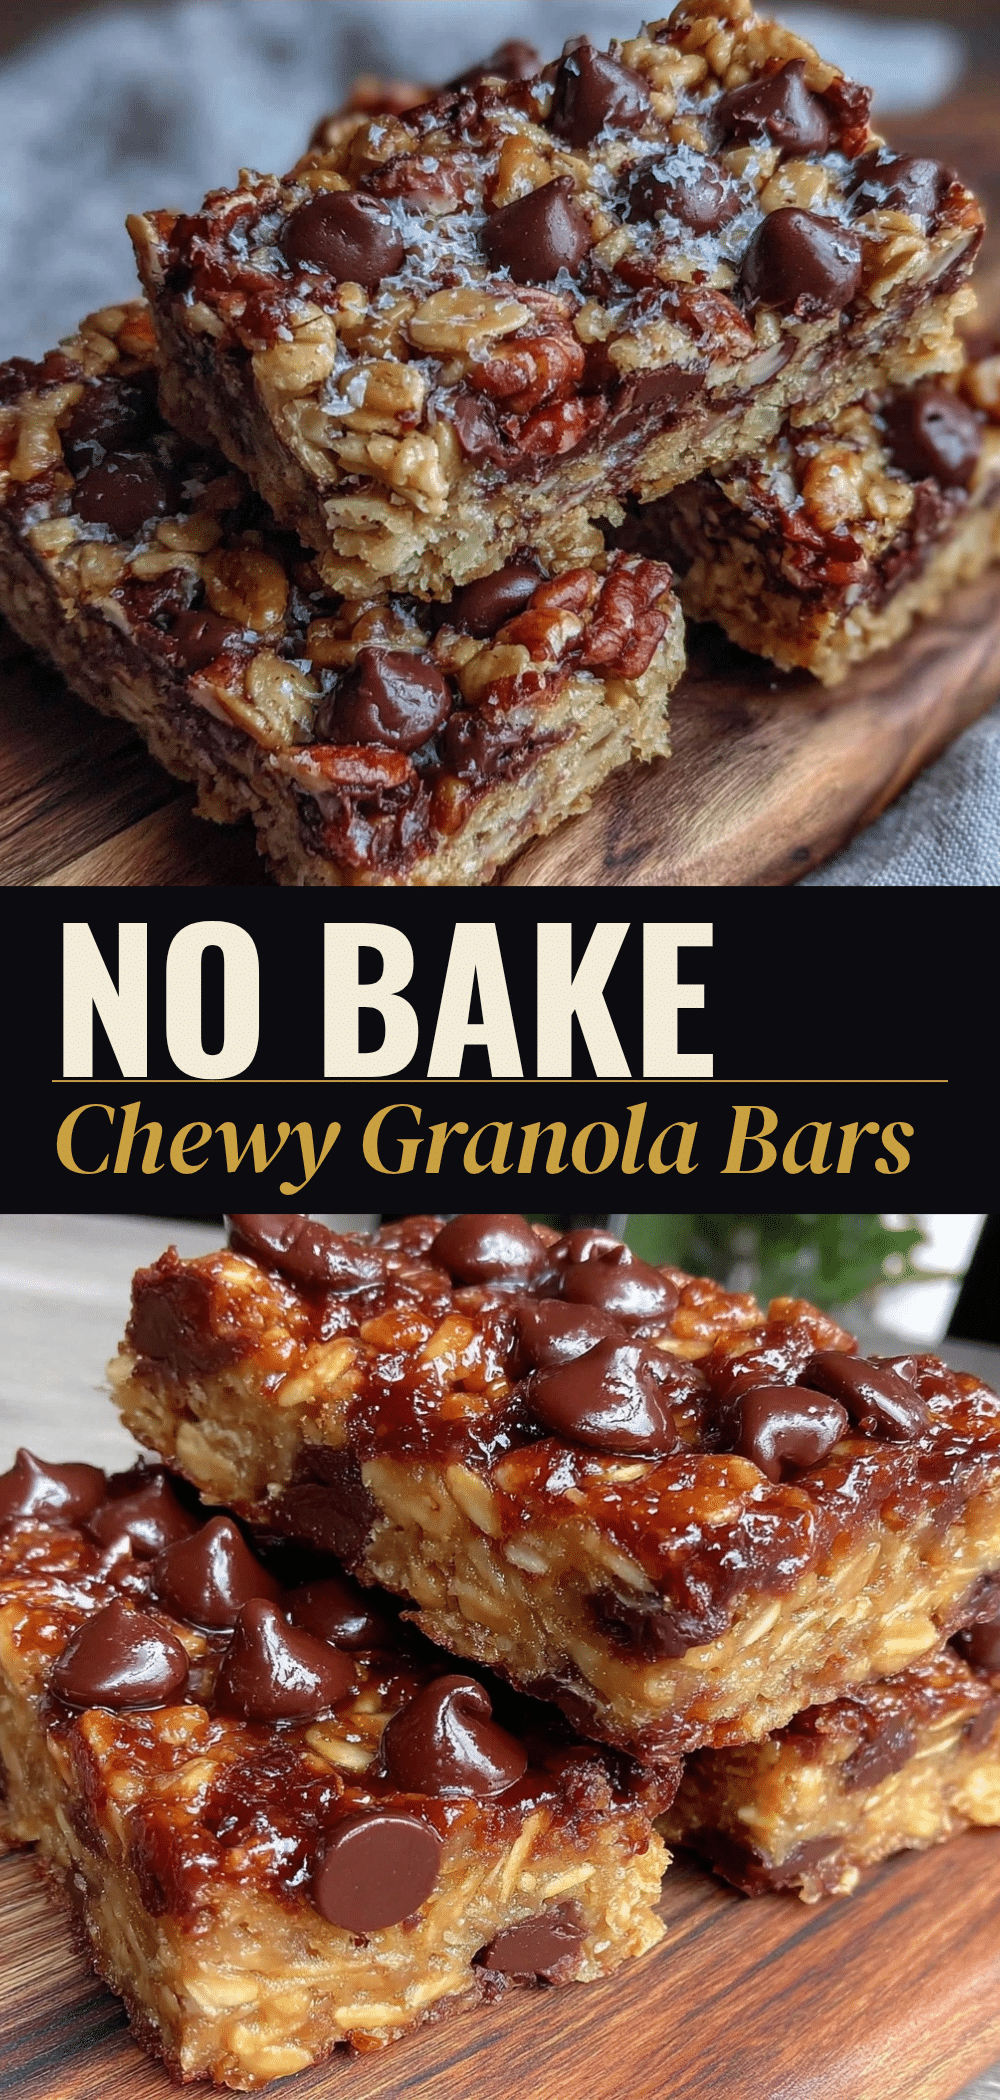
No-Bake Chewy Chocolate Chip Granola Bars
- Total Time: 50 minutes
- Yield: 12 servings 1x
Description
A simple, beginner-friendly no-bake granola bar made with just five ingredients. These bars are dense, chewy, and perfect for meal prep, lunchboxes, or a quick snack without the hassle of baking.
Ingredients
- 3 cups old-fashioned rolled oats
- 1 cup creamy peanut butter
- 3/4 cup honey
- 1 cup semi-sweet chocolate chips
- 1/2 tsp salt
- 1 tsp vanilla extract
Instructions
- Line a 9×9 inch baking pan with parchment paper, leaving an overhang on the long sides for easy removal.
- In a large saucepan over medium-low heat, combine peanut butter and honey. Stir constantly until melted and smooth, forming a glossy liquid. Do not let it boil.
- Transfer the hot peanut butter-honey mixture to a large mixing bowl.
- Immediately add oats, salt, and vanilla extract to the bowl. Stir quickly to combine, allowing the heat to soften the oats slightly.
- Fold in chocolate chips gently until evenly distributed. The mixture should resemble heavy cookie dough.
- Transfer the mixture to the prepared pan. Wet your hands slightly with water or oil to prevent sticking.
- Press the mixture firmly and evenly into the pan using the bottom of a measuring cup or glass. Ensure it is packed tight to prevent crumbling.
- Refrigerate for at least 30 minutes until firm.
- Lift the block out of the pan using the parchment sling and cut into 12 bars.
- Store in an airtight container in the refrigerator.
Notes
Do not use quick oats or steel-cut oats as they affect texture. Press the bars firmly to ensure they hold together. If using maple syrup instead of honey, chill for at least 1 hour as it has higher water content. Store in the fridge for up to 2 weeks or freeze for up to 3 months.
- Prep Time: 15 minutes
- Cook Time: 5 minutes
- Category: Snack
- Cuisine: American
Nutrition
- Serving Size: 1 bar
- Calories: 280
- Sugar: 18
- Sodium: 150
- Fat: 14
- Saturated Fat: 5
- Carbohydrates: 32
- Fiber: 3
- Protein: 8
Keywords: no-bake, granola bars, chocolate chip, peanut butter, healthy snack, meal prep, beginner recipe, chewy bars


