There is a specific kind of panic that sets in around 3:30 PM on a Tuesday. You’re staring at the clock, the house is quiet (too quiet), and you realize your kid’s lunchbox is currently empty except for a crumpled receipt from last week. You don’t have time to bake. You don’t have time to drive to the store. And you certainly don’t have the mental energy to debate what to make for dinner. That was me last October, standing in front of an open freezer, holding a bag of oats that had been collecting dust since the summer.
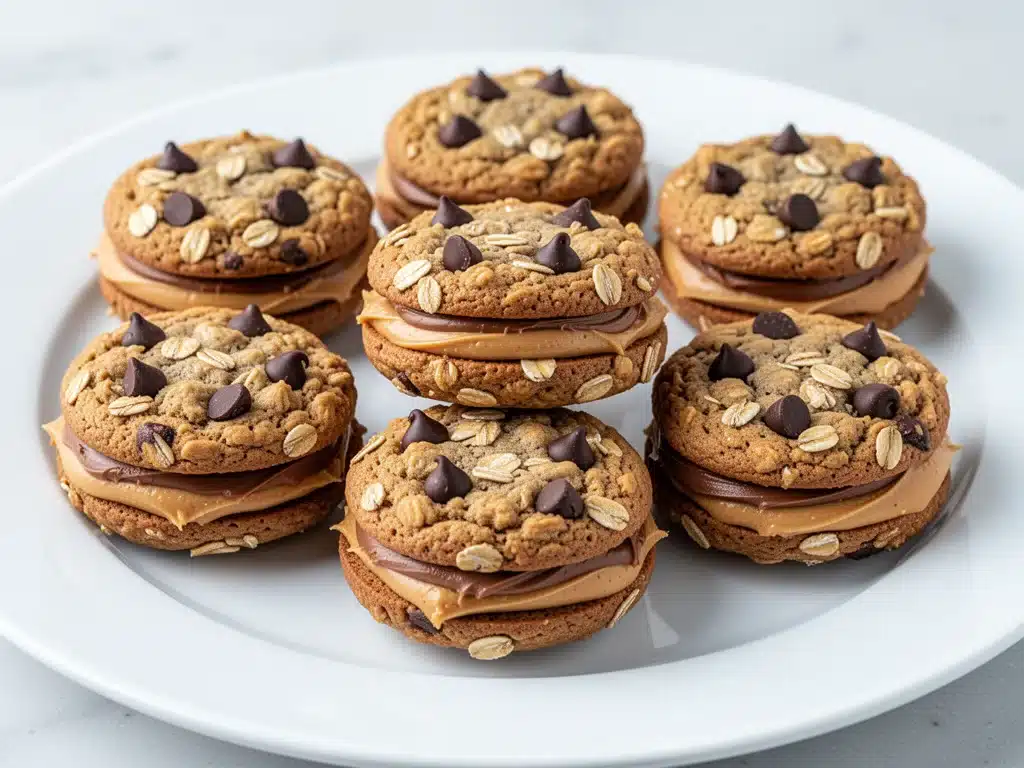
That’s when I had the idea: freezer oatmeal cookie sandwiches. Not the kind you buy in a plastic bag at the gas station. The kind that actually tastes like homemade, that has a chewy center and a crisp edge, and that stays soft even after sitting in a lunchbox for six hours. I threw together a batch using ingredients I already had, froze them, and shoved them into my son’s lunch the next morning. By 11 AM, he texted me (yes, he has a smartwatch) to ask if I had made him those “cookie sandwiches” again. He said they were “still good.”
That was the moment I knew I had struck gold. These freezer oatmeal cookie sandwiches have become my secret weapon for school days, sports practices, and random hunger pangs. They are sturdy enough to survive being tossed around in a backpack, cold enough to be refreshing, and sweet enough to feel like a real treat rather than a health food compromise. I’ve tested this recipe at least a dozen times—varying the spices, the mix-ins, and the freezing times—and I’ve finally nailed down the perfect ratio. It’s basically two soft oatmeal cookies with a thin layer of frosting in the middle, but designed specifically to withstand the freezer and the lunchbox environment.
If you’re tired of sad, stale sandwiches or overly complicated lunchbox hacks that require three different containers, this is your answer. It’s simple, it’s cheap, and it makes your kitchen smell like a bakery without the actual baking stress. Let’s get into why these are going to save your sanity.
Why You’ll Love This Recipe
I’ve been making these freezer oatmeal cookie sandwiches for my family’s lunchbox rotation for about two years now, and they have completely replaced the store-bought cookies I used to buy. Here is exactly why they work so well, based on real-life testing (and my kids’ approval ratings).
- They Actually Stay Soft — This is the biggest selling point. Most cookies turn into rocks in the freezer. These stay chewy. The secret is the ratio of brown sugar to butter and the fact that you don’t overbake them. I learned this the hard way when I tried a standard oatmeal cookie recipe first—it was crunchy and cracked in the middle. These are pillowy.
- Lunchbox Proof — I’ve tested these in hot cars (oops), in cold backpacks, and in room-temperature desks. They hold up. They don’t crumble into a million pieces. They don’t get soggy. They just sit there, looking pretty and tasting delicious.
- Stupid Simple Ingredients — You likely have everything in your pantry right now. Flour, oats, brown sugar, butter, eggs, vanilla. No weird flours or hard-to-find sweeteners. It’s comfort food basics.
- Customizable for Picky Eaters — My daughter hates raisins but loves chocolate chips. My son loves raisins but hates chocolate. I make a batch of each, freeze them all together, and nobody complains. You can swap in nuts, dried fruit, or even white chocolate chips.
- Prep Ahead Friendly — I bake these on Sunday afternoon while I’m prepping lunches for the week. I freeze them on Monday, and by Tuesday, they are ready to go. It takes about 10 minutes of active time to bake, and the rest is waiting.
- Budget-Friendly — Making these costs about $2 total for a batch that makes 12 sandwiches. That’s less than $1 per sandwich. Compare that to the $3.50 bag of cookies at the school store, and it’s a no-brainer.
So basically, if you want a lunchbox treat that feels indulgent but is easy to make in bulk, these are it. They are my go-to when I need to impress the PTA bake sale or just keep my own kids happy during exam week.
Ingredients You’ll Need
Here’s the best part: you probably have 90% of this already in your kitchen. I’m particular about a few things here, mostly because texture matters when you are freezing cookies. Here is exactly what you need and why I chose these specific items.
For the Cookie Base
Unsalted Butter (½ cup / 113g) — Softened to room temperature. This is crucial. If your butter is cold, you can’t cream it properly with the sugar, and the cookies will be dense. If it’s melted, they will spread too much. Room temp is the sweet spot.
Light Brown Sugar (½ cup / 100g) — This gives them that chewy texture and molasses flavor. Dark brown sugar works too if you like a deeper flavor, but light is classic. Do not use white sugar only—it makes them crisp, not chewy.
Granulated Sugar (¼ cup / 50g) — Just a little bit to balance the sweetness and help with the slight crisp on the edges.
Large Egg (1 large) — Room temperature is best. It binds everything together. Don’t skip it; oats need that structure.
Vanilla Extract (1 teaspoon) — Real vanilla, please. The imitation stuff tastes chemical and clashes with the warm spices. I use the bottle from the grocery store, not the fancy $20 extract, because this is a lunchbox cookie, not a wedding cake.
All-Purpose Flour (1 cup / 125g) — Don’t use self-rising flour. You need to control the leavening. Spoon it into the cup and level it off. Don’t scoop and drag, or you’ll pack in too much flour and get dry cookies.
Baking Soda (½ teaspoon) — This helps them spread and brown. Make sure it’s not expired. I test mine by dropping a little in vinegar—it should fizz violently.
Salt (½ teaspoon) — Essential to balance the sugar. Don’t skip it.
Cinnamon (1 teaspoon) — Ground cinnamon. Fresh is better, but old jar is fine. It gives that classic oatmeal cookie smell.
Old-Fashioned Rolled Oats (1 ½ cups / 120g) — Do not use instant oats or steel-cut oats. Instant oats turn to mush. Steel-cut won’t cook right. Old-fashioned is the only way to get that good chew.
For the Filling
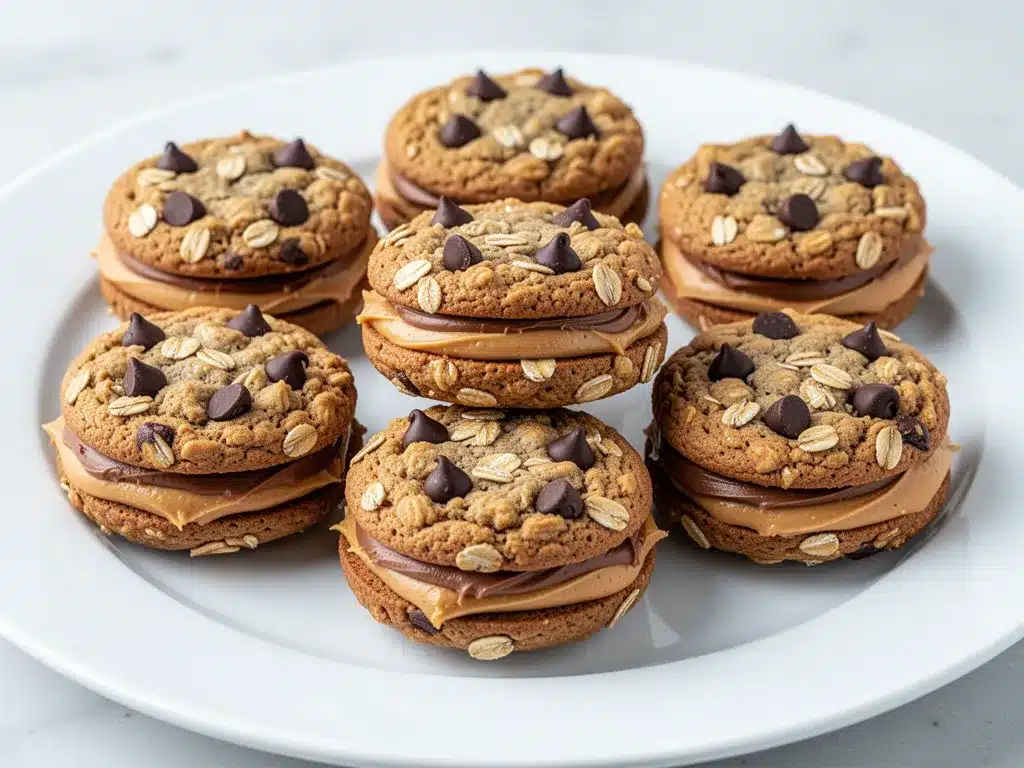
Cream Cheese (2 oz / 56g) — Softened. This makes the filling creamy and tangy, which cuts through the sweetness. You can use buttercream if you prefer, but cream cheese holds up better in the freezer without getting rock hard.
Powdered Sugar (½ cup / 60g) — Sifted if it’s lumpy. Just enough to sweeten the cream cheese.
Vanilla Extract (½ teaspoon) — For the filling too.
Milk (1-2 teaspoons) — Only if you need to thin it out. Usually, you won’t.
Add-ins — I recommend ½ cup of mix-ins. Chocolate chips, raisins, chopped pecans, or dried cranberries. Keep it to about ½ cup so the cookie structure stays strong.
Equipment Needed
You don’t need fancy gadgets for this. Here’s what I actually use in my kitchen.
Mixing Bowls — Two medium bowls. One for wet ingredients, one for dry. I use glass bowls because I can see how mixed the dough is.
Hand Mixer or Stand Mixer — A hand mixer is fine. I used to use a wooden spoon, but it takes forever to cream the butter and sugar. If you use a wooden spoon, be prepared for some arm workout.
Cooling Rack — Essential. You need to cool the cookies completely before filling them. If they are even slightly warm, the filling will melt and slide out.
Baking Sheets — Two standard sheets. I line them with parchment paper. It makes cleanup instant and prevents sticking. I don’t use silicone mats because I like the cookies to have a little contact with the metal for browning.
Piping Bag or Ziploc Bag — For filling the sandwiches. I cut the corner off a Ziploc bag for a makeshift piping bag. It’s cheaper than buying a new bag every time.
Airtight Container or Freezer Bags — To store the finished sandwiches. I use large Ziploc freezer bags, squeezing out all the air.
How to Make It: Step-by-Step
Alright, let’s make these! I’m walking you through exactly how I do it, including the little tricks I’ve picked up over the years. This whole process takes about 45 minutes, including cooling and freezing time.
Step 1: Prep Your Dry Ingredients (5 minutes)
Start by whisking together the flour, baking soda, salt, and cinnamon in a medium bowl. Set this aside. This ensures the baking soda is evenly distributed so you don’t get a bite of pure baking soda flavor. It’s a small step, but it matters.
Step 2: Cream the Butter and Sugars (3 minutes)
In a large bowl, beat the softened butter, brown sugar, and granulated sugar together on medium speed until it is light and fluffy. This takes about 2-3 minutes. You want the mixture to look pale and airy. This step incorporates air into the dough, which helps the cookies rise slightly and stay soft. If you rush this, the cookies will be dense.
Step 3: Add Wet Ingredients (1 minute)
Add the egg and vanilla extract to the butter mixture. Beat on low speed just until combined. Don’t overmix here. Just scrape down the sides of the bowl to make sure everything is incorporated.
Step 4: Combine Wet and Dry (2 minutes)
Add the dry ingredients to the wet ingredients in two batches. Mix on low speed until just combined. It’s okay if there are a few streaks of flour. Overmixing at this stage develops gluten and makes tough cookies. Stop mixing as soon as you don’t see dry flour.
Step 5: Fold in Oats and Mix-ins (1 minute)
Stir in the rolled oats and your chosen add-ins (chocolate chips, raisins, etc.) with a spatula. Fold gently until evenly distributed. The dough should be thick and sticky.
Step 6: Scoop and Bake (15-18 minutes)
Preheat your oven to 350°F (175°C). Line your baking sheets with parchment paper. Scoop about 2 tablespoons of dough per cookie, spacing them about 2 inches apart. They will spread. Bake for 12-14 minutes. Here is the key: pull them out when they look slightly underdone in the center. They should still be soft and pale, not golden brown. They will continue to cook on the hot pan after you take them out of the oven. Overbaking is the number one reason these freeze poorly—they become hard rocks.
Step 7: Cool Completely (30 minutes)
Let the cookies sit on the baking sheet for 5 minutes, then transfer them to a cooling rack. Let them cool completely to room temperature. This is non-negotiable. If the cookies are warm, the cream cheese filling will melt and leak. I usually let them cool while I make the filling.
Step 8: Make the Filling (5 minutes)
In a small bowl, beat the softened cream cheese, powdered sugar, and vanilla until smooth and creamy. If it’s too thick, add milk one teaspoon at a time until you reach a pipeable consistency. It should be thick enough to hold a shape but soft enough to spread.
Step 9: Assemble the Sandwiches (10 minutes)
Take two cooled cookies of similar size. Pipe or spread a generous tablespoon of filling onto the flat side of one cookie. Press the second cookie on top, flat side down, to create a sandwich. Gently press down to spread the filling to the edges. You want a thin, even layer of filling, not a huge glob in the middle.
Step 10: Freeze (1 hour)
Place the assembled sandwiches on a baking sheet and put them in the freezer for at least 1 hour. This firms up the filling and the cookies, making them easy to handle and wrap. Once firm, transfer them to an airtight container or freezer bag.
Total Time: About 45 minutes active/prep time, plus cooling and freezing.
Expert Tips & Tricks
Here’s everything I’ve learned from making these dozens of times. These tips will save you from my mistakes.
Don’t Overbake
This cannot be stressed enough. These cookies are meant to be soft. If you bake them until they are golden brown, they will be crunchy. When you take them out of the oven, they should look soft and slightly puffy. They will firm up as they cool. If you want a crispier cookie, bake them 2 minutes longer, but I prefer the soft texture for freezing.
Room Temperature Ingredients
Make sure your butter and cream cheese are softened. Cold butter won’t cream properly, and cold cream cheese will make lumpy filling. If you forgot to take them out, microwave the butter for 10 seconds and the cream cheese for 5 seconds. They should be soft but not melted.
Use Parchment Paper
I’ve tried baking these on bare pans and silicone mats. Parchment paper gives the most consistent results. It prevents sticking and helps the bottoms cook evenly without burning. It also makes cleanup effortless.
Chill Before Filling
I know it’s tempting to fill them as soon as they are cool to the touch. But give them that full 30 minutes on the rack. Warm cookies = melted filling. Trust me.
Freeze First, Then Wrap
If you wrap them while they are still soft, they might stick together or lose their shape. Freezing them flat on a tray first ensures they hold their shape. Once they are rock hard, you can stack them in a bag without worrying.
Portion Control
I make these about 2.5 inches in diameter. They are big enough to feel like a treat but small enough to fit in a standard lunchbox. If you make them too big, the filling will squish out the sides.
Variations & Substitutions
Once you’ve nailed the basic version, here’s how you can mix it up. I’ve tried all of these, and they all work well.
Chocolate Chip Oatmeal
This is the crowd favorite. Add ½ cup semi-sweet chocolate chips to the dough. The chocolate melts slightly in the lunchbox, creating little pockets of goo. My kids go crazy for this one.
Raisin Cinnamon
Add ½ cup raisins and increase the cinnamon to 1 ½ teaspoons. This tastes like a cinnamon roll in cookie form. It’s classic and comforting.
Peanut Butter Cup
Add ¼ cup peanut butter chips to the dough. For the filling, mix 1 tablespoon of peanut butter into the cream cheese mixture. It’s rich and salty-sweet.
Apple Cinnamon
Add ½ cup finely chopped dried apples and ½ teaspoon nutmeg. This tastes like apple pie. The dried apples add a nice chewiness.
Gluten-Free Option
Swap the all-purpose flour for a 1:1 gluten-free flour blend (like Bob’s Red Mill or King Arthur). The texture might be slightly more crumbly, but it still works. Use certified gluten-free oats if cross-contamination is a concern.
Dairy-Free Option
Use dairy-free butter (like Miyoko’s) and dairy-free cream cheese (like Kite Hill). The flavor is slightly different, but it still tastes good. For the filling, you can also use a dairy-free buttercream, but it might be sweeter.
Vegan Option
Replace the butter with coconut oil or vegan butter. Use a flax egg (1 tablespoon ground flaxseed + 3 tablespoons water) instead of the regular egg. Use vegan cream cheese for the filling. It holds up well in the freezer.
Serving & Storage
How to Serve:
Serve these straight from the freezer. They are best when they are cold and firm. If you take them out of the freezer 5 minutes before eating, they will soften slightly but still hold their shape. I usually wrap them in a napkin or put them in a small reusable container in the lunchbox.
Side Dishes:
These are a complete treat, so they don’t need much else. But if you want to round out the lunch, pair them with fresh fruit, veggie sticks with hummus, or a cheese stick. They go well with almost anything.
Storage Instructions:
Refrigerator: These can be stored in the fridge for up to 3 days, but the filling might get a bit soft. Freezer is best.
Freezer: Store in an airtight container or heavy-duty freezer bag for up to 3 months. They taste just as good fresh as they do frozen. I usually keep a bag in the freezer at all times.
Thawing: You don’t need to thaw them. Eat them frozen or let them sit for 5-10 minutes if you prefer them softer.
Pro Tip:
Label your freezer bag with the date. They last a long time, but I like to rotate my stock so I’m always using the oldest ones first. I also write the flavor on the bag so I don’t forget which is which.
Nutrition Information
I’m not a nutritionist, but here’s the breakdown if you’re tracking. Please note that this is an estimate based on standard ingredients.
Per Serving (1 sandwich, based on 12 servings):
- Calories: 220
- Protein: 3g
- Carbs: 32g
- Fiber: 2g
- Sugar: 20g
- Fat: 10g
- Saturated Fat: 6g
- Cholesterol: 25mg
- Sodium: 150mg
What’s Good:
They have some fiber from the oats. They are a homemade treat, so you control the sugar. You can reduce the sugar in the filling if you want.
What to Know:
They are still cookies, so they are high in sugar and carbs. Enjoy them as a treat, not a health food. If you are watching sugar, reduce the powdered sugar in the filling to ¼ cup.
Final Thoughts
So that’s my go-to freezer oatmeal cookie sandwiches! I’ve probably talked your ear off at this point, but when you make a recipe this often, you have a lot to say about it. These have saved my lunchbox game more times than I can count. They are my answer to “what’s a good treat?” when I want something better than a granola bar but don’t have time to bake from scratch.
My kids are happy, my husband is happy (he sneaks them from the freezer bag), and I’m happy because I’m not stressed about buying overpriced, preservative-filled cookies. Make it yours! Try different mix-ins, swap in your favorite spices, or adjust the sweetness. The best recipes are the ones you adapt to your family’s tastes.
If you make this, drop a comment and let me know what you think! I love hearing how recipes turn out in your kitchen. And if something doesn’t work, tell me that too—I’m here to help troubleshoot.
Happy cooking! And I hope your lunchboxes smell half as good as my kitchen does right now.
Frequently Asked Questions
Can I use instant oats instead of rolled oats?
I don’t recommend it. Instant oats are processed thinner and will turn the cookies into a mushy, dense texture. Old-fashioned rolled oats give that chewy, substantial bite that makes these sandwiches so good. If you must use instant, chop them up a bit in a food processor, but rolled is best.
Why did my filling leak out?
This usually happens for two reasons: either the cookies were too warm when you filled them, or you put too much filling in. Make sure the cookies are completely cool. Also, use about a tablespoon of filling per sandwich. If you use more, it will squish out the sides when you press the top cookie on. You can always add a tiny bit more later if you want.
Can I freeze the dough instead of the finished sandwiches?
Yes! You can scoop the dough onto a baking sheet and freeze it until solid, then transfer to a bag. When you’re ready to eat, bake them from frozen, adding 2-3 minutes to the baking time. Then fill them as normal. This is great if you want to bake fresh cookies on demand. But freezing the finished sandwiches is faster for lunchbox prep.
Can I use buttercream instead of cream cheese filling?
You can, but buttercream can get hard in the freezer. Cream cheese stays softer. If you prefer buttercream, use a Swiss meringue buttercream or add a little extra cream to regular buttercream to keep it softer. But honestly, the tang of the cream cheese balances the sweet oatmeal cookies so well. Stick with cream cheese if you can.
How long do these last in the freezer?
They last up to 3 months. After that, they might start to get freezer burn or lose flavor. I usually eat them within 6 weeks. They taste just as good fresh as they do frozen, so don’t worry about eating them too fast.
Can I make these without sugar?
You can try using a sugar substitute like erythritol or monk fruit, but the texture will be different. Sugar provides moisture and chew. Sugar substitutes can sometimes be dry or have a cooling effect. I haven’t tested this extensively, so if you try it, let me know how it goes! For now, I recommend sticking with real sugar for the best texture.
Pin This Recipe!
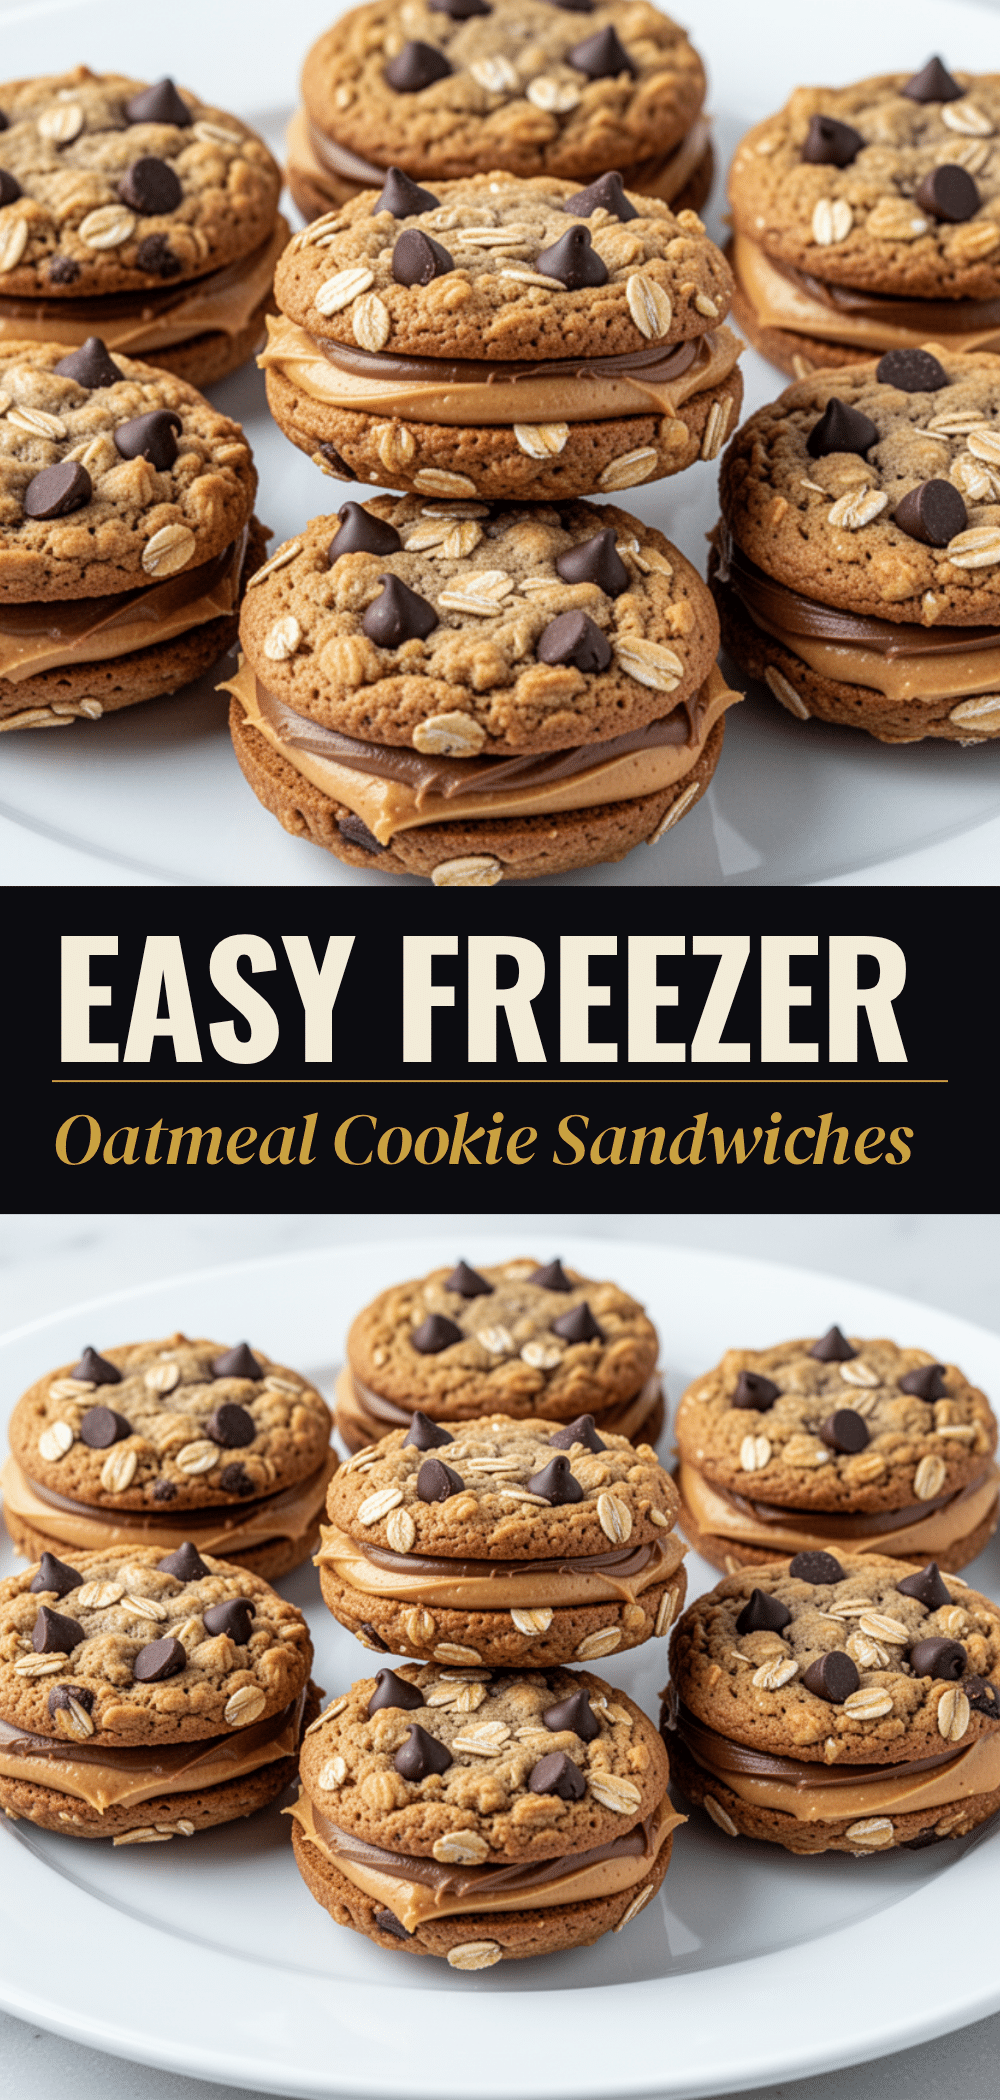

Freezer Oatmeal Cookie Sandwiches
- Total Time: 45 minutes
- Yield: 12 servings 1x
Description
Chewy oatmeal cookie sandwiches with a creamy cream cheese filling, designed to stay soft and sturdy in the freezer and lunchbox.
Ingredients
- 1/2 cup unsalted butter, softened
- 1/2 cup light brown sugar
- 1/4 cup granulated sugar
- 1 large egg, room temperature
- 1 teaspoon vanilla extract
- 1 cup all-purpose flour
- 1/2 teaspoon baking soda
- 1/2 teaspoon salt
- 1 teaspoon ground cinnamon
- 1 1/2 cups old-fashioned rolled oats
- 2 oz cream cheese, softened
- 1/2 cup powdered sugar
- 1/2 teaspoon vanilla extract (for filling)
- 1–2 teaspoons milk (optional, for filling)
- 1/2 cup mix-ins (chocolate chips, raisins, nuts, etc.)
Instructions
- Whisk together flour, baking soda, salt, and cinnamon in a medium bowl and set aside.
- In a large bowl, beat softened butter, brown sugar, and granulated sugar on medium speed until light and fluffy (2-3 minutes).
- Add the egg and 1 teaspoon vanilla extract to the butter mixture; beat on low until combined.
- Add the dry ingredients to the wet ingredients in two batches, mixing on low until just combined.
- Fold in rolled oats and chosen mix-ins with a spatula until evenly distributed.
- Preheat oven to 350°F (175°C). Line baking sheets with parchment paper.
- Scoop 2 tablespoons of dough per cookie, spacing them 2 inches apart.
- Bake for 12-14 minutes, removing when cookies look slightly underdone and soft in the center.
- Let cookies cool on the baking sheet for 5 minutes, then transfer to a cooling rack to cool completely.
- In a small bowl, beat cream cheese, powdered sugar, and 1/2 teaspoon vanilla until smooth. Add milk if needed for consistency.
- Spread a tablespoon of filling onto the flat side of one cooled cookie and press a second cookie on top to form a sandwich.
- Place assembled sandwiches on a baking sheet and freeze for at least 1 hour until firm.
- Transfer frozen sandwiches to an airtight container or freezer bag for storage.
Notes
Do not overbake the cookies; they should remain soft to ensure they stay chewy after freezing. Ensure cookies are completely cool before adding the cream cheese filling to prevent melting. For gluten-free options, use a 1:1 gluten-free flour blend and certified gluten-free oats. For dairy-free, use dairy-free butter and cream cheese. For vegan, use vegan butter, flax egg, and vegan cream cheese.
- Prep Time: 15 minutes
- Cook Time: 15 minutes
- Category: Dessert
- Cuisine: American
Nutrition
- Serving Size: 1 sandwich
- Calories: 220
- Sugar: 20
- Sodium: 150
- Fat: 10
- Saturated Fat: 6
- Carbohydrates: 32
- Fiber: 2
- Protein: 3
Keywords: oatmeal cookies, lunchbox treats, freezer friendly, cookie sandwiches, cream cheese filling, easy baking, kid-friendly snacks


