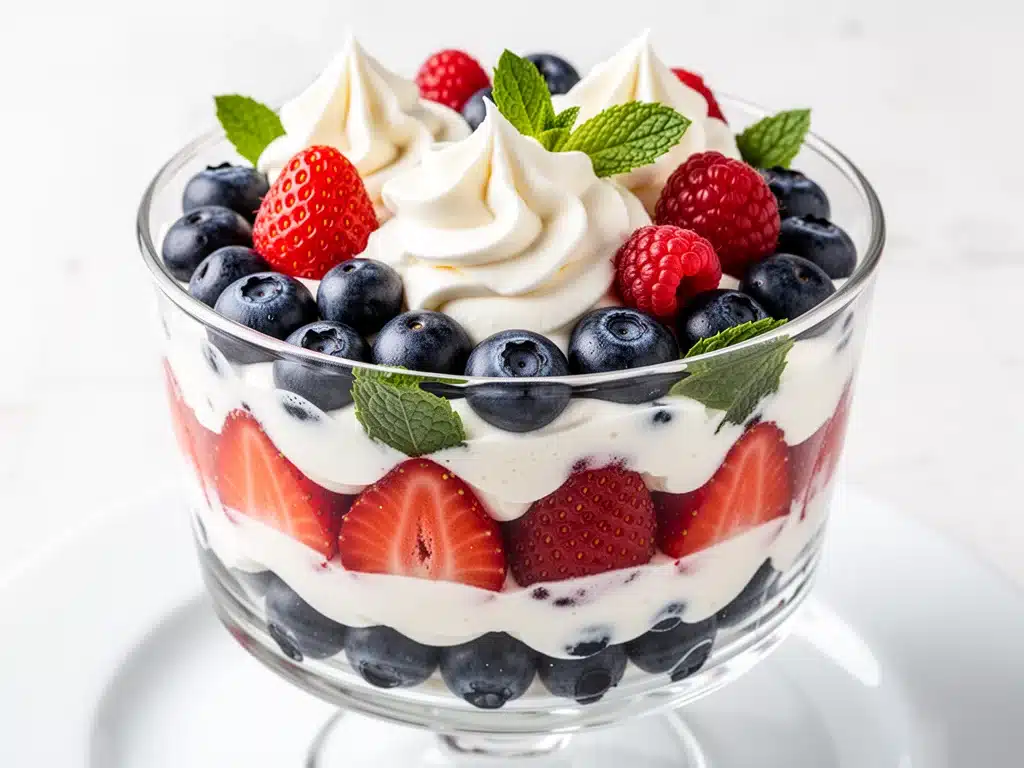
Last Labor Day, I was standing in my kitchen at 8 PM, staring at a completely empty dessert counter, while my family was already pulling on their grill tongs. The sun was setting, the smell of charcoal was drifting in from the patio, and I had exactly zero hours to create a dessert that looked festive, tasted amazing, and didn’t require a trip to the grocery store. Panic set in. I don’t do panic cooking well. But then I remembered a half-empty carton of heavy cream, some vanilla pudding mix I’d bought on a whim, and three bags of berries that were starting to get soft in the crisper drawer. I threw them into a large glass bowl I’d pulled out from the back of the cabinet, and what came out wasn’t just good—it was spectacular. It was beautiful, it was easy, and it saved the evening. That was the birth of my Red White and Blue Berry Trifle. It’s now my go-to Labor Day dessert because it’s visually stunning, requires zero baking, and tastes like summer on a plate.
This trifle isn’t just about the colors. It’s about the layers. It’s about that first spoonful where you get a bit of soft sponge cake, some cool creamy pudding, and the burst of tart berries all at once. I’ve made this recipe for every holiday since that Tuesday night in August. My neighbors ask for the recipe. My kids fight over the bottom layer (the one with the most cake). And honestly? It’s the only dessert I make when I’m hosting because it looks incredibly high-effort but is actually dead simple. If you’re looking for a Red White and Blue Berry Trifle that will impress your guests without keeping you in the kitchen all day, you’re in the right place. I’ve tested this dozens of times, tweaked the ratios, and figured out exactly how to keep those layers distinct and delicious. Here’s how I do it.
Why You’ll Love This Red White and Blue Berry Trifle
There are about ten reasons I keep coming back to this dessert, but here are the big ones that make it a Labor Day staple in our house.
Zero Baking Required — Seriously. I’m not turning on the oven for a holiday dessert that’s mostly fruit and cream. This trifle relies on store-bought cake and instant pudding. If you can open a box and layer ingredients, you can make this. I’ve made this while managing a toddler and a grill at the same time. It’s that easy.
Stunning Presentation — The vertical layers in a clear glass bowl look incredible. It’s basically edible art. I’ve had guests ask if I spent hours making this from scratch. The truth? It took me 20 minutes of assembly. The visual impact is huge for the effort involved.
Make-Ahead Friendly — This is my favorite part. You can assemble this trifle the night before. In fact, I prefer it made ahead because it gives the cake time to soak up the pudding and juices, making the flavors meld together beautifully. I usually make it Saturday night for a Sunday Labor Day brunch or dinner.
Customizable to Your Taste — Love strawberries more than blueberries? Swap the ratio. Want to use angel food cake instead of pound cake? Go for it. This recipe is a framework, not a strict rulebook. I’ve made it with mixed berries, just raspberries, and even added a layer of lemon curd once. It always works.
Crowd-Pleaser — I’ve served this to picky eaters, health-conscious friends, and dessert lovers. Everyone finds something they like. The creamy pudding appeals to the sweet tooth, the fresh fruit feels lighter, and the cake is comforting. It’s a win-win for everyone.
This trifle has saved me from dessert disasters more times than I can count. It’s reliable, it’s festive, and it tastes like a celebration. No complicated techniques, no weird ingredients, just simple, delicious layers that make everyone happy.
Ingredients You’ll Need for Red White and Blue Berry Trifle
Here’s the best part: you probably have most of this already. I’m particular about three ingredients here—the berries, the cake, and the cream—but for the rest, pantry basics will do the heavy lifting.
For the Cake Base
Pound Cake or Angel Food Cake (1 store-bought loaf / about 1.5 lbs / 680g) — I prefer pound cake for its sturdy texture; it holds up well to the pudding without turning into mush. Angel food cake is lighter and airier, which some people prefer. Slice it into ½-inch cubes. Don’t skip this step—uniform cubes ensure even distribution.
Simple Syrup (½ cup / 120ml) — This is just sugar and water boiled together. It keeps the cake moist. You can buy it, but making it takes 2 minutes. I usually brush a little on the cake cubes before layering to keep them from drying out in the fridge.
For the Creamy Layers
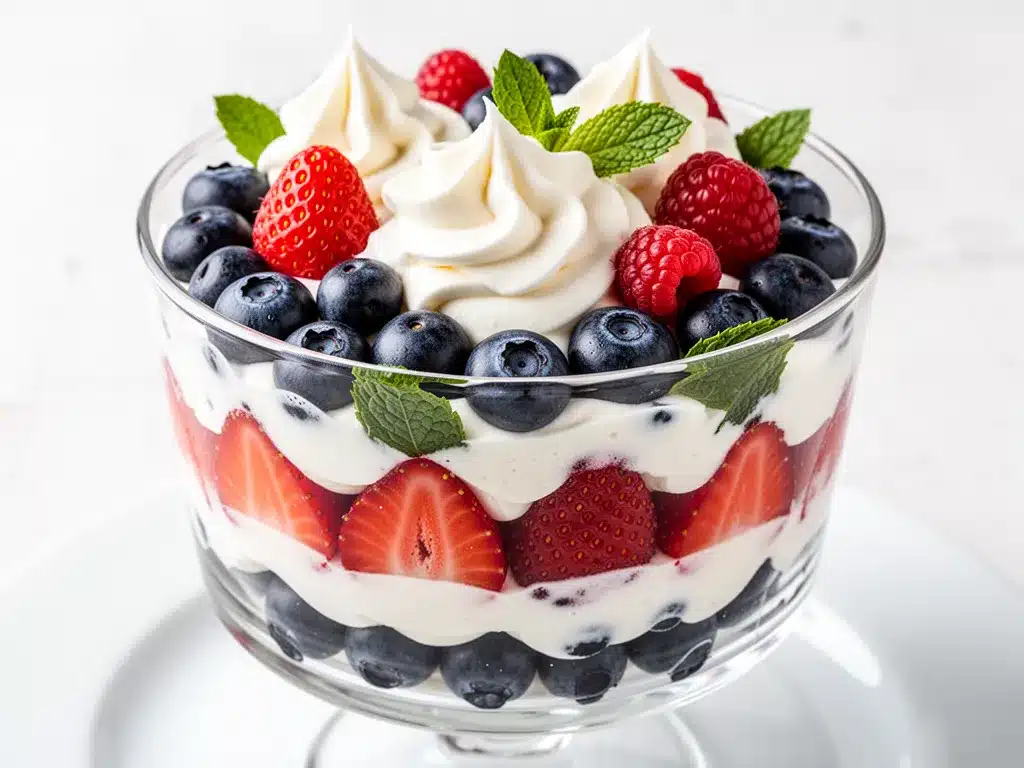
Vanilla Pudding Mix (2 boxes / about 12 oz / 340g dry mix) — I use instant vanilla pudding. It’s thick, sweet, and sets quickly. Some people make pudding from scratch, but for a trifle this size, the mix is consistent and reliable. I’ve tried both, and the mix actually holds its shape better in the fridge.
Heavy Cream (2 cups / 480ml) — Whip this until stiff peaks form. This adds volume and lightness to the pudding. I always whip my own cream because canned whipped cream can be too sweet and lacks that fresh dairy flavor. If you’re in a rush, you can skip whipping and just use the pudding, but the texture won’t be as airy.
Milk (2 cups / 480ml) — This is what you mix with the pudding powder according to the box instructions. Use whole milk for the best flavor. Skim milk will make the pudding thinner and less rich.
Vanilla Extract (1 teaspoon) — I add this to the whipped cream for an extra hit of vanilla flavor. It’s subtle but makes a difference.
For the Berry Layers
Strawberries (2 cups / 300g, hulled and sliced) — Fresh strawberries are best. Look for bright red, firm berries. If they’re too soft, they’ll turn your layers brown. Slice them evenly so they look nice.
Blueberries (2 cups / 300g) — Fresh blueberries hold their shape well. I wash them thoroughly and pat them dry. Wet berries can make the pudding watery.
Raspberries (1 cup / 150g) — Raspberries add a nice tartness and beautiful color. They’re delicate, so handle them gently. I usually add them in the top layer for the best visual impact.
For Garnish
Mint Leaves (1 small bunch) — Fresh mint adds a pop of green and a fresh aroma. It’s not essential, but it makes the trifle look professional.
Extra Berries (1 cup) — For the top layer. I arrange them artfully. It’s the final touch that makes the dessert look like it came from a bakery.
White Chocolate Shavings (optional) — I sprinkle these on top for a little extra sweetness and visual contrast. They melt slightly in the fridge, creating a nice glossy effect.
Equipment Needed
You don’t need fancy equipment for this. Here’s what I actually use.
Large Glass Trifle Bowl (3-quart capacity) — I use a 3-quart bowl because it holds all the layers without being too tall. If you don’t have a trifle bowl, a large clear serving bowl or even a deep casserole dish works. The key is transparency so everyone can see the layers.
Mixing Bowls (2 large bowls) — One for the pudding, one for the whipped cream. I use stainless steel bowls because they’re sturdy and easy to clean.
Electric Hand Mixer or Stand Mixer — To whip the cream. If you don’t have a mixer, you can whip by hand, but it takes about 10 minutes and you’ll get tired. I use my hand mixer because it’s fast and consistent.
Knife and Cutting Board — For slicing the cake and berries. A sharp knife makes clean cuts, which look better in the trifle.
Spatula — For folding the whipped cream into the pudding. A silicone spatula is best because it scrapes the bowl clean.
Spoon or Pastry Brush — For brushing the simple syrup on the cake. I use a pastry brush because it’s easy to control the amount of syrup.
Measuring Cups and Spoons — For the pudding mix and milk. Accuracy matters here to get the right consistency.
Colander — For washing the berries. I rinse them gently under cold water and let them drain completely.
Optional but nice:
- Zester or Microplane — If you want to add lemon zest to the whipped cream, this makes it easy.
- Serving Spoons — Use large, sturdy spoons for serving. I prefer wooden spoons because they don’t scratch the glass bowl.
How to Make It: Step-by-Step
Alright, let’s make this! I’m walking you through exactly how I do it, including the little tricks I’ve picked up over the years.
Step 1: Prep Your Ingredients (15 minutes)
Before you start assembling, get everything ready. Slice the cake into ½-inch cubes. Wash and dry the berries. Slice the strawberries. Hull the raspberries. Measure out the pudding mix and milk. Whip the cream. I know it seems like a lot, but having everything prepped makes the assembly process smooth and stress-free. Once you start layering, you want to move quickly to keep the berries fresh and the cream from deflating.
Step 2: Make the Pudding (5 minutes)
In a large bowl, whisk together the instant vanilla pudding mix and milk according to the package instructions. Usually, it’s 2 cups of milk for 2 boxes. Whisk for 2 minutes until it thickens. It should be thick enough to hold a peak when you lift the whisk. If it’s too thin, let it sit for 5 more minutes. It will thicken as it sets. Transfer half of the pudding to a separate bowl for later use. We’ll use the other half in the whipped cream.
Step 3: Whip the Cream (5 minutes)
In a chilled mixing bowl, whip the heavy cream with vanilla extract until stiff peaks form. This means when you lift the beaters, the cream stands up straight. Be careful not to over-whip, or it will turn into butter. Once it’s whipped, gently fold in the reserved half of the pudding. Use a spatula to fold it in slowly. Don’t stir vigorously, or you’ll deflate the cream. The result should be light, airy, and slightly thickened.
Step 4: Assemble the First Layer (5 minutes)
Start with a layer of cake cubes at the bottom of the trifle bowl. Arrange them to cover the entire bottom. Don’t pack them too tightly; you want space for the pudding to seep in. If you’re using simple syrup, brush a little over the cake. This keeps it moist and adds sweetness.
Step 5: Add the First Cream Layer (5 minutes)
Spread half of the whipped cream-pudding mixture over the cake layer. Use a spatula to spread it evenly to the edges. Make sure there are no gaps. This layer should be about ½-inch thick. If you have any crumbs, smooth them over with the cream.
Step 6: Add the Red Berry Layer (5 minutes)
Arrange the sliced strawberries over the cream layer. You can lay them flat or stand them up for a pretty effect. Try to cover the entire surface. If you have gaps, fill them with smaller pieces. The red color will pop against the white cream.
Step 7: Add the Second Cream Layer (5 minutes)
Spread the remaining whipped cream-pudding mixture over the strawberries. Smooth it out evenly. This layer should also be about ½-inch thick. Make sure the strawberries are completely covered.
Step 8: Add the Blueberry Layer (5 minutes)
Scatter the blueberries over the cream. They’re small, so they’ll fill in the gaps. Try to distribute them evenly. The blue color will create a nice contrast with the white cream.
Step 9: Add the Cake Layer (5 minutes)
Add another layer of cake cubes on top of the blueberries. Arrange them to cover the surface. Brush with simple syrup if you have any left. This layer acts as a buffer between the bottom berries and the top garnish.
Step 10: Add the Raspberry Layer (5 minutes)
Arrange the raspberries on top of the cake. They’re delicate, so place them gently. They’ll add the final pop of color and tartness.
Step 11: Chill and Garnish (30 minutes +)
Cover the trifle with plastic wrap and refrigerate for at least 2 hours, preferably overnight. This allows the flavors to meld and the cake to soften. Before serving, garnish with extra berries, mint leaves, and white chocolate shavings. The mint adds a fresh aroma, and the chocolate adds a nice crunch.
Total Time: About 45 minutes (active), plus 2 hours chilling.
Expert Tips & Tricks
Here’s everything I’ve learned from making this dozens of times. These tips will save you from my mistakes.
Keep the Cream Cold
Chill your mixing bowl and beaters in the fridge for 15 minutes before whipping. Cold cream whips faster and holds its shape better. I learned this the hard way when my cream stayed soft and deflated. Now I always chill my equipment.
Don’t Skip the Syrup
The simple syrup keeps the cake moist. Without it, the cake can dry out in the fridge. I make a quick syrup by boiling ¼ cup sugar and ¼ cup water, then letting it cool. It’s worth the extra 2 minutes.
Layer Evenly
Try to keep each layer about the same thickness. This ensures every spoonful has a bit of everything. If one layer is too thick, it’ll dominate the flavor. I use a ruler to measure the height of each layer as I go.
Handle Berries Gently
Don’t crush the berries when layering. They should be whole or sliced, not mashed. Mashed berries will bleed color into the cream and make it look brown. I place them carefully with my fingers or a fork.
Chill Long Enough
Don’t serve the trifle immediately. It needs time to set. I usually make it the night before. If you’re short on time, let it chill for at least 2 hours. The cake needs time to absorb the moisture from the pudding and berries.
Common Mistakes (and how to avoid them):
Mistake: Cream is too runny
Fix: Make sure you whipped it to stiff peaks. If it’s soft, whip it longer. Also, check that your cream was cold.
Mistake: Cake is dry
Fix: Brush with simple syrup. If you don’t have syrup, use a little milk or juice. The cake needs moisture to stay soft.
Mistake: Layers are messy
Fix: Smooth each layer carefully. Use a spatula to clean the edges. Take your time during assembly.
Variations & Substitutions
Once you’ve nailed the basic version, here’s how you can mix it up. I’ve tried all of these.
Lemon Berry Trifle
Add lemon zest to the whipped cream and use lemon pudding mix instead of vanilla. It’s brighter and more refreshing. Great for summer.
Chocolate Berry Trifle
Use chocolate pudding mix and add chocolate cake cubes. The colors won’t be red, white, and blue, but it’s delicious. I make this for birthdays.
Gluten-Free Version
Use gluten-free cake and gluten-free pudding mix. Everything else is naturally gluten-free. I’ve used gluten-free pound cake and it works great.
Dairy-Free Version
Use coconut cream instead of heavy cream and dairy-free pudding mix. It’s different but still tasty. My lactose-intolerant friend requests this version.
Alcohol-Infused
Add a splash of berry liqueur or champagne to the simple syrup. It’s a nice touch for adult gatherings. I add 2 tablespoons per cup of syrup.
Serving & Storage
How to Serve:
I usually serve this straight from the bowl with large spoons. It’s beautiful enough to present as-is. But here are other ways I’ve enjoyed it:
Side Dishes:
This trifle is a dessert, so it pairs well with savory dishes like slow cooker honey garlic chicken thighs or crispy parmesan-crusted chicken cutlets. The sweetness balances the savory flavors perfectly.
Toppings Bar:
When I have guests, I put out: extra berries, mint, white chocolate shavings, and whipped cream. Everyone customizes their bowl.
Storage Instructions:
Refrigerator:
Store in the trifle bowl, covered with plastic wrap, for up to 3 days. The cake will continue to soften, and the flavors will meld. It actually tastes better on day 2.
Freezing:
I don’t recommend freezing this trifle. The cream and berries don’t freeze well. The texture will be mushy when thawed. Make it fresh or store in the fridge.
Pro tip:
If you’re serving it at a party, make it the night before. It’s easier and tastes better. Just garnish it right before serving for the best look.
Nutrition Information
I’m not a nutritionist, but here’s the breakdown if you’re tracking.
Per Serving (based on 8 servings):
- Calories: 320
- Protein: 4g
- Carbs: 42g
- Fiber: 2g
- Sugar: 28g
- Fat: 14g
- Saturated Fat: 8g
- Cholesterol: 35mg
- Sodium: 180mg
What’s Good:
- Fresh berries provide vitamins and antioxidants
- Calcium from the dairy
- Can add nuts for healthy fats
What to Know:
- Higher in sugar from pudding and cake
- Contains dairy and gluten
- Moderate calories, but it’s a rich dessert
My Take:
Look, this is a dessert with cream, cake, and sugar. It’s not a diet recipe. But it’s way better than store-bought, costs less, and I know exactly what’s in it. When I want to make it lighter, I use less sugar in the syrup and more fruit. But usually? I just enjoy a reasonable portion and savor it.
Final Thoughts
So that’s my Red White and Blue Berry Trifle! I’ve probably talked your ear off at this point, but when you make a recipe this often, you have a lot to say about it. This trifle has saved me from dessert disasters more times than I can count. It’s my answer to “what’s for dessert” when I’m tired, don’t want to bake, and still want something that tastes really good. My family is happy, my guests are impressed, and I’m happy because I’m not stressed about cooking.
Make it yours! Try different berries, swap in your favorite cake, adjust the sweetness. The best recipes are the ones you adapt to your family’s tastes. If you make this, drop a comment and let me know what you think! I love hearing how recipes turn out in your kitchen. And if something doesn’t work, tell me that too—I’m here to help troubleshoot.
Happy cooking! And I hope your kitchen smells half as good as mine does right now.
Frequently Asked Questions
Q: Can I make this trifle ahead of time?
A: Yes! In fact, I recommend it. Make it the night before and let it chill overnight. The cake will absorb the pudding and berries, making the flavors meld together beautifully. It actually tastes better on day 2 than day 1.
Q: Can I use frozen berries?
A: You can, but thaw them first and pat them dry. Frozen berries release a lot of water, which can make the pudding watery. If you use them fresh, they’ll hold their shape better. I prefer fresh berries for the best texture.
Q: Can I use a different type of cake?
A: Absolutely. Pound cake, angel food cake, sponge cake, or even brownies work well. Just make sure the cake is sturdy enough to hold the layers. I’ve used pound cake and angel food cake, and both work great.
Q: How long does the trifle last in the fridge?
A: It lasts up to 3 days in the fridge. Cover it with plastic wrap to prevent it from drying out. After 3 days, the cake may become too soft, and the berries may start to break down.
Q: Can I freeze this trifle?
A: I don’t recommend it. The cream and berries don’t freeze well. The texture will be mushy when thawed. It’s best made fresh or stored in the fridge for a few days.
Q: Can I add alcohol to the trifle?
A: Yes! Add a splash of berry liqueur, champagne, or rum to the simple syrup. It adds a nice kick. I usually add 2 tablespoons per cup of syrup. Just be careful not to add too much, or the cake will become soggy.
Q: What’s the best way to serve this trifle?
A: Serve it with large spoons directly from the bowl. It’s beautiful enough to present as-is. Garnish with extra berries, mint, and white chocolate shavings for a professional look. It pairs well with savory dishes like blackened cajun shrimp skillet for a complete meal.
Pin This Recipe!
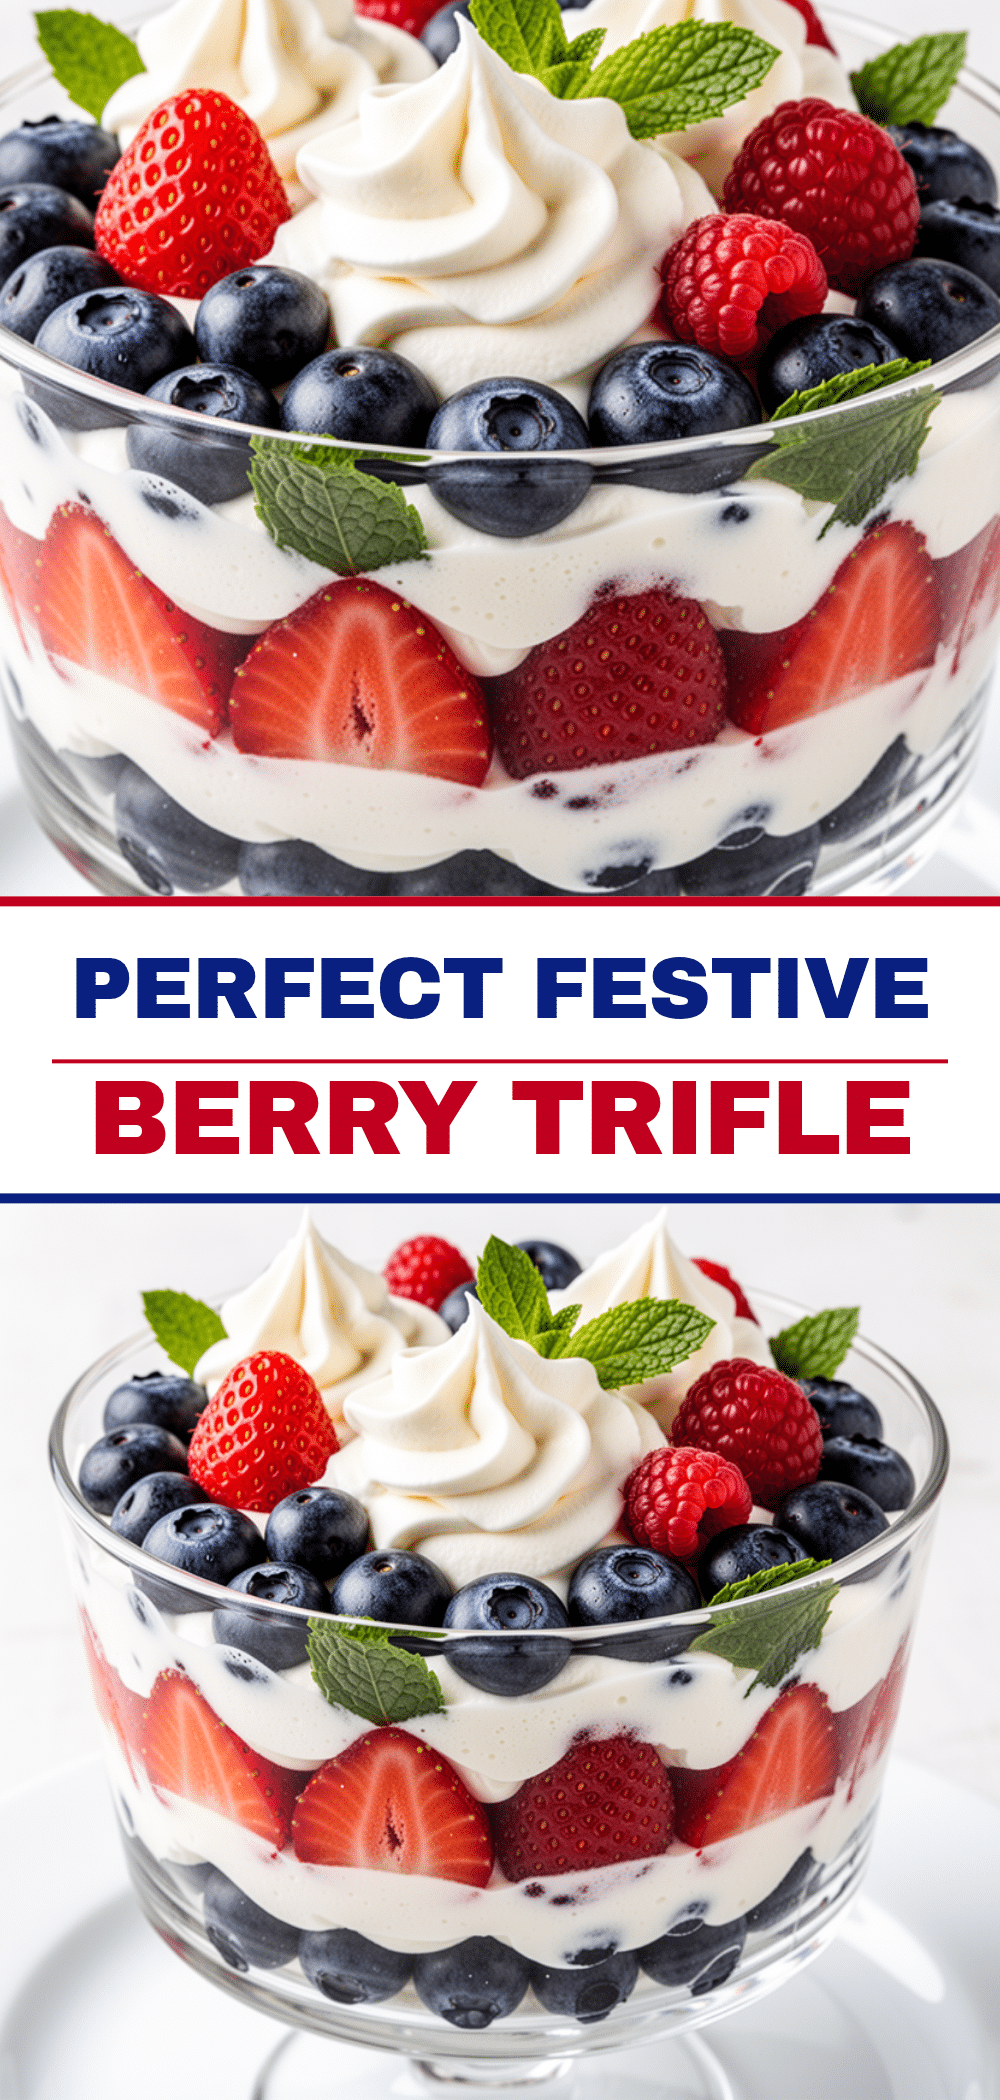
Red White and Blue Berry Trifle: Easy Labor Day Dessert
- Total Time: 45 minutes (plus 2 hours chilling)
- Yield: 8 servings 1x
Description
A visually stunning, no-bake dessert featuring layers of pound cake, vanilla pudding, whipped cream, and fresh red, white, and blue berries. Perfect for Labor Day or any summer gathering.
Ingredients
- 1 store-bought pound cake or angel food cake (about 1.5 lbs / 680g), sliced into ½-inch cubes
- ½ cup simple syrup (sugar and water)
- 2 boxes instant vanilla pudding mix (about 12 oz / 340g dry mix)
- 2 cups whole milk
- 2 cups heavy cream
- 1 teaspoon vanilla extract
- 2 cups fresh strawberries, hulled and sliced
- 2 cups fresh blueberries, washed and dried
- 1 cup fresh raspberries
- 1 small bunch fresh mint leaves
- 1 cup extra berries for garnish
- White chocolate shavings (optional)
Instructions
- Prep ingredients: Slice cake into ½-inch cubes, wash and dry berries, and measure out pudding mix and milk.
- Make the pudding: Whisk together the instant vanilla pudding mix and milk according to package instructions until thickened. Transfer half of the pudding to a separate bowl and set aside.
- Whip the cream: In a chilled mixing bowl, whip the heavy cream with vanilla extract until stiff peaks form. Gently fold in the reserved half of the pudding until combined.
- Assemble first layer: Place a layer of cake cubes at the bottom of a large glass trifle bowl. Brush lightly with simple syrup.
- Add first cream layer: Spread half of the whipped cream-pudding mixture over the cake layer, smoothing it evenly.
- Add red berry layer: Arrange sliced strawberries over the cream layer.
- Add second cream layer: Spread the remaining whipped cream-pudding mixture over the strawberries.
- Add blueberry layer: Scatter blueberries evenly over the cream layer.
- Add second cake layer: Place another layer of cake cubes on top of the blueberries and brush with remaining simple syrup.
- Add raspberry layer: Arrange raspberries gently on top of the cake layer.
- Chill: Cover with plastic wrap and refrigerate for at least 2 hours, preferably overnight.
- Garnish and serve: Top with extra berries, mint leaves, and white chocolate shavings before serving.
Notes
[‘Chill your mixing bowl and beaters for 15 minutes before whipping cream for better volume.’, ‘Use simple syrup to keep the cake moist during chilling.’, ‘Handle berries gently to prevent them from bleeding color into the cream.’, ‘This dessert is best made ahead of time to allow flavors to meld.’, ‘Do not freeze this trifle as the texture of the cream and berries will suffer upon thawing.’]
- Prep Time: 15 minutes
- Cook Time: 0 minutes
- Category: Dessert
- Cuisine: American
Nutrition
- Serving Size: 1 serving (approx. 1
- Calories: 320
- Sugar: 28
- Sodium: 180
- Fat: 14
- Saturated Fat: 8
- Carbohydrates: 42
- Fiber: 2
- Protein: 4
Keywords: Labor Day dessert, berry trifle, no bake dessert, red white and blue dessert, summer dessert, easy trifle, pound cake trifle


