Last Tuesday, I was standing in the cereal aisle of the grocery store, staring at a box of “banana oat” muffins that cost $6.99 for four tiny, sad-looking discs. They looked like they had been microwaved for thirty seconds and then abandoned on a parking lot bench. I almost bought them. I was tired. I had a meeting at noon, a soccer practice at four, and my brain was essentially mush.
But then I looked at the ingredient list. Sugar. High fructose corn syrup. Palm oil. And… wait, where is the banana? It was basically a sugar cookie with a banana extract note.
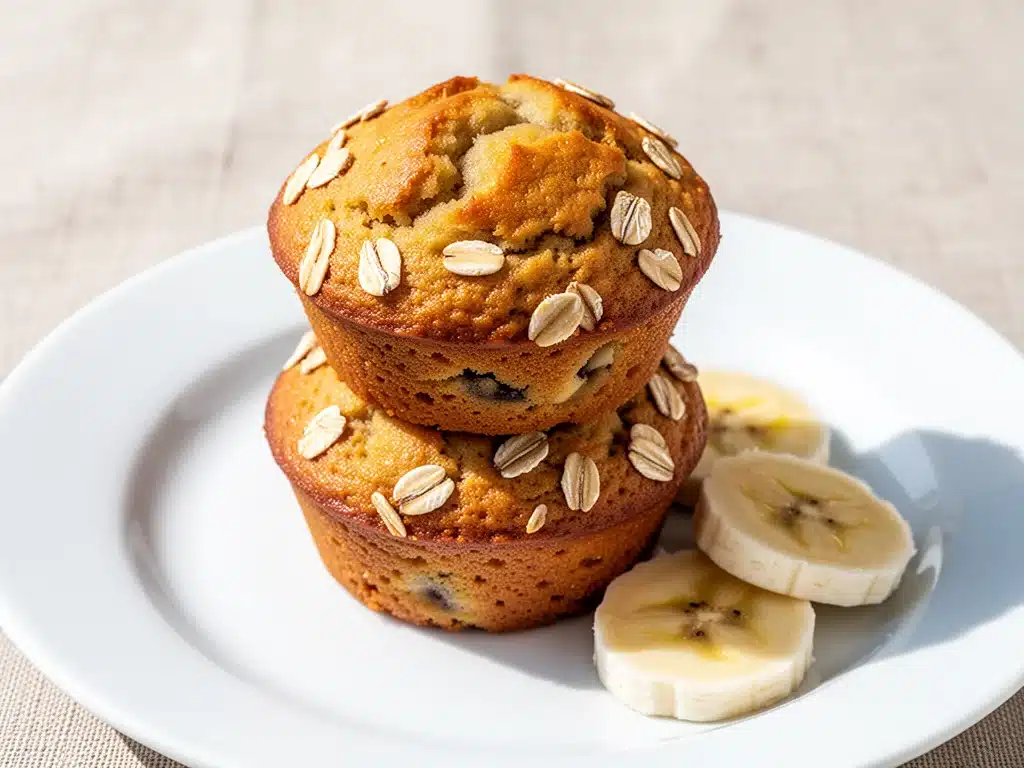
I put them back. I went home, dug through my fridge, and found three overripe bananas that were brown enough to scare me, a half-empty bag of oats, and a jar of peanut butter. I threw them together in about five minutes. Twenty minutes later, I had a batch of muffins that smelled like a bakery, tasted like comfort, and actually had real fruit in them.
My kids devoured them. My husband asked if I ordered takeout. And I realized something important: I didn’t need to be a pastry chef to make lunchbox-friendly treats. I just needed to stop overthinking it.
These banana oat muffins have been in our rotation for three years now. They are the reason I don’t panic when I hear “I’m hungry” at 3 PM. They are soft, naturally sweet, packed with fiber, and best of all? They freeze beautifully. I make a double batch on Sunday, toss them in a bag, and pull them out the night before. It’s the ultimate hack for busy mornings when you still want to feed your family something better than processed junk.
If you’ve been looking for a healthy kids lunchbox idea that doesn’t taste like cardboard, you’re in the right place. This recipe is foolproof, forgiving, and honestly? Better than anything you’ll buy at a gas station.
Why You’ll Love This Banana Oat Muffin Recipe
I know, I know. “Another banana muffin?” But hear me out. This isn’t your average dry, crumbly muffin from the 90s. This is moist, chewy, and actually holds together in a lunchbox without falling apart into a mess.
Here’s why this recipe has earned a permanent spot in my kitchen (and my kids’ lunchboxes):
- Zero Waste Fruit — Those brown bananas you’ve been meaning to throw away? They’re gold. The riper they are, the sweeter the muffins. This recipe saves fruit from the compost bin and turns it into dinner.
- Pantry Staples Only — You probably have everything you need right now. Bananas, oats, eggs, milk, and a binder like honey or maple syrup. No fancy flours or weird superfoods you need to order online.
- Lunchbox Proof — These don’t get soggy. I’ve tested them in lunchboxes for up to 6 hours. They stay soft. No one is eating dry crumbs by recess.
- Hidden Veggies (Optional) — I sneak in shredded zucchini sometimes. You can’t taste it. My kids think they’re getting a treat. Win-win.
- Freezer Friendly — This is the big one. I bake a batch, freeze them, and pull them out the night before. They thaw out perfectly by morning. It’s meal prep magic.
- Kid-Approved Texture — Not too dense, not too cakey. Just the right amount of chew from the oats. Even my pickiest eater (who usually only eats chicken nuggets) asks for these.
This is my go-to when I need to feed a crowd, pack lunches, or just need a snack that doesn’t make my kids hyper for three hours straight. It’s real food. Simple food. Delicious food.
Ingredients You’ll Need
Here’s the best part: you don’t need to go to the store for this. I’m particular about only three things here, and I’ll tell you exactly why. The rest is basic pantry stuff.
The Base
Ripe Bananas (3 large / about 1.5 cups mashed) — This is the star. They must be brown-spotted. Green bananas will make these taste bland and chalky. If they aren’t brown enough, put them in the oven at 300°F for 15 minutes. Trust me.
Old-Fashioned Oats (1.5 cups / 120g) — I use old-fashioned, not instant. Instant oats turn to mush. Old-fashioned gives that nice chewy texture. If you need gluten-free, use certified GF oats. They work perfectly.
Eggs (2 large / ~100g) — These bind everything together. Room temperature eggs mix better, but cold ones work fine if you’re in a hurry. Just whisk them well.
Neutral Oil (½ cup / 120ml) — I use canola or vegetable oil. It keeps the muffins moist longer than butter. Butter tastes great, but it hardens in the fridge. Oil stays soft. For a healthier option, use melted coconut oil, but it will add a slight coconut flavor.
Milk (½ cup / 120ml) — Dairy or non-dairy works. Almond milk, oat milk, whole milk, skim milk—it doesn’t matter. I keep almond milk on hand because it’s what my kids drink anyway.
The Sweetener & Flavor
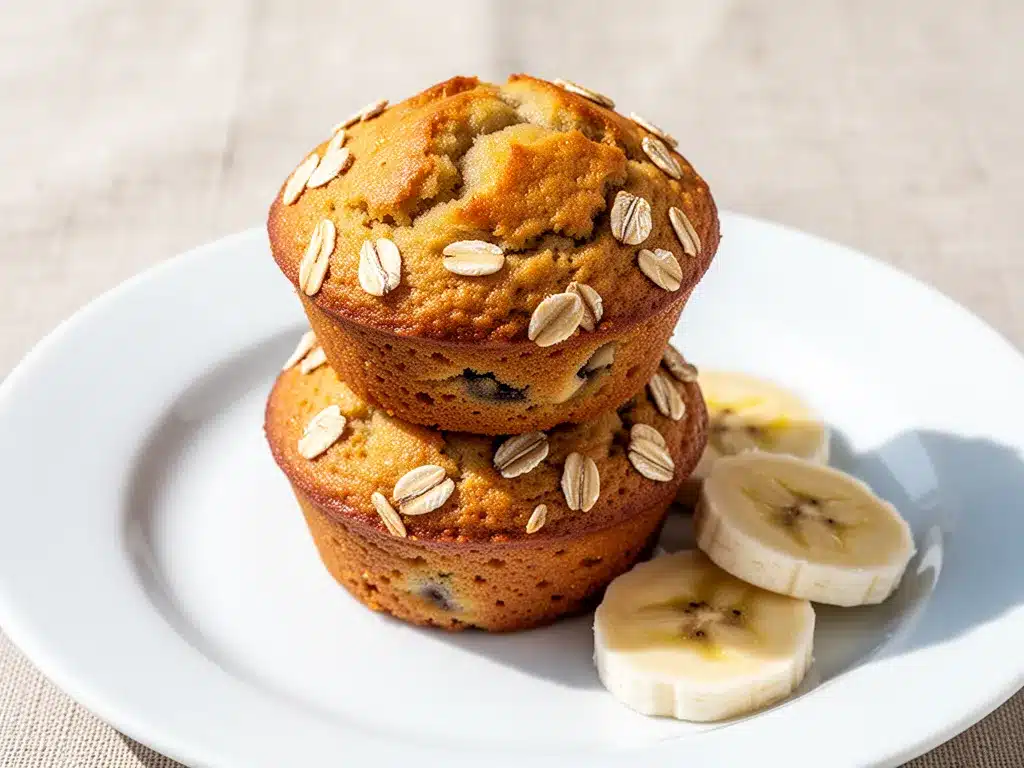
Honey or Maple Syrup (⅓ cup / 80ml) — I use honey because it’s what we have. Maple syrup works too and makes them slightly more “vegan-friendly” (if you count the eggs). Don’t skip this, but don’t overdo it. The bananas are sweet enough. Taste the batter before baking if you’re unsure.
Vanilla Extract (1 teaspoon) — Pure vanilla, not imitation. It rounds out the flavors. If you don’t have it, skip it. It’s not a dealbreaker.
Cinnamon (1 teaspoon) — Optional, but I always add it. It makes them taste like dessert. If you hate cinnamon, skip it, but you’re missing out.
Add-Ins (The Fun Part)
Chocolate Chips (½ cup / 80g) — Semi-sweet or dark chocolate. My kids go crazy for these. If you want to keep it healthier, use mini dark chocolate chips or even dried cranberries.
Walnuts or Pecans (½ cup / 60g) — Chopped. Adds crunch. I skip these if my kids are being picky, but they’re great for texture.
Shredded Zucchini (½ cup, squeezed dry) — The secret weapon. It adds moisture and nutrients without changing the taste. I grate it and squeeze out the water in a paper towel. Don’t skip the squeezing, or your muffins will be soggy.
Equipment Needed
You don’t need fancy gadgets. Here’s what I actually use.
Muffin Tin — Standard 12-cup tin. I use a non-stick one. If yours isn’t non-stick, you might need to grease it lightly.
Muffin Liners — Paper liners make cleanup instant. I use unbleached ones because I’m weird about that stuff. If you don’t have liners, grease the cups really well.
Mixing Bowls — One large bowl for wet ingredients, one medium for dry. Or just one big bowl if you’re lazy (which I often am).
Fork or Potato Masher — For mashing bananas. A fork works fine. A masher is faster.
Whisk — For mixing the wet ingredients. A fork works, but a whisk is easier.
Spatula — For folding in the oats and chips. Silicone spatula is best because it scrapes the bowl clean.
Cooling Rack — To cool the muffins. If you don’t have one, just leave them in the pan for 5 minutes, then move them to a plate. Just don’t leave them in the hot pan forever, or they’ll steam and get soggy.
Freezer Bags — For storage. Ziploc bags work great. Label them with the date so you don’t forget how old they are.
How to Make It: Step-by-Step
Alright, let’s make this! It’s incredibly simple. I’m walking you through exactly how I do it, including the little tricks I’ve picked up.
Step 1: Prep Your Oven and Pan (2 minutes)
Preheat your oven to 350°F (175°C). Line your muffin tin with liners. If you’re using unlined cups, grease them with cooking spray or butter. I always line them because cleanup is easier, and it helps them release cleanly.
Step 2: Mash the Bananas (2 minutes)
In a large bowl, mash the ripe bananas with a fork or potato masher. You want them mostly smooth, but a few small chunks are fine. They add texture. If your bananas aren’t ripe enough, this step will be hard. Use riper bananas next time.
Step 3: Mix Wet Ingredients (3 minutes)
To the mashed bananas, add the oil, milk, eggs, honey, and vanilla. Whisk everything together until it’s well combined. It should look like a smooth, yellowish liquid. Don’t worry if it’s not perfectly smooth; just get it mixed.
Step 4: Add Dry Ingredients (2 minutes)
Add the oats, cinnamon, and baking powder to the wet mixture. Stir gently. Don’t overmix! You just want the dry ingredients incorporated. If you mix too much, the oats can get tough. It’s okay if there are a few dry spots.
Step 5: Fold in Add-Ins (1 minute)
Now, fold in your chocolate chips, nuts, or zucchini. Use a spatula and gently fold them in. If you’re adding zucchini, make sure it’s squeezed dry first. Distribute the mix-ins evenly so every muffin gets some.
Step 6: Fill the Cups (2 minutes)
Divide the batter evenly among the 12 muffin cups. Fill them about ¾ full. Don’t overfill them, or they’ll spill over and make a mess. I use an ice cream scoop or a large spoon to make it even.
Step 7: Bake (18-20 minutes)
Place the tin in the oven and bake for 18-20 minutes. They are done when a toothpick inserted into the center comes out clean or with just a few moist crumbs. They should be golden brown on top. If they’re browning too fast, cover them loosely with foil.
Step 8: Cool (10 minutes)
Let the muffins cool in the pan for 5 minutes, then transfer them to a cooling rack. They will be very soft when hot. Let them cool completely before storing, or they’ll get soggy from steam.
Total Time: About 30 minutes (10 active, 20 baking)
Expert Tips & Tricks
Here’s everything I’ve learned from making these dozens of times. These tips will save you from my mistakes.
The Banana Rule
The riper, the better. Brown spots = sweetness. If your bananas are yellow, they won’t be sweet enough, and you’ll need to add more honey. I keep a bag of bananas in the fruit bowl until they’re almost black. That’s when I know it’s muffin time.
Don’t Overmix
This is the #1 mistake people make. Overmixing makes the oats tough and the muffins dense. Stir until just combined. Lumpy batter is good. Smooth batter is bad. Trust me.
The Zucchini Hack
If you add zucchini, squeeze it DRY. Use a paper towel and press hard. If you leave water in it, your muffins will be wet and gummy. I learned this the hard way with a batch of soup-banana-muffins. Never again.
Freezing Like a Pro
Cool muffins completely before freezing. Wrap them individually in plastic wrap, then put them in a freezer bag. They last 3 months. To thaw, leave them on the counter for an hour or microwave for 30 seconds. They taste fresh.
Size Matters
These make standard-sized muffins. If you want smaller “mini” muffins for kids’ lunchboxes, fill mini muffin tins and bake for 12-14 minutes. They are perfect for portion control.
Variations & Substitutions
Once you’ve nailed the basic version, here’s how you can mix it up. I’ve tried all of these.
Gluten-Free
Use certified gluten-free oats. That’s it. Everything else is naturally gluten-free. I use Bob’s Red Mill GF oats, and they work perfectly. The texture is slightly softer, but still great.
Dairy-Free
Use almond milk or oat milk instead of dairy milk. Use maple syrup instead of honey (if you avoid honey). Use coconut oil instead of vegetable oil. That’s all you need to do.
Lower Sugar
Skip the chocolate chips. Skip the honey if your bananas are very ripe. Add a pinch more cinnamon for flavor. These are naturally sweet, so you don’t need much added sugar.
Protein Boost
Add a scoop of vanilla protein powder. You might need to add a splash more milk because protein powder absorbs liquid. I use whey protein, but plant-based works too. They get a bit denser, but still tasty.
Flavor Twists
Apple Cinnamon: Add ½ cup diced apple instead of zucchini.
Blueberry: Fold in ½ cup fresh or frozen blueberries. Don’t thaw frozen ones first, or they’ll bleed color.
Peanut Butter: Swirl 1 tablespoon of peanut butter into the batter before baking. My kids love this version.
Serving & Storage
How to Serve
I serve these warm with a little butter, or cold straight from the fridge. They’re great for breakfast, snacks, or lunchboxes. Pair them with a glass of milk or a smoothie.
Storage Instructions
Room Temperature: Store in an airtight container for up to 3 days. They stay moist.
Fridge: Store in an airtight container for up to 5 days. They might get a bit firmer, but still good.
Freezer: Freeze for up to 3 months. Wrap individually to prevent freezer burn.
Reheating
Microwave for 20-30 seconds. Or toast them lightly in a toaster oven. They taste best when slightly warm.
Nutrition Information
I’m not a nutritionist, but here’s the breakdown if you’re tracking. This is per muffin (makes 12).
- Calories: ~140
- Protein: 3g
- Carbs: 22g
- Fiber: 2g
- Sugar: 10g (natural from bananas)
- Fat: 5g
Look, this is a treat. It has sugar and carbs. But it also has fiber from oats and fruit. It’s way better than a granola bar with 20 ingredients you can’t pronounce. When I want to make it lighter, I skip the chocolate chips and use less honey. But usually? I just eat one or two and enjoy it.
Final Thoughts
So that’s my go-to banana oat muffin recipe! I’ve probably talked your ear off at this point, but when you make a recipe this often, you have a lot to say about it.
This has saved me more times than I can count. It’s my answer to “what’s for lunch?” when I’m tired, don’t want to cook a big meal, and still want my kids to eat something healthy. My kids are happy, I’m happy, and we’re all avoiding the processed aisle.
Make it yours! Try different add-ins, swap in your favorite fruits, adjust the sweetness. The best recipes are the ones you adapt to your family’s tastes. If you make this, drop a comment and let me know what you think! I love hearing how recipes turn out in your kitchen. And if something doesn’t work, tell me that too—I’m here to help troubleshoot.
Happy baking! And I hope your kitchen smells half as good as mine does right now.
Frequently Asked Questions
Can I use instant oats instead of old-fashioned?
You can, but the texture will be different. Instant oats are finer and will make the muffins softer, almost cake-like. Old-fashioned oats give that nice chew. If you use instant, reduce the liquid slightly because instant oats absorb more moisture. I prefer old-fashioned, but instant works in a pinch.
Why are my muffins dry?
Usually, this means you overmixed the batter or overbaked them. Don’t mix until smooth—just until combined. Also, check them at 18 minutes. If a toothpick comes out clean, they’re done. If it’s wet, give them 2 more minutes. Overbaking dries them out. Also, make sure your bananas are ripe!
Can I freeze these for school lunches?
Absolutely. This is their best use. Bake them, cool them completely, wrap individually in plastic wrap, and put them in a freezer bag. They last 3 months. Take them out the night before, and they’ll be thawed and ready by morning. No soggy mess.
Can I use whole wheat flour?
Yes, but it will make them denser. I usually stick to oats for the bulk, but if you want to add flour, use half whole wheat and half all-purpose. Or just use 100% oats for a gluten-free option (if using GF oats). Whole wheat alone can make them heavy.
Can I make these vegan?
Yes! Use maple syrup instead of honey, and use a flax egg (1 tbsp ground flax + 3 tbsp water per egg) instead of regular eggs. Use plant-based milk and oil. They hold together well with the oats and bananas. My vegan friends love these.
How do I keep them from sticking to the liners?
If you’re using non-stick liners, they shouldn’t stick. If they are, try greasing the liners lightly with cooking spray. Or, let them cool for 5 minutes before removing them. If you pull them out hot, they might tear. Patience is key!
Pin This Recipe!
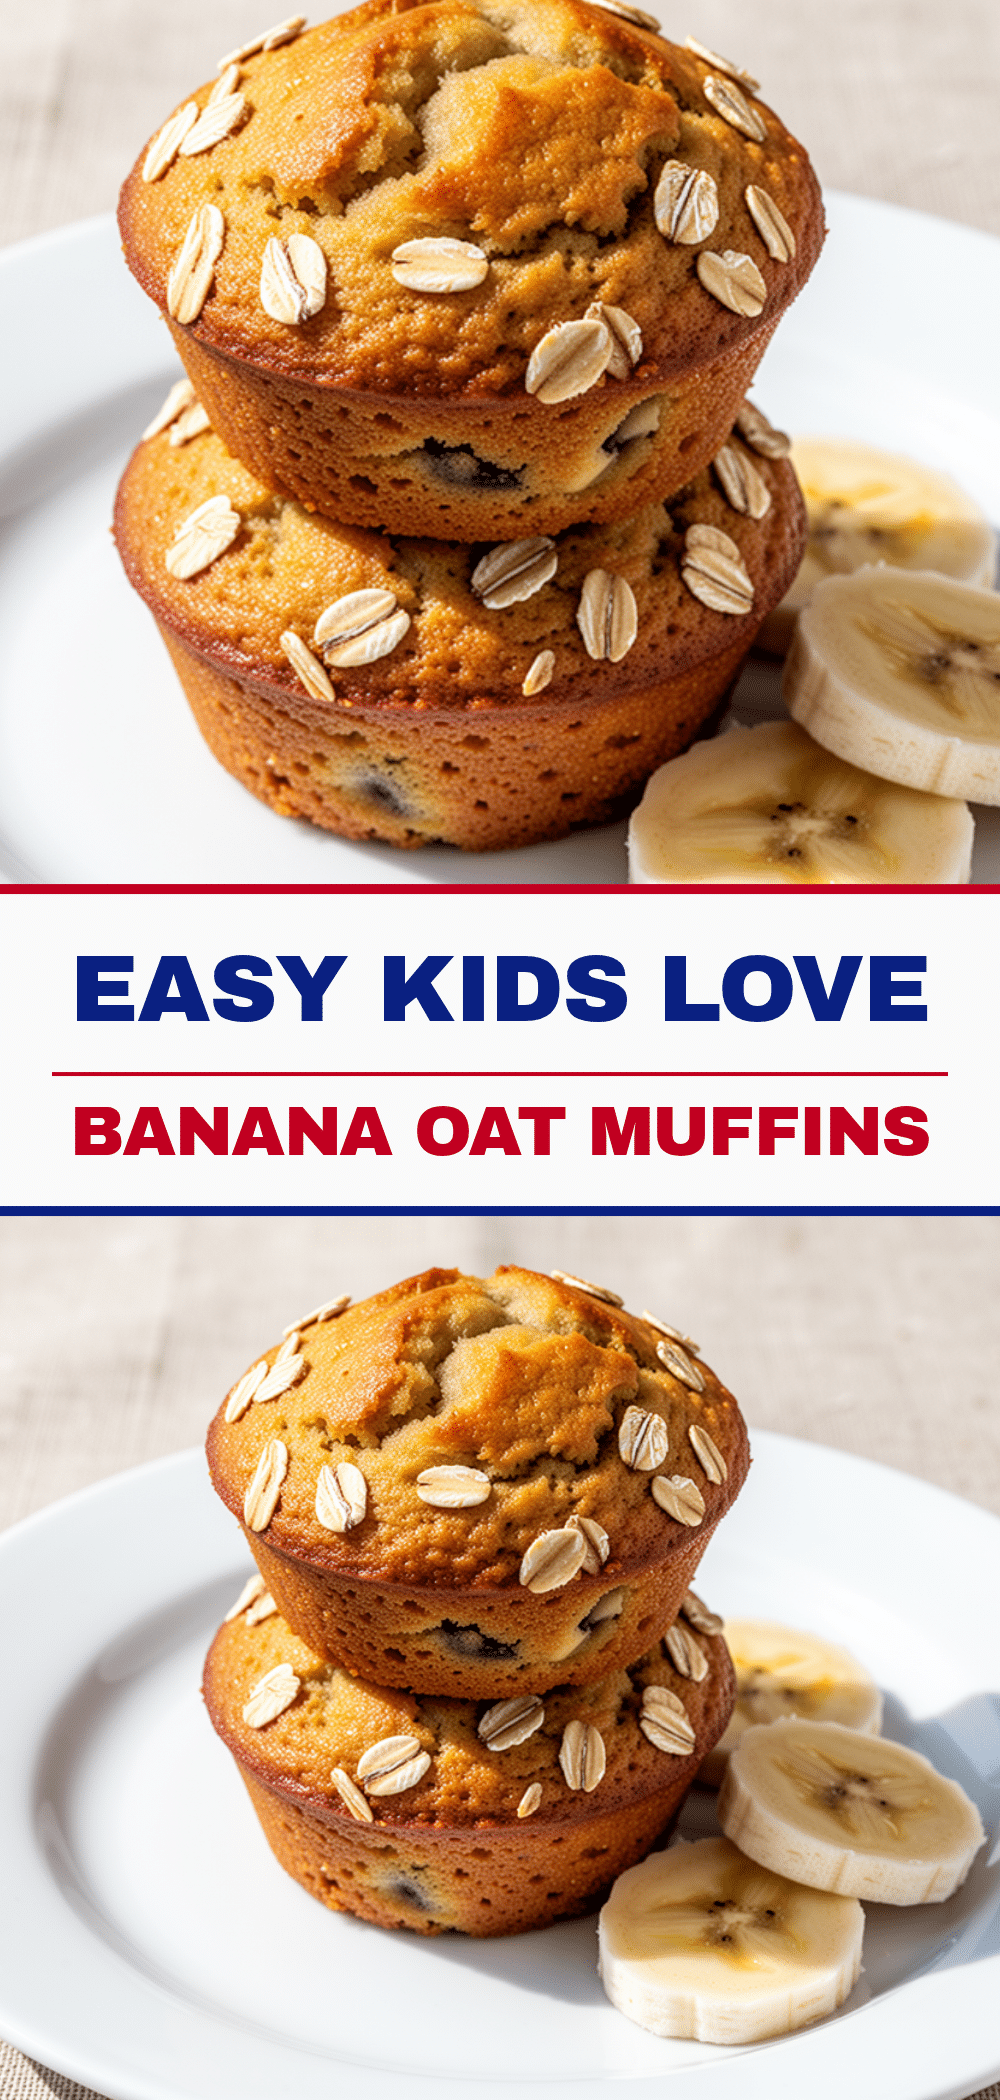
Banana Oat Muffins: Best Easy Healthy Kids Lunchbox
- Total Time: 30 minutes
- Yield: 12 servings 1x
Description
Moist, chewy, and naturally sweet banana oat muffins made with pantry staples. Perfect for kids’ lunchboxes, they are freezer-friendly, easy to make, and healthier than store-bought options.
Ingredients
- 3 large ripe bananas (about 1.5 cups mashed)
- 1.5 cups old-fashioned oats (120g)
- 2 large eggs
- ½ cup neutral oil (canola, vegetable, or melted coconut oil)
- ½ cup milk (dairy or non-dairy)
- ⅓ cup honey or maple syrup
- 1 teaspoon vanilla extract
- 1 teaspoon cinnamon
- 1 teaspoon baking powder
- Optional add-ins: ½ cup chocolate chips, ½ cup chopped walnuts or pecans, ½ cup shredded zucchini (squeezed dry)
Instructions
- Preheat oven to 350°F (175°C). Line a standard 12-cup muffin tin with paper liners or grease lightly.
- In a large bowl, mash the ripe bananas with a fork or potato masher until mostly smooth.
- Add the oil, milk, eggs, honey (or maple syrup), and vanilla to the mashed bananas. Whisk until well combined.
- Add the oats, cinnamon, and baking powder to the wet mixture. Stir gently until just incorporated; do not overmix.
- Fold in any desired add-ins like chocolate chips, nuts, or shredded zucchini.
- Divide the batter evenly among the 12 muffin cups, filling them about ¾ full.
- Bake for 18-20 minutes, or until a toothpick inserted into the center comes out clean or with a few moist crumbs.
- Let muffins cool in the pan for 5 minutes, then transfer to a cooling rack to cool completely before storing.
Notes
Use very ripe, brown-spotted bananas for natural sweetness. Do not overmix the batter to avoid tough muffins. If adding zucchini, squeeze it dry thoroughly to prevent sogginess. These freeze well for up to 3 months; wrap individually for best results.
- Prep Time: 10 minutes
- Cook Time: 20 minutes
- Category: Breakfast
- Cuisine: American
Nutrition
- Serving Size: 1 muffin
- Calories: 140
- Sugar: 10
- Sodium: 100
- Fat: 5
- Saturated Fat: 0.5
- Carbohydrates: 22
- Fiber: 2
- Protein: 3
Keywords: banana oat muffins, healthy kids lunchbox, easy muffin recipe, gluten-free muffins, freezer friendly snacks, healthy breakfast


