It was 6:45 AM on a Tuesday, and I was standing in my kitchen in pajamas, staring at an empty lunchbox like it was a personal insult. My three-year-old had already rejected the apple slices, the yogurt pouches, and the generic granola bars that were currently sitting on the counter like sad, beige little tombstones. He wanted something with flavor. He wanted something that didn’t taste like “diet food” or “healthy choices.” He just wanted a snack that made him happy.
I was exhausted. I had a meeting in an hour, a laundry load that was threatening to overflow, and zero energy for cooking anything that required an oven or more than five minutes of actual effort. That’s when I remembered a jar of peanut butter in the back of my pantry and a bag of oats that had been sitting there since last month. I didn’t have time to bake. I didn’t have time to worry about crumbs or mess. I just needed something that stuck together, tasted like dessert but passed the “mom test,” and wouldn’t melt into a puddle by third period.
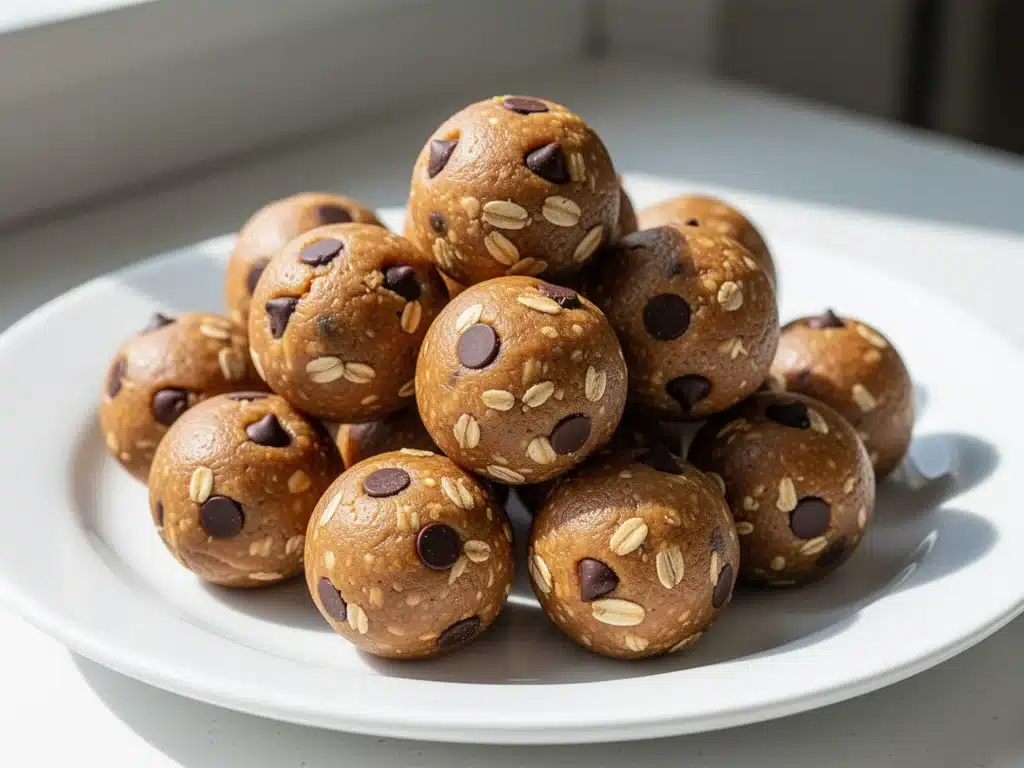
So I threw everything into a bowl. No baking, no fuss, no heat. Just five ingredients. I mixed it, rolled it into little balls, and shoved them in the fridge while I got ready. When my son came home, he didn’t just eat one. He ate three. Then he asked if he could have “the peanut butter balls” again the next day. That was the moment I realized I had solved a major problem: the mid-afternoon slump and the lunchbox stress, all at once.
These no-bake peanut butter energy bites have become my secret weapon for busy mornings. They’re sweet, salty, chewy, and packed with enough protein to keep a growing kid (or a tired adult) going until dinner. I’ve made these dozens of times now, tweaking the ratios until they were perfect. They hold their shape, they don’t require any special equipment, and best of all, they taste like they came from a fancy health food store, but they cost pennies to make.
If you’re tired of buying expensive, pre-packaged snacks that are full of ingredients you can’t pronounce, you need to try this. It’s simple. It’s fast. And it might just save your sanity on a random Tuesday morning.
Why You’ll Love These No-Bake Peanut Butter Energy Bites
There are a ton of energy bite recipes out there, but this specific combination of ingredients hits a sweet spot that works for everyone. Here’s why these have earned a permanent spot in my weekly meal prep routine.
- Stupid Simple — Seriously, if you can stir a bowl, you can make these. There is no baking, no oven temperature to worry about, and no timing issues. Mix, roll, chill. That’s it. I’ve made these while holding a toddler on my hip.
- Five Ingredients Only — I’m not exaggerating. You don’t need a dozen weird superfoods. Just peanut butter, oats, honey, chia seeds, and chocolate chips. If you have these in your pantry, you’re golden.
- Perfect for Lunchboxes — Unlike cookie dough bites, these don’t get messy in a lunchbox. They don’t crumble, they don’t melt easily, and they don’t stick to the plastic container. My kids’ lunchboxes stay clean.
- Protein-Packed — These aren’t just sugar bombs. The peanut butter and oats provide sustained energy, while the honey gives a quick boost. They’re perfect for pre-practice snacks or afternoon slumps.
- Kid-Approved Taste — They taste like peanut butter cookies but chewier. My picky eater who usually refuses “healthy snacks” asks for these daily. That’s the ultimate win.
- Meal Prep Friendly — I make a big batch on Sunday, and they last all week in the fridge. Or I freeze them for later. It’s one less thing to think about during the school week.
This is my go-to when I need a snack that is healthy enough for school but delicious enough to actually get eaten. No drama, no complaints, just happy kids and less stress for me.
Ingredients You’ll Need
The best part about these no-bake peanut butter energy bites is how few ingredients you need. You probably have most of them already. I’m not asking you to go to three different stores for exotic items. Here’s what you need:
For the Base:
Old-Fashioned Rolled Oats (2 cups / 160g) — Do not use instant oats or steel-cut oats. Old-fashioned gives the right chewy texture. If you’re sensitive to gluten, make sure you buy certified gluten-free oats. I love using Bob’s Red Mill because they’re reliable.
Peanut Butter (1 cup / 250g) — This is the star. Use natural, creamy peanut butter. I prefer ones with just peanuts and salt, no added sugar or oil. If your natural peanut butter is runny, you might need a bit more oats. Avoid the cheap brands with hydrogenated oils—they taste waxy and don’t bind well.
For the Sweetness & Binding:
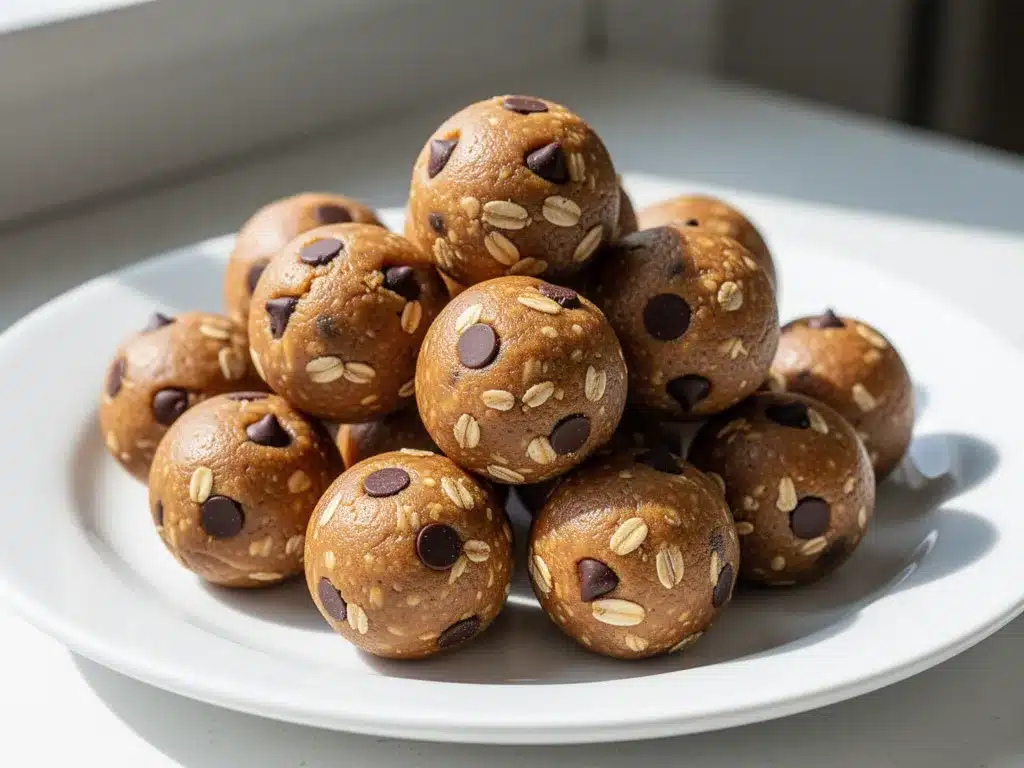
Honey (½ cup / 170g) — Honey binds everything together and adds natural sweetness. Maple syrup works too if you want a vegan version, but it makes the mixture wetter, so you’ll need more oats. I stick with honey for that classic flavor.
Chia Seeds (2 tablespoons / 15g) — This is my secret weapon. Chia seeds add a boost of omega-3s and fiber, but you can’t taste them. They also help absorb excess moisture so the bites don’t fall apart. If you don’t have chia, flax seeds work, or just skip them.
For the Flavor Boost:
Mini Chocolate Chips (½ cup / 85g) — Mini chips are crucial here. Regular chips are too big and create uneven bites. Mini chips distribute evenly so every bite has a little chocolatey surprise. Dark chocolate chips work great if you want less sugar.
Vanilla Extract (1 teaspoon / 5ml) — Just a splash to round out the flavors. It makes the peanut butter taste more like a dessert. Don’t skip this.
Pinch of Salt — Even if your peanut butter is salted, a tiny pinch enhances the sweetness. It’s a pro tip that makes a huge difference.
Personal Tip: I keep a jar of natural peanut butter in the pantry and another in the fridge. The fridge one is thicker and easier to work with for these bites. If you’re using a runny peanut butter from the pantry, just stick it in the fridge for 10 minutes before mixing.
Equipment Needed
You don’t need fancy gadgets for this. Here’s what I actually use:
- Large Mixing Bowl — Any bowl big enough to hold 2 cups of oats and 1 cup of peanut butter. I use a 4-quart stainless steel bowl. It’s heavy and doesn’t slide around.
- Spatula — A sturdy silicone spatula is best for mixing thick peanut butter and oats together. A wooden spoon works too, but it’s harder to scrape the sides.
- Measuring Cups and Spoons — Standard stuff. I use a set from the dollar store; they work perfectly fine.
- Baking Sheet or Plate — To line with parchment paper while you roll the bites. Parchment paper is a lifesaver for easy cleanup.
- Airtight Container — For storing the finished bites. Glass containers are my favorite because they don’t stain or hold odors.
Optional but nice: A small cookie scoop or melon baller. It helps make uniform-sized bites, which looks pretty and ensures even eating. But my hands work fine too.
How to Make It: Step-by-Step
Alright, let’s make these no-bake peanut butter energy bites! I’m walking you through exactly how I do it, including the little tricks I’ve picked up over time.
Step 1: Prep Your Bowl (1 minute)
Grab your large mixing bowl. If you’re using parchment paper, line a baking sheet or plate with it now. This will make rolling and cleaning up way easier. I always line the sheet because sticky peanut butter is a nightmare to clean off counters.
Step 2: Mix the Dry Ingredients (1 minute)
Add the rolled oats and chia seeds to the bowl. Stir them together with a spatula. This ensures the chia seeds are distributed evenly so you don’t get a clump of them in one bite. It’s a small step that makes a big difference in texture.
Step 3: Add the Wet Ingredients (2 minutes)
Add the peanut butter, honey, and vanilla extract to the dry ingredients. This is where you need some muscle. Natural peanut butter is thick, so use a sturdy spatula and press down to mix it in. You want everything fully combined with no dry patches of oats. It should look like a thick, sticky dough. If it’s too dry and crumbly, add another tablespoon of honey. If it’s too wet and sticky, add another tablespoon of oats.
Step 4: Fold in the Chocolate Chips (1 minute)
Stir in the mini chocolate chips. They’ll get coated in the peanut butter mixture. This step is easy, but make sure you get them all the way to the bottom of the bowl so every bite has chocolate.
Step 5: Chill the Mixture (15-30 minutes)
This is the step most people skip, but I highly recommend it. Cover the bowl with plastic wrap and put it in the fridge for at least 15 minutes, preferably 30. Chilling firms up the peanut butter and oats, making them much easier to roll. If you skip this, the mixture will be too sticky to handle. I know it’s tempting to start rolling right away, but patience pays off. The bites will hold their shape better and won’t stick to your hands.
Step 6: Roll the Bites (10 minutes)
Take the bowl out of the fridge. Scoop out about 1 tablespoon of mixture at a time. Roll it between your palms to form a ball. Don’t press too hard, or they’ll become dense. Just gentle rolls until they’re smooth. Place them on the lined baking sheet. If the mixture starts sticking to your hands, wet them slightly with water. This helps prevent sticking without making the bites soggy. Aim for about 20-24 bites, depending on size.
Step 7: Set in the Fridge (30 minutes)
Once all the bites are rolled, put the baking sheet back in the fridge for another 30 minutes. This sets them completely so they’re firm and ready to pack. You can eat them immediately if you’re impatient, but they’ll be softer. For lunchboxes, you want them firm.
Expert Tips & Tricks
Here’s everything I’ve learned from making these dozens of times. These tips will save you from my mistakes.
Choose the Right Peanut Butter
This is the most important variable. Use natural peanut butter with no added sugar or oil. Brands like Smuck’s Natural or Peter Pan Natural work well. Avoid creamy peanut butter with hydrogenated oils—it tastes artificial and doesn’t bind as well. If your natural peanut butter has separated, stir it thoroughly before measuring. You want the oil and solids combined.
Don’t Skip the Chill Time
I cannot stress this enough. Rolling warm peanut butter mixture is a sticky nightmare. The fridge time firms up the fats, making the balls easy to handle. If you’re in a huge rush, you can put the bowl in the freezer for 10 minutes instead, but the fridge is safer so you don’t over-chill.
Adjust for Humidity
If you live in a humid climate, the mixture might stay stickier. Add an extra tablespoon of oats to compensate. Conversely, if you’re in a dry area, you might need a tiny splash more honey. Trust your hands—if it sticks, add oats. If it crumbles, add honey.
Use a Cookie Scoop
For uniform bites, use a small cookie scoop or a tablespoon. It saves time and ensures each bite has the same amount of ingredients. It also makes portion control easier if you’re tracking macros.
Store Properly
These keep best in an airtight container in the fridge. They can sit at room temperature for a few hours (like in a lunchbox), but they’ll soften. For long-term storage, freeze them in a single layer on a baking sheet, then transfer to a freezer bag. They last up to 3 months.
Variations & Substitutions
Once you’ve nailed the basic version, here’s how you can mix it up. I’ve tried all of these, and they’re all delicious.
Almond Butter Version
Swap peanut butter for almond butter. It’s slightly sweeter and has a more subtle flavor. My kids love this version, especially with dark chocolate chips. Note: Almond butter is often thicker, so you might need a tiny bit more honey.
Sunflower Seed Butter (Nut-Free)
For school-safe snacks, use sunflower seed butter. It has a similar texture to peanut butter and works perfectly. Just make sure it’s the creamy kind, not the natural separated kind, or it might be too wet. This is perfect for schools with nut-free policies.
Protein Power
Add 1 scoop of vanilla or chocolate protein powder. This increases the protein content significantly, making them great for post-workout snacks. You might need an extra tablespoon of honey or milk if the powder absorbs too much moisture.
Trail Mix Style
Add ¼ cup of mini M&Ms or chopped nuts (if nuts are allowed). It adds crunch and extra sweetness. I do this for holidays or special occasions.
Vegan Version
Use maple syrup instead of honey. Everything else is naturally vegan. Simple swap, same great taste.
Gluten-Free
Use certified gluten-free oats. The rest of the ingredients are naturally gluten-free, so this is an easy fix for sensitive diets.
Serving & Storage
How to Serve:
These are perfect for lunchboxes, pre-practice snacks, or just eating out of the jar (no judgment). They’re also great paired with a piece of fruit or a glass of milk for a more filling snack.
Refrigerator:
Store in an airtight container for up to 2 weeks. They actually get firmer and chewier after a day or two, which some people prefer. I usually keep a container in the fridge for quick access.
Freezer:
Freeze for up to 3 months. Place them in a single layer on a baking sheet until frozen solid, then transfer to a freezer bag. This prevents them from sticking together. Thaw in the fridge for 30 minutes before eating, or eat them frozen like little energy bites popsicles.
Room Temperature:
They can sit out for up to 4 hours without spoiling, which is perfect for school lunches. However, in hot weather, they might soften, so consider using an insulated lunchbox with an ice pack.
Nutrition Information
I’m not a nutritionist, but here’s the breakdown if you’re tracking. This is per bite (based on 20 bites).
Per Serving:
– Calories: 110
– Protein: 4g
– Carbs: 12g
– Fiber: 2g
– Sugar: 6g
– Fat: 6g
– Saturated Fat: 1g
– Sodium: 40mg
What’s Good:
– Good source of protein from peanut butter
– Fiber from oats and chia seeds
– No refined sugars (just honey)
– Healthy fats from nuts/seeds
What to Know:
– Moderately high in calories due to peanut butter
– Contains nuts (use sunflower seed butter for nut-free)
– Natural sugars from honey and oats
My Take:
These aren’t diet food. They’re calorie-dense because peanut butter is. But that’s a good thing! They’re energy-dense. One or two bites are perfect for a snack. If you’re watching calories, stick to one bite. If you’re an active kid or athlete, two or three are great. It’s all about balance.
Final Thoughts
So that’s my no-bake peanut butter energy bites recipe! I know I’ve talked a lot about how easy and convenient they are, but when you’ve been through the lunchbox struggle, you appreciate simplicity. These bites have saved me more mornings than I can count. They’re my answer to “what’s for snack?” when I’m tired, don’t want to bake, and still want something healthy.
Make them yours! Try different chocolate chips, swap the peanut butter for almond butter, or add a spoonful of protein powder. The best recipes are the ones you adapt to your family’s tastes. If your kids love chocolate, add more chips. If they prefer nut-free, use sunflower seed butter. Flexibility is key.
If you make these, drop a comment and let me know how they turn out! I love hearing how recipes work in your kitchen. And if something doesn’t work—maybe your mixture was too sticky—tell me that too. I’m here to help troubleshoot. Happy snacking! And I hope your kitchen smells as good as mine does when I’m making these.
For more quick and healthy snack ideas, check out our High-Protein Peanut Butter Cookie Dough Bites for a similar no-bake treat, or try our Sugar-Free Dark Chocolate Almond Bark for a festive snack option.
Frequently Asked Questions
Can I use crunchy peanut butter?
Yes! Crunchy peanut butter adds a nice texture contrast. Just keep in mind that the bites might be slightly harder to roll smoothly because of the peanut pieces. But many people prefer the crunch. It’s a personal preference thing.
Why did my energy bites fall apart?
This usually means the mixture was too dry. If you used a very dry peanut butter or added too many oats, the binding agents weren’t enough. Next time, add an extra tablespoon of honey or a splash of milk to help it stick together. Also, make sure you chilled the mixture long enough.
Why did my energy bites stay too sticky?
This happens if the peanut butter was too runny or if you didn’t chill the mixture long enough. Add another tablespoon of oats to absorb the moisture. Also, make sure you’re using natural peanut butter that is well-stirred. If it’s still sticky, put the bowl in the freezer for 5-10 minutes before rolling.
Can I make these ahead of time?
Absolutely! These are perfect for meal prep. I make a big batch on Sunday and keep them in the fridge for the whole week. They actually taste better after a day or two as the flavors meld together. You can also freeze them for up to 3 months.
Are these safe for school?
It depends on your school’s policy. If it’s a nut-free school, swap the peanut butter for sunflower seed butter or almond butter (if nuts are allowed). Otherwise, yes, they’re generally safe. Just make sure to label them clearly for teachers.
How do I store them in a lunchbox?
Place them in a small airtight container or a reusable silicone bag. If it’s a hot day, use an insulated lunchbox with an ice pack to keep them firm. They hold up well in standard plastic containers, but make sure the lid is tight so they don’t get crushed.
Can I add other mix-ins?
Yes! You can add mini M&Ms, chopped nuts, coconut flakes, or even a sprinkle of cinnamon. Get creative. Just make sure the mix-ins are small so they distribute evenly. I’ve added dried cranberries and white chocolate chips, and they were delicious.
Pin This Recipe!
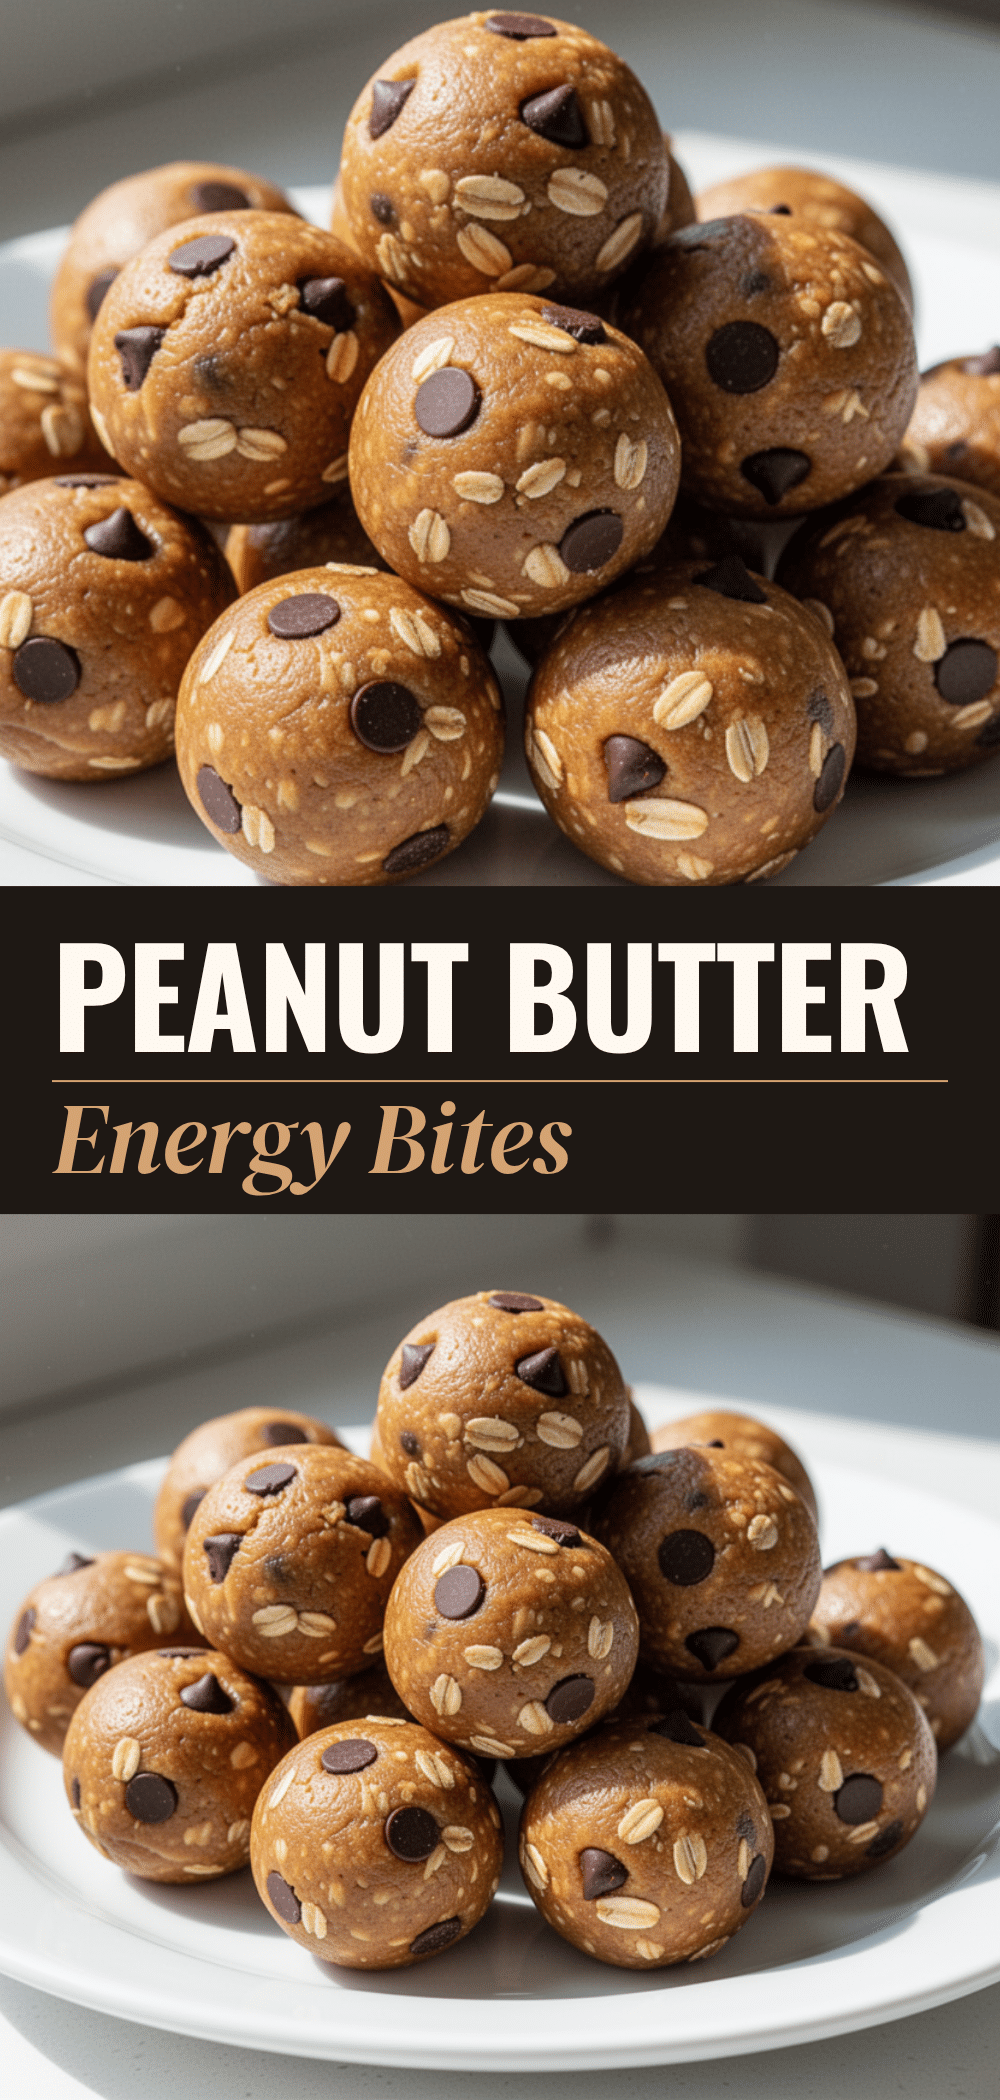
No-Bake Peanut Butter Energy Bites
- Total Time: 45 minutes
- Yield: 20-24 servings 1x
Description
A simple, 5-ingredient no-bake snack made with peanut butter, oats, honey, chia seeds, and chocolate chips. Perfect for busy mornings, lunchboxes, and healthy snacking.
Ingredients
- 2 cups old-fashioned rolled oats
- 1 cup natural creamy peanut butter
- 1/2 cup honey
- 2 tablespoons chia seeds
- 1/2 cup mini chocolate chips
- 1 teaspoon vanilla extract
- Pinch of salt
Instructions
- Line a baking sheet or plate with parchment paper.
- In a large mixing bowl, combine the rolled oats and chia seeds and stir to distribute evenly.
- Add the peanut butter, honey, and vanilla extract to the dry ingredients. Mix thoroughly with a sturdy spatula until a thick, sticky dough forms. Adjust consistency with more oats if too wet or more honey if too dry.
- Fold in the mini chocolate chips until evenly coated.
- Cover the bowl and chill in the refrigerator for 15-30 minutes to firm up the mixture.
- Scoop about 1 tablespoon of mixture at a time and roll between your palms to form balls. If the mixture sticks, wet your hands slightly with water.
- Place the rolled bites on the lined baking sheet.
- Chill the bites in the refrigerator for another 30 minutes to set completely before serving or storing.
Notes
Use natural peanut butter without added sugar or oil for best results. Chilling the mixture is crucial to prevent sticking. For nut-free schools, substitute peanut butter with sunflower seed butter. Store in the fridge for up to 2 weeks or freeze for up to 3 months.
- Prep Time: 15 minutes
- Cook Time: 0 minutes
- Category: Snack
- Cuisine: American
Nutrition
- Serving Size: 1 energy bite
- Calories: 110
- Sugar: 6
- Sodium: 40
- Fat: 6
- Saturated Fat: 1
- Carbohydrates: 12
- Fiber: 2
- Protein: 4
Keywords: no-bake, peanut butter, energy bites, healthy snack, kid-friendly, lunchbox, gluten-free option, vegan option, meal prep


