I have a confession to make. For the last six months, I’ve been buying those fancy, foil-wrapped protein bars at the grocery store checkout line. You know the ones. The ones that cost $3 each and taste like a chalky, artificial berry that your body doesn’t recognize as food. I bought them because I told myself I was being “healthy.” I told myself I was fueling my body. But honestly? I was just craving sugar and texture without the guilt.
Then, one Tuesday afternoon, I came home from the gym exhausted, hungry, and completely out of anything edible in my pantry except a jar of peanut butter, some oats, and protein powder. I was ready to order takeout—which defeats the whole purpose of working out—but something stopped me. I looked at that peanut butter jar and thought, “What if cookie dough was actually good for me?”
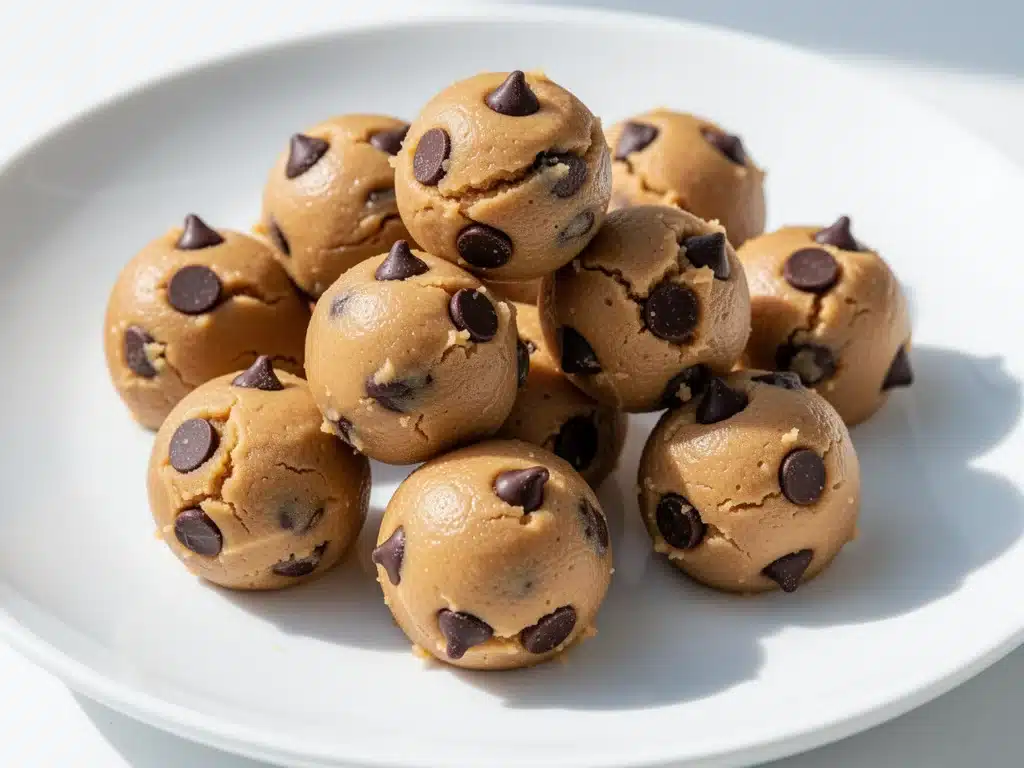
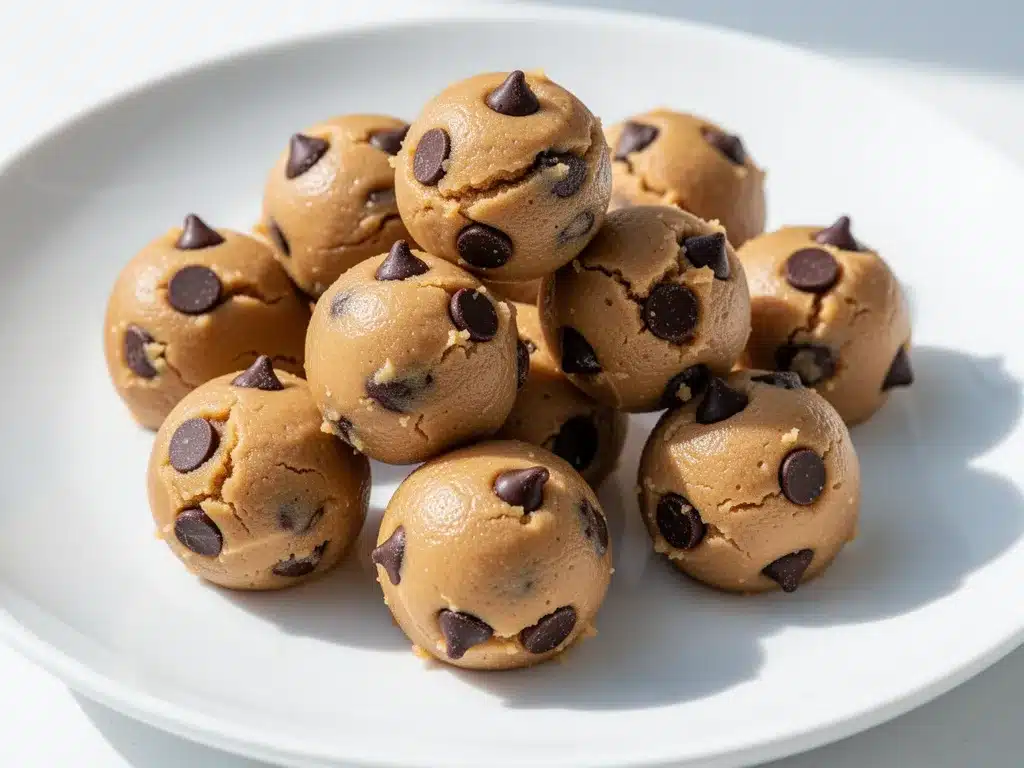
I mixed a handful of ingredients in a bowl, expecting a dry, crumbly disaster. Instead, I got something magical. Soft, chewy, impossibly creamy, and tasting exactly like the raw cookie dough my mom used to sneak me spoonfuls of when I was seven (she’d always warn me about salmonella, but we never listened). These High-Protein Peanut Butter Cookie Dough Bites are that exact feeling. They’re the taste of comfort, but with the macros to back it up.
I’ve made this batch at least twenty times since that Tuesday. I’ve taken them to work, hidden them in my gym bag, and eaten them straight from the freezer while pretending I wasn’t snacking. My husband thinks I’m making “special treats,” but he has no idea they’re packing 10 grams of protein each. This recipe is the answer to my post-workout cravings, my mid-afternoon slumps, and my “I need a sweet treat now” emergencies. It’s simple, it’s fast, and it’s genuinely the best thing I’ve put in my mouth all week.
Why You’ll Love This 5-Ingredient Snack
There are a lot of healthy snack recipes out there, but most of them require a food processor, a stand mixer, or a degree in chemistry. Not this one. This High-Protein Peanut Butter Cookie Dough Bites recipe is designed for real life. Here’s why it has permanently replaced my grocery store runs:
- Zero Cooking Required — Seriously. No oven, no stove, no messy dishes. You mix, you roll, you freeze. It’s the easiest recipe I own, and I’m not being dramatic. If you can stir, you can make this.
- Actually Tastes Like Dessert — Most “healthy” snacks taste like cardboard with a hint of vanilla. These taste like rich, creamy peanut butter cookie dough. The texture is soft and chewy, not hard or brittle. My kids fight over these, which is a terrifying thought but also a testament to their deliciousness.
- Protein Without the Chalk — I’ve tested this with four different protein powders, and I’ve found the right balance. When you do it right, you don’t taste the whey. You just taste peanut butter and sweetness. It’s a game-changer for anyone trying to hit their macros without suffering.
- Pantry Staples Only — You don’t need exotic superfoods or expensive supplements. Just peanut butter, oats, protein powder, honey, and chocolate chips. If you have these, you already have dinner (or rather, a snack).
- Meal Prep Friendly — I make a double batch on Sunday. They keep in the fridge for a week or the freezer for a month. They are the ultimate grab-and-go solution for busy mornings or late-night study sessions.
This snack has saved me from buying junk food more times than I can count. It’s my secret weapon against hunger pangs, and it’s surprisingly filling. One or two bites, and I’m satisfied. No crash, no guilt, just good food.
Ingredients You’ll Need
The beauty of this High-Protein Peanut Butter Cookie Dough Bites recipe is its simplicity. You don’t need a long shopping list. Here’s exactly what goes into the bowl, and why each ingredient matters. I’m particular about a few of these, so pay attention to the notes.
The Base
Peanut Butter (½ cup / 128g) — This is the star. Use natural, creamy peanut butter. The kind where the oil separates is fine, but you have to stir it in really well until it’s smooth. Avoid “processed” peanut butters with added sugars and hydrogenated oils if you can help it. Skippy or Jif work if you’re in a pinch, but natural tastes better. Do not use crunchy unless you want actual chunks of peanut in every bite.
Quick Oats (½ cup / 45g) — These provide the structure and the chew. I use quick oats because they blend into the dough better and give that soft, cookie-dough texture. Old-fashioned rolled oats work too, but pulse them in a blender for 30 seconds first to break them down. If you skip this step, your bites will be too chunky.
Vanilla Protein Powder (½ scoop / approx. 15-20g) — This is where the magic happens. I recommend a vanilla whey or casein protein powder. Casein is thicker and makes the dough stiffer, which is actually better for rolling. Whey is thinner, so you might need a bit more oats. Avoid chocolate protein powder here—we want the peanut butter flavor to shine. I use MyProtein or Optimum Nutrition, but any unflavored or vanilla whey works.
The Sweeteners & Binders
Maple Syrup or Honey (2 tablespoons / 30ml) — Liquid sweetener is key. Granulated sugar won’t mix well with the dry protein powder. Maple syrup adds a nice depth of flavor, but honey works too. If you’re dairy-free, stick with maple syrup. I like to use pure maple syrup because it tastes more “gourmet,” but honey is cheaper and just as good.
Milk (1-2 tablespoons / 15-30ml) — You’ll need a splash of liquid to bring the dough together. Dairy milk, almond milk, oat milk—it doesn’t matter. Just add it slowly. You don’t want the dough to be soupy, just sticky enough to roll. I usually start with 1 tablespoon and add more only if needed.
Mini Chocolate Chips (2 tablespoons / 15g) — Because it’s cookie dough, it needs chocolate. Mini chips are perfect because they distribute evenly. You can use dark chocolate chips if you’re watching sugar, but the regular ones taste more like the real thing. I buy the generic store brand to save money.
Optional Boosters
Salt (a pinch) — Never skip the salt. It balances the sweetness and enhances the peanut butter flavor. Just a tiny pinch goes a long way.
Chocolate Dip — For the fancy version, you can dip the finished bites in melted dark chocolate. It’s delicious but adds extra steps. I usually skip this for my daily snacks but do it when I’m making gifts.
Equipment Needed
You don’t need fancy gear for this. Here’s what I actually use:
Mixing Bowl — Any medium-sized bowl works. I use a ceramic one because it’s heavy and doesn’t slide around.
Measuring Cups and Spoons — Standard stuff. Accuracy matters here because protein powder can be finicky.
Silicone Spatula — For mixing. The dough is sticky, so a spatula is easier than a spoon.
Baking Sheet or Plate — To line with parchment paper while you roll the bites.
Freezer-Safe Container — An airtight container or a Ziploc bag for storage.
Blender or Food Processor (Optional) — Only if you’re using old-fashioned oats. If you use quick oats, you can skip this.
How to Make It: Step-by-Step
Alright, let’s make this! I’m walking you through exactly how I do it. It’s so simple that you’ll wonder why you ever bought protein bars again.
Step 1: Prep Your Station
Grab a medium mixing bowl and line a small plate or baking sheet with parchment paper. This is where the finished bites will sit while they firm up. Set it aside. Having this ready makes the process feel smoother.
Step 2: Mix the Dry Ingredients
Add the quick oats, vanilla protein powder, and a pinch of salt to the bowl. If you’re using old-fashioned oats, pulse them in a blender first. Whisk the dry ingredients together with a fork or your hand to break up any clumps in the protein powder. This ensures an even flavor in every bite.
Step 3: Add the Wet Ingredients
Stir in the creamy peanut butter, maple syrup, and 1 tablespoon of milk. Mix vigorously. At first, it will look like a mess. It will look dry and crumbly. Don’t panic. Keep mixing. The peanut butter and syrup will bind everything together.
Step 4: Check the Consistency
Pinch a small piece of dough between your fingers. If it holds together and doesn’t crumble apart, it’s ready. If it’s too dry and falls apart, add the second tablespoon of milk, one teaspoon at a time. You want a soft, pliable dough. It should feel like playdough, not cookie dough that’s too wet.
Step 5: Fold in the Chocolate
Gently fold in the mini chocolate chips. You don’t want to crush them. Just mix them in until they’re distributed evenly throughout the dough.
Step 6: Roll the Bites
Pinch off small pieces of dough, about the size of a walnut (roughly 1 tablespoon each). Roll them between your palms to form smooth balls. Place them on the parchment-lined plate. Try to make them uniform in size so they freeze evenly. This takes about 5 minutes total.
Step 7: Chill or Freeze
Place the plate in the freezer for at least 30 minutes. This firms up the peanut butter and makes the bites hold their shape. If you’re eating them right away, they’ll be soft and gooey. If you want them firm like a truffle, freeze them for an hour. I usually freeze them for an hour so I can pack them in my bag without them squishing.
Step 8: Store and Enjoy
Transfer the bites to an airtight container. They’re ready to eat! Keep them in the fridge for a week or the freezer for a month. They taste best cold, straight from the freezer.
Expert Tips & Tricks
Here’s everything I’ve learned from making this dozens of times. These tips will save you from my mistakes.
Don’t Overmix the Protein Powder
Protein powder can get clumpy. Make sure you whisk the dry ingredients together before adding the wet stuff. If you see white clumps in the finished bite, it means the powder didn’t hydrate properly. A quick whisk solves this.
Cold Peanut Butter is Harder to Mix
If your peanut butter is straight out of the fridge, it might be stiff. Microwave it for 10-15 seconds to soften it up. This makes mixing much easier and ensures a smoother dough.
Adjust Liquid Based on Your Protein Powder
Different brands absorb liquid differently. Casein absorbs more than whey. If your dough looks dry, add milk slowly. If it looks wet, add a sprinkle of oats. There’s no exact measurement for liquid—it depends on your brand.
Use Mini Chips for Even Distribution
Regular chocolate chips are too big for these small bites. They’ll fall out or make the bites uneven. Mini chips stay embedded in the dough and give you a chocolate hit in every bite.
Freeze for Better Texture
Chilled cookie dough bites are superior. The cold peanut butter firms up, giving you a texture that’s almost like a fudge ball. I never eat them at room temperature because they’re too soft and messy.
Variations & Substitutions
Once you’ve nailed the basic version, here’s how you can mix it up. I’ve tried all of these.
Chocolate Peanut Butter
Swap the vanilla protein powder for chocolate protein powder. Add cocoa powder to the dry mix. It’s like a Reese’s cup in bite form.
Almond Butter Version
Substitute the peanut butter with almond butter. It’s slightly sweeter and has a more delicate flavor. Great for people who don’t like strong peanut taste.
Trail Mix Style
Add a tablespoon of chopped walnuts or pecans to the dough. Adds crunch and healthy fats. I love this version for hiking snacks.
Coconut Twist
Add 2 tablespoons of shredded coconut to the dry mix. It adds a nice tropical flavor and chew. Works well with almond butter.
Dairy-Free
Use a plant-based protein powder (pea or rice protein) and maple syrup instead of honey. All other ingredients are naturally dairy-free.
Gluten-Free
Ensure your oats are certified gluten-free. Most oats are processed in facilities with wheat, so check the label if you’re sensitive.
Serving & Storage
How to enjoy these bad boys:
As a Pre-Workout Snack
Eat one or two bites 30 minutes before training. The carbs from the oats and honey give you quick energy, and the protein helps muscle recovery.
As a Post-Dinner Dessert
When I want something sweet but don’t want a full meal, I eat two bites. They satisfy the chocolate craving without making me feel stuffed.
With Coffee
I keep a container in the kitchen for my afternoon coffee break. One bite with a black coffee is the perfect pick-me-up.
Storage Instructions
Store in an airtight container in the fridge for up to 1 week. For longer storage, keep them in the freezer for up to 3 months. They don’t freeze well in the fridge because the humidity can make them sticky, but the freezer keeps them perfect.
Reheating
You don’t need to reheat these. They’re best cold. If you leave them out for 10 minutes, they’ll soften up, which some people prefer. But I like them firm.
Nutrition Information
I’m not a nutritionist, but here’s the breakdown if you’re tracking. This is approximate based on 12 bites.
Per Bite:
- Calories: 95
- Protein: 4-5g
- Carbs: 8g
- Fat: 5g
- Fiber: 1g
- Sugar: 4g
Look, this is a snack, not a meal replacement. It’s higher in calories than you might expect because of the peanut butter and protein powder. But the protein content is solid for a snack. It’s way better than a granola bar, which is mostly sugar. When I want to make it lighter, I reduce the chocolate chips. But usually? I just enjoy them as a treat.
Final Thoughts
So that’s my go-to High-Protein Peanut Butter Cookie Dough Bites recipe! I’ve probably talked your ear off at this point, but when you make a recipe this often, you have a lot to say about it.
This has saved me from buying junk food more times than I can count. It’s my answer to “what’s for a snack” when I’m tired, don’t want to cook, and still want something that tastes really good. My kids are happy, my husband’s happy, and I’m happy because I’m not stressed about making something complicated.
Make it yours! Try different protein powders, swap the chocolate for raisins, or add a dash of cinnamon. The best recipes are the ones you adapt to your family’s tastes.
If you make this, drop a comment and let me know what you think! I love hearing how recipes turn out in your kitchen. And if something doesn’t work, tell me that too—I’m here to help troubleshoot.
Happy snacking! And I hope your kitchen smells half as good as mine does right now.
Frequently Asked Questions
Can I use crunchy peanut butter?
You can, but the texture will be very chunky. The dough might be harder to roll because of the peanut pieces. If you use crunchy, I recommend pulsing it in a blender first to break it down, or just accepting that your bites will have peanut bits in them. Creamy is definitely easier for rolling.
Why is my dough too dry?
This usually happens if your protein powder absorbs a lot of liquid (casein does this) or if your peanut butter is very stiff. Add milk one teaspoon at a time until it comes together. Don’t add too much at once, or you’ll make it too wet.
Why is my dough too wet?
You probably added too much liquid or used a very runny peanut butter. Add more oats or protein powder, one tablespoon at a time, until it’s firm enough to roll. If it’s still sticky, chill it in the fridge for 15 minutes to firm up.
Can I freeze these?
Yes! They freeze beautifully. Place them on a baking sheet in the freezer until solid, then transfer to a freezer bag. They’ll last for up to 3 months. Thaw them in the fridge for 10 minutes before eating, or eat them frozen like a truffle.
Can I make these ahead of time?
Absolutely. This is perfect for meal prep. Make a batch on Sunday, and you have snacks for the whole week. They keep well in the fridge for 5-7 days.
What protein powder works best?
Vanilla whey or casein are the best. Casein makes a thicker, stiffer dough which is easier to roll. Whey is thinner, so you might need more oats. Avoid chocolate protein powder unless you want chocolate bites. Avoid unflavored protein powder if you can help it—it can have a weird aftertaste.
Are these gluten-free?
If you use certified gluten-free oats, yes. All other ingredients are naturally gluten-free. Just double-check your protein powder and chocolate chips for hidden gluten.
Pin This Recipe!
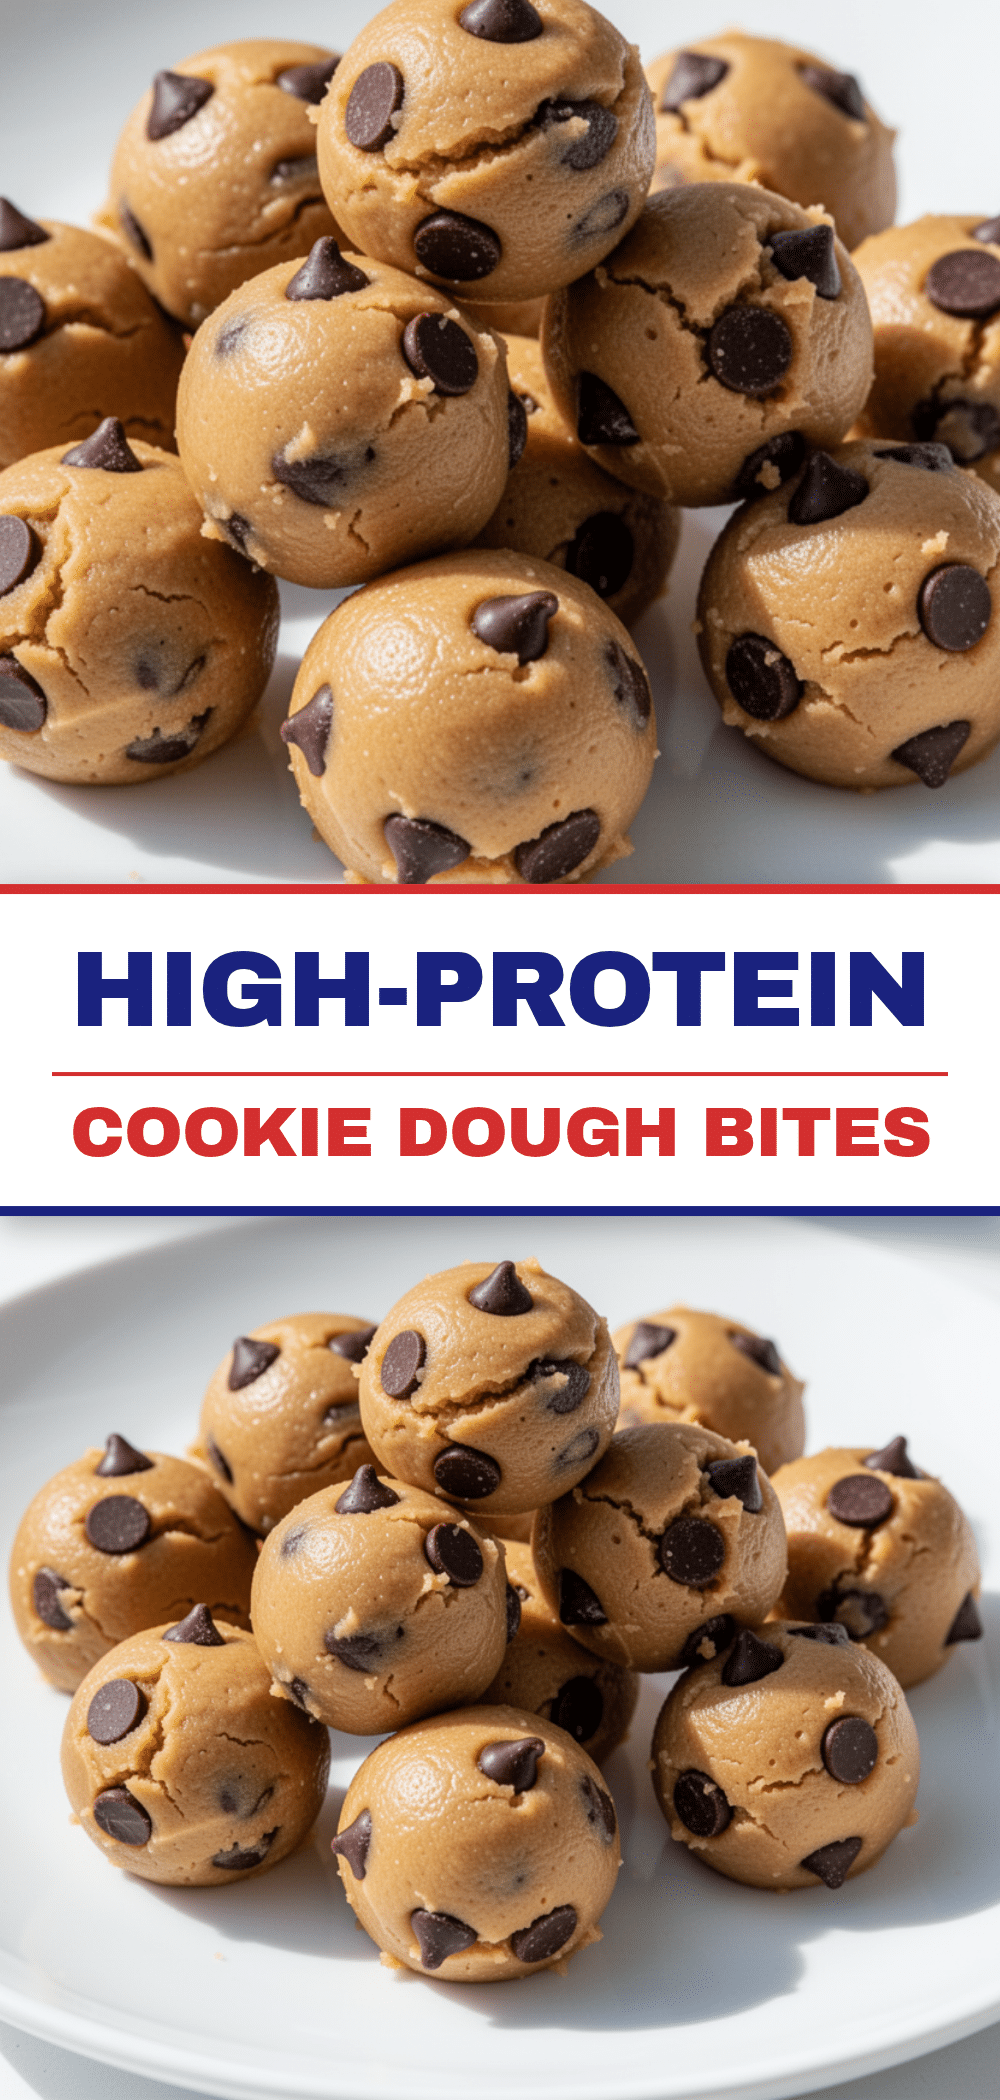

High-Protein Peanut Butter Cookie Dough Bites
- Total Time: 40 minutes
- Yield: 12 servings 1x
Description
A simple, no-bake 5-ingredient snack made with peanut butter, oats, and protein powder. These soft, chewy bites taste like cookie dough but are packed with protein for a healthy, guilt-free treat.
Ingredients
- 1/2 cup creamy natural peanut butter
- 1/2 cup quick oats
- 1/2 scoop vanilla protein powder (whey or casein)
- 2 tablespoons maple syrup or honey
- 1–2 tablespoons milk (dairy or non-dairy)
- 2 tablespoons mini chocolate chips
- 1 pinch salt
Instructions
- Line a small plate or baking sheet with parchment paper.
- In a medium mixing bowl, combine the quick oats, vanilla protein powder, and salt. Whisk to break up any clumps.
- Add the peanut butter, maple syrup (or honey), and 1 tablespoon of milk to the dry ingredients.
- Mix vigorously until the dough comes together. If it is too dry, add the remaining tablespoon of milk one teaspoon at a time until the dough is soft and pliable.
- Fold in the mini chocolate chips.
- Pinch off small pieces of dough (about 1 tablespoon each) and roll into smooth balls.
- Place the bites on the prepared plate and freeze for at least 30 minutes to firm up.
- Transfer to an airtight container and store in the fridge for up to 1 week or freezer for up to 3 months.
Notes
If using old-fashioned rolled oats, pulse them in a blender for 30 seconds to break them down before using. If your peanut butter is stiff, microwave it for 10-15 seconds to soften it. Casein protein powder creates a stiffer dough than whey. For a dairy-free version, use maple syrup and plant-based milk/protein powder.
- Prep Time: 10 minutes
- Cook Time: 0 minutes
- Category: Snack
- Cuisine: American
Nutrition
- Serving Size: 1 bite
- Calories: 95
- Sugar: 4
- Sodium: 50
- Fat: 5
- Saturated Fat: 1
- Carbohydrates: 8
- Fiber: 1
- Protein: 45
Keywords: high protein, healthy snack, no bake, peanut butter, cookie dough bites, meal prep, gluten-free option, dairy-free option


