I have a confession to make. For the last three years, I’ve been lying to my kid’s teacher.
Not a malicious lie. More like a strategic omission. When I pack that little bento box or slide those brownie bites into a reusable container, I’m not just packing “snacks.” I’m packing a secret weapon against the 3:00 PM slump. The kind of slump where the brain shuts down, the energy tanks, and the only thing that matters is sugar. Any sugar.
See, the old way didn’t work. The old way was granola bars with more preservatives than ingredients, or fruit snacks that looked like candy and tasted like regret. Or worse, the “healthy” option that my kid looked at with pure suspicion and pushed to the back of the lunchbox untouched.
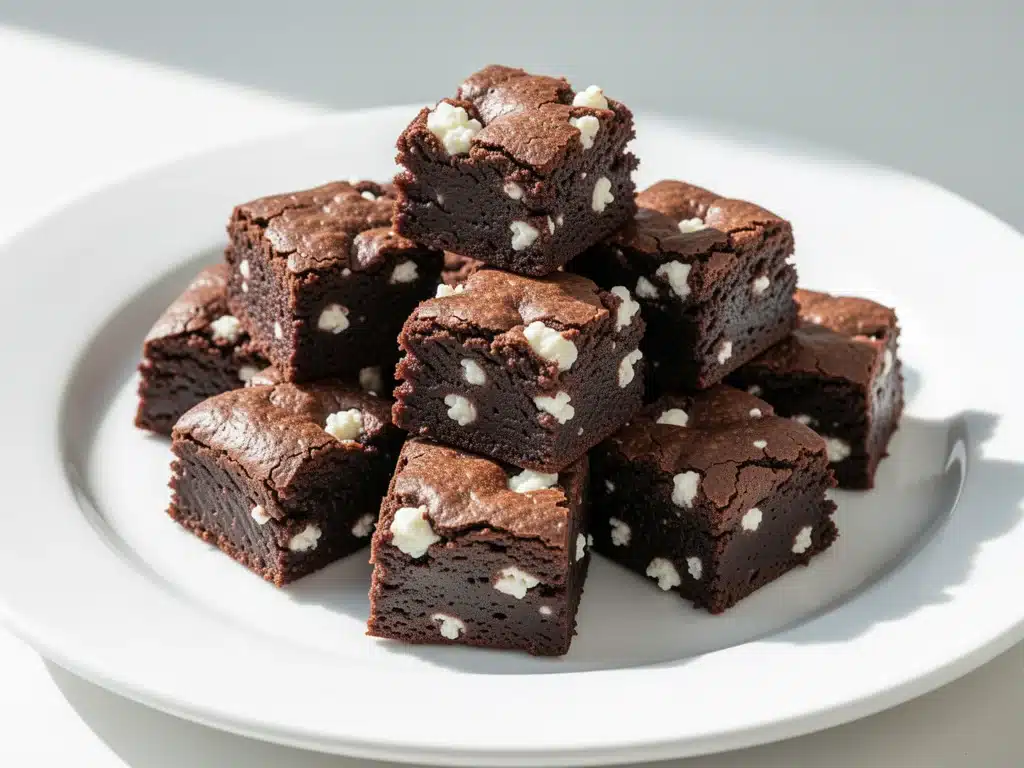
Then I stumbled onto this idea for Back to School Cottage Cheese Brownie Bites. I was desperate. I needed something that tasted like a dessert but acted like a protein source. Something that wouldn’t melt in the hot car, wouldn’t crumble into dust by math class, and—crucially—wouldn’t get me a note from the nurse saying my child had a sugar crash.
I made a batch last Tuesday. Just to test it. I put two in the lunchbox. By noon, my kid texted me (yes, we have a rule for emergencies) asking if I had made the “fudge bites” again. The teacher later mentioned that he was actually eating his snack instead of staring out the window.
That’s when I knew. These aren’t just snacks. They’re a hack. And now, I’m sharing the hack with you.
Why You’ll Love These Healthy Lunchbox Snacks
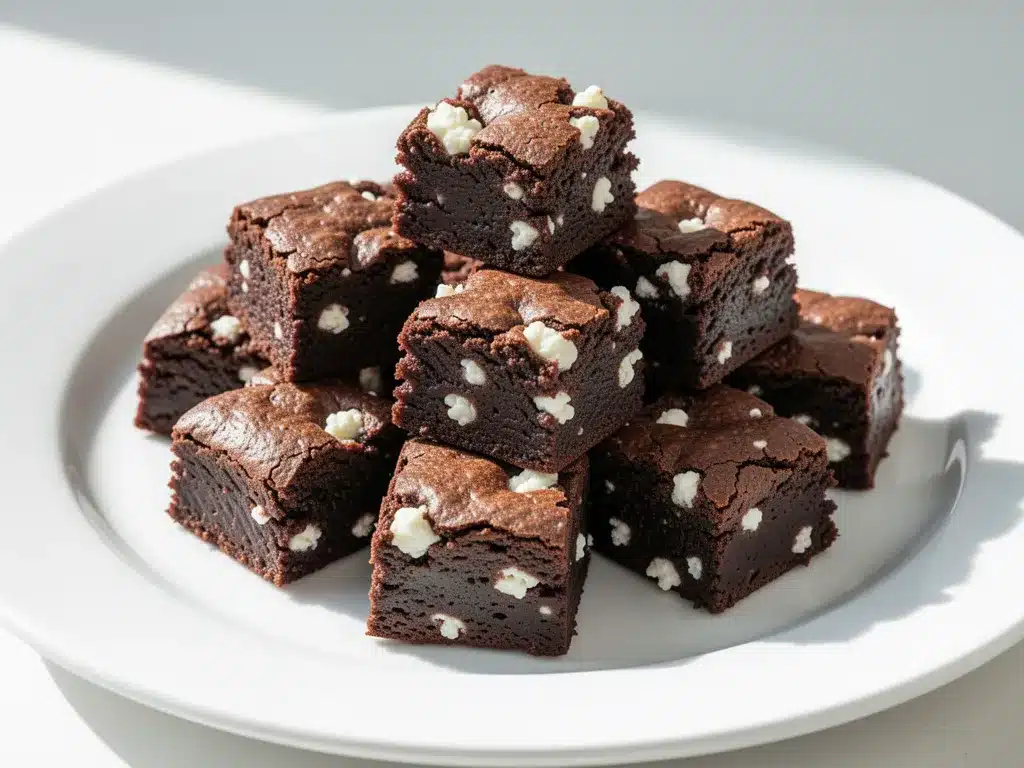
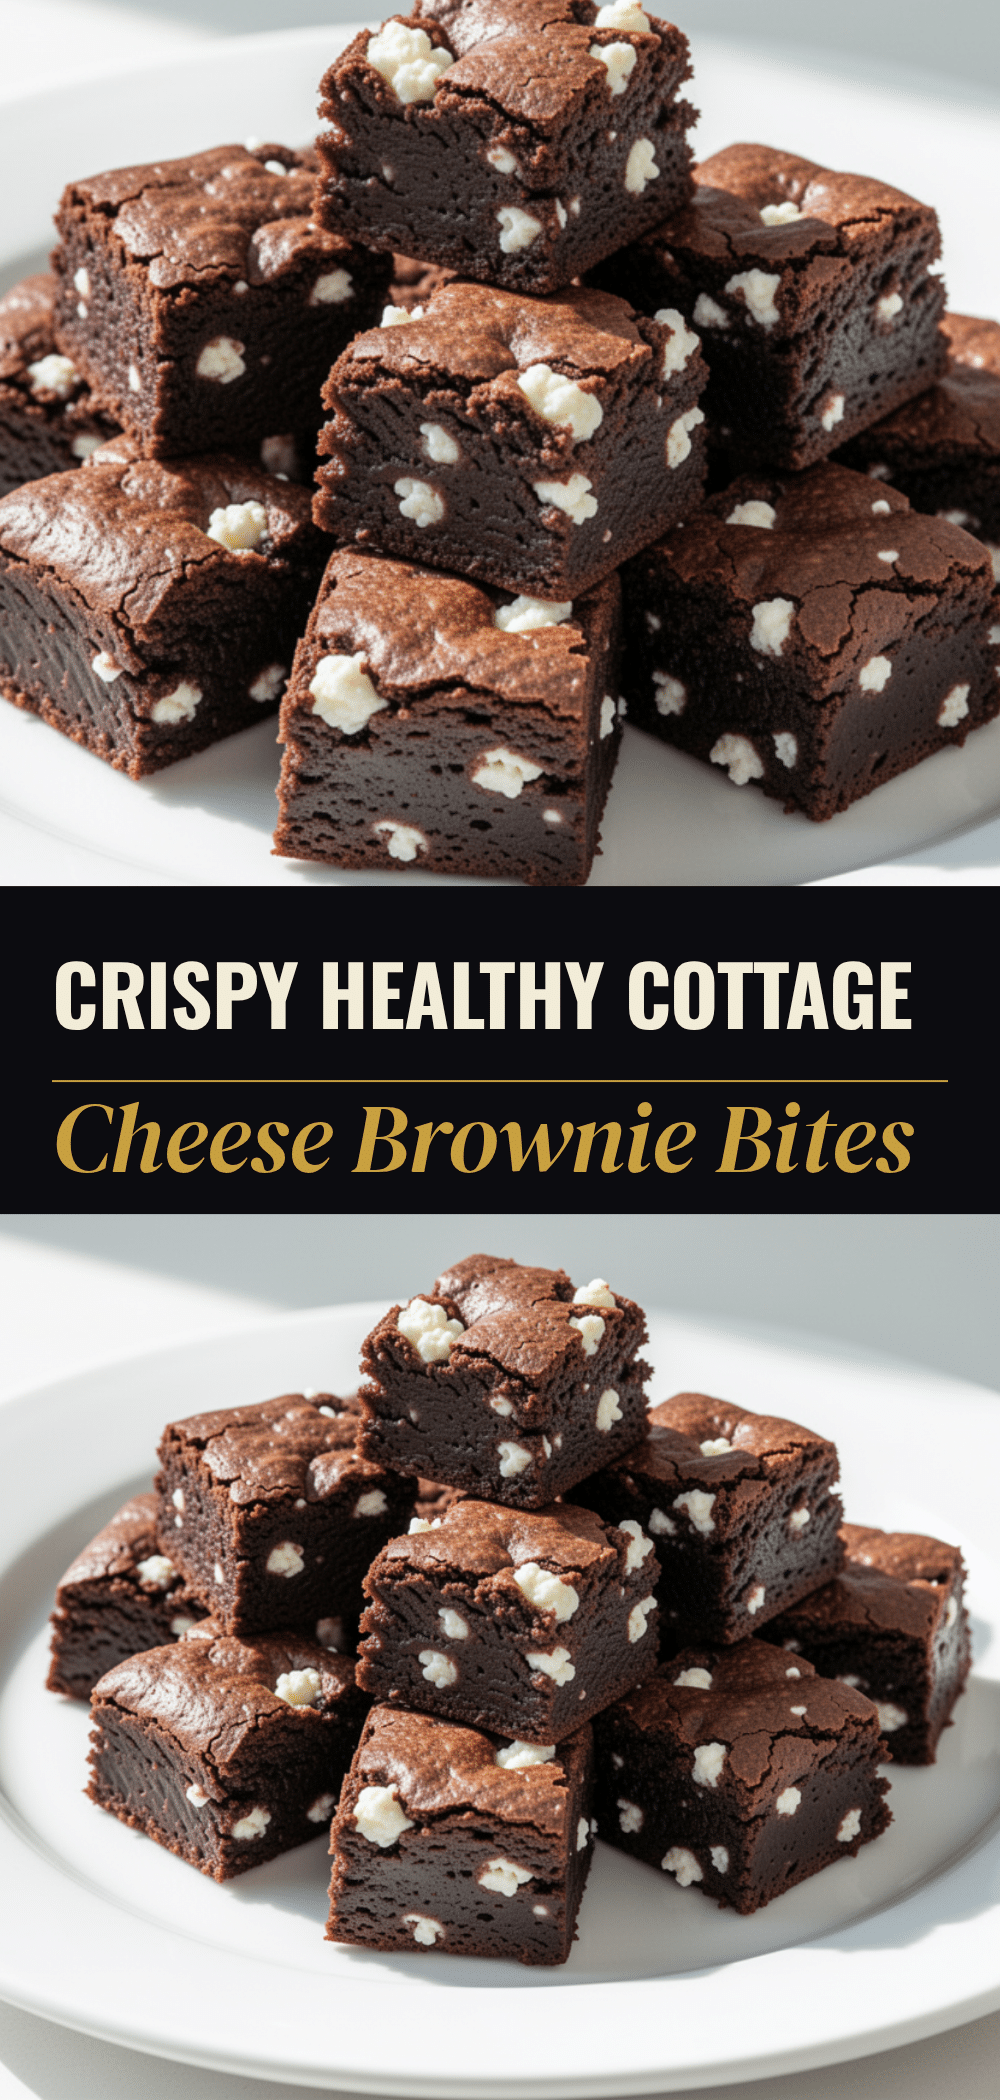
Let’s be real for a second. “Healthy” usually means “boring” or “dry” or “tastes like cardboard.” These cottage cheese brownie bites break that rule completely. They’re dense, fudgy, and genuinely taste like a brownie. The cottage cheese is the secret ingredient that adds protein and moisture without any weird dairy taste. I’ve tested this recipe so many times that I can close my eyes and know exactly when it’s done.
Here’s why this recipe has taken over our house (and apparently, your kid’s lunchbox):
- Zero Bake Required — Seriously. If you can use a microwave or a blender, you can make these. No oven, no mess, no heating up the house in September when it’s still 90 degrees outside. I make these while my morning coffee brews.
- Protein-Packed — Each bite has about 5-7 grams of protein thanks to the cottage cheese. That’s huge for a snack. It keeps them full. It keeps them focused. It stops the “hangry” before it starts.
- Lunchbox Proof — These don’t get soggy. They don’t melt into a puddle of chocolate goo (unless you leave them in a hot car, which we don’t do). They hold their shape perfectly in a container. I’ve seen them survive a backpack drop test. They’re tough.
- 5 Ingredients Max — I’m not exaggerating. You don’t need a pharmacy. You need cottage cheese, cocoa powder, sweetener, flour, and chocolate chips. That’s it. If you have high-protein peanut butter cookie dough bites in your rotation, you already know the power of simple, tasty snacks.
- Kid-Approved Taste — This is the most important metric. If my picky eater (who refuses to eat anything green) asks for seconds, it’s a winner. These taste like dessert, not health food.
I’ve tried so many other lunchbox ideas that fall flat. But these? These are the ones that get eaten. Every. Single. Day.
Ingredients You’ll Need
Here’s the best part: you probably have 80% of this already in your pantry. I’m particular about three things here, and I’ll tell you exactly why. Don’t skip the quality checks.
For the Base:
Cottage Cheese (1 cup / 225g) — This is the star. Use full-fat or 2% for the best texture. Low-fat can get grainy. I like the small curd variety because it blends smoother, but large curd works if you blend it well. It adds creaminess and protein without tasting cheesy. Trust me.
Smooth Peanut Butter (2 tablespoons / 32g) — I know the recipe name doesn’t say peanut butter, but a spoonful adds richness and helps bind everything together. If you’re nut-free, use sunflower seed butter. Do not use chunky peanut butter; it will make the texture weird. Just like how you wouldn’t use chunky sauce in a smoothie, consistency matters here.
Semi-Sweet Chocolate Chips (½ cup / 85g) — Use high-quality chips. Ghirardelli or Lindt work great. They melt into pockets of goodness. Mini chips are easier to distribute evenly, but regular chips are fine too.
For the Flavor:
Natural Cocoa Powder (¼ cup / 20g) — Unsweetened. Not Dutch-processed if you can help it, though it works. I use Hershey’s Natural Cocoa Powder. It’s reliable and cheap. This gives that deep chocolate flavor without sugar.
Sweetener (¼ cup / 50g) — I use a mix of maple syrup and erythritol for a sugar-free option, or just all maple syrup for a natural version. Honey works too, but it makes the texture stickier. You want it firm enough to handle. Adjust based on how sweet your chips are.
Almond Flour (¼ cup / 25g) — This adds structure. You can use oat flour if you’re gluten-free, but almond flour gives that fudgy, dense texture. If you don’t have almond flour, you can use all-purpose flour, but the texture will be more cake-like.
Vanilla Extract (1 teaspoon) — Pure vanilla. Not imitation. This rounds out the chocolate flavor and makes it taste like a real brownie.
Salt (¼ teaspoon) — Crucial. Salt enhances chocolate. Don’t skip it. It makes the brownies taste like brownies, not just sweet mush.
Optional Add-ins:
White Chocolate Chips — Swirl them in for a marble effect. My kid loves this.
Crushed Pretzels — For a sweet-salty kick. Just a sprinkle on top.
Espresso Powder — ½ teaspoon. Boosts the chocolate flavor. You won’t taste the coffee, I promise.
Equipment Needed
You don’t need fancy equipment for this. Here’s what I actually use.
High-Speed Blender or Food Processor — This is non-negotiable. You need to blend the cottage cheese until it’s completely smooth. If you use a hand mixer, you’ll get lumps. A blender is faster and smoother. I use my Vitamix, but a NutriBullet works too.
Muffin Tin — Standard 12-cup muffin tin. I use silicone liners for easy removal, but greasing the tin with coconut oil spray works fine.
Spatula — For scraping the bowl. Silicone is best.
Measuring Cups and Spoons — Standard stuff. Dollar store versions work fine.
Freezer-Safe Container — For storage. I use a glass Tupperware with a tight lid.
How to Make It: Step-by-Step
Alright, let’s make this! I’m walking you through exactly how I do it, including the little tricks I’ve picked up.
Step 1: Blend the Base (2 minutes)
Start by blending the cottage cheese. This is the most important step. If you skip this, you’ll get cheesy lumps. Pour the cottage cheese into your blender. Blend on high for 60-90 seconds until it’s completely smooth and creamy. It should look like ricotta cheese. No curds left. This takes patience, but it’s worth it.
Step 2: Mix the Wet Ingredients (1 minute)
Add the peanut butter, sweetener, and vanilla extract to the blended cottage cheese. Blend again for 30 seconds until everything is combined. The mixture should be smooth and pourable, like a thick batter.
Step 3: Add the Dry Ingredients (1 minute)
Switch to a bowl. Add the cocoa powder, almond flour, and salt to the wet mixture. Stir with a spatula until just combined. Do not overmix. You want it thick and fudgy. If it’s too dry, add a teaspoon of milk. If it’s too wet, add a tablespoon of almond flour.
Step 4: Fold in the Chocolate (1 minute)
Stir in the chocolate chips. Reserve a small handful for sprinkling on top later. Fold them in gently so they don’t all sink to the bottom.
Step 5: Portion and Freeze (15 minutes)
Divide the batter into 12 muffin cups. Use a cookie scoop for even sizes. Sprinkle the reserved chocolate chips on top. Press them in slightly. Place the tin in the freezer for 15 minutes. This sets the shape so they don’t fall apart when you remove them.
Step 6: Store or Serve
Once firm, pop them out of the tin. You can eat them right away (they’re like frozen brownies) or store them. They keep well in the fridge for up to 5 days or the freezer for up to 3 months.
Expert Tips & Tricks
Here’s everything I’ve learned from making this dozens of times. These tips will save you from my mistakes.
- Blend Until Silky — I can’t stress this enough. The cottage cheese MUST be smooth. I’ve made batches with lumps, and they taste weird. Blend it longer than you think you need to.
- Don’t Skimp on Salt — Chocolate needs salt. It’s science. The ¼ teaspoon makes a huge difference in flavor depth.
- Freeze First — Don’t try to remove them from the tin immediately after mixing. They’re too soft. The 15-minute freeze is crucial for clean removal.
- Customize Sweetness — Taste your batter before freezing. If it’s not sweet enough, add more sweetener. Remember, the chocolate chips add sweetness too, so don’t overdo it.
- Thaw Before Eating — If you freeze them, let them sit at room temperature for 5 minutes before eating. They’re best when slightly soft, not rock hard.
Common Mistakes:
- Mistake: Too Cakey — Fix: You used too much flour. Measure carefully. Almond flour absorbs moisture differently than AP flour.
- Mistake: Too Runny — Fix: Your cottage cheese was too watery. Drain it in a cheesecloth for 10 minutes before blending.
- Mistake: Too Sweet — Fix: Use unsweetened cocoa powder and less sweetener. You can always add more, but you can’t take it away.
Variations & Substitutions
Once you’ve nailed the basic version, here’s how you can mix it up. I’ve tried all of these.
Chocolate Chip Cookie Dough Version — Swap the cocoa powder for extra almond flour and add a tablespoon of vanilla. Use vanilla chips instead of chocolate. Tastes like raw cookie dough!
Double Chocolate — Use dark chocolate chips and add 2 tablespoons of melted dark chocolate to the batter. For serious chocolate lovers.
Nut-Free — Swap almond flour for oat flour or sunflower seed flour. Swap peanut butter for sunflower seed butter. Perfect for school-friendly lunches.
Sugar-Free — Use all erythritol or monk fruit sweetener. Use sugar-free chocolate chips. Great for keto diets. Similar to how I make sugar-free dark chocolate almond bark, you can control the sweetness here completely.
Protein Boost — Add a scoop of chocolate protein powder. You may need to add a splash of milk if it gets too thick.
Vegan — Use coconut yogurt instead of cottage cheese and maple syrup instead of honey. Use dairy-free chocolate chips. It works, but the texture is softer.
Serving & Storage
How to Serve: I usually serve these straight from the freezer for a fudgy, ice-cream-like treat. Or let them thaw for 5 minutes for a softer, cake-like texture. They’re great with a glass of cold milk.
Side Dishes: Pair with apple slices or a handful of almonds for a complete snack. Or just eat them plain—they’re that good.
Storage Instructions:
- Refrigerator: Store in an airtight container for up to 5 days. They’ll stay firm.
- Freezer: Store in a freezer-safe bag or container for up to 3 months. They freeze beautifully. No freezer burn if sealed well.
- Reheating: No reheating needed. Eat cold or at room temperature.
Pro tip: Label your container with the date. These disappear fast, so you want to track how many you have left!
Nutrition Information
I’m not a nutritionist, but here’s the breakdown if you’re tracking.
Per Serving (based on 12 bites):
- Calories: 110
- Protein: 6g
- Carbs: 12g
- Fiber: 2g
- Sugar: 8g (varies by sweetener)
- Fat: 5g
- Saturated Fat: 2g
- Cholesterol: 5mg
- Sodium: 40mg
What’s Good: High protein for a snack, low sugar (if using sugar-free sweetener), no refined flour. What to Know: Contains nuts (unless substituted). Moderate calories. It’s a snack, not a meal replacement.
My Take: This is a guilt-free treat. It’s sweet, it’s chocolatey, and it fuels my kid for the afternoon. It’s way better than a granola bar, and I know exactly what’s in it.
Final Thoughts
So that’s my go-to Back to School Cottage Cheese Brownie Bites! I’ve probably talked your ear off at this point, but when you make a recipe this often, you have a lot to say about it.
This has saved lunchboxes more times than I can count. It’s my answer to “what’s for snack” when I’m tired, don’t want to buy processed bars, and still want something that tastes really good. My kid is happy, I’m happy because I’m not stressed about nutrition, and the teacher is happy because my kid isn’t crashing.
Make it yours! Try different chips, swap the sweetener, adjust the thickness. The best recipes are the ones you adapt to your family’s tastes. If you make this, drop a comment and let me know what you think! I love hearing how recipes turn out in your kitchen. And if something doesn’t work, tell me that too—I’m here to help troubleshoot.
Happy cooking! And I hope your kitchen smells half as good as mine does right now (it smells like chocolate and victory).
Frequently Asked Questions
Can I use low-fat cottage cheese?
You can, but the texture will be slightly less creamy. Full-fat or 2% gives the best results. If you use low-fat, make sure you blend it extra well to avoid any graininess.
Why did my bites fall apart?
Usually means you didn’t freeze them long enough before removing them from the tin, or the batter was too wet. Drain the cottage cheese for 10 minutes before blending if it’s very watery. Also, ensure you’re using enough almond flour for structure.
Can I make these ahead for the whole week?
Absolutely! Make a double batch. Store them in the freezer for up to 3 months. I make them on Sunday and grab two for each day of the week. They thaw quickly, so you can even pack them frozen—they’ll thaw in the lunchbox.
Are these nut-free?
The base recipe contains peanut butter and almond flour. To make it nut-free, swap peanut butter for sunflower seed butter and almond flour for oat flour or all-purpose flour. This makes it school-safe.
Can I use maple syrup instead of granulated sweetener?
Yes, but the texture will be softer. You may need to add a tablespoon more almond flour to compensate for the extra liquid. I prefer a mix of maple syrup and erythritol for the best texture.
How do I reheat leftovers?
You don’t need to! These are best eaten cold or at room temperature. If you want them warm, microwave for 10 seconds. But honestly, they’re amazing straight from the freezer.
Pin This Recipe!
Back to School Cottage Cheese Brownie Bites
- Total Time: 20 minutes
- Yield: 12 servings 1x
Description
A no-bake, protein-packed healthy snack made with cottage cheese, cocoa, and almond flour. These fudgy brownie bites are perfect for school lunchboxes and require only 5 minutes of prep time.
Ingredients
- 1 cup (225g) cottage cheese (full-fat or 2%, small curd preferred)
- 2 tablespoons (32g) smooth peanut butter (or sunflower seed butter for nut-free)
- 1/4 cup (50g) sweetener (maple syrup, erythritol, or honey)
- 1 teaspoon vanilla extract
- 1/4 cup (20g) natural unsweetened cocoa powder
- 1/4 cup (25g) almond flour (or oat flour for gluten-free)
- 1/4 teaspoon salt
- 1/2 cup (85g) semi-sweet chocolate chips
Instructions
- Blend the cottage cheese in a high-speed blender for 60-90 seconds until completely smooth and creamy.
- Add the peanut butter, sweetener, and vanilla extract to the blender. Blend for another 30 seconds until combined.
- Transfer the wet mixture to a bowl. Add the cocoa powder, almond flour, and salt. Stir with a spatula until just combined.
- Fold in the chocolate chips, reserving a small handful for topping.
- Divide the batter evenly into a 12-cup muffin tin. Sprinkle reserved chocolate chips on top.
- Freeze the muffin tin for 15 minutes to set the shape.
- Remove from the tin and serve immediately or store in an airtight container.
Notes
Ensure cottage cheese is blended until silky smooth to avoid lumps. Do not skip the salt as it enhances the chocolate flavor. If the batter is too wet, drain the cottage cheese for 10 minutes before blending. These can be stored in the fridge for 5 days or freezer for 3 months.
- Prep Time: 5 minutes
- Cook Time: 0 minutes
- Category: Snack
- Cuisine: American
Nutrition
- Serving Size: 1 brownie bite
- Calories: 110
- Sugar: 8
- Sodium: 40
- Fat: 5
- Saturated Fat: 2
- Carbohydrates: 12
- Fiber: 2
- Protein: 6
Keywords: cottage cheese brownies, healthy snacks, no bake, kid friendly, lunchbox ideas, high protein, gluten free options


