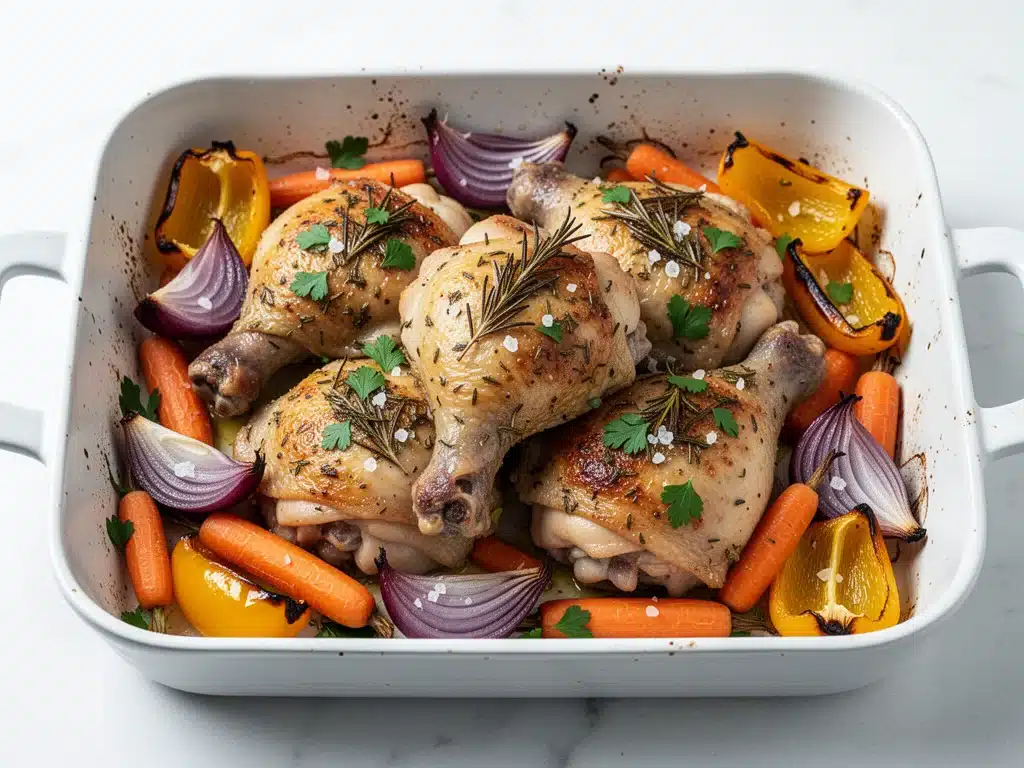
It was 5:15 PM on a Tuesday in September, and I was standing in front of an open refrigerator, staring into the void. The house was quiet, which usually means the kids are either napping or plotting something. The back-to-school schedule had officially begun, and the reality of juggling soccer practice, homework, and my own work deadlines hit me like a freight train. I needed dinner. I needed it fast. I needed it to not involve a mountain of dirty dishes. And, if I’m being honest, I needed it to taste good enough that my teenager wouldn’t complain.
I had exactly fifteen minutes before I had to leave the house to drive thirty minutes to soccer practice. Fifteen minutes. In that window, I needed to chop vegetables, season protein, get everything in the oven, and find a way to survive the wait without eating the raw carrots. This was the moment I realized my old weeknight rotation was failing me. I was too tired for stir-fries that required constant stirring. I was too drained for complicated casseroles that needed assembly. I needed something that just worked.
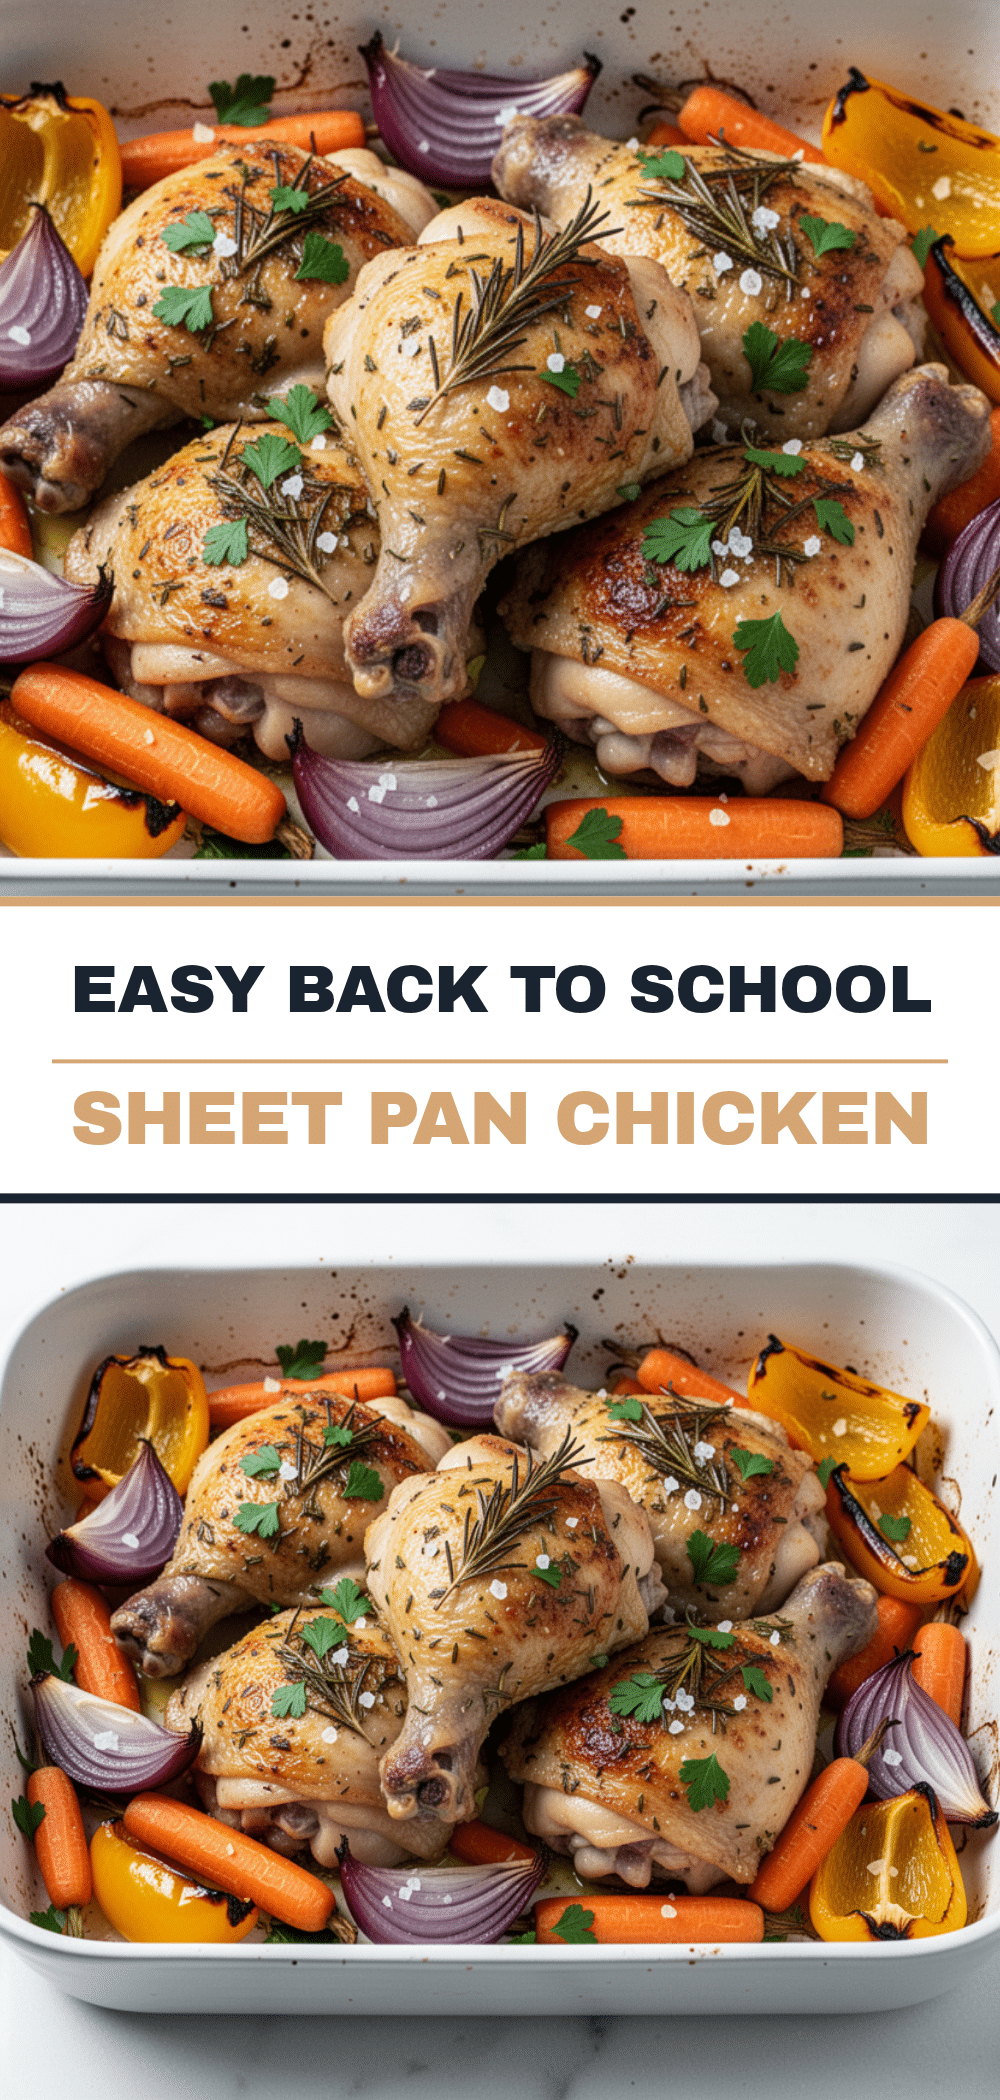
So, I threw together what I thought would be a mediocre compromise. Chicken thighs, some bell peppers I’d been eyeing for days, red onion, and a handful of spices from the back of my cabinet. I threw it all on one sheet pan, shoved it in the oven, and went to drive. When I came home forty-five minutes later, the house smelled incredible. The chicken was juicy, the veggies were caramelized, and there was only one pan to wash. That accidental Tuesday dinner became the backbone of our entire school year routine.
This Back to School Sheet Pan Chicken Dinner isn’t just a recipe; it’s a survival tactic for parents. It’s the kind of meal that feels like a win because it requires almost zero effort but delivers maximum comfort. I’ve tested this method dozens of times, tweaking the vegetable ratios and spice blends until it was foolproof. It’s crispy on the edges, tender in the middle, and ready in the time it takes to watch one episode of a show (or just breathe). If you’re drowning in the back-to-school rush, this is your lifeline.
Why You’ll Love This Sheet Pan Chicken Recipe
There are about ten reasons I keep coming back to this sheet pan dinner, but let’s be real—you don’t need another complicated recipe when you’re exhausted. Here’s why this Back to School Sheet Pan Chicken Dinner has completely changed our weeknight dinner routine.
- Stupid Simple Assembly — Seriously, if you can chop a vegetable and pour oil, you can make this. I’ve walked my teenage son through it over FaceTime, and he nailed it. There’s no sautéing, no browning, no standing over a hot stove. Just dump, toss, and bake.
- Lightning Fast Prep — 15 minutes from start to oven. That’s it. The active cooking time is basically just the prep work. Once it’s in the oven, you’re free. This is perfect for those nights when you get home at 6:30 PM and just want to sit down.
- Minimal Cleanup — One pan. That’s all. I line it with parchment paper because I’m lazy, so there’s basically nothing to scrub. This alone is worth the recipe. My husband knows that if it’s a sheet pan meal, I’m happy.
- Customizable for Picky Eaters — My kids are… particular. But this recipe is flexible. We swap out veggies based on what’s in the crisper drawer. Broccoli one week, green beans the next. The seasoning makes everything taste good, so even the veggies get eaten.
- Budget-Friendly — Chicken thighs are cheap. Seasonal veggies are affordable. This feeds 4-6 people for under $20, depending on where you shop. It’s way cheaper than ordering takeout and tastes way better.
- Meal Prep Friendly — I often double this recipe on Sundays. The leftovers are actually better the next day as the flavors meld. I pack them for lunch, and the chicken stays juicy for days.
This is my go-to when I need dinner to just work. No fancy techniques, no weird ingredients you have to hunt for, just reliable, delicious food that makes everyone happy and leaves you with your sanity intact.
Ingredients You’ll Need
Here’s the best part: you probably have most of this already. This Back to School Sheet Pan Chicken Dinner relies on pantry staples and fresh basics. I’m particular about three things here, and I’ll tell you exactly why.
For the Protein
Chicken thighs (2 pounds / 900g) — Boneless, skinless thighs. I use thighs because they stay juicy. Breast meat dries out on sheet pans if you’re not careful. Thighs are forgiving. If you must use breasts, cut them into large chunks and watch the time closely.
Olive oil (3 tablespoons / 45ml) — Use extra virgin for flavor. It coats the chicken and veggies nicely. Don’t skimp on the oil; it helps everything roast instead of steam.
For the Veggies
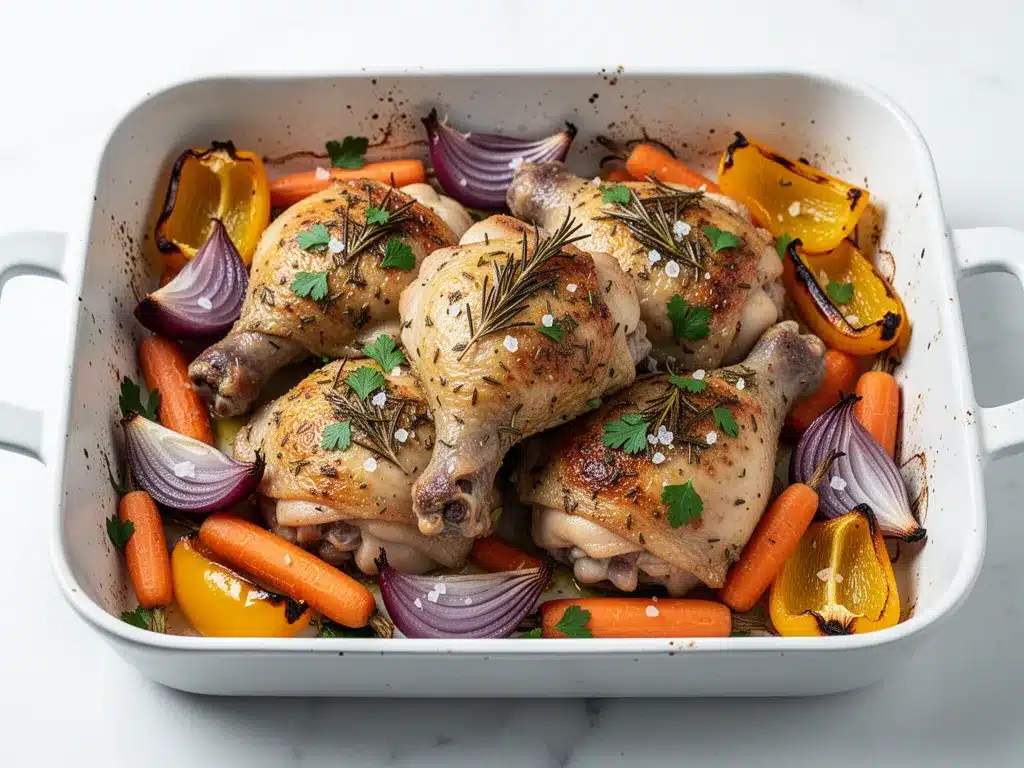
Red onion (1 large, cut into 1-inch wedges / about 250g) — Red onion adds a nice sweet crunch. You can use yellow onion if that’s all you have, but red looks prettier and has a milder bite when roasted.
Bell peppers (2 medium, any color, chopped / about 300g) — I use a mix of red and green. Red is sweeter, green is slightly bitter. Chop them into similar-sized pieces as the onion so they cook evenly. Yellow or orange peppers work great too.
Broccoli florets (2 cups / 200g) — Fresh broccoli adds texture and color. Cut the florets into bite-sized pieces. If they’re too big, they won’t cook through. I sometimes swap this for asparagus or zucchini in the summer.
For the Seasoning
Garlic powder (1 teaspoon / 5g) — Provides a consistent garlic flavor without burning. Fresh garlic can burn in the oven if not careful, so powder is safer here.
Onion powder (1 teaspoon / 5g) — Boosts the savory depth. It’s subtle but makes a difference.
Dried oregano (1 teaspoon / 2g) — Adds an earthy, herbal note. Italian seasoning works too if you have it.
Smoked paprika (1 teaspoon / 2g) — This is the secret weapon. It gives a subtle smokiness that makes the chicken taste grilled, even though it’s baked. Don’t skip it.
Salt and black pepper (to taste) — I use about 1 teaspoon of kosher salt and ½ teaspoon of freshly cracked pepper. Adjust to your preference.
Lemon (1 medium) — For squeezing over the top after baking. The acidity cuts through the richness and brightens everything up.
Equipment Needed
You don’t need fancy equipment for this. Here’s what I actually use.
Large sheet pan — I use a half-sheet pan (18×13 inches). It gives enough surface area so the veggies aren’t crowded. Crowding leads to steaming, not roasting. If you have a smaller pan, cook in two batches.
Parchment paper — I line my pan with parchment. It prevents sticking and makes cleanup a breeze. I’m lazy, and I don’t want to scrub burnt cheese off my pan.
Large mixing bowl — For tossing the chicken and veggies with oil and spices. A bowl with a wide mouth works best.
Sharp knife and cutting board — For chopping the veggies and chicken. Sharp knives are safer and easier.
Measuring spoons — Standard stuff. I have a set that’s been with me for years.
Whisk — To mix the spices with the oil before adding to the chicken. It distributes the seasoning evenly.
How to Make It: Step-by-Step
Alright, let’s make this! I’m walking you through exactly how I do it, including the little tricks I’ve picked up.
Step 1: Prep the Oven and Pan (2 minutes)
Preheat your oven to 425°F (220°C). High heat is key for roasting. Line your large sheet pan with parchment paper. I find that parchment helps the veggies caramelize without sticking, and it saves me from scrubbing later.
Step 2: Prep the Chicken (3 minutes)
Pat the chicken thighs dry with paper towels. This step is important—dry chicken sears better. If they’re wet, they’ll steam. Cut larger thighs into bite-sized pieces if they’re huge, so they cook evenly. Place them in your large mixing bowl.
Step 3: Chop the Veggies (5 minutes)
While the chicken is drying, chop your onions, peppers, and broccoli. Aim for uniform sizes. You want the onion wedges, pepper chunks, and broccoli florets to be roughly the same size so they finish cooking at the same time. Add them to the bowl with the chicken.
Step 4: Season Everything (2 minutes)
In a small bowl, whisk together the olive oil, garlic powder, onion powder, oregano, smoked paprika, salt, and pepper. Pour this mixture over the chicken and veggies. Use your hands or a large spoon to toss everything until it’s evenly coated. You want every piece to have a little seasoning on it.
Step 5: Spread on the Pan (2 minutes)
Transfer everything to the prepared sheet pan. Spread it out in a single layer. This is crucial. If the pieces are piled on top of each other, they’ll steam instead of roast. Give them some space. If your pan is too small, use two pans or cook in batches.
Step 6: Bake (20-25 minutes)
Place the pan in the preheated oven. Bake for 20-25 minutes. At the 15-minute mark, I like to pull the pan out and give everything a quick stir. This ensures even browning. The chicken is done when it reaches an internal temperature of 165°F (74°C) and the veggies are tender and slightly charred.
Step 7: Finish and Serve (2 minutes)
Remove from the oven. Squeeze fresh lemon juice over everything. The acid brightens the flavors and makes the dish pop. Taste and add more salt or pepper if needed. Serve immediately while it’s hot and crispy.
Total Time: About 30 minutes (15 minutes prep, 15 minutes cook).
Expert Tips & Tricks
Here’s everything I’ve learned from making this dozens of times. These tips will save you from my mistakes.
Don’t Crowd the Pan
I know it’s tempting to fit everything in one go, but if the veggies are touching too much, they’ll steam. Steamed veggies are soggy. Roasted veggies are delicious. If you have a small pan, cook in two batches. It’s worth the extra five minutes.
Use Boneless Skinless Thighs
I can’t stress this enough. Chicken breast dries out quickly at 425°F. Thighs have more fat, so they stay juicy even if you leave them in a few minutes too long. If you use breast, check it at 15 minutes.
The Lemon is Non-Negotiable
Roasted food can be heavy. The lemon juice at the end cuts through the oil and richness. It’s the difference between “okay” and “amazing.” Don’t skip it.
Char is Good
Don’t be afraid of some blackened edges on the broccoli or onions. That’s where the flavor is. If your oven runs hot, keep an eye on it in the last 5 minutes so it doesn’t burn.
Meal Prep Strategy
I often make two pans on Sunday. One for the week, one for freezing. The chicken freezes well for up to 3 months. Thaw in the fridge and reheat in the oven or microwave. It’s a lifesaver for busy weeks.
Variations & Substitutions
Once you’ve nailed the basic version, here’s how you can mix it up. I’ve tried all of these.
Summer Veggie Swap
In summer, I swap broccoli for zucchini and yellow squash. Slice them thick so they don’t turn to mush. Add them in the last 10 minutes of cooking so they stay firm.
Spicy Kick
Add ½ teaspoon of cayenne pepper or red pepper flakes to the spice mix. If you like heat, this version is incredible. It pairs well with crispy parmesan-crusted chicken cutlets style seasoning.
Mediterranean Style
Swap the oregano for Italian seasoning. Add cherry tomatoes and kalamata olives. Top with feta cheese after baking. It’s a completely different vibe but just as easy.
Asian-Inspired
Use soy sauce instead of salt. Add ginger and sesame oil. Toss with sesame seeds after baking. Serve over rice. It’s a quick twist on a takeout favorite.
Dietary Modifications
Gluten-Free: This recipe is naturally gluten-free. Just check your spice blends to ensure they don’t have anti-caking agents with gluten.
Dairy-Free: Naturally dairy-free. No cheese needed.
Lower Carb: Skip the potatoes (if you add them) and double the veggies. Zucchini noodles work great as a base.
Serving & Storage
How to Serve: I usually serve this straight from the pan at the dinner table. It looks rustic and stays warm. Pair it with crusty bread to soak up the juices, or serve over rice or quinoa for a heartier meal. A simple green salad balances it out perfectly.
Storage: Store leftovers in an airtight container in the fridge for up to 4 days. The chicken stays juicy, and the veggies hold up well.
Reheating: Reheat in the oven at 350°F for 10-15 minutes to keep the veggies crispy. Microwave works but can make the chicken rubbery. If microwaving, cover it to retain moisture.
Freezing: Freeze the cooked chicken and veggies in freezer-safe bags for up to 3 months. Thaw in the fridge overnight and reheat. The veggies might be softer after freezing, but the flavor is still great.
Nutrition Information
I’m not a nutritionist, but here’s the breakdown if you’re tracking. Per serving (based on 4 servings):
| Nutrient | Amount |
|---|---|
| Calories | 380 |
| Protein | 35g |
| Carbs | 15g |
| Fiber | 4g |
| Fat | 20g |
| Sodium | 450mg |
It’s a high-protein, moderate-fat meal. The veggies add fiber and vitamins. It’s a balanced, wholesome dinner that’s better than takeout. I like that I know exactly what’s in it.
Final Thoughts
So that’s my go-to Back to School Sheet Pan Chicken Dinner! I’ve probably talked your ear off at this point, but when you make a recipe this often, you have a lot to say about it. This has saved weeknight dinners more times than I can count. It’s my answer to “what’s for dinner” when I’m tired, don’t want takeout, and still want something that tastes really good.
My kids are happy, my husband’s happy, and I’m happy because I’m not stressed about cooking. Make it yours! Try different veggies, swap the spices, adjust the lemon. The best recipes are the ones you adapt to your family’s tastes.
If you make this, drop a comment and let me know what you think! I love hearing how recipes turn out in your kitchen. And if something doesn’t work, tell me that too—I’m here to help troubleshoot. Happy cooking! And I hope your kitchen smells half as good as mine does right now.
Frequently Asked Questions
Can I use chicken breast instead of thighs?
You can, but I don’t recommend it for this method. Breast meat dries out quickly at 425°F. If you must use it, cut it into large chunks and check it at 15 minutes. Remove it as soon as it hits 165°F. Thighs are just more forgiving.
Why are my veggies soggy?
Usually, this means the pan was too crowded. The veggies steamed instead of roasted. Make sure you have space between the pieces. If you need to, use two pans. Also, make sure your oven is fully preheated before putting the pan in.
Can I make this ahead of time?
You can prep the veggies and season the chicken up to 24 hours in advance. Store them in separate containers in the fridge. When you’re ready to cook, toss them together and bake. It saves even more time on busy nights.
What if I don’t have smoked paprika?
Use regular paprika. It won’t have the smoky flavor, but it’ll still be good. You can also add a tiny pinch of cumin for depth. The lemon will still brighten the dish.
How do I reheat leftovers?
The oven is best. 350°F for 10-15 minutes. It keeps the veggies crispy. Microwave works but can make the chicken rubbery. If you microwave, cover it and add a splash of water to create steam.
Can I freeze this?
Yes. Freeze the cooked chicken and veggies in freezer-safe bags for up to 3 months. Thaw in the fridge and reheat. The veggies might be softer, but the flavor is still great.
Is this recipe gluten-free?
Yes, it’s naturally gluten-free. Just check your spice blends to ensure they don’t have anti-caking agents with gluten. Most pure spices are safe.
Pin This Recipe!
Back to School Sheet Pan Chicken Dinner: 15-Minute Easy Meal
- Total Time: 30 minutes
- Yield: 4 servings 1x
Description
A quick and easy weeknight dinner featuring juicy chicken thighs and roasted vegetables on a single sheet pan. This recipe is designed for busy parents, requiring minimal prep and cleanup while delivering maximum flavor.
Ingredients
- 2 pounds (900g) boneless, skinless chicken thighs
- 3 tablespoons (45ml) extra virgin olive oil
- 1 large red onion (about 250g), cut into 1-inch wedges
- 2 medium bell peppers (any color), chopped (about 300g)
- 2 cups (200g) broccoli florets
- 1 teaspoon garlic powder
- 1 teaspoon onion powder
- 1 teaspoon dried oregano
- 1 teaspoon smoked paprika
- 1 teaspoon kosher salt (or to taste)
- 1/2 teaspoon freshly cracked black pepper
- 1 medium lemon, for squeezing
Instructions
- Preheat oven to 425°F (220°C). Line a large half-sheet pan (18×13 inches) with parchment paper.
- Pat chicken thighs dry with paper towels. If pieces are very large, cut them into bite-sized chunks for even cooking. Place in a large mixing bowl.
- Chop red onion, bell peppers, and broccoli into uniform sizes. Add them to the bowl with the chicken.
- In a small bowl, whisk together olive oil, garlic powder, onion powder, oregano, smoked paprika, salt, and pepper.
- Pour the oil and spice mixture over the chicken and vegetables. Toss thoroughly with hands or a large spoon until everything is evenly coated.
- Transfer the mixture to the prepared sheet pan. Spread it out in a single layer, ensuring pieces are not crowded to allow for roasting rather than steaming.
- Bake for 20-25 minutes. At the 15-minute mark, stir the contents to ensure even browning.
- Chicken is done when it reaches an internal temperature of 165°F (74°C) and vegetables are tender with slightly charred edges.
- Remove from oven and immediately squeeze fresh lemon juice over the top. Taste and adjust seasoning if needed. Serve hot.
Notes
[‘Do not crowd the pan; cook in two batches if necessary to ensure vegetables roast instead of steam.’, ‘Chicken thighs are preferred over breasts as they stay juicier at high heat.’, ‘The lemon juice at the end is crucial for cutting through the richness and brightening the flavor.’, ‘Leftovers can be stored in the fridge for up to 4 days or frozen for up to 3 months.’, ‘Reheat in the oven at 350°F to maintain crispiness; microwaving may make chicken rubbery.’]
- Prep Time: 15 minutes
- Cook Time: 15 minutes
- Category: Main Course
- Cuisine: American
Nutrition
- Serving Size: Approximately 1/4 of
- Calories: 380
- Sugar: 6
- Sodium: 450
- Fat: 20
- Saturated Fat: 4
- Carbohydrates: 15
- Fiber: 4
- Protein: 35
Keywords: sheet pan dinner, chicken thighs, easy weeknight meal, back to school dinner, gluten-free, dairy-free, one pan meal, healthy chicken recipe


