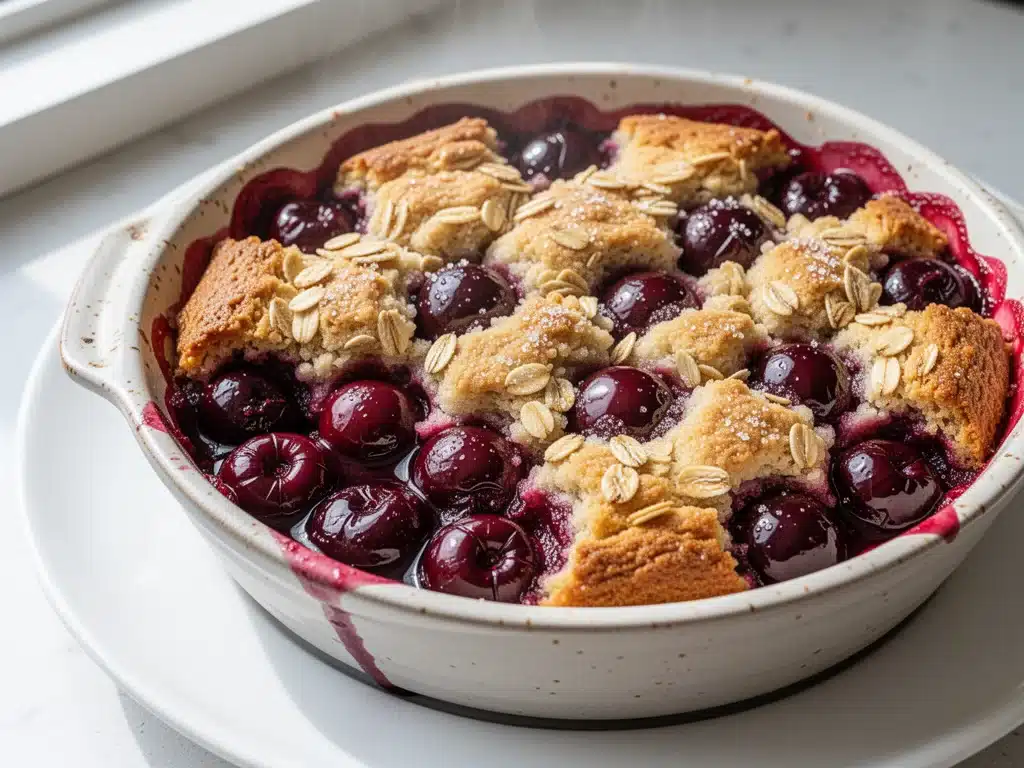
There is a specific kind of magic that happens when summer peaches and cherries start to go soft, bruised, and slightly too sweet to eat raw. My neighbor, Mrs. Gable, taught me this lesson years ago. I remember standing in her kitchen, holding a colander of cherries that were past their prime, feeling guilty about the waste. She didn’t even blink. “Waste?” she said, wiping her hands on her apron. “That’s just cobbler ingredients, honey.”
She turned those slightly overripe, shriveled cherries into the most incredible, bubbling, cinnamon-scented dessert I had ever tasted. It wasn’t just good; it was transformative. The tartness of the fruit cut through the sweet, buttery crust, and the warm spices made the whole house smell like a hug. That afternoon changed how I view “imperfect” fruit. Now, whenever I see a bag of cherries starting to darken, I don’t throw them out. I make this Sweet Cherry Dessert Cobbler.
This recipe has become my absolute go-to for those moments when I need comfort but don’t want to spend hours in the kitchen. It’s rustic, it’s forgiving, and it tastes like it came from a fancy bakery, but honestly? It’s way better because it’s made with love (and maybe a little help from Mrs. Gable’s secret tip about the crust). I’ve made this cobbler for potlucks, for rainy Sunday afternoons, and even for late-night cravings when I just need something sweet and warm. It’s simple, it’s delicious, and it’s the perfect way to celebrate the end of cherry season.
Why You’ll Love This Recipe
Let’s be real: baking can be intimidating. There are so many recipes out there that require fancy techniques, specific temperatures, or ingredients you have to drive to three different stores to find. This Sweet Cherry Dessert Cobbler is the opposite. It’s my champion for “I want dessert now, and I don’t want to stress about it.”
Here’s why this cobbler keeps coming back to my rotation:
- Stupidly Simple — Seriously, if you can dump ingredients into a bowl and stir, you can make this. I’ve made this while juggling a toddler on my hip. It’s that easy. No rolling pins, no pie crusts that crack and fall apart.
- Lightning Fast — From start to finish, this takes about 45 minutes. That’s it. You get a warm, bubbling, homemade dessert in less time than it takes to order delivery. And unlike delivery, this tastes fresh.
- Pantry-Friendly — You probably have 90% of these ingredients already. Flour, sugar, butter, baking powder, cinnamon. The only thing you need to buy is cherries. If you have frozen cherries, even better. This is the recipe for when you’re running low on everything else.
- Crowd-Pleaser — I’ve served this to my health-conscious sister who claims she doesn’t like “sugar bombs,” and she asked for the recipe. I’ve served it to my dad, who usually only likes chocolate cake, and he said it was “the best thing I’ve eaten all week.” It works.
- Makes Amazing Leftovers — The flavors actually deepen overnight. I deliberately make a double batch on weekends because the leftovers taste even better on Monday morning with a cup of coffee.
This is my go-to when I need dessert to just work. No complicated techniques, no weird ingredients, just reliable, delicious food that makes everyone happy. It’s the kind of recipe that reminds you why cooking at home is worth it.
Ingredients You’ll Need
Here’s the best part: this recipe relies on simple, humble ingredients. You don’t need anything fancy or hard to find. I’m particular about three things here, and I’ll tell you exactly why they matter for the best texture and flavor.
For the Cherry Filling
Cherries (4 cups / about 600g) — This is the star. Fresh pitted cherries are ideal, especially Bing or Rainier varieties for their sweetness. But don’t stress if you can’t find fresh. Frozen pitted cherries work perfectly fine—I use them in winter all the time. Just thaw them slightly so they aren’t ice-cold when they hit the oven. Avoid canned cherries in syrup; they’re too soft and sweet. You want some texture here.
Granulated Sugar (½ cup / 100g) — This balances the natural tartness of the cherries. If your cherries are super sweet, you can reduce this to ⅓ cup. Taste your fruit first! I like a balance of sweet and tart, so I stick with the full half cup.
Lemon Juice (1 tablespoon / 15ml) — This is the secret weapon. It brightens up the heavy sweetness of the cherries and adds a nice zing. Don’t skip it. It makes the cherry flavor pop. Fresh squeezed is best, but bottled works in a pinch.
Cornstarch (2 tablespoons / 15g) — This thickens the juices so you get that beautiful, gooey syrup rather than a watery mess. If you don’t have cornstarch, arrowroot powder works too, but avoid flour—it can make the sauce cloudy.
Cinnamon (1 teaspoon / 2g) — Ground cinnamon adds that warm, cozy spice note that defines a classic cobbler. If you’re feeling fancy, add a pinch of nutmeg or allspice, but cinnamon is the classic choice.
Vanilla Extract (1 teaspoon / 5ml) — Just a little bit to round out the flavors. It’s subtle, but it makes the cherries taste more like “dessert” and less like “fruit salad.”
For the Biscuit Topping
All-Purpose Flour (1 cup / 120g) — Standard stuff. Don’t try to use whole wheat here; it’ll make the crust too dense and heavy. You want light, fluffy, biscuit-like texture.
Baking Powder (1½ teaspoons / 6g) — This is what makes the topping rise and get that golden, craggy top. Make sure your baking powder isn’t expired! I test it by dropping a little in hot water—if it fizzes, it’s good. If not, toss it.
Sugar (¼ cup / 50g) — Just a little bit to sweeten the crust and help it caramelize. It creates that crunchy, sweet layer on top.
Salt (¼ teaspoon / 1g) — Essential. It balances the sweetness and enhances the flavor of the flour. Never skip salt in baking.
Cinnamon (½ teaspoon / 1g) — For the crust too. It ties the topping to the filling.
Heavy Cream (¾ cup / 180ml) — This is crucial. Do not use milk. Milk will make the crust dense and doughy. Heavy cream gives it that rich, tender, almost cake-like bite. I take my cream out of the fridge 15 minutes before using it—cold cream can make the dough tough.
Melted Butter (2 tablespoons / 30g) — This adds richness and helps the crust brown. I use unsalted butter so I can control the salt level. If you’re out of butter, you can use melted coconut oil, but the flavor will be different.
For Serving (Optional but Recommended)
Vanilla Ice Cream — A big scoop of cold vanilla ice cream on top of hot cobbler is non-negotiable in my house. The temperature contrast is everything. If you want to keep it dairy-free, a coconut cream ice cream works surprisingly well here.
Equipment Needed
You don’t need fancy equipment for this. Here’s what I actually use in my everyday kitchen:
9×9 Inch Baking Dish — I use a glass Pyrex dish. Glass heats evenly and lets you see the bottom browning. A ceramic dish works too, but metal pans might brown the top too fast. If you don’t have a 9×9, an 8×8 will work, but the cobbler will be taller and might need a few extra minutes in the oven.
Mixing Bowls — You’ll need two medium bowls. One for the filling, one for the topping. I prefer stainless steel because they’re easy to clean and don’t crack.
Measuring Cups and Spoons — Standard stuff. Dollar store versions work fine. Just make sure you’re leveling off your dry ingredients for accuracy.
Wooden Spoon or Spatula — For mixing. A wooden spoon is great for the filling because it’s sturdy. A silicone spatula is better for the topping to avoid overmixing.
Peeler or Pitter — If you’re using fresh cherries, a cherry pitter saves so much time. I have a cheap plastic one from IKEA that costs $3 and makes life easier. If you don’t have one, just slice them in half and remove the pits with a knife. It takes a few extra minutes, but it’s doable.
Oven — Preheated to 375°F (190°C). Make sure your oven is actually at that temperature. I use an oven thermometer because my oven likes to lie to me. It’s a cheap investment that saves ruined bakes.
Cooling Rack — Optional, but helpful. Letting the cobbler cool for 10 minutes on a rack helps the filling set slightly so it’s not liquid gold when you scoop it.
How to Make It: Step-by-Step
Alright, let’s make this! I’m walking you through exactly how I do it, including the little tricks I’ve picked up over the years. This Sweet Cherry Dessert Cobbler is straightforward, but there are a few key moments that make or break the final result.
Step 1: Prep Your Oven and Dish (5 minutes)
Preheat your oven to 375°F (190°C). While it’s heating, grab your 9×9 inch baking dish. I like to lightly grease it with butter or cooking spray, just to be safe. It’s not strictly necessary because the cherry juices are so slippery, but it ensures easy cleanup. Set it aside.
Step 2: Make the Cherry Filling (5-8 minutes)
In your medium mixing bowl, combine the pitted cherries, sugar, lemon juice, cornstarch, cinnamon, and vanilla. Toss everything together gently until the cherries are evenly coated. The cornstarch will turn cloudy at first—that’s normal. Pour this mixture into your prepared baking dish. Spread it out evenly. You want a flat layer so the topping cooks uniformly. Set this aside while you make the topping.
Step 3: Make the Biscuit Topping (5 minutes)
In a separate bowl, whisk together the flour, sugar, salt, baking powder, and cinnamon. Make a well in the center. Pour in the heavy cream and melted butter. Use a fork or your hands to gently mix until the dough just comes together. Crucial tip: Do not overmix! The dough should look shaggy and a bit lumpy. If you mix it until smooth, you’ll develop gluten, and the crust will be tough instead of tender. Stop mixing as soon as there are no dry patches left.
Step 4: Assemble the Cobbler (2 minutes)
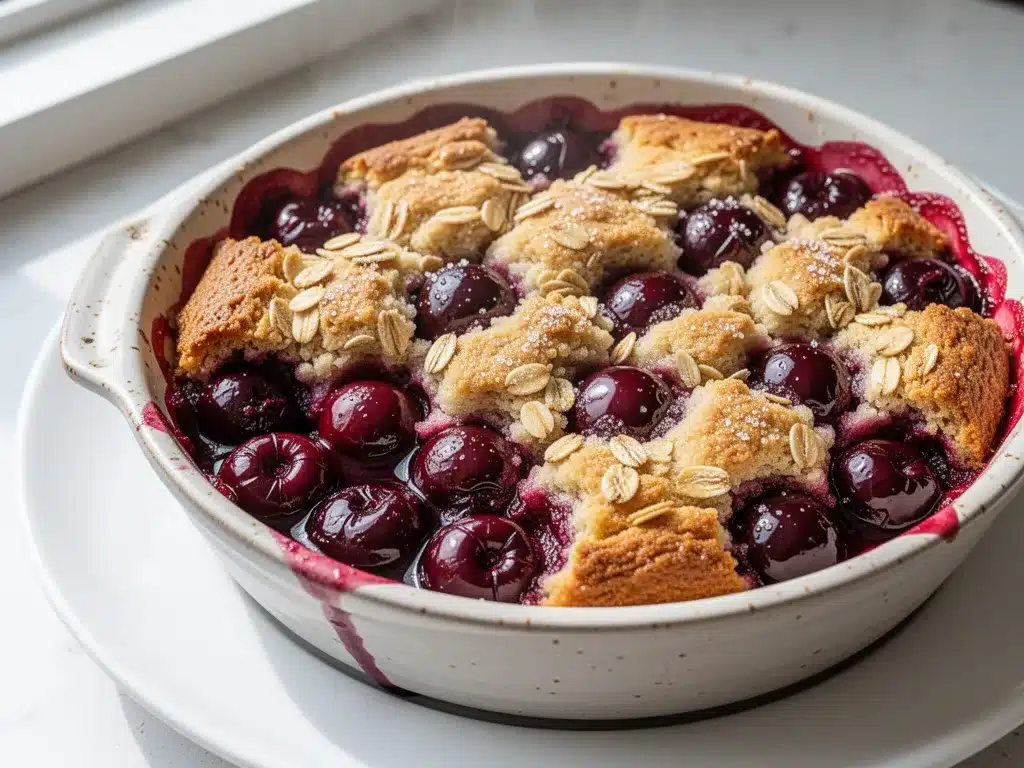
Drop spoonfuls of the biscuit dough over the cherry filling. You don’t need to cover it completely—leaving some gaps is actually better. It lets the cherry juices bubble up through the crust, creating those beautiful, gooey pockets. I usually get about 8-10 dollops of dough. Just scatter them evenly across the top.
Step 5: Bake Until Golden (35-40 minutes)
Place the baking dish in the preheated oven. Bake for 35-40 minutes. You’ll know it’s done when the topping is golden brown and puffy, and the cherry filling is bubbling vigorously around the edges. If the top is browning too fast but the filling isn’t bubbling, cover it loosely with aluminum foil for the last 10 minutes. I usually rotate the dish halfway through to ensure even browning, especially if my oven runs hot on one side.
Step 6: Cool and Serve (10-15 minutes)
Remove the cobbler from the oven and let it cool for at least 10 minutes. This step is hard because it smells amazing, but it’s important. The filling needs a few minutes to thicken up. If you cut into it immediately, it’ll be soupy. Once it’s cooled slightly, scoop it into bowls. Add a big scoop of vanilla ice cream on top. Serve warm.
Visual Cues: You’ll know the topping is ready when it’s a deep golden brown, not pale yellow. The filling should be bubbling like a lava lamp, not just simmering. The smell should be sweet, tart, and spicy—cinnamon and cherries.
Expert Tips & Tricks
Here’s everything I’ve learned from making this dozens of times. These tips will save you from my mistakes and guarantee a perfect cobbler every time.
The Fruit Matters
If you’re using fresh cherries, make sure they’re firm but not rock hard. Overripe cherries can get mushy, but they also have more flavor. I actually prefer slightly softer cherries for cobbler because they break down into a richer sauce. If you’re using frozen cherries, do not thaw them completely. Just rinse off the ice crystals and add them directly to the bowl. This prevents them from turning into a watery mess.
Don’t Overmix the Dough
I cannot stress this enough. The biscuit topping is delicate. Mix it until it *just* comes together. Lumps are your friend. If you knead it or mix it until smooth, you’ll end up with a dense, bread-like crust instead of a tender, cake-like topping. Think “shaggy,” not “smooth.”
The Bubble Test
Many people judge doneness by the color of the top. But the real test is the bubbles. If the cherry filling isn’t bubbling, the cornstarch hasn’t activated yet, and the sauce will be runny. Wait until you see big, thick bubbles breaking the surface. It might look like it’s taking forever, but trust the process.
Leftover Crust?**
If you have extra dough (which can happen if your spoonfuls are small), just drop it on top. It’ll bake into little biscuit bits that are amazing. Don’t try to press it down or cover the fruit completely. Cobbler is supposed to be rustic. It’s not a pie. It’s supposed to look a little messy.
Acidity Balance
If your cherries are very sweet, add an extra teaspoon of lemon juice. If they’re tart, add a teaspoon more sugar. Taste your cherries before you mix them. This is the difference between a flat dessert and one that pops with flavor.
Variations & Substitutions
Once you’ve nailed the basic version, here’s how you can mix it up. I’ve tried all of these, and they all work in their own way.
Fruit Swaps
Peach Cobbler — Swap the cherries for sliced peaches. Peaches are juicier, so you might need an extra tablespoon of cornstarch. Add a pinch of ginger for a classic twist.
Berry Cobbler — Use mixed berries (strawberries, blueberries, raspberries). Berries cook faster, so reduce baking time to 30-35 minutes. Add a teaspoon of lemon zest for brightness.
Apple Cobbler — Thinly sliced apples work too, but they need a longer bake time (50 minutes). Add more cinnamon and a dash of nutmeg.
Flavor Boosts
Almond Extract — Swap the vanilla for almond extract. Cherries and almonds are a classic pairing (think marzipan). It adds a sophisticated, nutty aroma.
Spice It Up — Add a pinch of cardamom or allspice to the topping. It gives it a warm, holiday-like vibe even in summer.
Dietary Modifications
Gluten-Free — Use a 1:1 gluten-free flour blend. Make sure it contains xanthan gum, or add ½ teaspoon. The texture will be slightly more crumbly but still delicious.
Dairy-Free — Replace heavy cream with full-fat coconut cream and butter with coconut oil. The flavor will be slightly coconutty, which actually pairs well with cherries. Use a dairy-free ice cream for serving.
Lower Sugar — Reduce the sugar in the filling to ⅓ cup and use a sugar substitute in the topping. The cherries will still be sweet, but it won’t be cloying. I use monk fruit sweetener for this version.
Serving & Storage
How to serve this Sweet Cherry Dessert Cobbler is almost as important as how you make it. I usually serve it straight from the baking dish at the dinner table—it looks rustic and stays warm. But here are other ways I’ve enjoyed it:
Side Dishes: This is a dessert, so it stands alone. But if you want a savory contrast, serve it after a meal like my grilled peaches dessert or a hearty chicken dish like crispy parmesan crusted chicken cutlets. The sweetness cuts through rich, savory flavors perfectly.
Toppings Bar: When I have guests, I put out: extra vanilla ice cream, whipped cream, chopped walnuts, and a drizzle of caramel sauce. Everyone customizes their bowl. It’s fun and interactive.
Wine Pairing: Not a wine expert, but my wine-snob friend says a late-harvest Riesling or a Moscato works great with this. The sweetness of the wine matches the cobbler, and the acidity cuts the richness.
Storage Instructions
Refrigerator: Store leftovers in an airtight container for up to 3 days. The topping will soften, but the flavor remains great. Reheat individual portions in the microwave for 30-60 seconds, or in the oven at 350°F for 10 minutes to crisp up the crust.
Freezing: This doesn’t freeze well. The biscuit topping becomes soggy and dense when thawed. It’s best eaten fresh. If you must freeze, freeze the unbaked cobbler. Wrap it tightly and freeze for up to 1 month. Thaw in the fridge overnight and bake as directed, adding 10-15 minutes to the bake time.
Pro Tip: If the topping gets soft in the fridge, pop it under the broiler for 1-2 minutes to re-crisp the top. Just watch it closely—it burns fast!
Nutrition Information
I’m not a nutritionist, but here’s the breakdown if you’re tracking. Keep in mind that this is a dessert, so it’s indulgent.
Per Serving (based on 8 servings):
- Calories: 280
- Protein: 3g
- Carbs: 52g
- Fiber: 2g
- Sugar: 38g
- Fat: 8g
- Saturated Fat: 5g
- Cholesterol: 25mg
- Sodium: 180mg
What’s Good: Cherries are packed with antioxidants and vitamin C. The fiber from the fruit helps balance the sugar spike slightly.
What to Know: Higher in sugar from the fruit and added sweeteners. Contains dairy and gluten. Moderate sodium.
My Take: Look, this is comfort food. It’s not a diet recipe. But it’s way better than store-bought pie, costs less, and I know exactly what’s in it. When I want to make it lighter, I use the lower-sugar version and load up on fruit. But usually? I just eat a reasonable portion and enjoy it guilt-free.
Final Thoughts
So that’s my go-to Sweet Cherry Dessert Cobbler! I’ve probably talked your ear off at this point, but when you make a recipe this often, you have a lot to say about it. This has saved weeknight desserts more times than I can count. It’s my answer to “what’s for dessert” when I’m tired, don’t want to order takeout, and still want something that tastes really good. My kids are happy, my husband’s happy, and I’m happy because I’m not stressed about cooking.
Make it yours! Try different add-ins, swap in your favorite berries, adjust the spices. The best recipes are the ones you adapt to your family’s tastes. If you make this, drop a comment and let me know what you think! I love hearing how recipes turn out in your kitchen. And if something doesn’t work, tell me that too—I’m here to help troubleshoot.
Happy baking! And I hope your kitchen smells half as good as mine does right now.
Frequently Asked Questions
Can I use frozen cherries instead of fresh?
Absolutely. Frozen cherries work great and are often cheaper. Just don’t thaw them completely before mixing. If they’re too watery, add an extra teaspoon of cornstarch. I use frozen cherries in winter all the time, and the flavor is still amazing.
Why is my cobbler filling watery?
This usually means the cornstarch didn’t activate. Make sure you bake it long enough for the filling to bubble vigorously. If it’s still watery after baking, you can mix 1 teaspoon of cornstarch with 1 tablespoon of cold water and stir it into the hot filling. Return to the oven for 5 more minutes to thicken.
Can I make this ahead of time?
You can prep the filling ahead and store it in the fridge for up to 24 hours. Make the topping dough right before baking. Assemble and bake as directed. If you bake it fully ahead, the topping will lose its crispness. It’s best served fresh, but reheated leftovers are still good.
Why did my topping turn out dense?
You likely overmixed the dough. Remember, lumps are good! Mix until it just comes together. Also, check your baking powder. If it’s old, it won’t leaven properly, resulting in a flat, dense crust.
Can I add nuts to the cobbler?
Yes! Chopped walnuts or pecans add a nice crunch. Sprinkle them over the topping before baking, or mix them into the cherry filling. I love adding toasted almonds for a marzipan-like flavor.
How do I reheat leftovers without drying them out?
Microwave is easiest, but it can dry out the crust. For best results, reheat in the oven at 350°F for 10-15 minutes. This restores the crispness of the topping. If using a microwave, add a splash of water to the bowl to create steam and keep it moist.
Pin This Recipe!
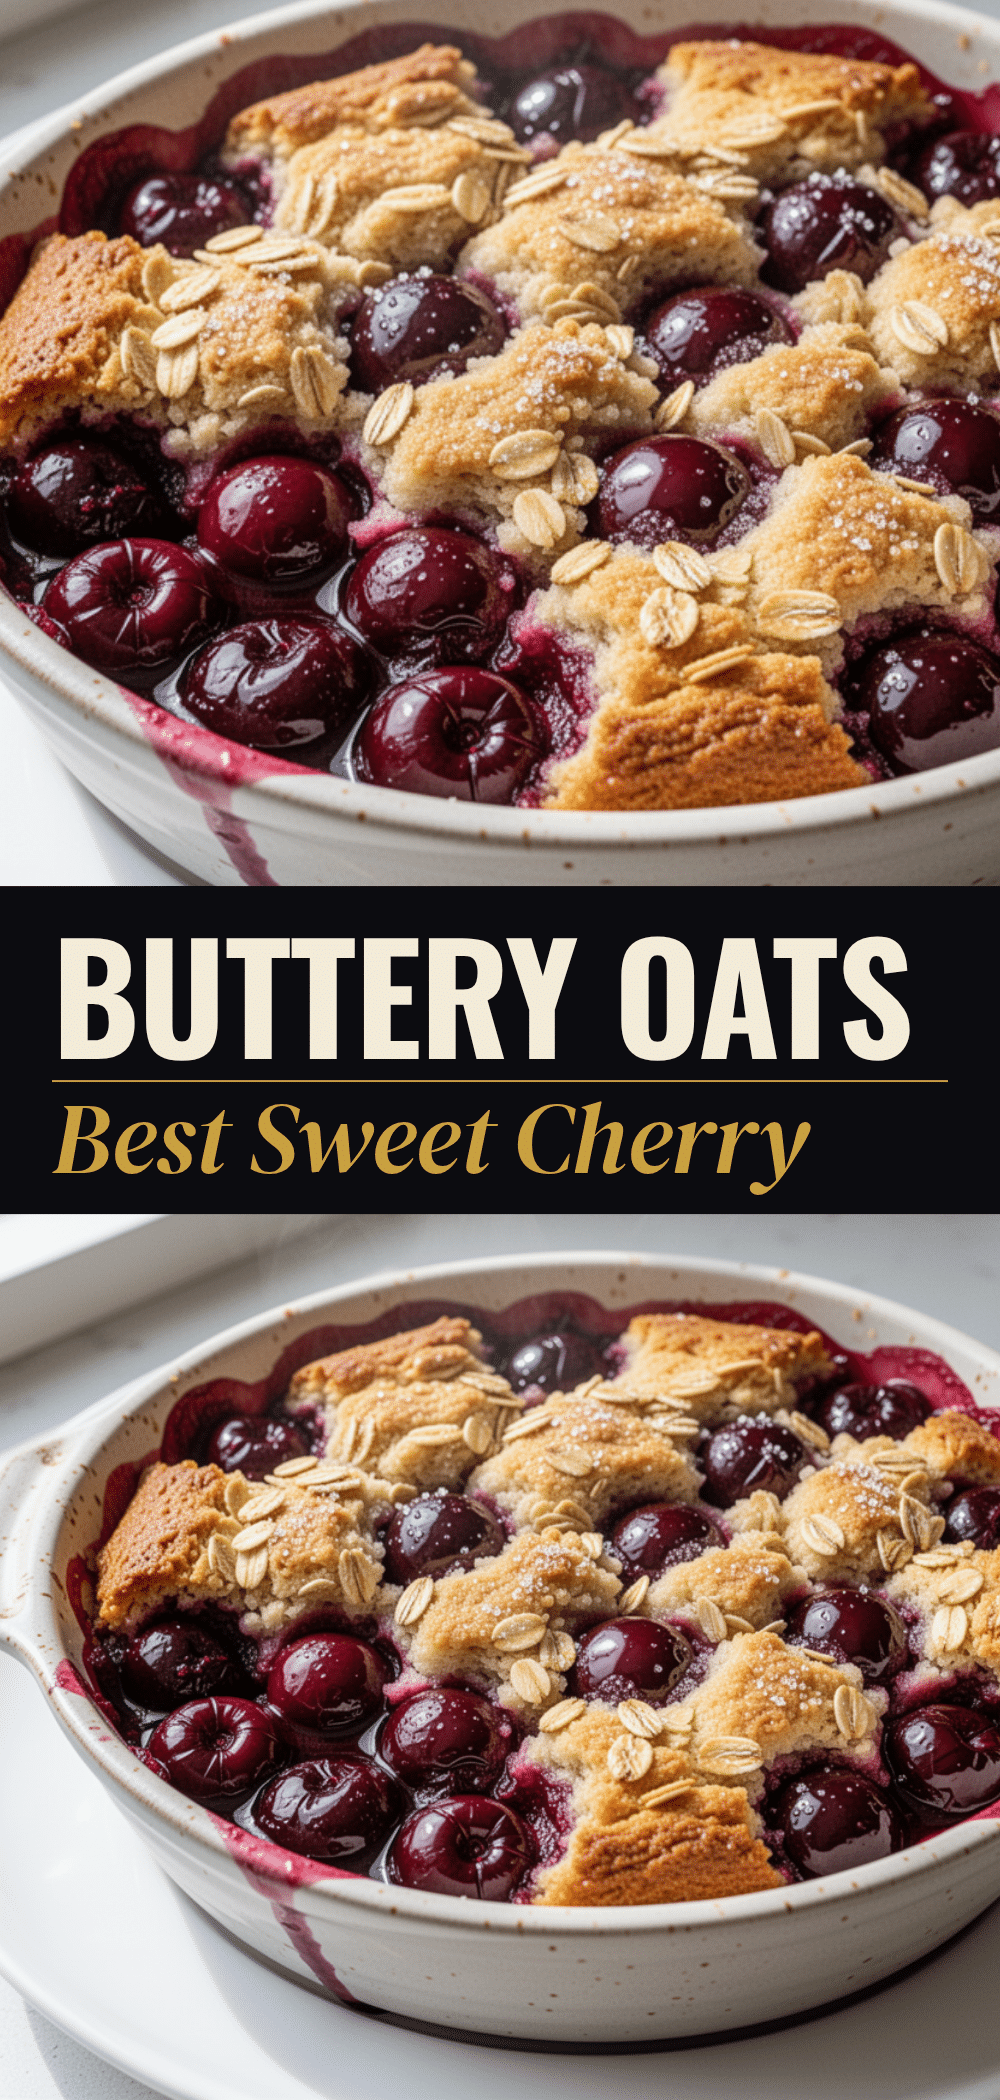
Sweet Cherry Dessert Cobbler: 5-Step Easy Warm Recipe
- Total Time: 45 minutes
- Yield: 8 servings 1x
Description
A rustic, forgiving, and lightning-fast dessert made with simple pantry ingredients. This sweet cherry cobbler features a tender biscuit topping over a warm, bubbling cherry filling, perfect for using up slightly overripe fruit.
Ingredients
- 4 cups pitted cherries (fresh or frozen)
- 1/2 cup granulated sugar
- 1 tablespoon lemon juice
- 2 tablespoons cornstarch
- 1 teaspoon ground cinnamon
- 1 teaspoon vanilla extract
- 1 cup all-purpose flour
- 1 1/2 teaspoons baking powder
- 1/4 cup granulated sugar
- 1/4 teaspoon salt
- 1/2 teaspoon ground cinnamon
- 3/4 cup heavy cream
- 2 tablespoons melted unsalted butter
- Vanilla ice cream (optional, for serving)
Instructions
- Preheat oven to 375°F (190°C). Lightly grease a 9×9 inch baking dish with butter or cooking spray.
- In a medium mixing bowl, combine cherries, 1/2 cup sugar, lemon juice, cornstarch, 1 teaspoon cinnamon, and vanilla. Toss gently to coat evenly.
- Pour the cherry mixture into the prepared baking dish and spread into an even layer.
- In a separate bowl, whisk together flour, 1/4 cup sugar, salt, baking powder, and 1/2 teaspoon cinnamon.
- Make a well in the center of the dry ingredients and pour in the heavy cream and melted butter.
- Gently mix the topping ingredients with a fork or hands until the dough just comes together. Do not overmix; the dough should remain shaggy and lumpy.
- Drop spoonfuls of the biscuit dough over the cherry filling, leaving some gaps for juices to bubble up.
- Bake for 35-40 minutes, or until the topping is golden brown and the filling is bubbling vigorously around the edges. If browning too fast, cover loosely with foil.
- Remove from oven and let cool for at least 10 minutes to allow the filling to thicken.
- Serve warm, optionally topped with vanilla ice cream.
Notes
Do not overmix the biscuit dough to ensure a tender crust. Ensure the filling is bubbling vigorously before removing from the oven to activate the cornstarch. If using frozen cherries, do not thaw completely before mixing. Leftovers can be stored in the refrigerator for up to 3 days.
- Prep Time: 15 minutes
- Cook Time: 35-40 minutes
- Category: Dessert
- Cuisine: American
Nutrition
- Serving Size: 1 slice
- Calories: 280
- Sugar: 38
- Sodium: 180
- Fat: 8
- Saturated Fat: 5
- Carbohydrates: 52
- Fiber: 2
- Protein: 3
Keywords: cherry cobbler, dessert recipe, easy baking, summer dessert, cherry recipe, biscuit topping, comfort food


