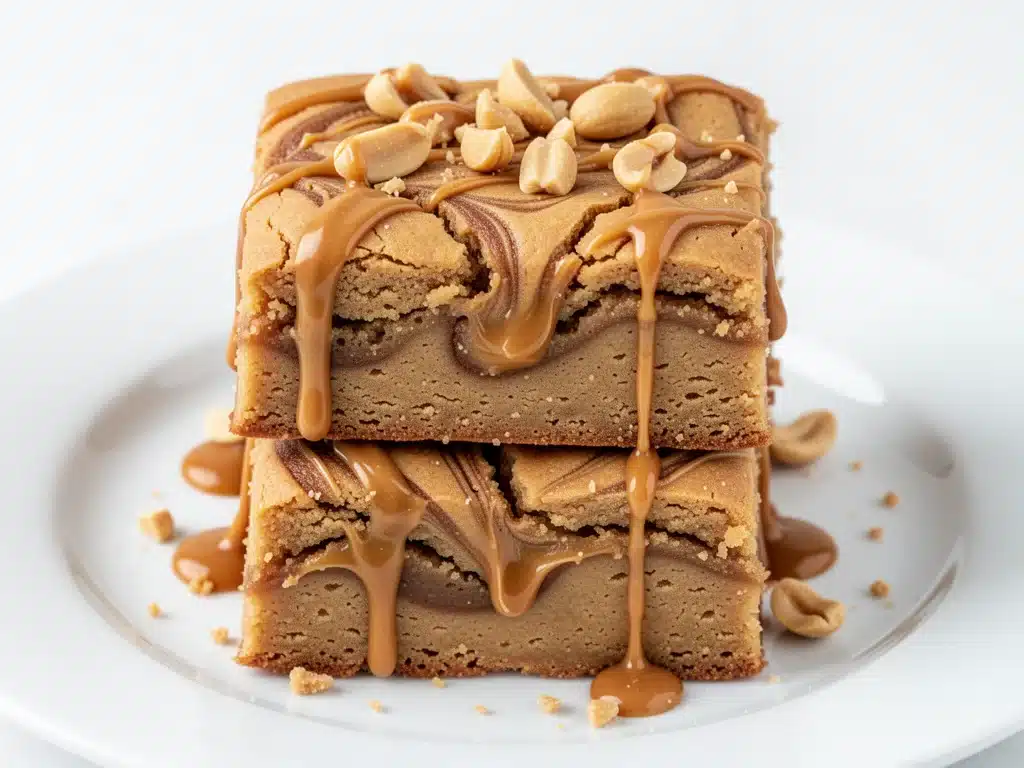
Let’s be real for a second. I used to think that if a dessert didn’t have at least two cups of butter and a bag of sugar in it, it wasn’t “real” dessert. I’m talking about the kind of brownies that leave you with a sugar crash by 3 PM and a stomach ache by dinner time. The kind of treats that felt like a betrayal of my health goals, which is why I barely touched them anymore.
Then, three years ago, I was at a potluck with some friends who are huge into fitness and clean eating. I walked up to the dessert table expecting to see some sad, dry kale chips or a plate of raw cashews. Instead, there was a tray of these dense, fudgy-looking squares with swirls of peanut butter on top. I took a bite. I actually stopped chewing and stared at my friend. “Is this… chocolate?” I asked. “Yes,” she said. “And it has protein.”
I didn’t believe her. I couldn’t believe it tasted like a brownie from a bakery but felt like something that wouldn’t wreck my day. It turned out they were made with chickpeas. Yes, *those* chickpeas. The ones from the can that usually sit in the back of my pantry until I forget they exist. I came home that night, grabbed a can of garbanzo beans, and tried to recreate it. My first batch was a disaster—too dry, tasted like hummus, and the peanut butter swirl didn’t swirl at all; it just sat there judging me.
But I didn’t give up. I tweaked the ratios. I swapped out some of the sugar. I added a secret ingredient that makes them impossibly fudgy. After about ten tries, I finally nailed it. These Chickpea Blondies with Peanut Butter Swirl are now a staple in my kitchen. They’re high protein, they’re gluten-free (if you use GF oats), and they’re so good that my kids have no idea they’re eating legumes. If you’ve been looking for a healthier treat that actually satisfies that sweet tooth without the guilt, this is the one. It’s better than the high protein peanut butter cookie dough bites I made last month, and way more substantial.
Why You’ll Love These Chickpea Blondies
There are a few reasons I keep making these, but honestly, the main one is that they just work. Here’s why they’ve earned a permanent spot in my rotation:
They’re Actually Fudgy — Most “healthy” blondies turn out cakey or dry. These are dense, chewy, and moist. The chickpeas create this incredible, almost brownie-like texture that you won’t find in any regular recipe. I’ve served these to people who swear they hate chickpeas, and they’ve asked for the recipe.
High Protein Powerhouse — Most desserts are just empty calories. These blondies have about 8-10 grams of protein per square thanks to the chickpeas, peanut butter, and protein powder. That means they actually keep you full. I had one of these with my morning coffee last Tuesday, and I wasn’t hungry until lunch. That’s rare for a dessert.
One Bowl, No Mixer — You don’t need a stand mixer. You don’t need to soften butter. You just blend everything in a food processor or blender. If you can press “blend,” you can make these. It’s the easiest baking project I’ve tackled all year.
Meal Prep Friendly — Because they’re sturdy and don’t get soggy, these are perfect for packing. I keep a batch in the fridge for snacks during the week. They travel well in my lunchbox, unlike the watermelon icebox cake which is great for parties but not so much for my desk drawer.
Gluten-Free by Default — If you use gluten-free oats, these are naturally gluten-free. No weird xanthan gum needed. They hold together perfectly because of the starch in the chickpeas. This makes them safe for my gluten-sensitive sister, who usually has to sit out the dessert table.
Quick Prep Time — The blending takes 2 minutes. The baking takes 20 minutes. You’re done in 25 minutes from start to finish. It’s faster than ordering takeout.
Ingredients You’ll Need
Here’s the thing: you probably already have half of these ingredients in your pantry. This isn’t a recipe that requires a special trip to the health food store for obscure powders. Here’s exactly what you need and why:
Canned Chickpeas (Garbanzo Beans) (1 can / 15 oz or 425g) — This is the star. Do not use chickpeas from a dry soak unless you want to boil them yourself. Use canned. Drain them and rinse them thoroughly. I mean thoroughly. You want to remove that starchy canning liquid (aquafaba) so the flavor doesn’t taste like hummus. If they’re wet, pat them dry with a paper towel. Dry chickpeas = fudgy blondies. Wet chickpeas = dense bricks.
Peanut Butter (½ cup / 120g) — Use natural, creamy peanut butter. I like brands that only have peanuts and salt. Avoid the ones with added sugar or hydrogenated oils. If your peanut butter is separated, stir it well before measuring. The fat content is what keeps these moist.
Maple Syrup (½ cup / 120ml) — I use pure maple syrup because it adds a rich, caramel-like flavor that pairs perfectly with peanut butter. Honey works too, but it has a stronger floral taste that might clash. Agave is okay, but maple is best. Don’t use artificial sweeteners here; they don’t provide the same moisture and texture.
Vanilla Extract (2 teaspoons) — Good quality vanilla makes a huge difference. I use Nielsen-Massey. It adds that warm, comforting dessert smell that makes your kitchen feel like a bakery.
Almond Flour (½ cup / 60g) — This adds structure and fat. You can use cashew flour if you have a nut allergy, but almond flour gives the best texture. If you don’t have almond flour, you can make your own by blending rolled oats until they’re a fine powder, but then you need to make sure the oats are certified gluten-free.
Gluten-Free Oats (½ cup / 40g) — I blend these into a flour. It adds fiber and helps bind the blondies. Again, ensure they’re certified gluten-free if that matters to you. Blend them in your food processor until they look like coarse meal.
Cocoa Powder (¼ cup / 25g) — Use unsweetened cocoa powder. Dutch-processed gives a deeper, darker color and less acidic taste. Natural cocoa is fine too, but the blondies will be lighter in color. Don’t use hot cocoa mix—it has sugar in it and will throw off the sweetness balance.
Protein Powder (½ scoop / 30g) — I use vanilla whey or plant-based vanilla protein. This is optional if you don’t need the extra protein, but it helps with the structure. If you use chocolate protein powder, reduce the cocoa powder to 2 tablespoons. Make sure your protein powder is not super sweet, or reduce the maple syrup by 2 tablespoons.
Baking Powder (½ teaspoon) — Just a little bit to help them rise slightly. You don’t want them to be cakey, just tender.
Salt (½ teaspoon) — Crucial. It balances the sweetness and enhances the chocolate flavor. Don’t skip it.
Dark Chocolate Chips (¼ cup / 40g) — For folding in at the end. I use 70% dark chocolate chips because they’re less sweet and melt beautifully. Semi-sweet works too.
For the Swirl: Extra Peanut Butter (2 tablespoons) and Maple Syrup (1 teaspoon). Whisk these together until smooth. This creates that beautiful marbled effect on top.
Equipment Needed
You don’t need much fancy gear for this. Here’s what I actually use:
Food Processor or Blender — This is essential. You need to puree the chickpeas until they’re completely smooth. A hand blender can work, but it takes longer and might leave lumps. I use my Vitamix, but any standard food processor works fine.
8×8 Inch Baking Pan — Line it with parchment paper. Leave an overhang on the sides so you can lift the blondies out later. This makes cutting and cleaning so much easier. Grease the parchment lightly with coconut oil spray.
Spatula — A silicone spatula is best for scraping the bowl and folding in the chocolate chips. You want to be gentle at the end to keep the texture airy.
Small Bowl — For mixing the peanut butter swirl. Doesn’t need to be fancy.
Measuring Cups and Spoons — Standard stuff. Level off your dry ingredients.
How to Make Chickpea Blondies: Step-by-Step
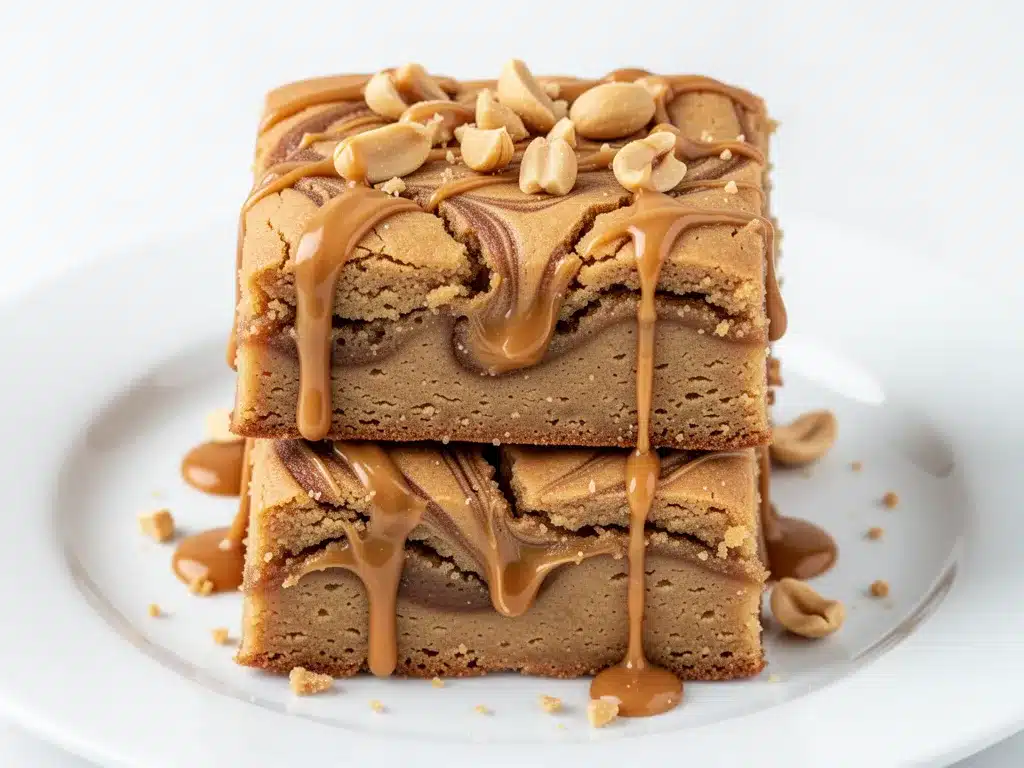
Alright, let’s get baking. I’m going to walk you through exactly how I do it, including the little tricks that make the difference between “meh” and “wow.”
Step 1: Prep Your Pan and Oven (5 minutes)
Preheat your oven to 350°F (175°C). Line your 8×8 inch baking pan with parchment paper. I like to lay two strips across the pan, perpendicular to each other, so you have a cross-hatch of parchment. This ensures the blondies don’t stick and you can lift the whole block out once they’re cool. It’s a game-changer for clean cuts.
Step 2: Puree the Chickpeas (2 minutes)
This is the most important step. Drain and rinse your chickpeas thoroughly. Pat them dry with a paper towel—remove as much moisture as possible. Add the chickpeas to your food processor. Pulse a few times to break them up, then blend on high for 1-2 minutes. You want them to turn into a smooth, creamy paste. It might look weird at first, like wet sand, but keep blending. Scrape down the sides if needed. If there are still visible chunks, your blondies will have a gritty texture. We want it smooth. This usually takes about 90 seconds in my processor.
Step 3: Mix the Wet Ingredients (1 minute)
To the chickpea paste, add the peanut butter, maple syrup, and vanilla extract. Blend again until everything is fully incorporated and smooth. The mixture should look like a thick, creamy batter. Taste it now. It should taste like peanut butter cookie dough. If it’s not sweet enough, add another teaspoon of maple syrup. If it’s too thick to blend, add a splash of milk (dairy or non-dairy) to help it move.
Step 4: Add the Dry Ingredients (1 minute)
If you haven’t already, grind your gluten-free oats into a flour. Add the oat flour, almond flour, cocoa powder, protein powder, baking powder, and salt to the food processor. Pulse until just combined. Don’t over-process here; you just want to distribute the dry ingredients evenly. The batter will be thick and sticky. This is normal. It should look like a dense brownie batter.
Step 5: Fold in the Chocolate Chips (1 minute)
Transfer the batter to a mixing bowl. Fold in the dark chocolate chips using your spatula. Be gentle. You don’t want to break the chips or overwork the batter. Just mix until they’re evenly distributed.
Step 6: Create the Swirl (2 minutes)
In a small bowl, whisk together the 2 tablespoons of peanut butter and 1 teaspoon of maple syrup until smooth. Spread the blondie batter evenly into your prepared pan. Use your spatula to smooth the top. Now, take small dollops of the peanut butter mixture and drop them on top of the batter. Use a knife or a toothpick to swirl them into the batter. Drag the knife in a circular motion, then a zigzag pattern. Don’t over-mix; you want visible swirls, not a uniform brown color. This adds that visual appeal and bursts of flavor.
Step 7: Bake (20-25 minutes)
Bake in the preheated oven for 20-25 minutes. The edges should be set and slightly pulling away from the pan. The center might still look a little soft, but that’s okay—they’ll firm up as they cool. Do not overbake them, or they’ll become dry. Insert a toothpick into the center; it should come out with a few moist crumbs, not wet batter. If it’s clean, they might be done, but check a minute earlier to be safe.
Step 8: Cool Completely (Crucial Step!)
Let the blondies cool in the pan for at least 30 minutes. I know this is hard, but cutting them while they’re warm will result in a mushy mess. They need to set. Once cooled, lift them out using the parchment paper and cut into squares. I usually cut them into 9 large squares or 12 smaller ones, depending on how hungry I am.
Expert Tips for Perfect Blondies
Here’s everything I’ve learned from making these dozens of times. These tips will save you from my mistakes.
Don’t Skip the Drying Step — I cannot stress this enough. Wet chickpeas are the enemy of fudgy blondies. If you’re short on time, you can roast the chickpeas in the oven at 400°F for 10 minutes after rinsing to dry them out, then let them cool before blending. But patting them dry with paper towels works too.
Use Room Temperature Peanut Butter — Cold peanut butter is hard to blend. If your PB is straight from the fridge, microwave it for 10 seconds to soften it. It blends into the chickpeas much more evenly.
Adjust Sweetness to Taste — Every brand of protein powder and peanut butter has different sweetness levels. Taste your batter before baking. It should taste sweeter than you think it should. Remember, baking dulls sweetness slightly.
Store Properly — These blondies keep well in an airtight container in the fridge for up to 5 days. They actually taste better after a day or two as the flavors meld. You can also freeze them for up to 3 months. Thaw them in the fridge overnight or at room temperature for 30 minutes.
Don’t Overbake — Chickpea blondies continue to cook in the residual heat of the pan after you take them out. If they look done, take them out. They’ll firm up as they cool. Overbaking is the #1 reason these turn out dry.
Variation: Nut-Free — If you need to make these nut-free for school or work, substitute the almond flour with more oat flour or sunflower seed flour. The texture will be slightly different but still delicious. Just like my sugar-free dark chocolate almond bark, this recipe is easily adaptable for allergies.
Variations & Substitutions
Once you’ve nailed the basic version, here’s how you can mix it up. I’ve tried all of these.
Chocolate Chip Only — Skip the peanut butter swirl. Just add ½ cup of chocolate chips to the batter. Simple and classic.
White Chocolate Chip — Use white chocolate chips instead of dark. Less sweet, but very creamy. Great for people who don’t like bitter chocolate.
Double Chocolate — Add 2 tablespoons of cocoa powder to the batter and use chocolate protein powder. For the chocolate-savvy among us.
Marshmallow Swirl — Instead of peanut butter, mix 2 tablespoons of marshmallow fluff with 1 teaspoon of milk. Swirl it on top for a s’mores vibe.
Gluten-Free — Ensure your oats and protein powder are certified gluten-free. The rest of the ingredients are naturally GF.
Vegan — Use plant-based protein powder (pea or rice protein) and maple syrup. The chickpeas and almond flour are already vegan. Just check your chocolate chips are vegan too.
Serving & Storage
These blondies are great on their own, but here are some ways I like to serve them:
With Coffee — The best pairing. The bitterness of the coffee cuts through the sweetness. I have one of these with my morning latte almost every day.
With Milk — A cold glass of milk (dairy or oat) is perfect for dipping. It’s like a healthy cookie and milk combo.
With Ice Cream — If you want to treat yourself, serve a warm square with a scoop of vanilla ice cream. It’s decadent but still has that protein kick.
Storage — Keep them in an airtight container in the fridge for up to 5 days. They hold their shape well and don’t get soggy. For longer storage, freeze them in a single layer on a baking sheet, then transfer to a freezer bag. They thaw quickly at room temperature.
Nutrition Information
I’m not a nutritionist, but here’s the breakdown if you’re tracking. These values are estimates based on standard ingredients.
Per Serving (1 of 9 squares):
- Calories: 180
- Protein: 8g
- Carbs: 22g
- Fiber: 4g
- Sugar: 12g
- Fat: 9g
- Saturated Fat: 1.5g
- Cholesterol: 0mg
- Sodium: 120mg
What’s Good: High protein, high fiber, no refined sugar (if you use pure maple syrup), gluten-free options. It’s a balanced snack that won’t spike your blood sugar as much as traditional blondies.
What to Know: It still has calories from the peanut butter and maple syrup. Portion control is key. One square is a satisfying treat, but three might be too many for a snack.
Final Thoughts
So that’s my secret to guilt-free dessert! These Chickpea Blondies with Peanut Butter Swirl have completely changed how I think about healthy baking. They’re not a compromise; they’re an upgrade. They’re fudgy, they’re filling, and they taste like something you’d buy at a fancy bakery, but with the benefits of real food.
I’ve made these for picnics, for office parties, and just for myself on lazy Sundays. They always get compliments. People are always shocked when I tell them the secret ingredient is chickpeas. It’s a fun conversation starter and a great way to introduce kids to legumes without them even realizing it.
Make it yours! Try different nut butters (almond butter is great), add different chips, or skip the swirl if you prefer plain chocolate. The best recipes are the ones you adapt to your tastes. If you make these, drop a comment and let me know what you think! I love hearing how recipes turn out in your kitchen.
Happy baking! And I hope your kitchen smells as good as mine does right now.
Frequently Asked Questions
Q: Do these taste like chickpeas?
A: Not at all. When you blend them thoroughly, the chickpea flavor disappears completely. You get a rich, chocolatey, peanut buttery taste. The chickpeas just provide the texture and protein. If you taste any beaniness, it’s usually because you didn’t blend them long enough or they were too wet.
Q: Can I use homemade chickpeas instead of canned?
A: You can, but they take longer to cook. If you use homemade, make sure they’re very soft and tender. Drain and rinse them well, and pat them dry. Canned is just more convenient and consistent.
Q: Why are my blondies dry?
A: This usually happens if you overbake them or if your chickpeas were too dry. Chickpea flour absorbs more moisture than wheat flour. Make sure you don’t bake them longer than 25 minutes. If you’re using a large pan, they might bake faster, so check them early.
Q: Can I substitute almond flour with something else?
A: Yes. You can use cashew flour, sunflower seed flour, or even more oat flour. Almond flour adds fat and moisture, so if you use a leaner flour like oat, you might need to add a tablespoon of extra peanut butter or oil.
Q: How do I store these for meal prep?
A: They store best in the fridge. Place them in an airtight container with parchment paper between layers. They’ll last up to 5 days. You can also freeze them for up to 3 months. Just thaw in the fridge overnight.
Q: Can I make these nut-free?
A: Yes. Use sunflower seed butter instead of peanut butter, and sunflower seed flour instead of almond flour. The flavor will be different, but still delicious. Just like my homemade cinnamon roll bites, this recipe is very adaptable for allergies.
Q: Can I use honey instead of maple syrup?
A: Yes, honey works well. It has a stronger flavor, so the blondies will taste more like honey-chocolate. Maple syrup is milder and lets the peanut butter shine. Use the same amount.
Pin This Recipe!
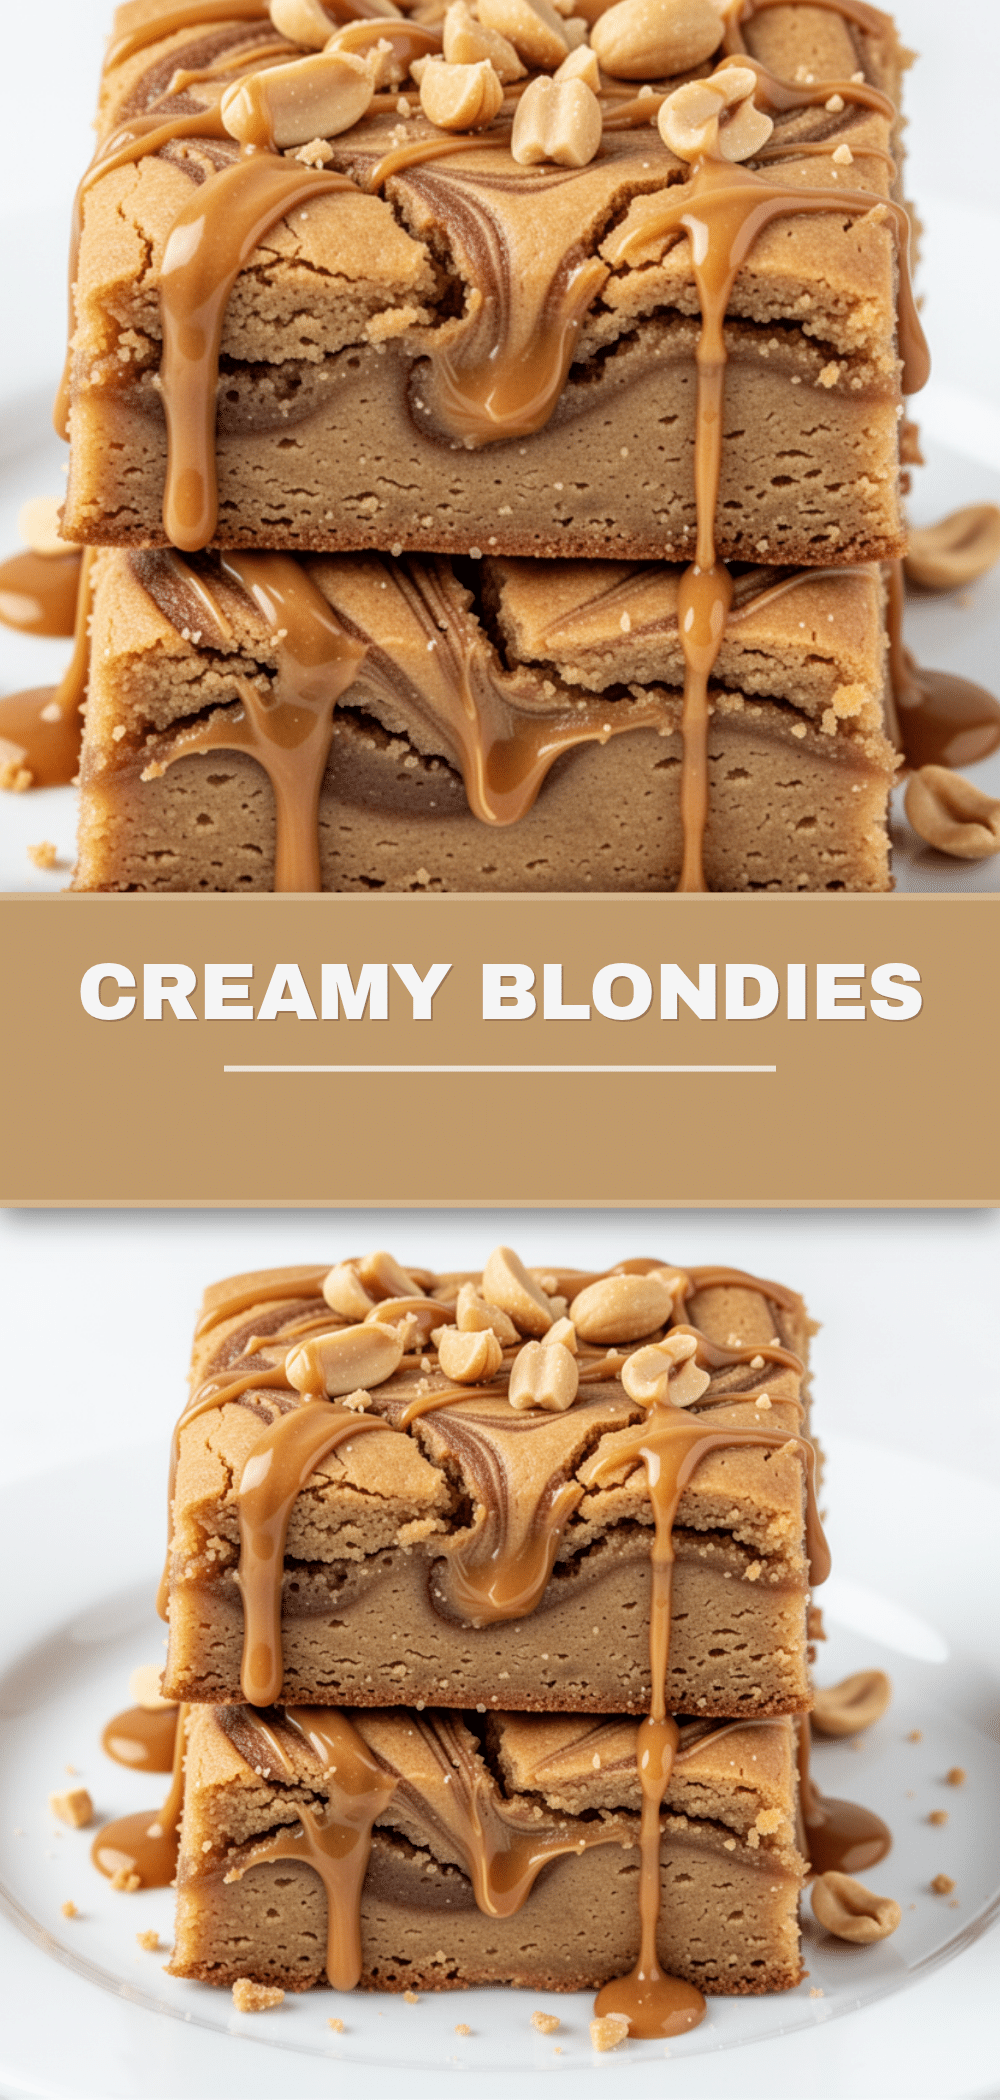
Chickpea Blondies: 5 High Protein Peanut Butter Swirl Dessert
- Total Time: 25 minutes
- Yield: 9 servings 1x
Description
These dense, fudgy chickpea blondies are a high-protein, gluten-free dessert that tastes like a bakery brownie but is made with healthy ingredients like garbanzo beans and peanut butter. They require no mixer and come together in just 25 minutes.
Ingredients
- 1 can (15 oz / 425g) canned chickpeas (garbanzo beans), drained, rinsed, and patted dry
- ½ cup (120g) natural creamy peanut butter
- ½ cup (120ml) pure maple syrup
- 2 teaspoons vanilla extract
- ½ cup (60g) almond flour
- ½ cup (40g) gluten-free oats, blended into flour
- ¼ cup (25g) unsweetened cocoa powder
- ½ scoop (30g) vanilla whey or plant-based protein powder
- ½ teaspoon baking powder
- ½ teaspoon salt
- ¼ cup (40g) dark chocolate chips
- 2 tablespoons extra peanut butter (for swirl)
- 1 teaspoon maple syrup (for swirl)
Instructions
- Preheat oven to 350°F (175°C). Line an 8×8 inch baking pan with parchment paper, leaving an overhang on the sides, and lightly grease with coconut oil spray.
- Add the dried chickpeas to a food processor and blend on high for 1-2 minutes until they form a completely smooth, creamy paste. Scrape down sides as needed.
- Add the peanut butter, maple syrup, and vanilla extract to the food processor and blend until fully incorporated and smooth.
- Add the oat flour, almond flour, cocoa powder, protein powder, baking powder, and salt. Pulse until just combined. The batter will be thick and sticky.
- Transfer the batter to a mixing bowl and gently fold in the dark chocolate chips.
- Spread the batter evenly into the prepared pan. In a small bowl, whisk together the 2 tablespoons of peanut butter and 1 teaspoon of maple syrup. Drop dollops of this mixture onto the batter and swirl with a knife or toothpick.
- Bake for 20-25 minutes until the edges are set and slightly pulling away from the pan. The center may look soft but will firm up as it cools. Insert a toothpick to check; it should come out with moist crumbs.
- Let the blondies cool in the pan for at least 30 minutes before lifting them out and cutting into squares.
Notes
Ensure chickpeas are thoroughly rinsed and patted dry to avoid a hummus-like flavor and ensure fudgy texture. Do not overbake as they continue to cook in the residual heat. Store in an airtight container in the fridge for up to 5 days or freeze for up to 3 months.
- Prep Time: 5 minutes
- Cook Time: 20-25 minutes
- Category: Dessert
- Cuisine: American
Nutrition
- Serving Size: 1 square
- Calories: 180
- Sugar: 12
- Sodium: 120
- Fat: 9
- Saturated Fat: 1.5
- Carbohydrates: 22
- Fiber: 4
- Protein: 8
Keywords: chickpea blondies, high protein dessert, gluten-free baking, healthy brownies, peanut butter swirl, no mixer recipe, vegan dessert option


