It was 11 PM on a Tuesday. You know the kind. The house is quiet, the kids are finally asleep, and I’m standing in my kitchen staring into the abyss of the pantry. I wasn’t hungry, exactly, but my brain was screaming for something to chew on. I wanted the crunch of a chip, the salt of a pretzel, but I definitely didn’t want to open a bag of processed junk that sat on a shelf for six months. I wanted something that felt like a treat but didn’t leave me feeling sluggish the next morning.
I had a can of chickpeas in the fridge that had been staring at me for a week. Usually, I toss them into one-pot taco pasta for dinner, but tonight I just wanted a snack. I drained them, patted them dry with a towel (a crucial step I usually skip), tossed them in olive oil and garlic powder, and threw them into my air fryer. I set it for 15 minutes and went to read a chapter of my book.
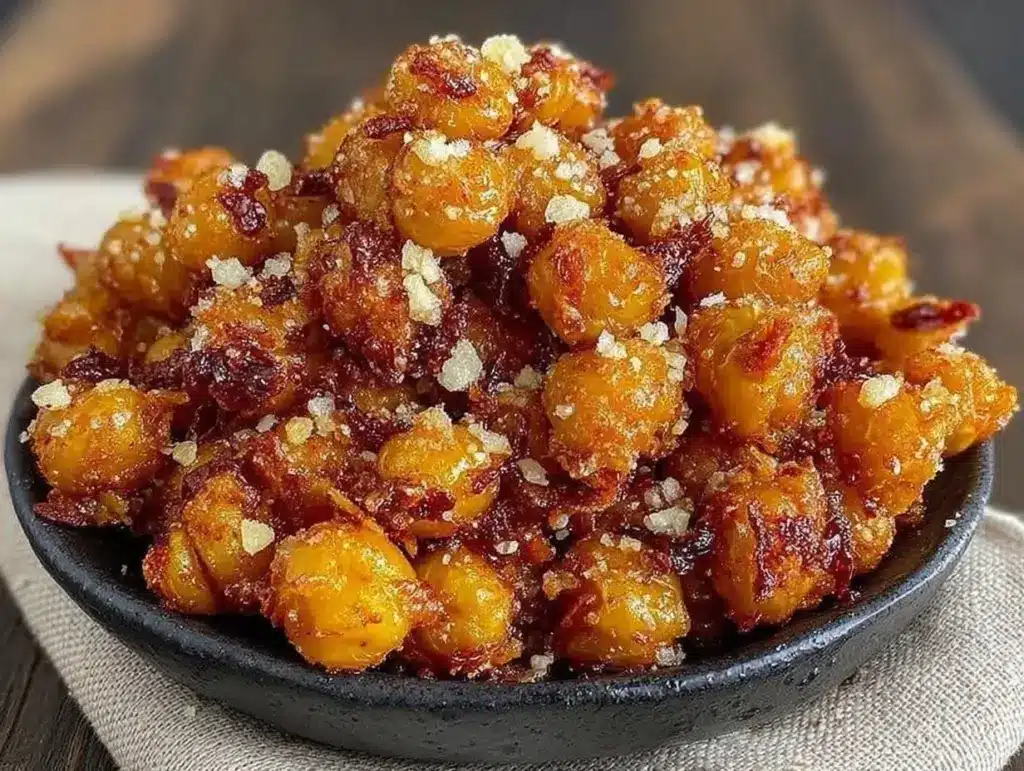
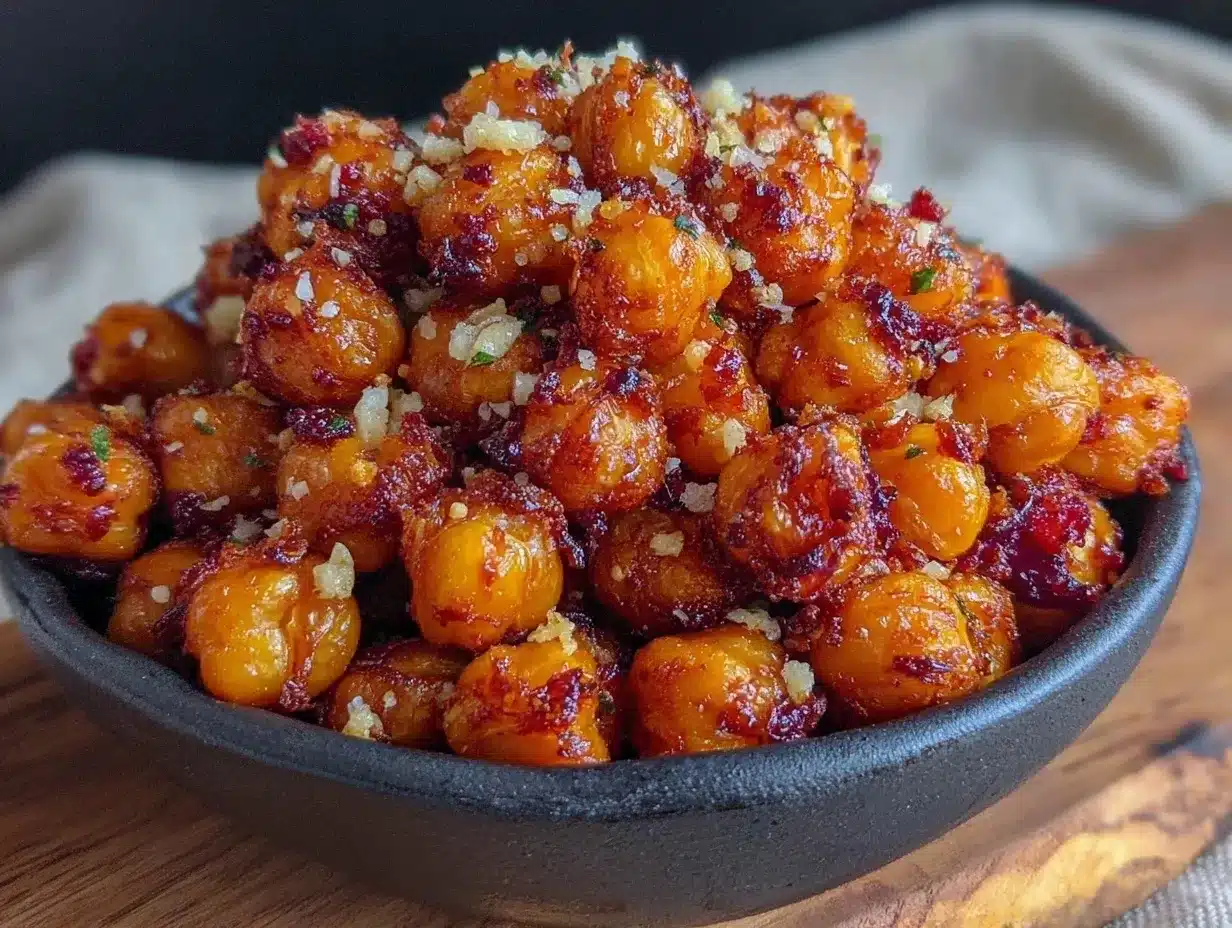
When I walked back into the kitchen, the smell hit me first. Smoky, savory, garlic-y perfection. I pulled the basket out, and they were golden, shrunken, and impossibly crispy. I took one bite. Then another. Then I ate the whole batch. They weren’t just good for a healthy snack; they were genuinely addictive. They had the texture of a high-end pub snack but with a fraction of the calories.
Since that late-night accident, I’ve made this **Air Fryer Crispy Chickpeas Smoky Garlic Snack** recipe at least twenty times. It’s become my go-to when I need a bite to get me through the evening, a crunchy topping for salads, or just a guilt-free indulgence while watching TV. If you’re looking for a way to snack without the sugar crash or the gluten bloat, this is the answer. It’s simple, it’s fast, and it tastes like you spent hours in the kitchen when it really only takes fifteen minutes.
Why You’ll Love This Air Fryer Crispy Chickpeas Smoky Garlic Snack
There are a million snack options out there, but few offer the specific combination of crunch, protein, and flavor that this snack delivers. Here is why this **Air Fryer Crispy Chickpeas Smoky Garlic Snack** has permanently replaced chips in my rotation.
- Insanely Crunchy Texture — The air fryer circulates hot air around the chickpeas, drying out the skins and creating a shatteringly crisp exterior that holds up to heavy seasoning. They don’t get soggy like oven-baked versions often do.
- High Protein Punch — A single serving packs about 6-7 grams of plant-based protein. It’s substantial enough to curb real hunger, not just mindless munching. It’s the kind of snack that keeps you satisfied until dinner.
- Gluten-Free and Allergen-Friendly — Naturally free of gluten, dairy, and soy. This is proof that you don’t need wheat or cheese to make a snack that feels indulgent. It’s safe for almost any dietary restriction.
- Under 20 Minutes Total — From opening the can to eating the snack, it’s a quick win. No marinating overnight, no complex prep. Just drain, toss, fry, eat. Perfect for those “I need something now” moments.
- Customizable Flavor Profile — While smoky garlic is my obsession, the blank canvas of the chickpea lets you go wild. You can make them sweet, spicy, herby, or cheesy (if you use nutritional yeast). It never gets boring.
- Meal Prep Friendly — I often make a big batch on Sunday to have on hand for the week. They store well and are ready to grab whenever the craving strikes. It’s like having your own personal bag of chips, but healthier.
This is my go-to when dinner needs to just work, or when I need a bridge between lunch and dinner that doesn’t derail my health goals. It’s reliable, delicious, and surprisingly sophisticated for such a humble ingredient.
Key Ingredients for the Best Air Fryer Crispy Chickpeas Smoky Garlic Snack
You don’t need a fancy grocery store for this. Most of these items are pantry staples. Here is exactly what you need and why each part matters.
Canned Chickpeas
(1 can, 15 oz / 425g)
Yes, canned. Do not boil dry chickpeas from scratch if you want this to be a quick weeknight snack. Rinsing them thoroughly is non-negotiable. You need to remove that slimy aquafaba liquid to ensure they crisp up instead of steaming. Look for brands where the beans are uniform in size; smaller chickpeas get lost in the seasoning, and larger ones have thicker skins that can be chewy.
Avocado Oil or Olive Oil
(1.5 tbsp / 22ml)
Oil is the conductor for the heat in the air fryer. It helps the seasoning stick and promotes browning. I prefer avocado oil because it has a higher smoke point, but extra virgin olive oil works great if you want a fruitier flavor. Don’t skip the oil, or you’ll end up with dry, hard beans that taste like rocks. You need just enough to coat them, not drown them.
Smoked Paprika
(1 tsp / 2g)
This is the star of the “smoky” in our **Air Fryer Crispy Chickpeas Smoky Garlic Snack**. Regular paprika is sweet and mild; smoked paprika (pimentón) adds that deep, wood-fired flavor that mimics bacon or BBQ without any meat. It gives the chickpeas that restaurant-quality depth. If you can’t find smoked paprika, you can use regular paprika plus a tiny pinch of cumin, but the flavor profile will be different.
Garlic Powder
(1 tsp / 2g)
Use the powder, not fresh garlic. Fresh garlic burns quickly in an air fryer and leaves you with bitter, charred bits. Garlic powder distributes evenly and infuses every bite with savory flavor. Make sure your jar isn’t three years old; stale garlic powder tastes like nothing. If you’re unsure, buy a new one. It’s worth it.
Onion Powder
(0.5 tsp / 1g)
Onion powder adds a layer of savory sweetness that balances the salt and smoke. It rounds out the garlic flavor. Like the garlic, use the powder for even distribution and to avoid burning.
Sea Salt
(0.5 tsp / 1g)
Adjust to taste, but don’t be shy. Chickpeas are relatively bland on their own, and they need salt to carry the other flavors. I like flaky sea salt for the final sprinkle because it adds a nice textural contrast, but kosher salt works well for mixing in.
Black Pepper
(0.25 tsp / 0.5g)
A little heat and earthiness. Freshly cracked is best, but pre-ground works in a pinch. It adds a subtle kick that wakes up the palate.
Tools Needed for This Snack
You don’t need fancy equipment. Here’s what I use. If you don’t have an air fryer, you can use an oven, but the air fryer is far superior for crispiness.
- Air Fryer — I use a 5.8-quart basket style. The key is having enough surface area. If you overcrowd the basket, the chickpeas steam instead of crisp. Cook in batches if you’re making a large amount.
- Cutting Board and Knife — You’ll need to inspect the chickpeas and remove any loose skins if you’re being perfectionist (I do this sometimes).
- Clean Kitchen Towels or Paper Towels — Essential for drying the chickpeas. Moisture is the enemy of crispness.
- Small Mixing Bowl — Large enough to toss the chickpeas without spilling.
- Measuring Spoons — Precision helps, but eyeballing is fine for this recipe. It’s forgiving.
How to Make Air Fryer Crispy Chickpeas Smoky Garlic Snack
Let’s get cooking. This process is simple, but the details matter. I’ve walked through this many times, so here is exactly how I do it to ensure maximum crunch.
Step 1: Drain and Rinse (5 minutes)
Open your can of chickpeas and pour them into a colander. Rinse them thoroughly under cold running water. Use your fingers to gently rub the chickpeas together to remove any residual slime. This step is critical. If they are wet, they won’t crisp. Shake the colander well to remove excess water.
Step 2: Dry Thoroughly (5 minutes)
Spread the rinsed chickpeas on a clean kitchen towel or several layers of paper towels. Pat them dry. I usually roll them in the towel to absorb every bit of moisture. If you can, let them sit for 10 minutes to air dry further. The drier they are, the crispier they get. I learned this the hard way on my first attempt—wet chickpeas = chewy snacks. Not what I wanted.
Step 3: Season and Coat (2 minutes)
Transfer the dried chickpeas to your mixing bowl. Drizzle with the avocado oil. Sprinkle in the smoked paprika, garlic powder, onion powder, black pepper, and half of the salt. Toss vigorously with your hands or a spoon until every single chickpea is coated. You want a uniform layer of seasoning. If they look dry, add a tiny splash more oil. If they look greasy, add a few more chickpeas or a pinch of flour (optional, for extra crunch).
Step 4: Air Fry (12-15 minutes)
Preheat your air fryer to 390°F (200°C). Add the chickpeas to the basket in a single layer. Do not pile them on top of each other. Cook for 12-15 minutes. Shake the basket every 5 minutes to ensure even cooking. You want them to turn golden brown and rattle around in the basket when shaken. They should look shriveled and crisp.
Step 5: Cool and Season (5 minutes)
Remove the basket and immediately sprinkle with the remaining salt while they are still hot. The heat helps the salt adhere. Transfer them to a plate or bowl to cool. They will continue to crisp up as they cool down. This is the hardest part—waiting for them to cool so you don’t burn your mouth. Eat them warm for the best texture.
Total Time Breakdown: Prep 10 minutes | Cook 15 minutes | Cool 5 minutes = 30 minutes total.
Expert Tips from My Kitchen
Here’s everything I learned from making this too many times. These little tweaks will take your snack from good to unforgettable.
The Dryness is Key
I cannot stress this enough: moisture is the enemy. If your chickpeas are even slightly damp, they will steam. I often leave them on the counter for 15-20 minutes after patting them dry to ensure all surface moisture is gone. It’s worth the wait.
Don’t Overcrowd the Basket
If you try to cook too many chickpeas at once, the air can’t circulate properly. The ones in the middle will stay soft. I always cook in two batches if I’m making a large portion. It takes longer, but the result is worth it. You want every chickpea exposed to the hot air.
Check Early
Air fryers vary in power. My first batch took 12 minutes; my second took 18. Start checking at 10 minutes. Look for browning and listen for the “rattle.” When they rattle against the basket, they’re done. If they still feel soft when you pick one up, give them 2 more minutes.
Common Problems & Solutions
- Chickpeas are chewy, not crisp: They weren’t dry enough, or the basket was overcrowded. Next time, pat them drier and cook in smaller batches.
- Seasoning is falling off: Not enough oil. The oil acts as a glue. Make sure they are glossy, not matte, before cooking.
- Burnt garlic flavor: You used too much garlic powder or the temperature was too high. Stick to 390°F and use the recommended amounts.
Pro Trick: The Skins Off
If you’re feeling fancy, rub the dried chickpeas in the towel to remove some of the loose skins. The skins can be tough and prevent even crisping. Removing them results in a smoother, more uniform crunch. It’s optional but makes a noticeable difference.
Recipe Variations to Mix It Up
Once you’ve nailed the basic smoky garlic version, here’s how to mix it up. The chickpea base is so versatile.
Spicy Chipotle
Swap smoked paprika for chipotle powder and add a pinch of cayenne. The heat pairs beautifully with the smokiness. Great for taco night sides.
Rosemary Sea Salt
Use dried rosemary (crushed between your fingers) instead of paprika. Add a touch of lemon zest after cooking. This is elegant and perfect for cheese boards.
Honey Mustard
Toss with a little Dijon mustard and honey after cooking. The residual heat will caramelize the honey slightly. Sweet and tangy.
Everything Bagel
Skip the spices and toss with everything bagel seasoning. Simple, savory, and packed with sesame and poppy seeds.
Dietary Modifications
This recipe is naturally gluten-free and dairy-free. For a vegan option, ensure your oil is plant-based (avocado or olive) and skip any cheese toppings. For a low-carb version, the chickpeas are moderate in carbs, but you can reduce the portion size and pair them with a high-fat dip like guacamole.
Serving & Storage
Serving Suggestions
I eat these straight out of the basket, but they also make a fantastic salad topper. Chop up a salad and sprinkle these on top instead of croutons. They add crunch and protein without the carbs. They also go great with dips like hummus, tzatziki, or spicy mayo. Try them with crispy parmesan chicken as a side snack for parties.
Storage Instructions
Room Temperature: Store in an airtight container for up to 3 days. They stay crisp if kept dry. If they soften, pop them back in the air fryer for 2 minutes to re-crisp.
Refrigerator: Not recommended. The humidity in the fridge will make them soggy quickly.
Freezer: These do not freeze well. The texture changes and they become chewy upon thawing. Make small batches you can eat within a few days.
Nutrition Information
I’m not a nutritionist, but here’s the breakdown per serving (approx. 1/4 of the batch).
| Nutrient | Amount |
|---|---|
| Calories | 120 |
| Protein | 6g |
| Carbohydrates | 18g |
| Fiber | 5g |
| Fat | 4g |
| Sodium | 350mg |
My Take: This is a nutrient-dense snack. The fiber and protein make it filling, and the healthy fats from the oil keep you satisfied. It’s not “diet” food, but it’s a far better choice than potato chips. You’re getting real food, real flavors, and real satisfaction.
Final Thoughts
Making this **Air Fryer Crispy Chickpeas Smoky Garlic Snack** has changed how I snack. It’s proven that healthy eating doesn’t have to be boring or restrictive. With just a few simple ingredients and an air fryer, you can create something that feels indulgent and satisfies those crunchy cravings. I hope you try it and find it as addictive as I did. If you make it, drop a comment! I love hearing how it turns out in your kitchen. Happy cooking!
FAQs
Can I use dried chickpeas instead of canned?
You can, but it takes much longer. You’ll need to soak dried chickpeas overnight and then boil them until tender (about 1-2 hours) before drying and air frying. For a quick snack, canned is the way to go.
Why are my chickpeas still soft?
They likely weren’t dry enough before cooking, or the air fryer basket was overcrowded. Make sure to pat them thoroughly with towels and cook in a single layer. Also, check that your air fryer is preheated.
Can I make these in the oven?
Yes. Spread them on a baking sheet and bake at 400°F (200°C) for 25-30 minutes, shaking the pan every 10 minutes. The air fryer is faster and crispier, but the oven works fine.
How do I store leftovers?
Keep them in an airtight container at room temperature for up to 3 days. If they lose crunch, reheat them in the air fryer for 2-3 minutes.
Is this recipe gluten-free?
Yes, chickpeas are naturally gluten-free. Just ensure your spices and oil are certified gluten-free if you have celiac disease, as cross-contamination can happen in manufacturing.
Can I add cheese?
If you’re not dairy-free, you can sprinkle nutritional yeast or grated parmesan after cooking. However, cheese can burn in the air fryer, so add it after they are done cooking.
What dips go well with these?
They pair beautifully with hummus, baba ganoush, spicy mayo, or a simple yogurt-garlic dip. They also work well as a crunchy topping for soups.
Pin This Recipe!
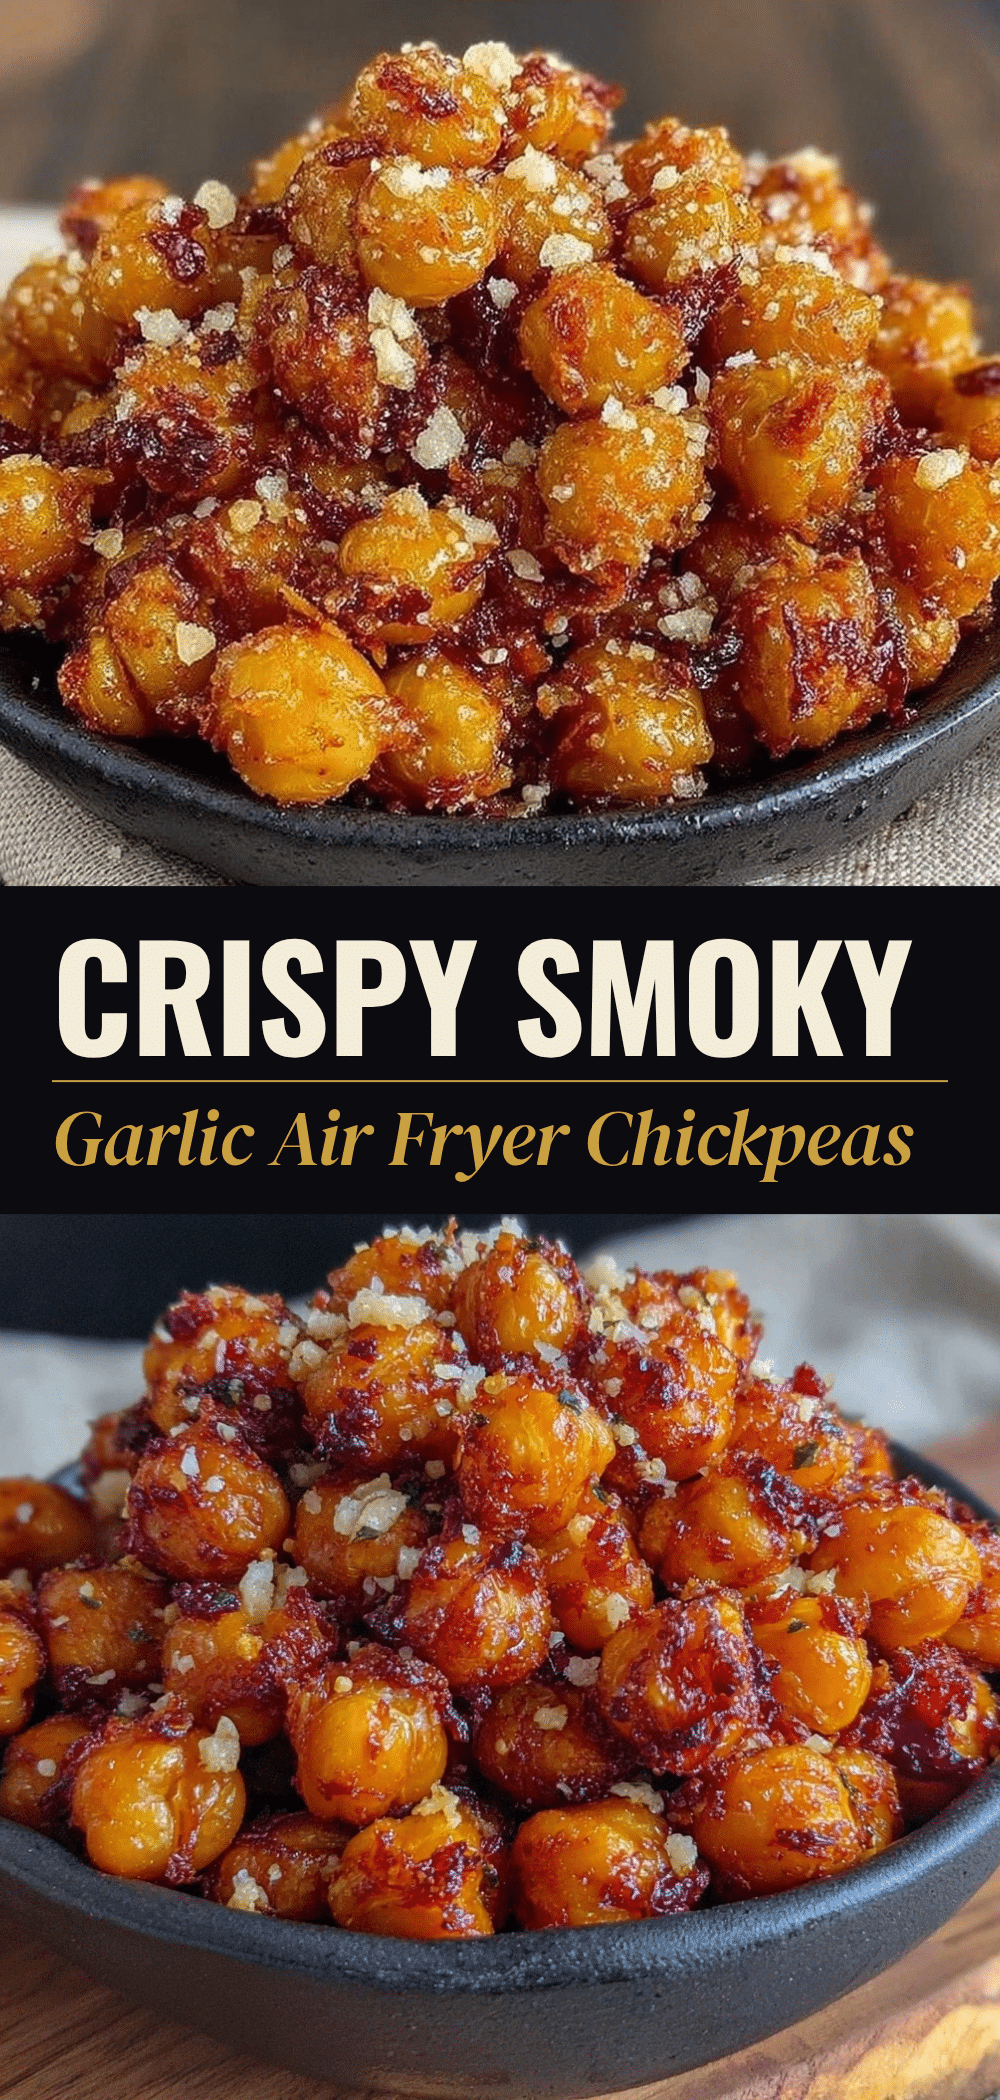

Air Fryer Crispy Chickpeas: Best Gluten-Free Smoky Garlic Snack
- Total Time: 30 minutes
- Yield: 4 servings 1x
Description
A quick, healthy, and addictive snack made with canned chickpeas, smoked paprika, and garlic powder. These air-fried chickpeas offer an insanely crunchy texture with high protein and zero gluten, ready in under 30 minutes.
Ingredients
- 1 can (15 oz / 425g) chickpeas
- 1.5 tbsp avocado oil or olive oil
- 1 tsp smoked paprika
- 1 tsp garlic powder
- 0.5 tsp onion powder
- 0.5 tsp sea salt (divided)
- 0.25 tsp black pepper
Instructions
- Drain and rinse the chickpeas thoroughly in a colander to remove the slimy aquafaba liquid.
- Pat the chickpeas completely dry using a clean kitchen towel or paper towels. Let them air dry for 10-15 minutes if possible to ensure maximum crispiness.
- Transfer the dried chickpeas to a mixing bowl. Drizzle with oil and sprinkle with smoked paprika, garlic powder, onion powder, black pepper, and half of the salt.
- Toss vigorously until every chickpea is evenly coated in oil and seasoning.
- Preheat the air fryer to 390°F (200°C).
- Place chickpeas in the air fryer basket in a single layer, ensuring they are not overcrowded. Cook for 12-15 minutes, shaking the basket every 5 minutes.
- Remove when golden brown and shriveled. Immediately sprinkle with the remaining salt while hot.
- Let cool for 5 minutes before eating to allow them to crisp up further.
Notes
Moisture is the enemy of crispness; ensure chickpeas are thoroughly dried before cooking. Do not overcrowd the air fryer basket; cook in batches if necessary. If using an oven, bake at 400°F (200°C) for 25-30 minutes, shaking every 10 minutes. Store in an airtight container at room temperature for up to 3 days.
- Prep Time: 10 minutes
- Cook Time: 15 minutes
- Category: Snack
- Cuisine: American
Nutrition
- Serving Size: Approx. 1/4 of the b
- Calories: 120
- Sugar: 2
- Sodium: 350
- Fat: 4
- Saturated Fat: 0.5
- Carbohydrates: 18
- Fiber: 5
- Protein: 6
Keywords: air fryer chickpeas, gluten-free snack, healthy snack, smoky garlic chickpeas, crispy chickpeas, vegan snack, high protein snack, quick snack