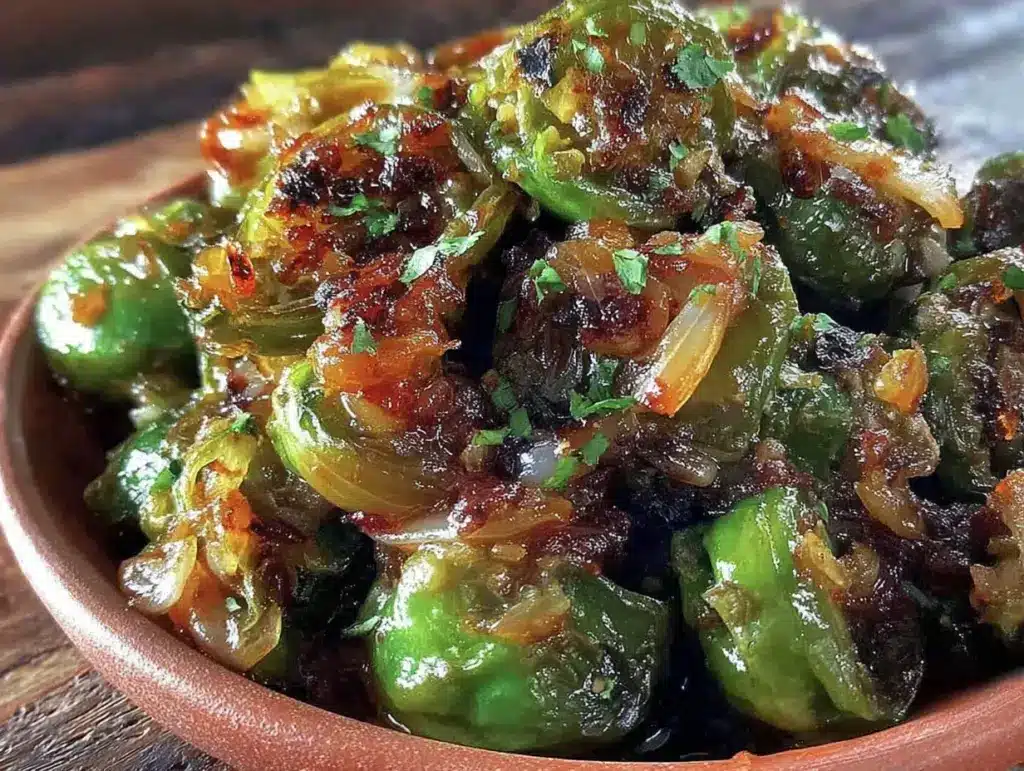
It’s August, and my kitchen smells like smoke and green peppers. Specifically, it smells like Hatch chiles. If you’ve never stood in front of a mountain of these specific green chiles from the Hatch Valley in New Mexico, you’re missing out on the single best seasonal window in American cooking. For about six weeks a year, I stop buying anything else. I don’t care about the fancy imported peppers or the mild jalapeños sitting in the plastic bins at the grocery store. I want the real deal.
I remember the first time I made Seasonal Roasted Hatch Green Chile Salsa. I was living in a tiny apartment with a balcony that got direct sun. I had bought five pounds of chiles, thinking I could roast them on my small electric oven tray. I was wrong. The smoke alarm went off three times before I figured out I needed to do this outside. But when I finally peeled those charred skins off, revealing that tender, bright green flesh underneath, I realized I had stumbled onto something magical. It wasn’t just spicy; it was sweet, smoky, and deeply vegetal. It tasted like summer.
Since then, I’ve refined the process. I’ve learned that the secret isn’t just roasting—it’s the balance. Too much lime, and you lose the pepper flavor. Too little salt, and it tastes flat. Too much garlic, and it overpowers the delicate sweetness of the Hatch variety. I’ve made this salsa dozens of times, tweaking the ratios until it hit that perfect note of “I need to dip everything in this immediately.”
Here’s the thing about Hatch chiles: they are fleeting. Once September hits, the supply dwindles, the prices skyrocket, and the flavor profile shifts. That’s why I’m obsessed with making this Seasonal Roasted Hatch Green Chile Salsa right now. It’s a celebration of produce at its absolute peak. It’s not a pantry staple you keep for three years. It’s a moment in time, captured in a jar. And once you taste it, you’ll understand why I’m willing to deal with the peeling and the chopping just for these few weeks.
Why You’ll Love This Seasonal Roasted Hatch Green Chile Salsa
This isn’t your average jarred salsa. I’ve tasted the supermarket stuff, and it usually tastes like canned tomatoes and regret. This version is alive. It’s bright, it’s complex, and it changes your entire dinner table dynamic. Here’s why this Seasonal Roasted Hatch Green Chile Salsa has earned a permanent spot in my rotation (at least, during the season):
- Deep, Complex Smokiness — Roasting the chiles caramelizes their natural sugars. I’ve tried boiling them for convenience, but the flavor is flat. Roasting creates that charred, earthy depth that mimics a grill without actually turning on the barbecue.
- Bright, Fresh Finish — The addition of cilantro and lime juice cuts through the richness of the roasted peppers. It wakes up your palate. I usually taste it ten minutes after making it, and the freshness is undeniable.
- Perfect Heat Level — Hatch chiles have a reputation for being mild to medium, but they have a meaty texture that holds sauce beautifully. This Seasonal Roasted Hatch Green Chile Salsa gives you heat without the burn. It’s approachable for kids but flavorful enough for adults who want a kick.
- Zero Waste, Maximum Flavor — I use the whole pepper. The seeds, the flesh, the skin (if you’re feeling lazy, though I recommend peeling). It’s a way to honor the ingredient by using it fully. Plus, it pairs amazingly with one-pot taco pasta or as a topping for crispy baked chicken parmesan.
- Ready in 45 Minutes — From roast to jar, it’s quick. I know, roasting peppers can be tedious, but if you use the oven method I share below, it’s mostly hands-off time. You’re just waiting for the skins to blister.
This is my go-to when I want to impress guests without spending hours in the kitchen. It’s fresh, it’s seasonal, and it’s absolutely delicious.
Key Ingredients for Seasonal Roasted Hatch Green Chile Salsa
When you’re working with a seasonal ingredient like Hatch chiles, the quality of the other components matters even more. You can’t hide behind heavy spices. Here’s what you need to get this right:
Hatch Green Chiles (5 lbs, roasted, peeled, and chopped) — This is the star. Look for peppers that are firm, glossy, and have a deep green color. Some will have brown blister marks from the roasting process—this is good. Avoid peppers that are soft or slimy. If you can’t find Hatch chiles, Anaheim or Poblano peppers work as substitutes, but the flavor won’t be quite the same. I buy them in bulk from local Mexican markets or farmers’ markets when they’re in season.
Yellow Onion (1 medium, finely diced / ~1 cup) — I prefer yellow onion over white because it has a bit more sweetness, which balances the heat. White onion is sharper and can be overwhelming if you don’t cook it down. Since we’re roasting the peppers, I keep the onion raw and finely diced to add a fresh crunch. If you’re sensitive to raw onion, you can sauté it lightly first, but I love the contrast.
Fresh Cilantro (1 large bunch, chopped / ~1 cup packed) — This is non-negotiable. Cilantro provides the herbal brightness that makes the salsa taste fresh. If you hate cilantro (genetic taste aversion is real!), you can substitute with fresh parsley or basil, but you’ll lose that authentic Southwestern vibe. I chop it roughly and stir it in at the end to keep the color vibrant.
Lime Juice (3-4 limes, juiced / ~1/3 cup) — Fresh lime juice is essential. Bottled lime juice tastes metallic and flat. I squeeze these limes myself. You want enough acidity to balance the richness of the roasted peppers. Start with 3 limes, taste, and add more if needed. The salsa should taste bright, not just spicy.
Garlic (4 cloves, minced / ~2 tbsp) — Fresh garlic only. Jarred minced garlic has a sulfurous taste that clashes with the delicate flavor of the Hatch chiles. I mince it finely so it disperses evenly. If you’re afraid of raw garlic, you can roast the cloves along with the peppers, but raw garlic adds a nice pungency.
Sea Salt (1.5 tsp kosher salt / ~9g) — Kosher salt is easier to control than table salt because the granules are larger. I taste as I go. Hatch chiles vary in saltiness, so always season at the end. If you use table salt, start with 1 tsp.
Cumin (1/2 tsp ground cumin / ~1g) — A little goes a long way. Cumin adds an earthy warmth that complements the smoky peppers. I use freshly ground cumin if I can, but ground works fine. Don’t skip this—it’s the backbone of the flavor profile.
Tools Needed
You don’t need fancy equipment to make this Seasonal Roasted Hatch Green Chile Salsa. Here’s what I use:
Baking Sheets — I use two large rimmed baking sheets. This allows me to roast more peppers at once. Line them with parchment paper for easy cleanup. The skins will stick, and parchment saves you from scrubbing.
Large Bowl — A big mixing bowl (at least 4-quart) is essential for combining all the ingredients. I use a stainless steel bowl because it’s durable and easy to clean.
Peeling Knife — A small paring knife helps with removing the charred skins. It’s tedious, but worth it for the texture. If you’re lazy, you can leave the skins on, but they can be slightly bitter.
Food Processor — Optional. I usually chop the peppers by hand for a chunkier texture, but if you prefer a smoother salsa, a food processor works great. Pulse gently to avoid turning it into mush.
How to Make Seasonal Roasted Hatch Green Chile Salsa
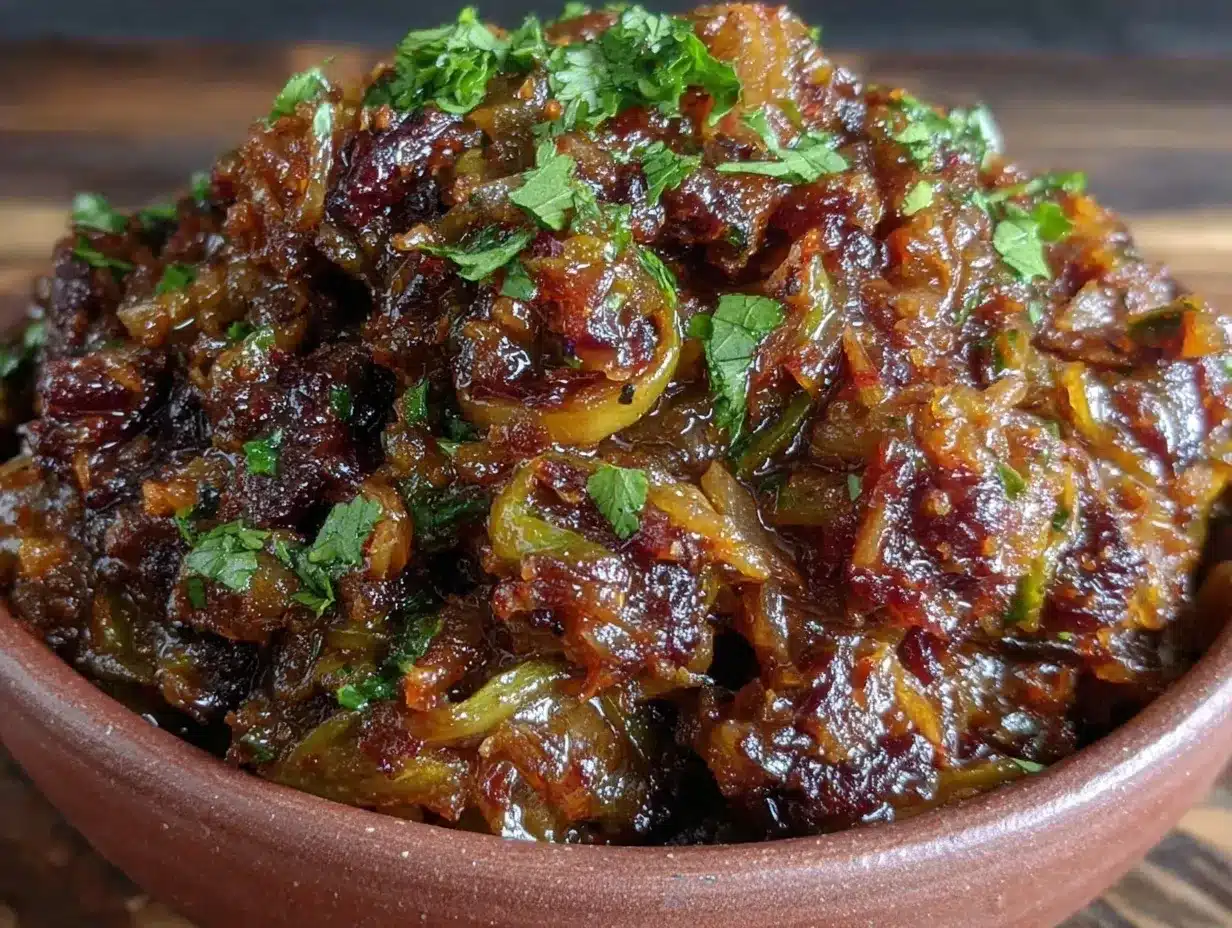
Let’s get into the nitty-gritty. This process is straightforward, but there are a few tricks to get the best flavor.
Step 1: Roast the Chiles (25-30 minutes)
Preheat your oven to 450°F (230°C). Line two baking sheets with parchment paper. Wash the Hatch chiles and pat them dry. Place them in a single layer on the baking sheets. Roast for 20-25 minutes, turning them every 5-7 minutes, until the skins are blistered and charred on all sides. You want a good char, but not burnt to a crisp. The peppers should be soft to the touch.
Pro Tip: If your oven doesn’t fit 5 lbs of peppers, do it in batches. Don’t crowd them, or they’ll steam instead of roast.
Step 2: Steam and Peel (15 minutes)
As soon as the peppers come out of the oven, transfer them to a large bowl and cover it tightly with plastic wrap or a lid. Let them steam for 10-15 minutes. This loosens the charred skins, making them easy to remove. Once they’re cool enough to handle, rub the skins off with your fingers or a paper towel. The skin should slip off easily. Discard the skins and stems. If you want a smoother salsa, you can also remove the seeds, but I leave most of them in for extra heat and texture.
Common Mistake: Don’t rush this step. If you try to peel hot peppers, you’ll burn your fingers and the skins won’t come off cleanly.
Step 3: Chop and Combine (10 minutes)
Chop the peeled peppers into small pieces. If using a food processor, pulse until desired consistency is reached. In a large bowl, combine the chopped peppers, diced yellow onion, minced garlic, and ground cumin. Mix well.
Step 4: Season and Finish (5 minutes)
Add the fresh lime juice and sea salt. Stir to combine. Taste the salsa. This is the most important step. Does it need more salt? More lime? Adjust accordingly. Once satisfied, stir in the chopped cilantro. Mix gently to distribute the herbs without bruising them.
Sensory Cue: The salsa should smell bright and citrusy, with a underlying smokiness. The color should be a vibrant green.
Step 5: Rest and Serve (30 minutes)
Let the salsa rest in the refrigerator for at least 30 minutes before serving. This allows the flavors to meld and the salt to penetrate the peppers. The longer it rests, the better it tastes. I usually make it the night before I plan to serve it.
Total Time: 1 hour (including prep and resting time).
Expert Tips for the Best Salsa
Here’s everything I learned from making this too many times. These tips will save you from common pitfalls.
The Game-Changers
Don’t Skip the Resting Time
I know you want to eat it right away. I get it. But resting the salsa for 30 minutes to an hour allows the salt and lime juice to penetrate the peppers. The flavor deepens significantly. I learned this the hard way when I served it immediately to friends, and they commented it tasted “a bit sharp.” After resting, it was perfect.
Balance the Heat
Hatch chiles vary in heat level. Some are mild, some are spicy. Always taste before adding extra chili powder or hot sauce. If you want more heat, add a minced serrano pepper or a dash of cayenne. But start with the chiles as your primary heat source.
Fresh Herbs Only
Dried cilantro is an insult to this recipe. Fresh cilantro provides a volatile oil that gives the salsa its fresh aroma. If you can’t find fresh cilantro, make the salsa without it, but don’t substitute with dried herbs.
Common Problems & Solutions
Salsa is too watery — This happens if the peppers are very juicy. Let the salsa drain in a fine-mesh strainer for 10 minutes before serving. Or, add a bit more diced onion to absorb the liquid.
Salsa is too spicy — Add more diced onion or a spoonful of sour cream or Greek yogurt. The dairy or onion sweetness will counteract the heat.
Skins are hard to remove — Make sure you steam the peppers long enough. If they’re still stuck, rub them under cold running water. The water helps loosen the skins.
Pro Tricks
Roast in Batches for Even Char
If you have a small oven, roast in smaller batches. This ensures each pepper gets direct heat and chars evenly. Crowding the pan leads to steaming, which results in a dull flavor.
Use a Blender for Smooth Salsa
If you prefer a smoother consistency, blend the roasted peppers in a blender before adding the other ingredients. Then mix in the onion, cilantro, and lime by hand.
Recipe Variations
Once you’ve nailed the basic version, here’s how to mix it up. This Seasonal Roasted Hatch Green Chile Salsa is a canvas for your creativity.
Hatch Red Chile Salsa
Use roasted Hatch red chiles instead of green. Red chiles are sweeter and have a deeper, more complex flavor. This salsa is great for holiday gatherings.
Mango Hatch Salsa
Add 1 diced ripe mango to the mix. The sweetness of the mango pairs beautifully with the smoky peppers. This is perfect for summer BBQs.
Avocado Hatch Salsa
Fold in 1 diced avocado just before serving. This adds creaminess and makes it a dip for chips. Serve immediately to prevent browning.
Spicy Hatch Salsa
Add 1-2 minced jalapeños or serranos to the mix. This is for those who like it hot.
Dairy-Free Option
This recipe is naturally dairy-free. Just ensure you’re not adding any cheese or cream.
Gluten-Free Option
This recipe is naturally gluten-free. Just ensure your cumin and other spices are certified gluten-free.
Serving & Storage
Serving
I serve this salsa with tortilla chips, but it’s also amazing on tacos, burritos, grilled chicken, or smoky Korean ground beef bowls. It’s also great as a topping for baked potatoes or scrambled eggs.
Storage
Refrigerator: Store in an airtight container for up to 5 days. The flavors will continue to develop, so it often tastes better on day 2.
Freezer: This salsa freezes well for up to 3 months. Thaw in the refrigerator overnight before serving. Note that the texture may become slightly softer after thawing, but the flavor remains excellent.
Meal Prep: I often make a double batch and freeze half. It’s a great way to have fresh salsa on hand during the off-season.
Nutrition Information
I’m not a nutritionist, but here’s the breakdown per 1/4 cup serving:
| Nutrient | Amount |
|---|---|
| Calories | 25 |
| Protein | 1g |
| Carbs | 5g |
| Fiber | 2g |
| Fat | 0g |
| Sodium | 150mg |
My Take: This is a light, healthy salsa. It’s low in calories and fat, but high in fiber and vitamin C. It’s a great way to add flavor to your meals without adding excess calories. It’s not a diet food, but it’s certainly a healthy choice.
Final Thoughts
Making Seasonal Roasted Hatch Green Chile Salsa is more than just cooking; it’s a ritual. It’s a way to connect with the season and celebrate the unique flavors of Hatch chiles. I hope this recipe brings you joy and deliciousness. If you make it, drop a comment! I love hearing how it turns out in your kitchen. Happy cooking!
FAQs
Can I use canned Hatch chiles instead of fresh?
You can, but the flavor won’t be the same. Fresh roasted chiles have a depth and smokiness that canned chiles lack. If you must use canned, drain them well and roast them briefly in the oven to add some char.
How spicy is Hatch green chile salsa?
Hatch chiles range from mild to medium heat. This salsa is generally mild to medium, but it depends on the specific peppers you use. If you want more heat, add extra chiles or a pinch of cayenne.
Can I make this salsa ahead of time?
Yes, this salsa actually tastes better after resting for a day. Make it up to 5 days in advance and store it in the refrigerator.
What can I substitute for cilantro?
If you hate cilantro, you can use fresh parsley or basil. However, the flavor profile will change. Parsley will be more earthy, and basil will be sweeter.
Why did my salsa turn out watery?
Hatch chiles can be very juicy. To fix this, let the salsa drain in a fine-mesh strainer for 10-15 minutes before serving. You can also add more diced onion to absorb the liquid.
Can I freeze this salsa?
Yes, this salsa freezes well for up to 3 months. Thaw in the refrigerator overnight before serving. The texture may become slightly softer, but the flavor remains excellent.
Pin This Recipe!
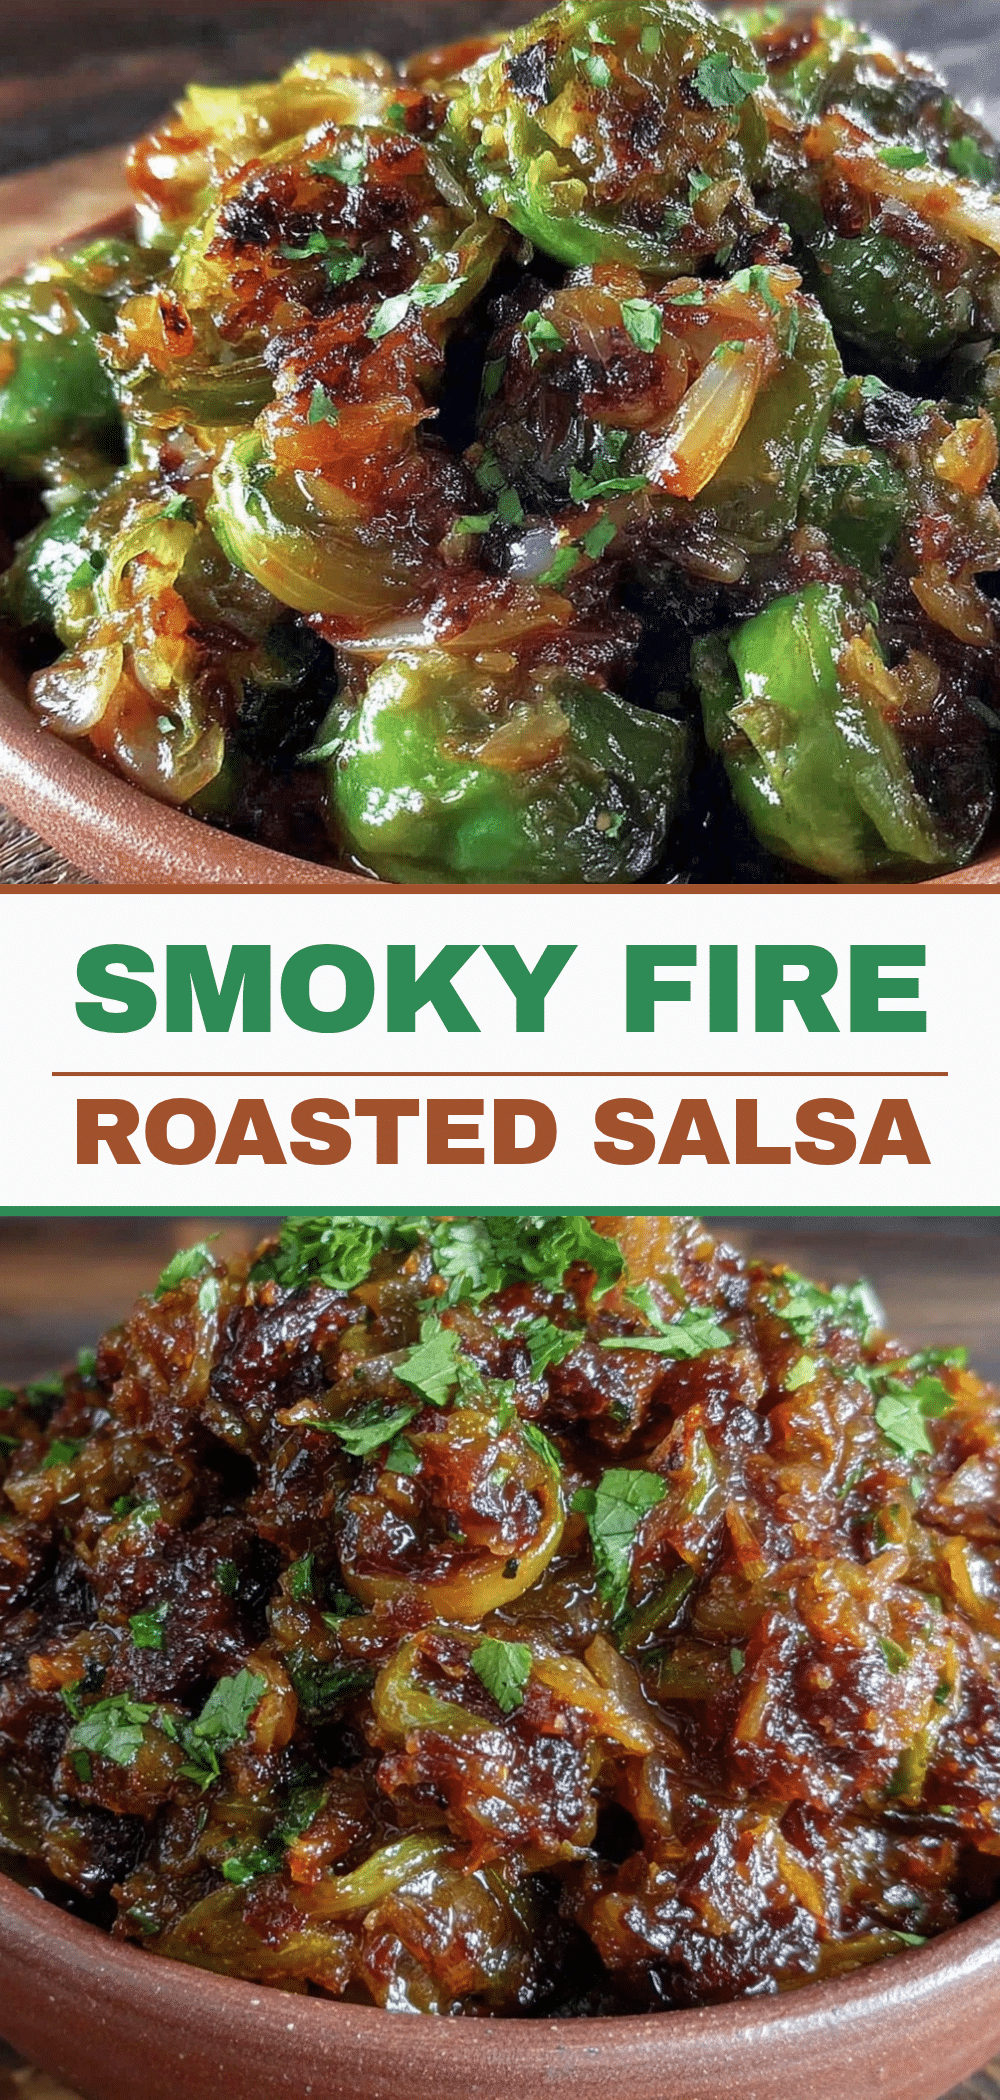
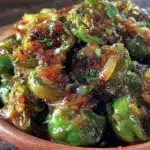
Seasonal Roasted Hatch Green Chile Salsa
- Total Time: 1 hour
- Yield: Makes approx. 4 cups
Description
A vibrant, smoky, and fresh salsa made with roasted Hatch green chiles, lime, cilantro, and spices. This seasonal recipe captures the peak flavor of summer produce and is ready in under an hour.
Ingredients
- 5 lbs Hatch Green Chiles, roasted, peeled, and chopped
- 1 medium Yellow Onion, finely diced
- 1 large bunch Fresh Cilantro, chopped
- 3–4 Limes, juiced (approx. 1/3 cup)
- 4 cloves Garlic, minced
- 1.5 tsp Kosher Salt
- 1/2 tsp Ground Cumin
Instructions
- Preheat oven to 450°F (230°C). Line two baking sheets with parchment paper.
- Wash and dry Hatch chiles. Place in a single layer on baking sheets and roast for 20-25 minutes, turning every 5-7 minutes, until skins are blistered and charred.
- Transfer hot peppers to a large bowl and cover tightly with plastic wrap or a lid. Let steam for 10-15 minutes to loosen skins.
- Once cool enough to handle, rub off charred skins and discard stems. Leave seeds in for extra heat and texture.
- Chop peeled peppers into small pieces.
- In a large mixing bowl, combine chopped peppers, diced yellow onion, minced garlic, and ground cumin.
- Add lime juice and sea salt. Stir to combine and taste for seasoning adjustments.
- Gently stir in chopped cilantro.
- Refrigerate for at least 30 minutes before serving to allow flavors to meld.
Notes
Hatch chiles are seasonal and best used fresh. If unavailable, Anaheim or Poblano peppers can be substituted. For a smoother salsa, pulse ingredients in a food processor. Letting the salsa rest in the refrigerator for 30 minutes to an hour significantly improves flavor. Store in an airtight container in the fridge for up to 5 days or freeze for up to 3 months.
- Prep Time: 30 minutes
- Cook Time: 25 minutes
- Category: Appetizer
- Cuisine: Mexican
Nutrition
- Serving Size: 1/4 cup
- Calories: 25
- Sugar: 2
- Sodium: 150
- Carbohydrates: 5
- Fiber: 2
- Protein: 1
Keywords: Hatch chiles, green chile salsa, roasted salsa, seasonal recipes, summer salsa, Mexican appetizer, fresh salsa