I have a confession to make. Last October, I tried to impress a date with a complicated, multi-layered apple tart that required tempering chocolate and laminating dough from scratch. I failed. Spectacularly. The tart collapsed, the chocolate seized, and my date politely excused himself after twenty minutes. I was left alone in my kitchen with a mess and a bag of bruised apples, wondering if I should just order pizza.
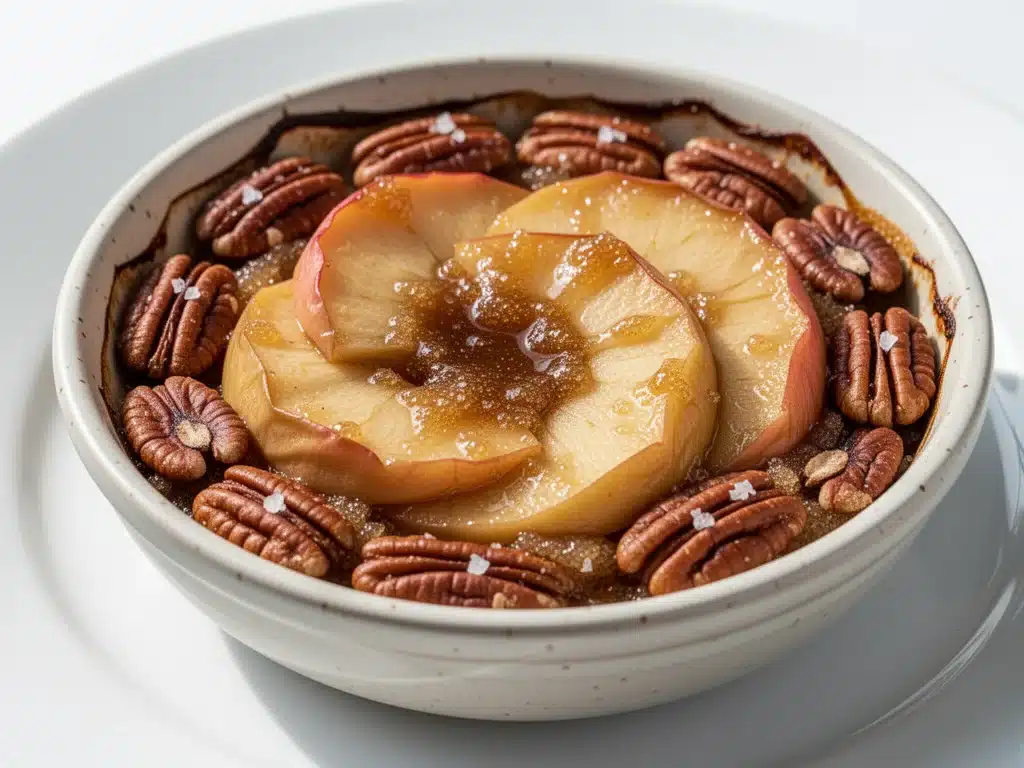
But then, out of sheer frustration, I did the opposite of fancy. I grabbed four apples, threw them in a baking dish, drizzled them with butter and brown sugar, and popped them in the oven. I didn’t even bother peeling them. I just wanted warm, sweet comfort. When I took that baked apple dessert out of the oven forty minutes later, the smell was so incredible it made my chest ache. It was simple, messy, and absolutely perfect. That’s when I realized I didn’t need to be a pastry chef to make something special. I just needed good apples and patience.
This recipe has been my saving grace ever since. It’s not just a dessert; it’s a hug in a bowl. It’s the dish I make when I’m tired, when guests show up unexpectedly, or when I just need to smell like autumn while doing absolutely nothing. It’s forgiving, it’s cheap, and it tastes like a cozy cabin in the woods. I’ve tested this baked apple dessert probably fifty times now, tweaking the spices and the sweeteners, and I’ve finally landed on the version that makes everyone stop mid-bite and close their eyes.
Why You’ll Love This Easy Fall Treat
Look, I get it. You’re busy. You don’t want to spend three hours standing over a stove making a dessert that looks pretty but tastes like cardboard. This recipe is different. It’s the kind of dish that does most of the work for you while you go live your life. Here’s why this baked apple dessert has taken over my weeknight routine:
Zero Stress Cooking — Seriously, if you can peel an apple (or not peel it, like I do), you can make this. There’s no whisking, no folding, no tempering chocolate. You just chop, dump, and bake. I’ve made this while on the phone with my mom and while helping my kid with math homework. It’s that reliable.
Uses Up the Grocery Store Bounty — This is the perfect way to use up those apples you bought on sale because they looked “good enough.” You don’t need perfect, expensive Honeycrisps for this. You need apples that hold their shape. I use a mix of Granny Smith and Gala, and it works every time. It’s budget-friendly and reduces food waste.
Smells Like Heaven — I’m serious. When this is baking, your entire house will smell like a pumpkin spice latte but better, because it’s real fruit. My neighbors have actually asked me what I’m baking. It’s a party trick in itself. The aroma of cinnamon and caramelized apples is just irresistible.
Leftovers Taste Better — And this isn’t just a platitude. The flavors meld together overnight. I often make this on Sunday night and have it for breakfast with yogurt on Tuesday. It’s like a crumble without the crumble topping. It’s soft, warm, and deeply flavorful.
Gluten-Free Friendly — Because it’s basically just fruit and spices, this is naturally gluten-free. No flour, no starch, no worry. This makes it the perfect dessert for my celiac friend who always feels left out of the sweet table. She devours this every time.
Customizable Sweetness — Want it less sweet? Use more tart apples. Want it decadent? Add a scoop of vanilla ice cream. This recipe is a canvas. I’ve made it with maple syrup, honey, and brown sugar, and all three versions are winners.
Ingredients You’ll Need
Here’s the best part: you probably have most of this already in your pantry. This baked apple dessert relies on quality over quantity. You don’t need a dozen ingredients; you need the right ones. I’m particular about three things here, so pay attention.
Apples (6 medium, about 2 pounds / 900g) — This is the star. You need apples that won’t turn into applesauce in the oven. I recommend a mix: Granny Smith for tartness and structure, and Honeycrisp or Fuji for sweetness. Avoid Red Delicious—they get mealy and bland. I always buy organic if I can, since we’re leaving the skins on sometimes, but conventional works fine if you wash them well.
Unsalted Butter (4 tablespoons / 60g) — This adds richness and helps the sugars caramelize. I use European-style butter when I have it, but regular salted butter works if you reduce the added salt. Cut it into small cubes so it melts evenly.
Brown Sugar (½ cup / 100g) — Dark brown sugar is best here because it has more molasses, which gives that deep, toffee-like flavor. Light brown works, but dark is better. This isn’t the time to use white sugar; it just won’t give you that caramel depth.
Cinnamon (1 teaspoon) — Ground cinnamon is essential. Don’t use stick cinnamon here; it doesn’t infuse the sauce the same way. I use McCormick, but any good quality ground cinnamon works.
Nutmeg (¼ teaspoon) — Just a pinch. It adds that warm, cozy background note. Don’t skip it, but don’t overdo it either. You don’t want to taste the nutmeg; you just want to feel the warmth.
Lemon Juice (1 tablespoon) — This seems odd in a sweet dish, but it brightens the flavor and prevents the apples from oxidizing (turning brown) while you prep them. It balances the sweetness perfectly.
Vanilla Extract (1 teaspoon) — Pure vanilla, please. I’ve used imitation once and it tasted like chemicals. Just don’t do it. It’s worth the extra dollar.
Pinch of Salt — Even though we’re using unsalted butter, a pinch of salt enhances the sweetness. It’s a trick I learned from a chef friend years ago.
Optional Add-ins:
I sometimes add ¼ cup of chopped walnuts or pecans for crunch. It turns it into an apple crisp without the oat topping. I also love adding a tablespoon of bourbon or rum for an adult twist—just pour it over the apples before baking.
Equipment Needed
You don’t need fancy gadgets for this. Here’s what I actually use.
9-inch Baking Dish — A ceramic or glass dish is best because it heats evenly. I use my trusted Pyrex. A metal pan works too, but watch the edges—they might brown faster.
Peeler and Knife — I use a Y-peeler for speed. A paring knife for coring. If you’re lazy, you can core with a melon baller, but it’s slower.
Mixing Bowl — Just a medium bowl to toss the apples in. Any bowl works.
Measuring Spoons — Standard stuff. I keep a cheap set from Target that works fine.
Spatula — For spreading the butter and sugar mixture. Silicone is best so it doesn’t scratch the dish.
How to Make It: Step-by-Step
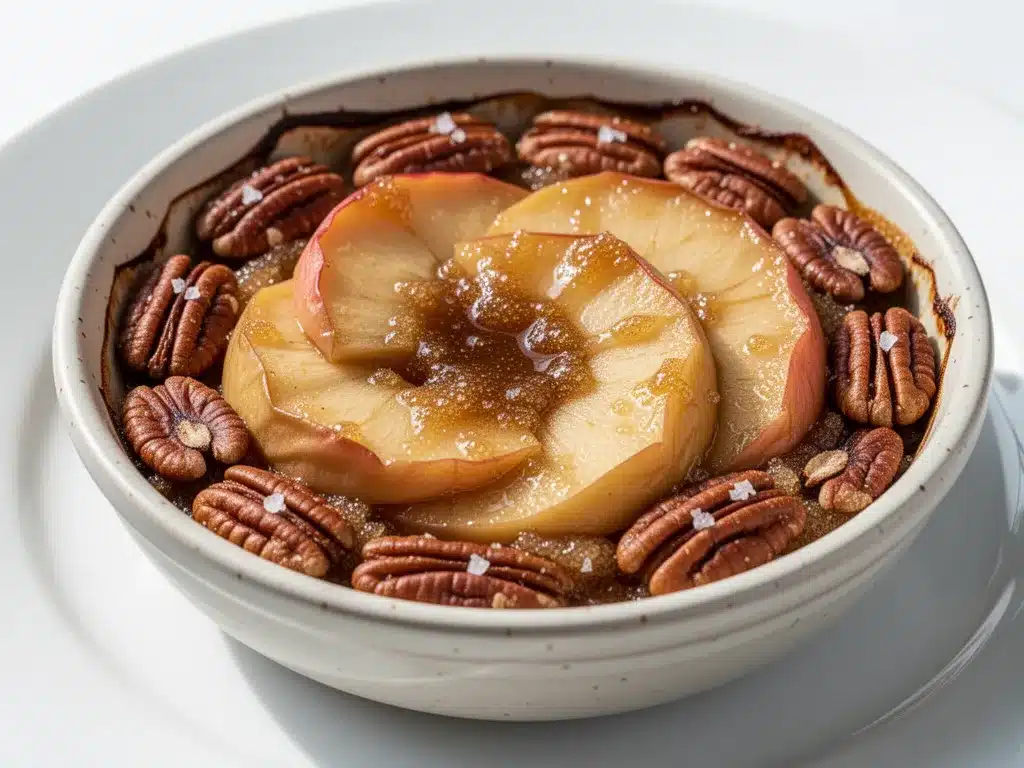
Alright, let’s make this! It’s incredibly straightforward. I’m walking you through exactly how I do it, including the little tricks I’ve picked up.
Step 1: Prep the Apples (10 minutes)
Preheat your oven to 375°F (190°C). While it heats, wash the apples thoroughly. I leave the skins on for texture and nutrients, but if you prefer peeled apples, go for it. Cut the apples in half, remove the core, and slice them into ½-inch wedges. Uniform slices ensure they cook evenly. Toss the slices in a large bowl with the lemon juice to prevent browning.
Step 2: Arrange in the Dish (5 minutes)
Place the apple slices in your baking dish. You want them in a single layer as much as possible, but they’ll shrink, so a slight mound is okay. Don’t pack them too tightly; they need room to steam and caramelize. If you’re using nuts, sprinkle them over the apples now.
Step 3: Make the Topping (2 minutes)
In a small bowl, mix the brown sugar, cinnamon, nutmeg, and salt. Sprinkle this mixture evenly over the apples. Then, dot the top with the cubed butter. The butter should be scattered across the surface, not clumped in one spot. This helps the sauce form a consistent glaze.
Step 4: Bake Until Tender (40-45 minutes)
Place the dish in the oven. Bake for 40-45 minutes. You’ll know they’re done when the apples are tender when pierced with a fork and the sauce is bubbling and thickened. The edges should be slightly caramelized. If you notice the top browning too fast, cover it loosely with foil after 30 minutes.
Step 5: Cool and Serve (10 minutes)
Let the dessert cool for 10 minutes. This allows the sauce to thicken slightly; if you serve it immediately, it’ll be runny. Drizzle with vanilla extract right before serving. Serve warm, ideally with a scoop of vanilla ice cream or a dollop of whipped cream.
Expert Tips & Tricks
Here’s everything I’ve learned from making this dozens of times. These tips will save you from my mistakes.
Choose the Right Apple
This is the #1 mistake people make. If you use McIntosh or Red Delicious, you’ll end up with applesauce. Stick to firm apples like Granny Smith, Honeycrisp, Braeburn, or Pink Lady. They hold their shape and provide a nice contrast to the soft, caramelized exterior.
Don’t Skip the Lemon
I know it seems weird, but the acid cuts through the richness of the butter and sugar. It makes the apple flavor pop. Without it, the dessert tastes flat.
Let It Cool
I know it’s hard to wait, but cooling is crucial. The starches in the apples set as they cool, thickening the sauce. If you serve it hot, it’s just hot apples with syrup. If you wait 10 minutes, it’s a dessert.
Check for Doneness
Ovens vary. Start checking at 35 minutes. If a fork slides in easily, they’re done. If they’re still firm, give them another 10 minutes. Undercooked apples are crunchy and sour, which isn’t what we want.
Pro Trick: The Broil Finish
If you want a crispier top, broil for the last 2 minutes. Watch it like a hawk—it goes from golden to burnt in seconds. This adds a nice textural contrast.
Variations & Substitutions
Once you’ve nailed the basic version, here’s how you can mix it up. I’ve tried all of these.
Apple Crumble Style
Add ½ cup of rolled oats, ¼ cup of flour, and ¼ cup of cold butter to the brown sugar mixture. Rub it in with your fingers until crumbly, then sprinkle over the apples before baking. It’s basically an apple crisp without the pear.
Spiced Pear Version
Swap the apples for firm pears, like Bosc or Anjou. The flavor is milder, so add an extra teaspoon of cinnamon and a pinch of cardamom. It’s elegant and different.
Bourbon Apple Dessert
Replace 2 tablespoons of the water (if you add any) with good bourbon. Add a splash of vanilla extract. It’s perfect for dinner parties and gives it a sophisticated kick.
Gluten-Free
This recipe is naturally gluten-free, but if you add oats or flour for a crisp topping, use certified gluten-free oats and almond flour.
Vegan
Use coconut oil or vegan butter instead of dairy butter. Use maple syrup instead of brown sugar if you want to avoid refined sugar. It’s still delicious and comforting.
Serving & Storage
How to Serve:
I usually serve this straight from the baking dish at the table—it looks rustic and stays warm. But here are other ways I’ve enjoyed it:
- With Ice Cream: Vanilla bean ice cream is classic. The cold contrasts with the hot apples.
- With Whipped Cream: Homemade whipped cream is best, but cool whip works in a pinch.
- With Yogurt: For breakfast, top with Greek yogurt and granola. It’s like a baked apple parfait.
- With Cheese: A slice of sharp cheddar or brie on the side is a savory-sweet combo that’s surprisingly good.
Storage Instructions:
Refrigerator: Store leftovers in an airtight container for up to 4 days. The apples will continue to soften, which is fine.
Reheating: Reheat in the microwave for 1-2 minutes, or in the oven at 350°F for 15 minutes. Add a splash of water if it looks dry. It reheats beautifully.
Freezing: You can freeze this, but the texture of the apples will be softer upon thawing. It’s best for smoothies or oatmeal toppings after freezing. I don’t recommend freezing for serving as a standalone dessert.
Nutrition Information
I’m not a nutritionist, but here’s the breakdown if you’re tracking.
Per Serving (based on 6 servings):
– Calories: 180
– Protein: 1g
– Carbs: 28g
– Fiber: 3g
– Sugar: 22g
– Fat: 8g
– Saturated Fat: 5g
– Cholesterol: 20mg
– Sodium: 5mg
What’s Good:
– Good source of fiber from the apples
– No flour or refined grains
– Naturally gluten-free
What to Know:
– Higher in sugar from the brown sugar
– Contains dairy (unless vegan substitutions made)
– Moderate calories, but very satiating due to fiber
My Take:
Look, this is a dessert with butter and sugar. It’s not a health food. But it’s better than store-bought pastries, and you know exactly what’s in it. When I want to make it lighter, I reduce the sugar to ¼ cup and use less butter. But usually? I just enjoy a reasonable portion and appreciate the comfort.
Final Thoughts
So that’s my go-to baked apple dessert! I’ve probably talked your ear off at this point, but when you make a recipe this often, you have a lot to say about it. This has saved me from takeout more times than I can count. It’s my answer to “what’s for dessert” when I’m tired, don’t want to bake a cake, and still want something that tastes really good. My family is happy, my guests are happy, and I’m happy because I’m not stressed about cooking.
Make it yours! Try different apples, swap the spices, or add a splash of liqueur. The best recipes are the ones you adapt to your family’s tastes. If you make this, drop a comment and let me know what you think! I love hearing how recipes turn out in your kitchen. And if something doesn’t work, tell me that too—I’m here to help troubleshoot.
Happy cooking! And I hope your kitchen smells half as good as mine does right now.
Frequently Asked Questions
Can I use canned apples?
You can, but they’ll be much softer and sweeter. If you use canned apples, reduce the baking time to 20-25 minutes since they’re already cooked. I prefer fresh apples for the texture, but canned works in a pinch.
Why did my sauce turn out watery?
This usually happens if you used very juicy apples or didn’t bake them long enough. Apples release water as they cook. To fix this, bake them longer until the liquid reduces, or thicken it with a teaspoon of cornstarch mixed with water. Next time, use firmer apples like Granny Smith.
Can I make this ahead for a dinner party?
Yes! Prep the apples and arrange them in the dish up to 2 days ahead. Cover and refrigerate. When you’re ready to serve, let them come to room temperature for 30 minutes, then bake as directed. You might need to add 5-10 minutes to the baking time since the dish is cold.
Can I use honey instead of brown sugar?
You can, but honey is sweeter and thinner. Use ⅓ cup of honey instead of ½ cup brown sugar. Add 1 tablespoon of flour to help thicken the sauce. It’s a great alternative if you’re avoiding refined sugar.
What’s the best way to core an apple quickly?
I use a melon baller—it’s fast and creates uniform holes. A paring knife works too, but it’s slower. If you’re really lazy, just cut the apple into quarters and use the knife to scrape out the seeds. It’s not pretty, but it works.
Can I add other fruits?
Absolutely. I’ve added sliced peaches and pears to this recipe. It’s similar to my peach cobbler bars but simpler. Just make sure the fruits are similar in size so they cook evenly. Berries work too, but they release a lot of liquid, so reduce the baking time.
How do I reheat leftovers without it getting dry?
Add a splash of water or apple juice to the dish before reheating. Cover it with foil to trap the steam. This keeps the apples moist. If you’re using a microwave, cover it with a damp paper towel. It works surprisingly well.
Pin This Recipe!
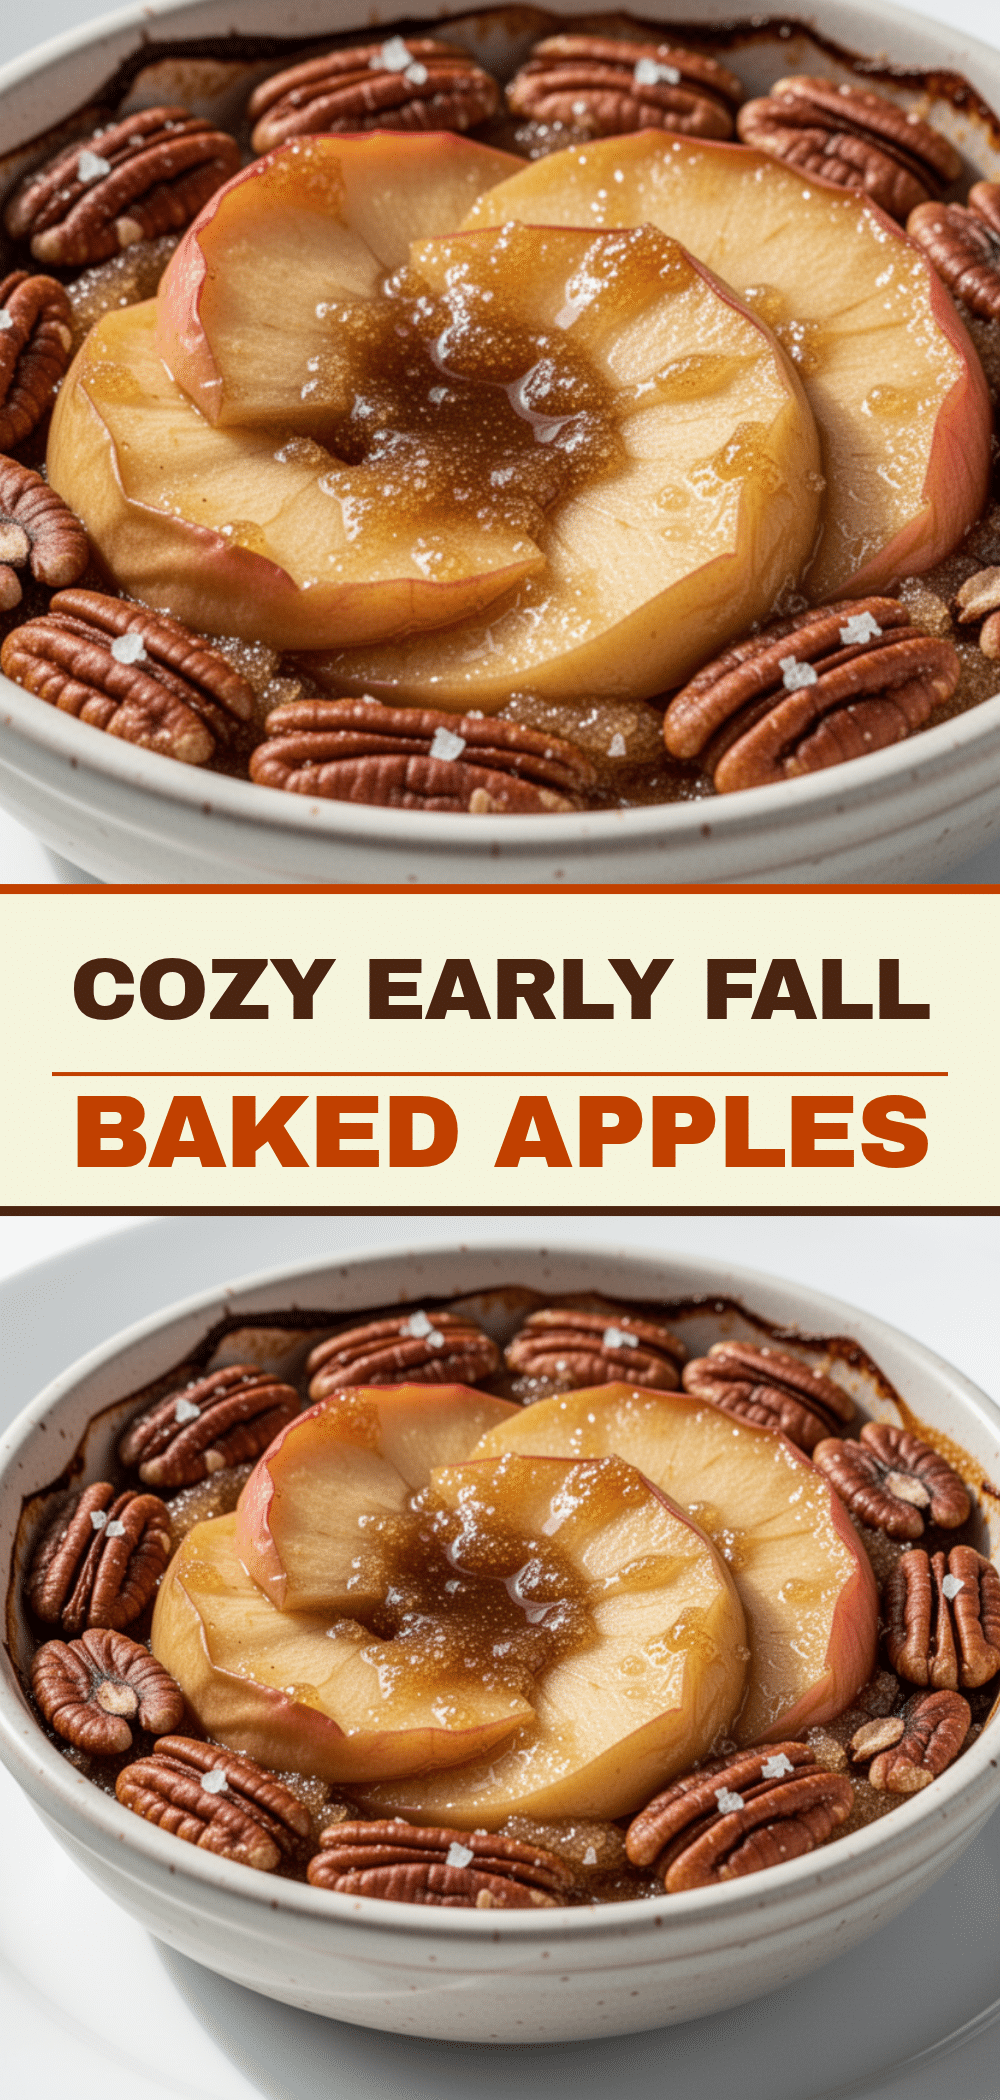
Baked Apple Dessert: Easy Fall Treat
- Total Time: 55 minutes
- Yield: 6 servings 1x
Description
A simple, forgiving, and comforting baked apple dessert that requires no peeling or complex techniques. Naturally gluten-free and perfect for using up grocery store bounty apples.
Ingredients
- 6 medium apples (about 2 pounds / 900g), such as a mix of Granny Smith and Honeycrisp or Fuji
- 4 tablespoons (60g) unsalted butter, cut into small cubes
- ½ cup (100g) dark brown sugar
- 1 teaspoon ground cinnamon
- ¼ teaspoon nutmeg
- 1 tablespoon lemon juice
- 1 teaspoon pure vanilla extract
- Pinch of salt
- Optional: ¼ cup chopped walnuts or pecans
- Optional: 1 tablespoon bourbon or rum
Instructions
- Preheat your oven to 375°F (190°C).
- Wash the apples thoroughly. Leave skins on for texture and nutrients, or peel if preferred.
- Cut apples in half, remove the core, and slice into ½-inch wedges.
- Toss apple slices in a large bowl with lemon juice to prevent browning.
- Arrange apple slices in a 9-inch baking dish in a single layer or slight mound, ensuring they aren’t packed too tightly.
- In a small bowl, mix brown sugar, cinnamon, nutmeg, and salt. Sprinkle evenly over the apples.
- Dot the top of the apples with the cubed butter.
- Bake for 40-45 minutes, or until apples are tender when pierced with a fork and the sauce is bubbling and thickened.
- If the top browns too quickly, cover loosely with foil after 30 minutes.
- Let cool for 10 minutes to allow the sauce to thicken.
- Drizzle with vanilla extract before serving. Serve warm with ice cream or whipped cream.
Notes
Choose firm apples like Granny Smith, Honeycrisp, Braeburn, or Pink Lady to prevent them from turning into applesauce. Do not skip the lemon juice as it brightens the flavor. Letting the dessert cool for 10 minutes is crucial for the sauce to thicken. For a crispier top, broil for the last 2 minutes, watching closely to avoid burning.
- Prep Time: 15 minutes
- Cook Time: 40 minutes
- Category: Dessert
- Cuisine: American
Nutrition
- Serving Size: 1 serving
- Calories: 180
- Sugar: 22
- Sodium: 5
- Fat: 8
- Saturated Fat: 5
- Carbohydrates: 28
- Fiber: 3
- Protein: 1
Keywords: baked apples, fall dessert, easy dessert, gluten-free dessert, comfort food, autumn recipes, simple baking


