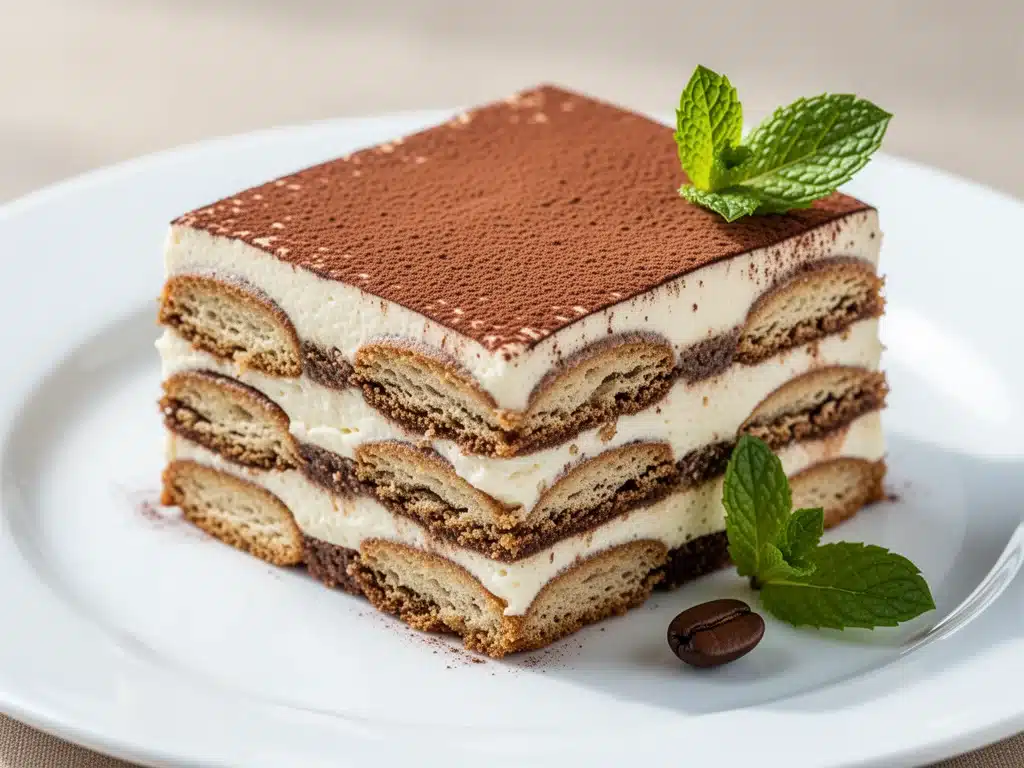
I still remember the exact moment I realized I had been making tiramisu wrong my entire life. It was three years ago, in a tiny apartment in Brooklyn, during a heatwave that made the kitchen feel like an oven. I was trying to impress a date with what I thought was an authentic Italian dessert. I had whipped up some ladyfingers, soaked them in coffee, and layered them with a sweetened cream cheese mixture that tasted suspiciously like a cupcake filling. He took one bite, smiled politely, and said, “It’s… sweet.”
That word—sweet—stung more than I cared to admit. Because tiramisu isn’t supposed to be just sweet. It’s supposed to be bitter, creamy, strong, and sophisticated all at once. It’s supposed to taste like a warm hug from Nonna, not a sugar rush from a carnival. That night, I went home and did what I always do when I fail: I researched, I experimented, and I got obsessed.
Over the next six months, I made tiramisu at least fifteen times. I burned mascarpone (don’t ask). I over-soaked the cookies until they turned to mush. I under-whipped the eggs until the texture was sad and dense. But somewhere around attempt number twelve, I cracked it. I found the balance between the espresso’s bitterness and the mascarpone’s richness. I figured out how to keep it stable without raw eggs, and I perfected the dusting of cocoa that should be fluffy, not clumpy.
This isn’t just another recipe from the internet. This is the Classic Italian Tiramisu that I’ve refined until it’s foolproof. It’s a no-bake dessert that requires zero fancy equipment, just a little bit of patience and the right ingredients. It’s the dessert I make when I want to feel fancy but don’t want to stand over a stove for hours. It’s the reason my friends now text me “save me a slice” before they even arrive at dinner parties. And honestly? It’s the best part of my week.
Why You’ll Love This Recipe
There are about ten reasons I keep coming back to this tiramisu, but here are the big ones that make it my go-to for everything from casual weeknight desserts to holiday gatherings.
It’s Actually Authentic — Most American versions are loaded with whipped cream and sweetened condensed milk. This one sticks to the traditional structure: espresso, mascarpone, eggs (pasteurized for safety), sugar, and cocoa. It tastes complex, not cloying. I’ve served this to Italian friends, and they’ve actually nodded in approval.
Zero Baking Required — It’s no-bake, which means you don’t heat up the kitchen. This is crucial in the summer, but also just generally convenient. You mix, you layer, you wait. That’s it. No timers, no oven checks, no disaster potential.
It Gets Better with Time — Unlike cakes that dry out overnight, tiramisu improves. The flavors meld together while it chills. The coffee soaks into the ladyfingers perfectly. I always make it the day before, and the second-day version is always superior to the first-day version. It’s the ultimate make-ahead dessert.
Simple Ingredients — You don’t need exotic spices or hard-to-find items. Everything is from the grocery store. If you have espresso, mascarpone, sugar, eggs, and cocoa powder, you’re already 90% there. It’s pantry-friendly in the best way.
Feels Fancy, Costs Little — Serving tiramisu makes you look like a professional pastry chef. It looks elegant on a platter, with that perfect dusting of cocoa. But it costs less than $15 to make for six people. It’s the perfect hack for impressing guests without breaking the bank.
This is my answer to “what’s for dessert?” when I want something that feels special but doesn’t require a team of bakers. It’s reliable, delicious, and always a crowd-pleaser.
Ingredients You’ll Need
Here’s the thing about tiramisu: the quality of your ingredients matters more than anything else. Since there are only six main components, each one has to pull its weight. I’m particular about three of them, and I’ll tell you exactly why.
Mascarpone Cheese (16 oz / 450g) — This is the heart of the dessert. Do not substitute with cream cheese. Cream cheese is tangy and firmer; mascarpone is mild, rich, and silky. Look for a brand that is smooth and creamy. I prefer Philadelphia or Galbani. If it looks lumpy or watery in the tub, don’t buy it. It should feel like cold butter.
Espresso (1 ½ cups / 350ml) — You need strong coffee. Instant espresso powder dissolved in hot water works great if you don’t have a machine. Strong brewed coffee is okay, but it needs to be really strong. If your coffee tastes like water, your tiramisu will taste like sweet milk. Let it cool completely before using—warm coffee will melt the mascarpone.
Ladyfingers (24-26 pieces / about 300g) — Also known as savoiardi. These are dry, sponge-like cookies that are designed to soak up liquid without disintegrating. Do not use regular sponge cake or pound cake. You need the structure of ladyfingers. I buy the big boxes from the baking aisle. If they’re stale, they won’t soak properly. If they’re fresh, they’re perfect.
Eggs (4 large / 200g) — Traditionally, tiramisu uses raw eggs. For food safety, I use pasteurized eggs. You can buy pasteurized eggs in the shell, or you can make a cooked zabaglione base (which I’ll explain in the tips). If you’re not worried about raw eggs and you use high-quality, fresh eggs, you can use them raw. But pasteurized is the safe bet for families with kids or pregnant guests.
Sugar (½ cup / 100g) — Granulated white sugar. Don’t use brown sugar; it adds a molasses flavor that clashes with the coffee. Don’t use powdered sugar; it has cornstarch that makes the texture gritty. Just plain white sugar.
Unsweetened Cocoa Powder (2-3 tablespoons / 15-20g) — This is for dusting. Use high-quality cocoa powder. I like Dutch-processed cocoa because it’s darker and less acidic. It gives that classic, rich chocolate aroma that finishes the dessert. Do not use chocolate chips or melted chocolate.
Strong Liquor (Optional) (2 tablespoons / 30ml) — Marsala wine is traditional. Amaretto is also common. Or skip it entirely. The alcohol is optional, but it adds a depth of flavor that cuts through the richness. If you’re serving kids, leave it out. If you’re having a dinner party with adults, add it to the coffee.
Equipment Needed
You don’t need fancy tools for this. Here’s what I actually use:
Large Mixing Bowl — I use a glass or stainless steel bowl. It needs to be big enough to hold the mascarpone and the egg mixture without spilling.
Electric Mixer — Hand mixer or stand mixer. You need to whip the eggs and sugar until they’re pale and fluffy. Doing this by hand takes forever and your arm will hurt. Just use a mixer.
Whisk — For mixing the mascarpone smoothly before adding the eggs.
9×13 Inch Dish — Or a large serving bowl. A rectangular dish is traditional because it’s easy to layer. A deep bowl works if you want to serve it family-style.
Small Brush or Spoon — To dip the ladyfingers. Don’t soak them like sponges. A quick dip is all they need.
Fine Mesh Sieve — For dusting the cocoa. This ensures a fine, even layer. A regular spoon will make clumps.
How to Make It: Step-by-Step
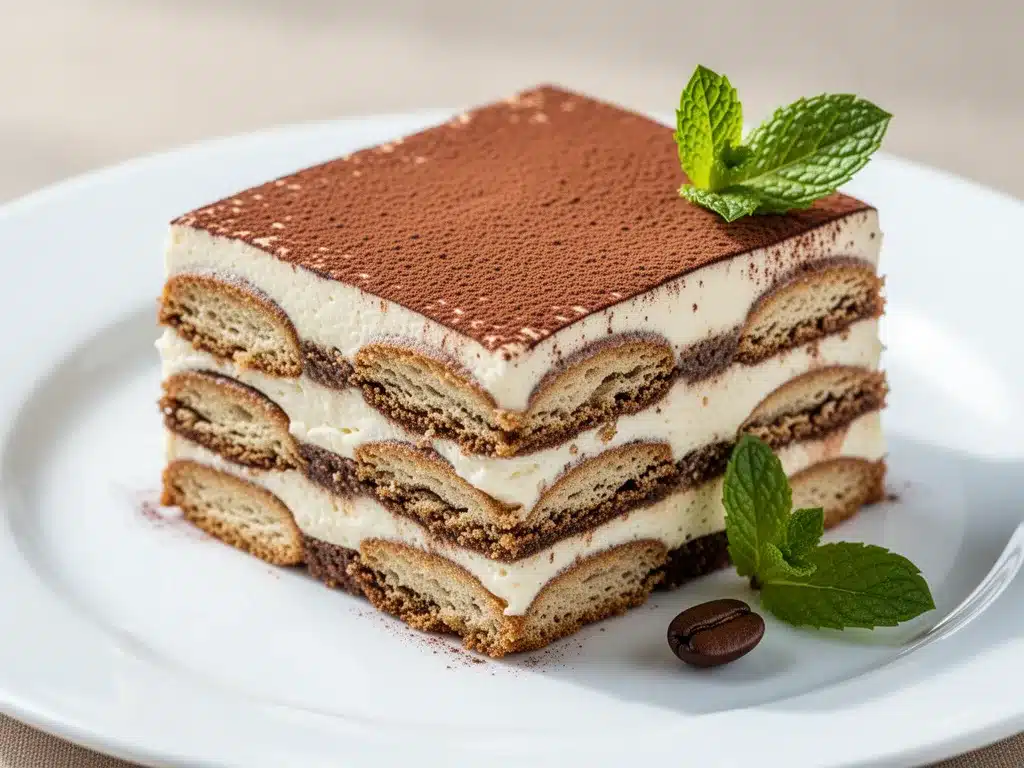
Alright, let’s make this! I’m walking you through exactly how I do it, including the little tricks I’ve picked up over the years.
Step 1: Brew and Cool the Espresso
Brew your strong espresso or coffee. It needs to be about 1 ½ cups. If you’re using alcohol, stir it into the coffee now. Let it cool to room temperature. This is critical. If the coffee is warm, it will melt the mascarpone mixture and make it runny. I usually brew it in the morning and let it sit on the counter while I prep other things.
Step 2: Separate the Eggs
Separate your eggs carefully. You need 4 yolks and 4 whites. Make sure no yolk gets into the whites, or they won’t whip properly. Place yolks in one bowl and whites in another, larger bowl. If you’re using pasteurized eggs, this is easy. If you’re using fresh eggs, just be gentle.
Step 3: Whip the Egg Whites
Using an electric mixer, beat the egg whites on medium-high speed until they form stiff peaks. This means when you lift the beaters, the peaks stand up straight and don’t droop. This takes about 2-3 minutes. The whites add air and lightness to the dessert, making it fluffy instead of dense. Be careful not to over-whip them into a dry, crumbly mess.
Step 4: Whip the Yolks and Sugar
In a separate bowl, beat the egg yolks and sugar together on high speed. This takes about 5-7 minutes. You’re looking for a pale yellow color and a ribbon consistency. When you lift the beaters, the batter should fall back into the bowl in a thick ribbon that sits on the surface for a few seconds before dissolving. This step incorporates air and dissolves the sugar completely.
Step 5: Fold in the Mascarpone
Add the mascarpone cheese to the yolk mixture. Beat it on low speed just until combined and smooth. Do not overmix, or the mascarpone can curdle. Scrape down the sides of the bowl. Then, gently fold in the whipped egg whites. Use a spatula and fold carefully—don’t stir vigorously. You want to keep all that air you worked so hard to create. Fold until just no white streaks remain.
Step 6: Dip and Layer
This is the fun part. Dip each ladyfinger into the cooled coffee mixture. Quick dip! One second on each side. You want them moist, not soggy. Lay them in a single layer in your dish. They might not fit perfectly—break a ladyfinger in half to fill gaps. Make sure there are no holes.
Spread half of the mascarpone cream over the first layer of ladyfingers. Smooth it out gently. Then, repeat: another layer of dipped ladyfingers, and the rest of the cream. You should end with a smooth layer of cream on top.
Step 7: Chill and Dust
Cover the dish with plastic wrap and refrigerate for at least 6 hours, but ideally overnight. This is when the magic happens. The ladyfingers soften and become cake-like, and the flavors meld. Before serving, dust the top generously with unsweetened cocoa powder using a fine mesh sieve. Don’t skimp on the cocoa. It’s the finishing touch that makes it look professional.
Expert Tips & Tricks
Here’s everything I’ve learned from making this dozens of times. These tips will save you from my mistakes.
The Coffee Dip is Key
Most people over-soak the ladyfingers. I see it all the time. If you soak them for more than 2 seconds, they will fall apart and turn to mush at the bottom of the dish. The goal is to moisten them, not saturate them. They will absorb more moisture from the cream as they chill. If you like a stronger coffee flavor, dip them quickly but use more coffee in the mixture.
Don’t Overmix the Mascarpone
Mascarpone is delicate. If you beat it too hard or for too long, it can separate and become grainy. Mix it gently with the yolks until just combined. And when folding in the whites, be gentle. You’re building a mousse-like texture, so preserve the air.
Use Cold Ingredients
Keep your mascarpone and bowls cold. If the mascarpone is too warm, it can become oily. I sometimes chill my mixing bowl in the fridge for 10 minutes before starting. It helps the mixture stay stable.
The Overnight Wait is Non-Negotiable
I know you want to eat it now. But if you cut it after 1 hour, it will be messy and the flavors won’t be balanced. The ladyfingers need time to soften. The cocoa needs time to settle. Make it the night before. Trust me. Your future self will thank you.
Food Safety Note
If you’re serving pregnant women, young children, or elderly guests, use pasteurized eggs. Or, make a cooked zabaglione base. To do this, whisk the yolks and sugar over a double boiler until they reach 160°F (71°C) and are pale and thick. Let cool, then proceed with the recipe. It’s safer and still delicious.
Variations & Substitutions
Once you’ve nailed the basic version, here’s how you can mix it up. I’ve tried all of these.
Alcohol-Free Version
Simply omit the Marsala or amaretto. Use pure espresso or strong coffee. It’s still delicious, just less complex. Perfect for kids’ parties.
Chocolate Lovers
Add a layer of chocolate chips or chopped dark chocolate between the layers. Or mix 2 tablespoons of cocoa powder into the mascarpone cream. It makes it richer and more chocolate-forward.
Matcha Tiramisu
Swap the espresso for strong matcha tea. Use white chocolate in the cream instead of plain mascarpone for a different flavor profile. It’s green and earthy and totally unique.
Strawberry Tiramisu
Replace the coffee with a strawberry puree or juice. Add fresh strawberries between the layers. It’s a summer twist that’s bright and fresh.
Gluten-Free
Use gluten-free ladyfingers. They’re available in most grocery stores. Note that they might be slightly denser, so dip them quickly.
Dairy-Free
Replace mascarpone with a dairy-free cream cheese alternative. Use coconut cream instead of egg whites for whipping. It’s not traditional, but it works if you have dietary restrictions. It won’t be as light, but it’s still tasty.
Serving & Storage
How to Serve:
I usually serve this straight from the dish, using a large spoon or a cake server. It looks rustic and beautiful. But here are other ways I’ve enjoyed it:
Side Dishes:
Tiramisu is a dessert, so it doesn’t need sides. But if you’re having a large meal, serve it after a light course. It pairs well with fruit or nuts. I sometimes add a few fresh raspberries on top for color and acidity.
Wine Pairing:
A sweet dessert wine like Moscato d’Asti or a late-harvest Riesling works great. Or stick with the Marsala you used in the recipe. Coffee and chocolate go well with red wines too, like a light Pinot Noir.
Storage Instructions:
Refrigerator: Store in the fridge for up to 3 days. Cover tightly with plastic wrap. It actually tastes better on day 2. Day 3 might start to get a bit soggy, but it’s still good.
Freezing: Tiramisu doesn’t freeze well. The texture of the ladyfingers and cream changes when thawed. They can become watery and grainy. I don’t recommend freezing it. Make it fresh.
Pro Tip: If you’re serving a crowd, make two smaller dishes instead of one big one. It’s easier to handle and less likely to get messy when cutting.
Nutrition Information
I’m not a nutritionist, but here’s the breakdown if you’re tracking.
Per Serving (based on 8 servings):
- Calories: 320
- Protein: 6g
- Carbs: 35g
- Fiber: 1g
- Sugar: 22g
- Fat: 18g
- Saturated Fat: 10g
- Cholesterol: 140mg
- Sodium: 120mg
What’s Good:
It’s a source of protein from the eggs and cheese. It’s also a great way to get some caffeine in the afternoon without the crash of a soda.
What to Know:
It’s high in sugar and fat. It’s a treat, not a health food. Enjoy it in moderation. If you want to lighten it up, use less sugar and add more egg whites.
My Take:
Look, this is tiramisu. It’s supposed to be rich and indulgent. It’s not a diet recipe. But it’s better than store-bought cake, and it’s made with real ingredients. When I make it, I enjoy every bite without guilt. That’s the point.
Final Thoughts
So that’s my classic Italian tiramisu! I’ve probably talked your ear off at this point, but when you make a recipe this often, you have a lot to say about it.
This has saved dessert nights more times than I can count. It’s my answer to “what’s for dessert?” when I want something that feels special but doesn’t require a team of bakers. My friends are happy, my family is happy, and I’m happy because I’m not stressed about cooking.
Make it yours! Try different alcohols, swap in your favorite cookies, adjust the coffee strength. The best recipes are the ones you adapt to your family’s tastes.
If you make this, drop a comment and let me know what you think! I love hearing how recipes turn out in your kitchen. And if something doesn’t work, tell me that too—I’m here to help troubleshoot.
Happy cooking! And I hope your kitchen smells half as good as mine does right now.
Frequently Asked Questions
Can I use instant coffee instead of espresso?
Yes, absolutely. Dissolve 2-3 tablespoons of instant espresso powder in 1 ½ cups of hot water. Let it cool completely. It works great and saves time. Just make sure it’s strong. If it tastes weak, add more powder.
Why did my tiramisu turn out runny?
Usually, this happens because the coffee was warm when you dipped the ladyfingers, melting the mascarpone. Or you overmixed the mascarpone, causing it to separate. Make sure your coffee is cool and mix the mascarpone gently. Also, chill it for at least 6 hours before cutting.
Can I make this ahead for a party?
Yes! This is the perfect make-ahead dessert. Make it 1-2 days before. It stores well in the fridge. Just add the cocoa dusting right before serving so it doesn’t get soggy. It actually tastes better the next day.
Why did my egg whites not hold peaks?
Probably because there was a tiny bit of yolk or grease in the bowl. Make sure your bowl and beaters are completely clean and dry. Also, make sure the eggs are cold. Cold whites whip better. If they’re warm, they won’t hold their structure.
Can I use cake instead of ladyfingers?
You can, but it won’t be traditional. Sponge cake is softer and will disintegrate faster. If you must use cake, use a dry sponge cake and dip it very quickly. But ladyfingers are the best choice for structure and texture.
Is it safe to eat raw eggs in tiramisu?
If you use pasteurized eggs, yes. If you use fresh, unpasteurized eggs, there is a small risk of salmonella. For pregnant women, young children, or elderly guests, use pasteurized eggs or cook the yolks and sugar over a double boiler (zabaglione method) until they reach 160°F.
Can I freeze tiramisu?
I don’t recommend it. The texture of the ladyfingers and cream changes when thawed. They can become watery and grainy. It’s best made fresh and eaten within 3 days.
Pin This Recipe!
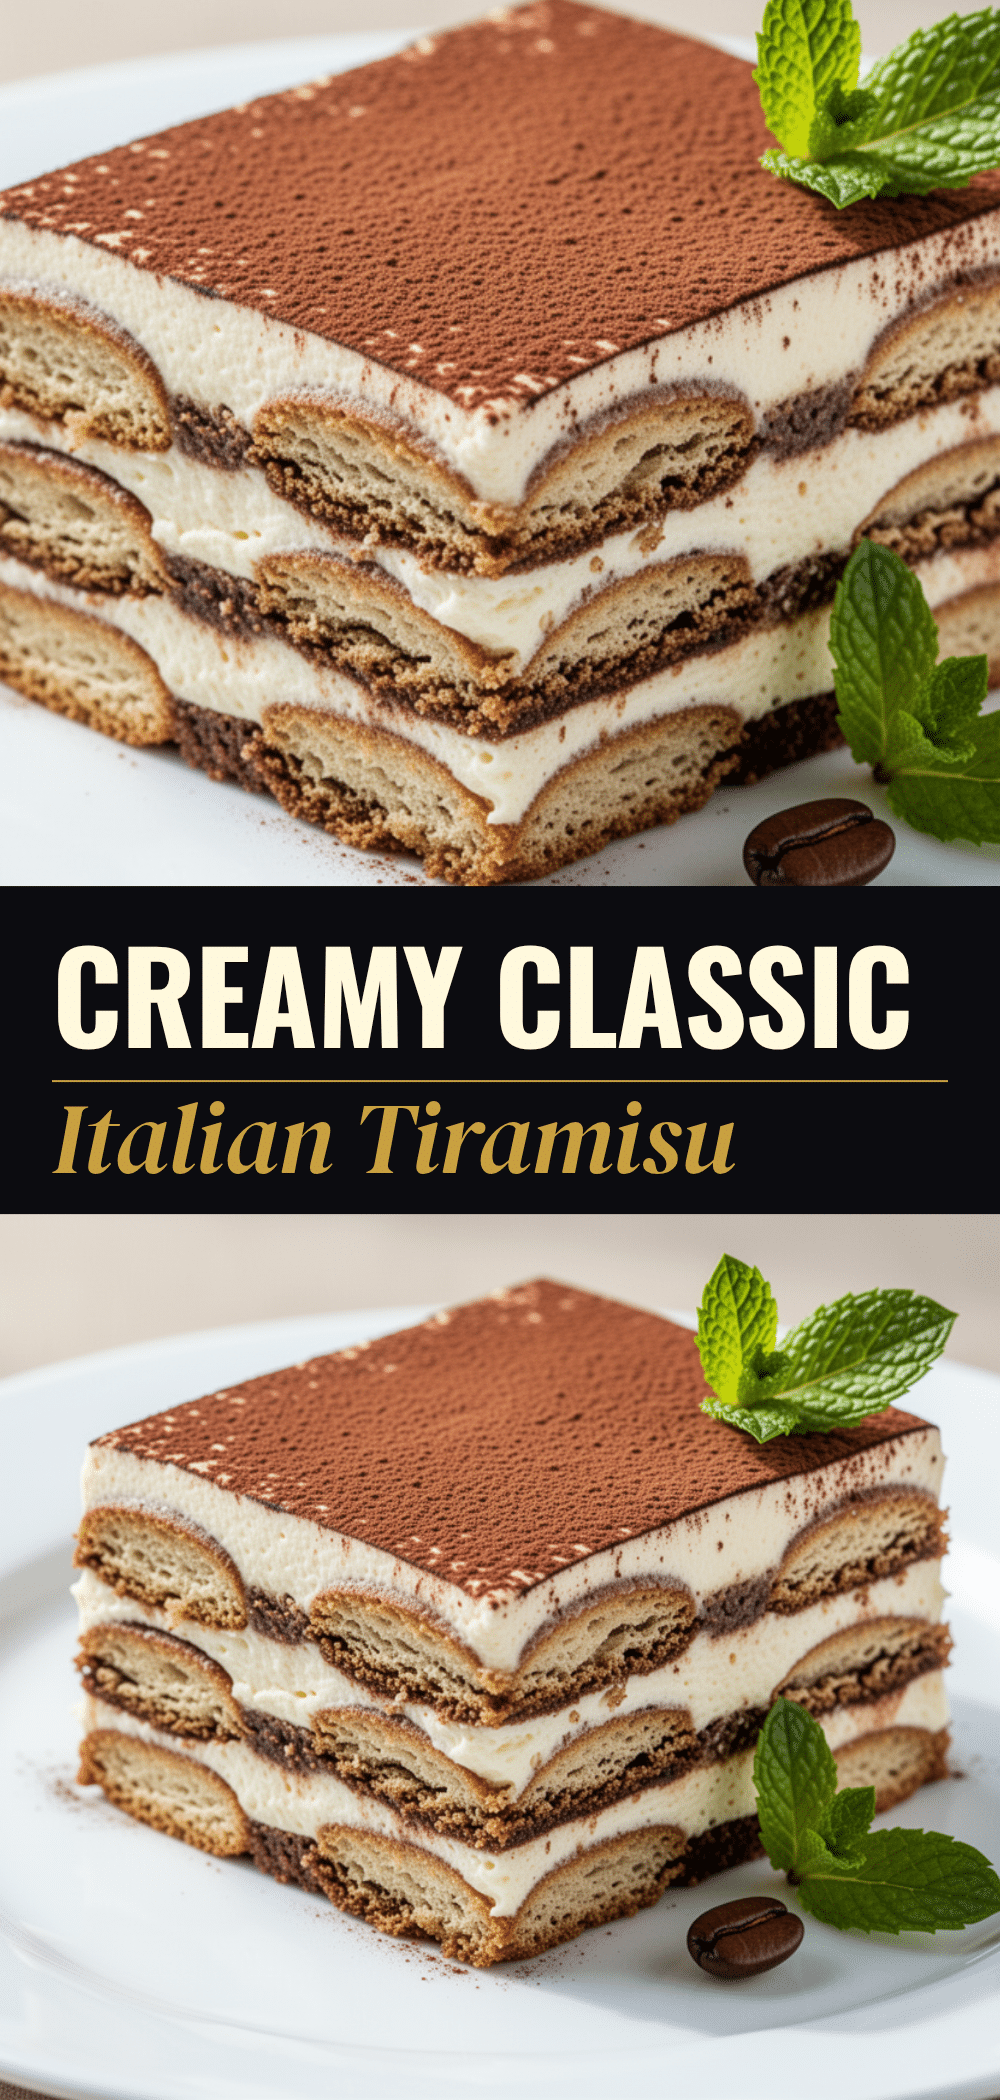
Classic Italian Tiramisu: Best No Bake Dessert
- Total Time: 6 hours 30 minutes
- Yield: 8 servings 1x
Description
A foolproof, authentic no-bake Italian tiramisu that balances bitter espresso with rich mascarpone. This refined recipe uses pasteurized eggs for safety and requires zero fancy equipment, making it the perfect make-ahead dessert for any occasion.
Ingredients
- 1 ½ cups (350ml) strong espresso or coffee, cooled completely
- 2 tablespoons Marsala wine or Amaretto (optional)
- 4 large eggs, separated (pasteurized recommended)
- ½ cup (100g) granulated white sugar
- 16 oz (450g) mascarpone cheese, cold
- 24–26 ladyfingers (savoiardi)
- 2–3 tablespoons unsweetened cocoa powder, for dusting
Instructions
- Brew the espresso and stir in the optional alcohol if using. Let it cool completely to room temperature.
- Separate the eggs, placing yolks in one bowl and whites in a larger, clean bowl.
- Using an electric mixer, beat the egg whites on medium-high speed until stiff peaks form (about 2-3 minutes).
- In a separate bowl, beat the egg yolks and sugar on high speed for 5-7 minutes until pale yellow and thick (ribbon consistency).
- Add the mascarpone to the yolk mixture and beat on low speed just until combined and smooth.
- Gently fold the whipped egg whites into the mascarpone mixture using a spatula until no white streaks remain.
- Quickly dip each ladyfinger into the cooled coffee mixture (about 1 second per side) and lay them in a single layer in a 9×13 inch dish.
- Spread half of the mascarpone cream over the first layer of ladyfingers.
- Repeat with a second layer of dipped ladyfingers and the remaining cream, smoothing the top.
- Cover the dish with plastic wrap and refrigerate for at least 6 hours, ideally overnight.
- Before serving, dust the top generously with unsweetened cocoa powder using a fine mesh sieve.
Notes
Ensure the espresso is completely cool before dipping ladyfingers to prevent the mascarpone from melting. Do not over-soak the cookies; a quick dip is sufficient as they will absorb more moisture while chilling. For food safety, use pasteurized eggs or cook the yolks and sugar over a double boiler to 160°F. Tiramisu does not freeze well; store in the refrigerator for up to 3 days.
- Prep Time: 30 minutes
- Cook Time: 0 minutes
- Category: Dessert
- Cuisine: Italian
Nutrition
- Serving Size: 1 slice
- Calories: 320
- Sugar: 22
- Sodium: 120
- Fat: 18
- Saturated Fat: 10
- Carbohydrates: 35
- Fiber: 1
- Protein: 6
Keywords: tiramisu, italian dessert, no bake dessert, mascarpone, espresso, classic tiramisu, make ahead dessert


