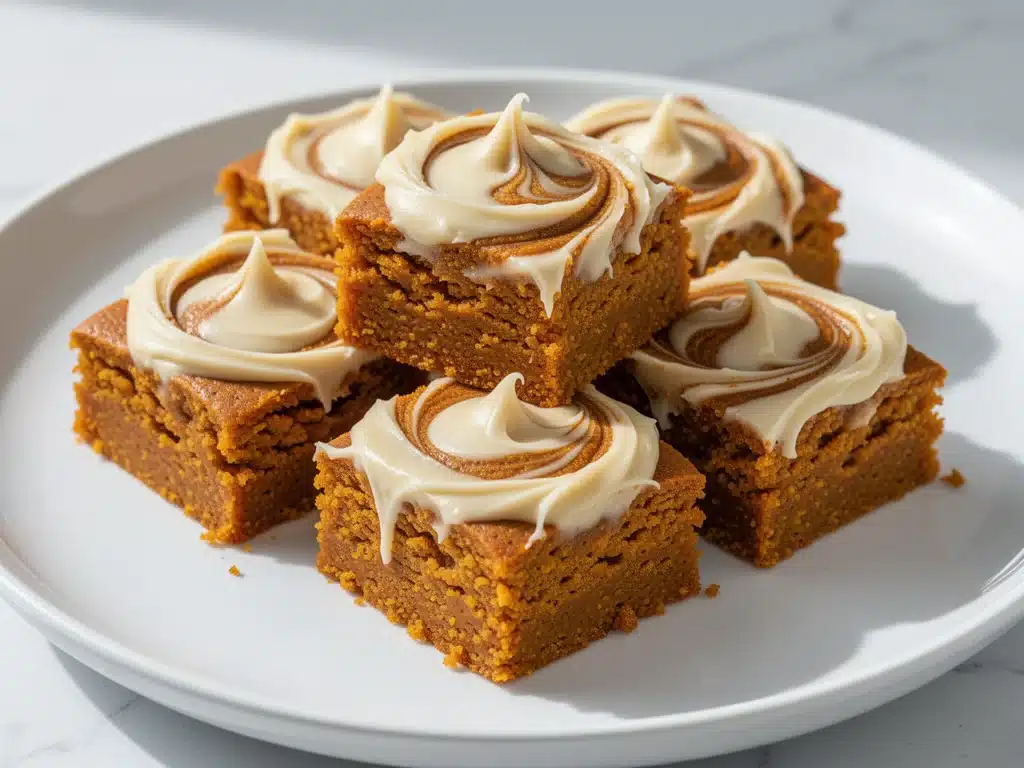
The leaves haven’t even started turning yet, but my kitchen has already declared it autumn. It’s that specific time of year when the air gets crisp, my coffee mug gets bigger, and I suddenly have an uncontrollable urge to bake things that smell like cinnamon and nostalgia. Last weekend, I was standing in my grocery store aisle, staring at a bin of pumpkins, feeling that familiar mix of excitement and intimidation. Pumpkin spice is everywhere, sure. But actual pumpkin dessert? That’s a different beast. I’ve made enough pumpkin breads, soups, and lattes to know that getting the moisture balance right is tricky. Too wet, and you have soup. Too dry, and you have a brick.
That’s exactly why I needed these Early Fall Pumpkin Dessert Bars. I wanted something that felt like fall but didn’t require a degree in pastry science to pull off. I wanted bars that were gooey, spiced, and had that tangy cream cheese swirl that makes your taste buds do a little happy dance. I tested this recipe four times in two weeks. The first batch? A bit too dense. The second? The swirl disappeared into the batter (a common rookie mistake I’m sharing so you don’t make it). By the third batch, I had it. It’s moist without being soggy, spicy without being overwhelming, and absolutely perfect for bringing to a potluck or eating straight out of the pan with a spoon at 10 PM on a Tuesday.
If you’re looking for that cozy, homemade vibe without the stress, you’re in the right place. These bars bridge the gap between a heavy pumpkin pie and a light cookie. They’re sturdy enough to pack in a lunchbox but soft enough to melt in your mouth. I’ve been making them for every occasion from back-to-school parties to early harvest dinners, and they disappear faster than homemade cinnamon roll bites ever do. Seriously, don’t be surprised if you make a double batch.
Why You’ll Love These Pumpkin Bars
There are about ten reasons I keep coming back to this recipe, but let’s be real—you care about the big wins. Here’s why these Early Fall Pumpkin Dessert Bars have permanently replaced my old go-to fall treats.
They’re Actually Moist — This is the holy grail of pumpkin baking. So many recipes end up dry because they over-rely on flour. I use real pumpkin puree (not the pie filling stuff, more on that below) which adds natural moisture. The result is a bar that stays soft for days, not just hours. I’ve kept leftovers in the fridge for four days, and they were still tender. No dry crumbs here.
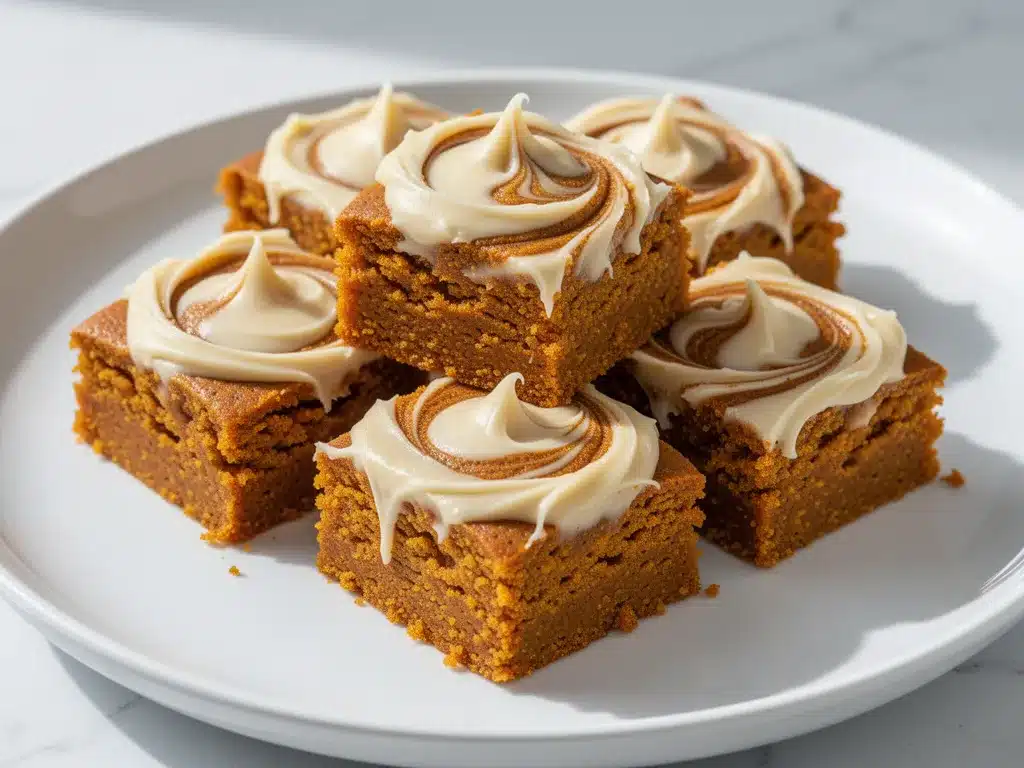
The Cream Cheese Swirl Is Not Optional — I know, I know. You could make plain pumpkin bars. But why would you? The tang of the cream cheese cuts through the sweetness of the pumpkin and the warmth of the spices. It creates this perfect sweet-savory balance that makes every bite interesting. It’s the same logic behind why peach cobbler bars work so well—the fruit needs that creamy contrast to really shine.
One-Bowl Simplicity — You don’t need a stand mixer. You don’t need fancy equipment. You just need a large bowl, a whisk, and about 15 minutes of active time. I make these on weeknights when I’m exhausted. The batter comes together faster than I can boil water for pasta. It’s the ultimate low-effort, high-reward dessert.
Perfectly Spiced — A lot of pumpkin desserts taste like “cinnamon sugar.” These taste like pumpkin. I use a blend of cinnamon, ginger, nutmeg, and cloves to build depth. It’s warm and aromatic without tasting like a spice bottle was dumped in. It’s the kind of spice profile that makes people ask, “What is that smell?” and then immediately ask for the recipe.
Make-Ahead Friendly — This is a huge one for me. I love baking on Sunday so I have treats ready for the week. These bars actually taste better the next day. The flavors meld together, the spices mellow out, and the texture settles. I make them on Sunday, store them in the fridge, and they’re ready for lunchboxes or afternoon snacks all week long.
Ingredients You’ll Need
Here’s the best part: you probably have most of this already in your pantry. This isn’t a recipe that requires a trip to three different specialty stores. It’s pantry-friendly, comfort-food cooking at its finest.
For the Pumpkin Bars
Softened Butter (1 cup / 225g) — I use unsalted butter so I can control the saltiness. It needs to be softened to room temperature. If you microwave it, it will melt and ruin the texture. Take it out 30 minutes before you start. If you’re in a hurry, cube it and microwave for 10-second bursts, but check it constantly.
Granulated Sugar (1 cup / 200g) — This provides structure and sweetness. Don’t try to cut this too much, or the bars will collapse. I’ve tried reducing it slightly, and the texture suffers.
Brown Sugar (1 cup / 200g) — This is what gives the bars their chewiness and that hint of molasses flavor. Dark brown sugar is better here because it’s moister and has a stronger flavor. Light brown works, but you lose a bit of that deep autumn taste.
Large Eggs (2 large) — Room temperature eggs incorporate better into the batter. If your eggs are cold, just run them under warm water for a minute. Don’t skip this step; it helps the bars rise evenly.
Pure Pumpkin Puree (1 cup / 240g) — Crucial distinction: Do not use pumpkin pie filling. Pie filling has sugar and spices already added, which will throw off the balance of this recipe. You want the plain, canned pumpkin puree. I love Libby’s or any generic brand, as long as it’s 100% pumpkin.
All-Purpose Flour (2 cups / 250g) — Standard flour works perfectly. If you’re gluten-free, you can use a 1:1 gluten-free flour blend, but the texture might be slightly more crumbly. I haven’t tested almond flour, so I’d stick to a direct substitute if you need GF.
Baking Powder & Baking Soda (1 teaspoon each) — This double leavening agent ensures the bars rise nicely and don’t end up dense. Make sure they’re not expired! Old leavening agents are a common reason for flat desserts.
Salt (1 teaspoon) — Salt is not just for flavor; it enhances the sweetness and balances the spices. Don’t skip it.
Pumpkin Pie Spice (2 teaspoons) — Or make your own blend: 1 tsp cinnamon, ½ tsp ginger, ¼ tsp nutmeg, ¼ tsp cloves. Using a pre-mixed spice saves time and ensures consistent flavor. If you’re making your own, toast the spices in a dry pan for 30 seconds before adding to the batter for a deeper flavor.
For the Cream Cheese Swirl
Softened Cream Cheese (8 oz / 225g) — Full-fat block cream cheese is a must. The tub stuff has too much water and won’t hold its shape. Let it soften at room temperature for 30 minutes. If it’s too cold, it’ll clump up in the batter.
Powdered Sugar (½ cup / 60g) — This sweetens the swirl and helps it mix smoothly. Sift it if it’s lumpy.
Vanilla Extract (1 teaspoon) — Pure vanilla makes a huge difference. I use Nielsen-Massey or any good quality pure extract. Imitation vanilla will taste chemical and bitter.
Equipment Needed
You don’t need a fancy kitchen to make these. Here’s what I actually use.
9×13 Inch Baking Dish — I use a glass Pyrex dish. It heats evenly and I can see the bottom browning. Metal pans work too, but they might brown the edges faster, so keep an eye on them. Glass is my go-to for bars because it’s forgiving.
Large Mixing Bowl — Just something big enough to hold all the ingredients without spilling. I use a 5-quart bowl.
Hand Mixer or Whisk — I prefer a hand mixer for the cream cheese swirl because it’s easier to control, but a whisk works for the main batter. If you’re using a whisk, you’ll need to arm yourself.
Spatula — A silicone spatula is essential for scraping the bowl and folding in the flour. Get one with a sturdy handle.
Parchment Paper — This is non-negotiable. Line your baking dish with parchment paper, leaving an overhang on the sides. This makes lifting the bars out of the pan so much easier. You’ll thank me later when you’re trying to get clean cuts.
How to Make Early Fall Pumpkin Dessert Bars
Alright, let’s get baking! I’m walking you through exactly how I do it, including the little tricks I’ve picked up over the years.
Step 1: Prep Your Pan and Oven (5 minutes)
Preheat your oven to 350°F (175°C). This is the standard temperature for baking bars—it’s hot enough to cook through but gentle enough to keep them moist. Line your 9×13 inch baking dish with parchment paper. Grease the parchment lightly with butter or cooking spray so it sticks. This step is crucial for easy cleanup and removal.
Step 2: Cream the Butter and Sugars (3 minutes)
In your large mixing bowl, beat the softened butter, granulated sugar, and brown sugar together until light and fluffy. This takes about 2-3 minutes with a hand mixer. You’re looking for a pale, creamy consistency. This step incorporates air into the batter, which helps the bars rise. If you’re using a whisk, this will take a bit more arm strength, but it’s doable.
Step 3: Add Eggs and Pumpkin (2 minutes)
Add the eggs one at a time, beating well after each addition. Then add the pumpkin puree and vanilla extract. Mix until just combined. Don’t overmix here. You want everything smooth, but you don’t need to beat it into submission. The batter will look thick and orange-y. It should smell amazing.
Step 4: Mix Dry Ingredients (1 minute)
In a separate medium bowl, whisk together the flour, baking powder, baking soda, salt, and pumpkin pie spice. This ensures the leavening agents and spices are evenly distributed. If you skip this, you might end up with pockets of baking soda that taste bitter.
Step 5: Combine Wet and Dry (2 minutes)
Gradually add the dry ingredients to the wet ingredients. Mix on low speed or stir with a spatula until just combined. The batter will be thick. If it seems too dry, add a tablespoon of milk. If it’s too wet, add a tablespoon of flour. But usually, the measurements are spot on. Don’t overmix at this stage, or the bars will be tough.
Step 6: Prepare the Cream Cheese Swirl (3 minutes)
In a small bowl, beat the softened cream cheese, powdered sugar, and vanilla extract until smooth and creamy. It should be thick but spreadable. If it’s too stiff, add a teaspoon of milk. If it’s too runny, add a teaspoon more powdered sugar. You want a consistency that will hold its swirl when dropped into the batter.
Step 7: Assemble the Bars (5 minutes)
Pour half of the pumpkin batter into your prepared baking dish. Spread it out evenly with a spatula. Dollop spoonfuls of the cream cheese mixture over the batter. Then, drop spoonfuls of the remaining pumpkin batter over the cream cheese. Use a knife or a toothpick to gently swirl the cream cheese into the batter. Don’t over-swirl! You want visible ribbons of cream cheese, not a uniform beige color. A few distinct swirls look beautiful and taste better.
Step 8: Bake (30-35 minutes)
Bake for 30-35 minutes. The bars are done when the top is golden brown and a toothpick inserted into the center (avoiding the cream cheese swirl) comes out clean or with a few moist crumbs. Do not overbake! The bars will continue to cook slightly as they cool. If they get dry in the oven, they’ll be dry forever. Let them cool in the pan on a wire rack for at least 20 minutes before cutting.
Expert Tips & Tricks
Here’s everything I’ve learned from making these dozens of times. These tips will save you from my mistakes.
Room Temperature Ingredients Are Key — I cannot stress this enough. Cold butter, cold eggs, and cold cream cheese will result in a lumpy, uneven batter. Take everything out of the fridge 30-60 minutes before you start. If you forget, cube the butter and microwave for 10 seconds, and run eggs under warm water. It’s worth the effort.
Don’t Overmix the Batter — Once you add the flour, mix only until it disappears. Overmixing develops gluten, which makes baked goods tough. You want tender, soft bars, not bread. Stop mixing as soon as you don’t see streaks of flour.
The Swirl Technique — For the best visual effect, drop the cream cheese and pumpkin batter in alternating dollops. Then, use a knife to drag through them in a zig-zag pattern. Go slow. If you swirl too much, the colors blend into mud. Less is more.
Check for Doneness Early — Ovens vary. Start checking at 30 minutes. If the top is browning too quickly but the center is still wet, cover the pan loosely with aluminum foil and continue baking.
Cool Completely for Clean Cuts — I know it’s tempting to dig in hot, but warm bars are crumbly and messy. Let them cool completely in the pan for the cleanest cuts. If you’re impatient, at least wait 20 minutes. Use a sharp knife to cut them into squares.
Variations & Substitutions
Once you’ve nailed the basic version, here’s how you can mix it up. I’ve tried all of these.
Add-Ins — Stir in ½ cup of white chocolate chips or pecans into the pumpkin batter before baking. The crunch of nuts pairs beautifully with the soft texture. White chocolate chips add extra sweetness and meltiness.
Gluten-Free — Use a 1:1 gluten-free flour blend. The texture will be slightly more crumbly, but it still works. I’ve used Bob’s Red Mill and King Arthur GF flour, and both performed well.
Dairy-Free — Use dairy-free butter and dairy-free cream cheese (like Miyoko’s or Kite Hill). The flavor is slightly different, but it’s still delicious. You might need to add a tablespoon of extra flour if the dairy-free cream cheese is softer.
Spice It Up — Add a pinch of cardamom to the pumpkin pie spice for a more complex flavor. Or add ½ teaspoon of espresso powder to deepen the pumpkin flavor. Coffee doesn’t make it taste like coffee; it just makes the pumpkin taste more like pumpkin.
Mini Bars — You can bake these in a 9×9 inch pan for thicker bars, or in a muffin tin for individual portions. Adjust baking time accordingly—muffin tin bars will take 15-18 minutes.
Serving & Storage
How to Serve — These bars are great on their own, but I love serving them with a cup of hot tea or coffee. They also pair well with a dollop of whipped cream or a scoop of vanilla ice cream if you’re feeling indulgent. For a fall-themed presentation, garnish with a sprig of fresh rosemary or a dusting of powdered sugar.
Storage — Store leftovers in an airtight container at room temperature for up to 3 days. If your kitchen is very warm, store them in the fridge. They will last up to 5 days in the fridge. The cream cheese swirl keeps them moist, so they don’t dry out quickly.
Freezing — These bars freeze well! Wrap individual bars in plastic wrap and then place them in a freezer-safe bag. They’ll last for up to 3 months. Thaw at room temperature for 30 minutes before eating. I often freeze extras for lunchboxes or unexpected guests.
Reheating — While best fresh, you can microwave a bar for 10-15 seconds to warm it up. The cream cheese will soften, and the spices will become more aromatic. Don’t overheat, or it will get greasy.
Nutrition Information
I’m not a nutritionist, but here’s the breakdown if you’re tracking. Keep in mind that these are indulgent bars, so enjoy in moderation.
Per Serving (based on 16 bars):
- Calories: 280
- Protein: 4g
- Carbs: 38g
- Fiber: 1g
- Sugar: 26g
- Fat: 14g
- Saturated Fat: 8g
- Cholesterol: 45mg
- Sodium: 220mg
What’s Good: They provide some protein from the cream cheese and eggs. Pumpkin adds a bit of fiber and vitamin A. What to Know: They are high in sugar and saturated fat due to the butter, sugar, and cream cheese. If you’re watching your intake, consider making them smaller or sharing them. They’re a treat, not a health food.
Final Thoughts
So that’s my go-to Early Fall Pumpkin Dessert Bars! I’ve probably talked your ear off at this point, but when you make a recipe this often, you have a lot to say about it. These bars have saved my social calendar more times than I can count. They’re my answer to “What can I bring to the potluck?” or “What dessert should I make for the kids’ school event?” when I’m tired, don’t want to bake a whole pie, and still want something that tastes really good.
Make it yours! Try different add-ins, swap in your favorite spices, or adjust the sweetness to your liking. The best recipes are the ones you adapt to your family’s tastes. If you make these, drop a comment and let me know what you think! I love hearing how recipes turn out in your kitchen. And if something doesn’t work, tell me that too—I’m here to help troubleshoot.
Happy baking! And I hope your kitchen smells half as good as mine does right now.
Frequently Asked Questions
Can I use pumpkin pie filling instead of pure pumpkin?
No, I strongly advise against it. Pumpkin pie filling already contains sugar, spices, and thickeners. If you use it, your bars will be too sweet, too spiced, and likely too wet. Stick to 100% pure pumpkin puree for the best results.
Why did my cream cheese swirl disappear?
This usually happens if you over-swirl the batter. When you drop the dollops of cream cheese and pumpkin batter, use a knife to make just a few gentle zig-zag motions. If you swirl too much, the colors blend together. Also, make sure your cream cheese mixture is thick enough. If it’s too runny, it will sink into the batter.
Can I make these ahead of time?
Yes! These bars actually taste better the next day. You can bake them up to 2 days in advance and store them in an airtight container at room temperature. For longer storage, freeze them for up to 3 months. Just thaw at room temperature before serving.
Can I use a hand mixer or do I need a stand mixer?
A hand mixer works perfectly fine. You can also use a whisk for the main batter, but it will take more effort. The cream cheese swirl is easier to make smooth with a hand mixer, but a whisk works if you beat it vigorously.
How do I store these bars?
Store them in an airtight container at room temperature for up to 3 days. If your kitchen is warm, store them in the fridge for up to 5 days. They can also be frozen for up to 3 months. Wrap individual bars in plastic wrap to prevent freezer burn.
Can I add nuts to the batter?
Absolutely! Stir in ½ cup of chopped pecans or walnuts into the pumpkin batter before baking. They add a nice crunch and pair beautifully with the spices. Toast the nuts first for extra flavor.
Why are my bars dense?
This could be due to overmixing the batter, which develops gluten, or using old baking powder/soda. Make sure your leavening agents are fresh. Also, ensure your butter and eggs are at room temperature so they incorporate properly. Don’t pack the flour into your measuring cup; spoon it in and level it off.
Pin This Recipe!
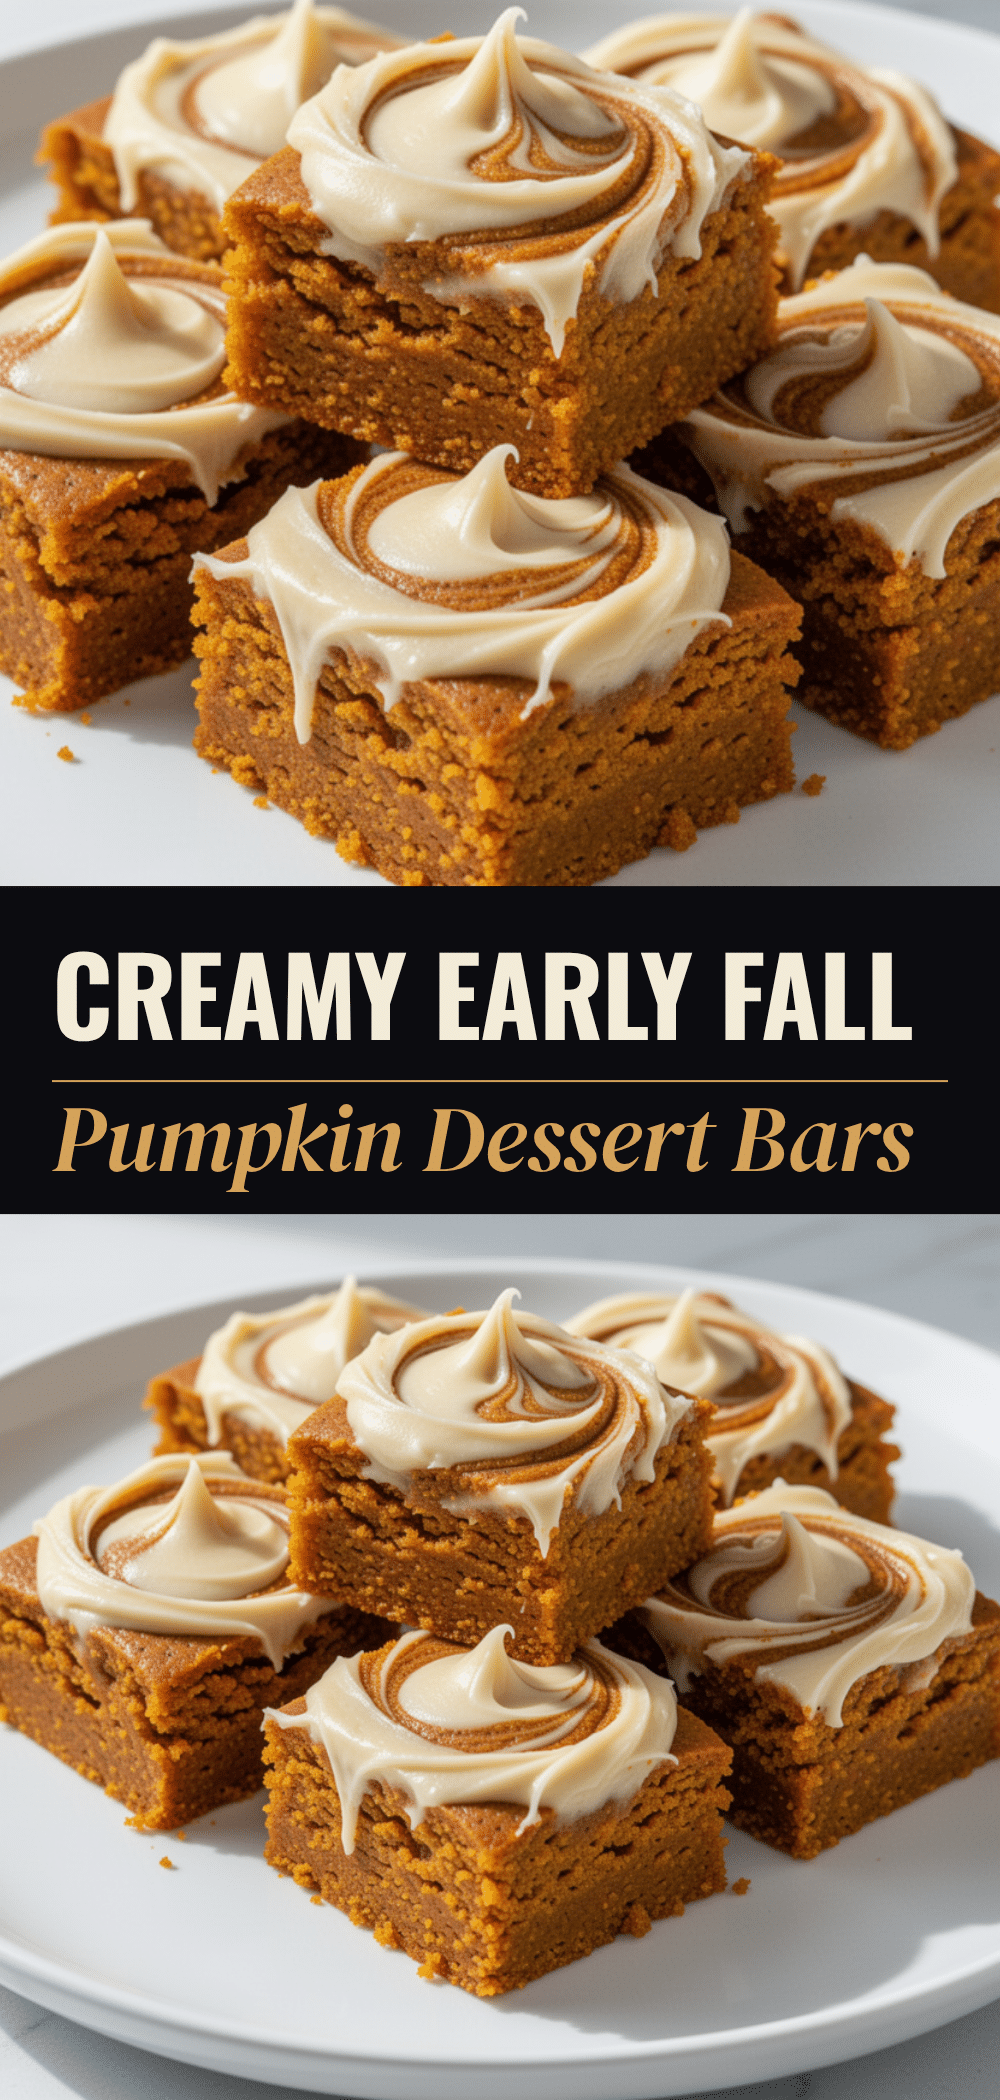
Early Fall Pumpkin Dessert Bars: Cream Cheese Swirl
- Total Time: 45-50 minutes
- Yield: 16 servings 1x
Description
Moist, spiced pumpkin bars with a tangy cream cheese swirl. This one-bowl recipe is easy to make, perfect for fall, and stays soft for days.
Ingredients
- 1 cup (225g) softened unsalted butter
- 1 cup (200g) granulated sugar
- 1 cup (200g) dark brown sugar
- 2 large eggs, room temperature
- 1 cup (240g) pure pumpkin puree (not pie filling)
- 2 cups (250g) all-purpose flour
- 1 teaspoon baking powder
- 1 teaspoon baking soda
- 1 teaspoon salt
- 2 teaspoons pumpkin pie spice (or blend: 1 tsp cinnamon, ½ tsp ginger, ¼ tsp nutmeg, ¼ tsp cloves)
- 8 oz (225g) softened full-fat block cream cheese
- ½ cup (60g) powdered sugar
- 1 teaspoon vanilla extract
Instructions
- Preheat oven to 350°F (175°C). Line a 9×13 inch baking dish with parchment paper and grease lightly.
- In a large mixing bowl, beat softened butter, granulated sugar, and brown sugar until light and fluffy (2-3 minutes).
- Add eggs one at a time, beating well after each addition. Mix in pumpkin puree and vanilla extract until just combined.
- In a separate medium bowl, whisk together flour, baking powder, baking soda, salt, and pumpkin pie spice.
- Gradually add dry ingredients to wet ingredients. Mix on low speed or stir with a spatula until just combined. Do not overmix.
- In a small bowl, beat softened cream cheese, powdered sugar, and vanilla extract until smooth and creamy.
- Pour half of the pumpkin batter into the prepared pan. Dollop spoonfuls of cream cheese mixture over the batter. Drop remaining pumpkin batter over the cream cheese. Gently swirl with a knife or toothpick to create ribbons.
- Bake for 30-35 minutes until the top is golden brown and a toothpick inserted into the center comes out clean or with moist crumbs.
- Cool in the pan on a wire rack for at least 20 minutes before cutting into squares.
Notes
Ensure all ingredients (butter, eggs, cream cheese) are at room temperature for best texture. Do not use pumpkin pie filling; use 100% pure pumpkin puree. Bars taste better the next day as flavors meld. Store in an airtight container at room temperature for 3 days or in the fridge for 5 days. Can be frozen for up to 3 months.
- Prep Time: 15 minutes
- Cook Time: 30-35 minutes
- Category: Dessert
- Cuisine: American
Nutrition
- Serving Size: 1 bar
- Calories: 280
- Sugar: 26
- Sodium: 220
- Fat: 14
- Saturated Fat: 8
- Carbohydrates: 38
- Fiber: 1
- Protein: 4
Keywords: pumpkin bars, cream cheese swirl, fall dessert, pumpkin dessert, easy baking, one-bowl recipe, autumn treats


