Three years ago, I bought a package of phyllo dough on a whim. I saw it at the grocery store, noticed it was on sale, and thought, “Hey, I could make some spanakopita or baklava.” I got home, thawed it out, and then… I forgot about it. I got distracted by work emails, then by the kids’ soccer practice, and by the time I remembered the dough, it was too thawed to work with properly. It was sticky, it was fragile, and I was too tired to try to save the intended recipe.
So, I did what any exhausted parent does: I improvised. I chopped up some walnuts I had in the pantry, drizzled some honey over them, threw in a few dried cranberries for color, and then just piled the messy, semi-thawed phyllo sheets into ramekins. I didn’t care if they looked pretty. I just wanted to use the ingredients before they went bad. I popped them in the oven, expecting a soggy mess.
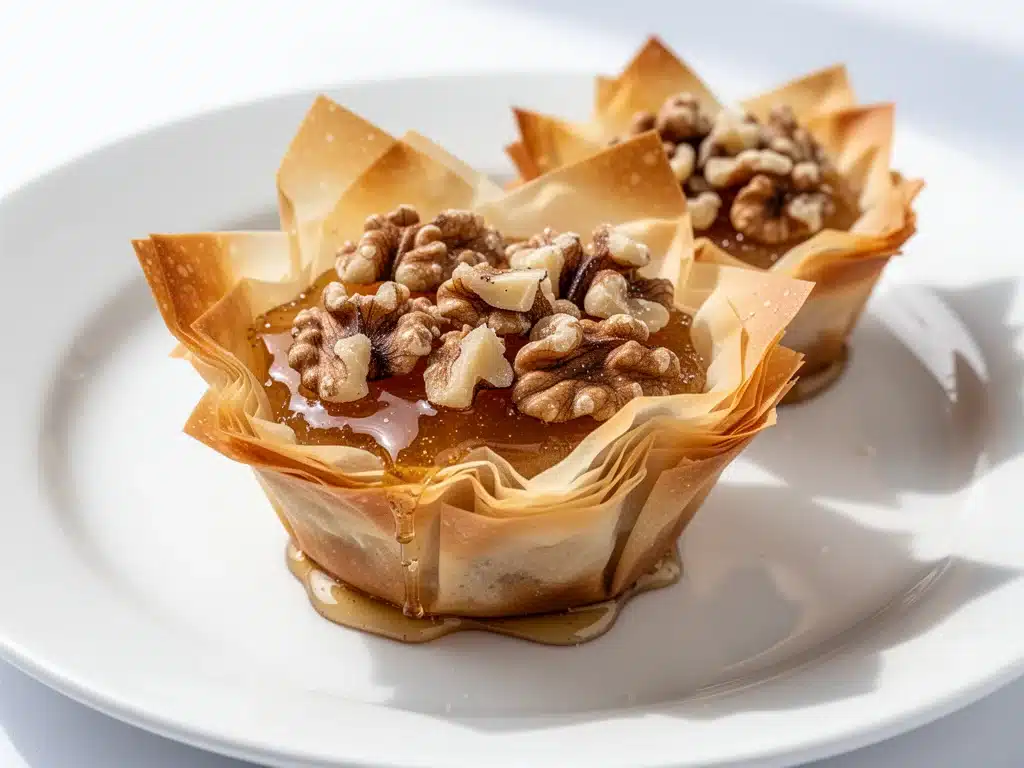
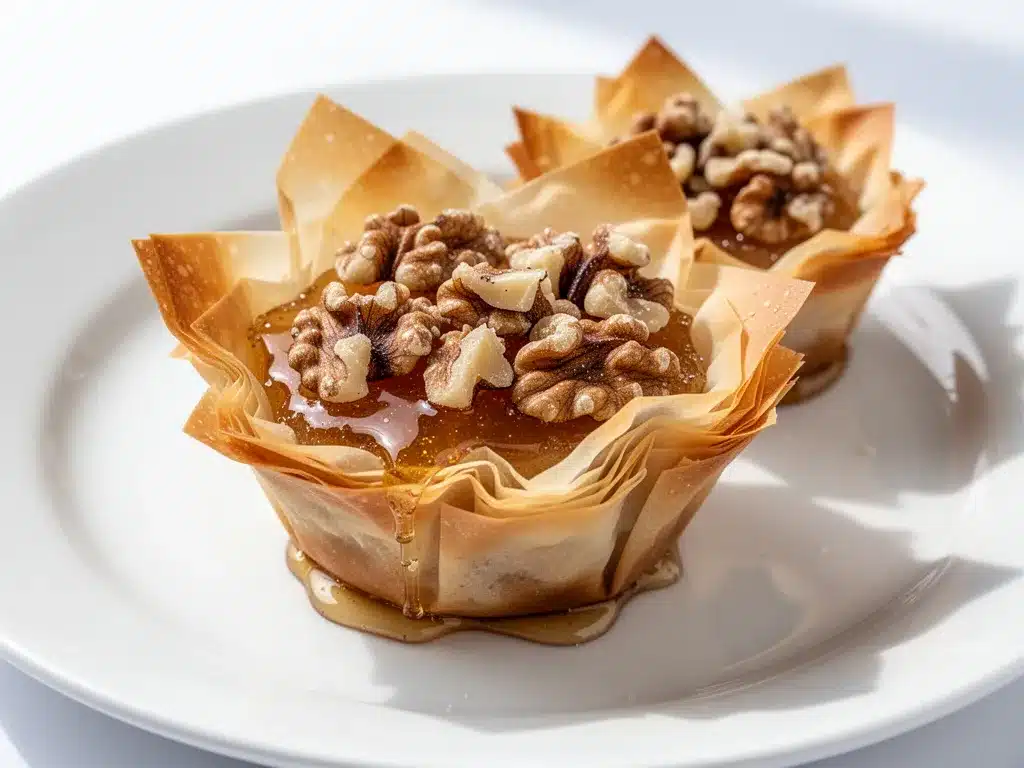
What came out of the oven was a golden, shattering-crisp, honey-glazed nut cup that smelled like a Greek bakery. I took one bite and literally stopped breathing for a second. It was flaky, crunchy, sweet, and nutty all at once. My husband took one look at the “messy” cups on the counter and asked if I was ordering dessert from a restaurant. I told him I made it with stuff we already had.
That was the birth of my go-to Flaky Phyllo Dough Dessert Cups. Since then, I’ve made them at least twenty times. They’ve become my secret weapon for last-minute guests, my weekend treat, and my way of making something feel incredibly elegant without spending hours in the kitchen. If you’ve ever felt intimidated by phyllo dough, this recipe is your invitation to stop worrying and start crunching.
Why You’ll Love This Honey Walnut Treat
There are a dozen reasons I keep this recipe pinned to my mental fridge, but here’s the truth: it’s the only dessert that feels fancy but acts like a snack. Here’s why these honey walnut cups have earned a permanent spot in my rotation:
- Zero Kneading, Zero Stress — Seriously, if you can stack paper towels, you can make these. There’s no dough to rise, no rolling pin required. You just layer the sheets. It’s foolproof.
- Ready in 25 Minutes — From thawing the dough to pulling them out of the oven, you’re looking at under half an hour. This is the dessert equivalent of a 5-minute microwave mug cake, but with way more texture.
- Pantry-Friendly Ingredients — You probably have phyllo dough in your freezer (or can grab it easily), plus walnuts, honey, and butter. That’s it. No exotic spices or hard-to-find ingredients.
- Textural Heaven — This is the big one. The contrast between the shatteringly crisp phyllo layers and the chewy, sweet honey-walnut center is addictive. It’s like eating a honeycomb made of buttery pastry.
- Make-Ahead Magic — These actually taste better the next day. I often make them on Sunday night, store them in an airtight container, and have a gourmet treat ready for the week. They stay crisp for up to three days.
- Portion Controlled — Because they’re in ramekins, you can’t overeat them. Well, you could, but they’re small enough that two feels like a proper dessert, not a binge.
Real talk: these are perfect for anyone who loves the crunch of granola but the sweetness of baklava. They’re also a fantastic alternative to heavier desserts like my watermelon icebox cake when you want something lighter but still indulgent.
Ingredients You’ll Need
Here’s the best part: the ingredient list is short enough to fit on a sticky note. But because phyllo is delicate, the quality of a few key items matters. I’m particular about three things here, and I’ll tell you exactly why.
For the Phyllo Base
Phyllo dough (frozen) (1 package / 16oz) — This is the star. Do not buy fresh phyllo unless you’re using it immediately. The frozen sheets are thinner and crispier. Thaw them in the fridge overnight, or in a bowl of cold water for 30-45 minutes if you’re in a hurry. Keep them covered with a damp towel while you work—phyllo dries out faster than ice in the sun.
Unsalted butter (melted) (½ cup / 115g) — I use melted butter brushed between every layer. It creates those distinct, flaky sheets. Some people use oil, but butter gives that rich, bakery-style flavor. If you’re dairy-free, use coconut oil, but the flavor profile changes slightly.
For the Honey Walnut Filling
Walnuts (1 cup / 100g, roughly chopped) — I use raw walnuts because they have a fresher, less bitter taste than roasted ones. Chop them by hand for a rustic texture, or pulse them in a food processor if you prefer finer bits. Just don’t turn them into dust.
Honey (¼ cup / 85g) — Use a good quality honey. Clover or wildflower works great. I’ve tried using maple syrup as a substitute, but it makes the filling too runny. Honey binds everything together and caramelizes beautifully in the oven.
Ground cinnamon (½ teaspoon) — Just a pinch. It complements the walnuts without overpowering them. If you’re not a fan of cinnamon, you can skip it, but I highly recommend keeping it.
Salt (a pinch) — This is non-negotiable. Salt cuts through the sweetness of the honey and enhances the nuttiness of the walnuts. It makes the dessert taste “complete” rather than just sweet.
For the Finish
Vanilla extract (1 teaspoon) — Added to the honey mixture. It adds a subtle warmth that pairs perfectly with the phyllo.
Extra honey for drizzling (optional) — For serving. I like to drizzle a tiny bit more on top right before eating for that extra glossy finish.
Optional Add-ins: Dried cranberries (2 tablespoons, chopped) — I add these sometimes for a tart pop of color. Chopped pistachios (¼ cup) — For a touch of green and extra crunch. Orange zest (1 teaspoon) — If you want a citrusy twist, similar to the brightness in my grilled peaches dessert.
Equipment Needed
You don’t need fancy gadgets for this. Here’s what I actually use in my kitchen:
12-cup muffin tin or mini ramekins — I prefer mini ramekins (3-4 oz size) because they hold their shape better and look more elegant. If you use a muffin tin, the edges might get a bit thicker, which is fine if you like more crust.
Pastry brush — Essential for brushing the butter onto the phyllo sheets. A silicone brush is easier to clean than bristle.
Sharp knife or food processor — For chopping the walnuts. A knife gives you more control over the texture.
Bowl — For mixing the honey, walnuts, and spices.
Damp kitchen towels — Two of them. One to cover the phyllo while you work, and one to keep handy. This is the most important “tool” for success.
Small saucepan — Optional, if you want to warm the honey slightly to make it easier to mix. Cold honey can be stubborn.
Cooling rack — To let the cups cool completely so they crisp up. If you rush this step, they’ll be soft.
How to Make It: Step-by-Step
Alright, let’s make these! I’m walking you through exactly how I do it, including the little tricks I’ve picked up over the years. The process is simple, but timing is everything.
Step 1: Prep Your Station (5 minutes)
Before you even touch the phyllo, get everything ready. Chop your walnuts. Mix the honey, cinnamon, salt, and vanilla in a small bowl. Melt your butter. Set out your ramekins or muffin tin. The phyllo dries out incredibly fast, so you want to minimize the time it’s exposed to air. Place a damp towel over your work surface.
Step 2: Thaw and Prepare the Phyllo (10 minutes)
If your phyllo is frozen, thaw it according to package directions. Once thawed, unroll the sheet carefully. It will be fragile. Cut the sheet in half crosswise so you have two long strips that fit your ramekins. You’ll need about 6-8 sheets per ramekin, depending on thickness. Keep the unused sheets covered with the damp towel at all times. This is the #1 mistake people make—letting the dough dry out.
Step 3: Layer the Cups (10 minutes)
Take one sheet of phyllo and gently press it into a ramekin, letting the edges drape over the sides. Brush the top lightly with melted butter. Take the next sheet, press it in, and brush with butter. Repeat this process, layering 6-8 sheets. Don’t worry if the edges tear; just tuck them in. The layers will seal together as they bake. Once you reach the top, you should have a little “cup” shape with overhanging edges.
Step 4: Add the Filling (5 minutes)
Brush the top layer of phyllo with a little more butter. Then, spoon the honey-walnut mixture into the center of each cup. Use about 1-2 tablespoons per cup. Don’t overfill them, or the honey will spill over and burn. Gently press the mixture down so it settles into the layers.
Step 5: Fold and Crimp (5 minutes)
This is the fun part. Take the overhanging edges of the phyllo and fold them over the filling, tucking them in to create a little parcel. You don’t need to make it perfect—rustic is good. Brush the top of the folded phyllo with the remaining butter. This ensures the top gets golden and crisp.
Step 6: Bake (15-18 minutes)
Preheat your oven to 375°F (190°C). Place the ramekins on a baking sheet (for easier handling) and bake for 15-18 minutes. You’re looking for a deep golden brown color. The edges should look crisp and the honey should be bubbling slightly in the center. If they’re browning too fast, cover them loosely with foil.
Step 7: Cool Completely (20 minutes)
This is the hardest part: waiting. Let the cups cool in the ramekins for at least 15-20 minutes. They will be very soft when they come out of the oven. As they cool, the honey will set and the phyllo will crisp up. If you try to eat them hot, they’ll be soggy. Patience pays off.
Visual Cues: The phyllo should look like layers of gold leaf. The honey should be bubbling gently, not boiling over. The smell should be intoxicating—like toasted nuts and caramelized sugar.
Expert Tips & Tricks
Here’s everything I’ve learned from making these dozens of times. These tips will save you from my early mistakes.
The Damp Towel Rule
I cannot stress this enough. Phyllo dough is essentially dried pasta. If it dries out, it cracks and won’t stick. Keep it covered with a damp (not wet) kitchen towel from the moment you open the package until it’s in the oven. If it starts to dry, spritz it with water.
Butter, Don’t Skimp
The butter is what makes the layers separate and crisp. If you skimp on the butter, you’ll get a dense, hard pastry instead of flaky cups. Brush every layer. It’s worth the extra 2 minutes.
Chop Walnuts, Don’t Puree
You want texture. If you pulse the walnuts too finely, you lose the crunch. Aim for rough chunks. You want to feel the nut in every bite.
Room Temperature Honey
Cold honey is thick and hard to mix. If your honey is crystallized or thick, warm it slightly in the microwave for 10 seconds. It’ll mix with the cinnamon and vanilla much more evenly.
Don’t Rush the Cooling
I know, I know. You want to eat them now. But if you pull them out hot, they’ll be soft and messy. Let them cool completely for the best texture. The honey sets as it cools, creating that sticky, chewy center.
Common Mistakes
Mistake: The phyllo tears when handling. Fix: It’s okay! Just layer another piece over the tear. It will bake together.
Mistake: The cups are soggy. Fix: You didn’t brush enough butter, or you didn’t let them cool. Also, make sure your oven is fully preheated.
Mistake: The honey burns. Fix: Watch them closely in the last 5 minutes. If they’re browning too fast, cover with foil.
Variations & Substitutions
Once you’ve nailed the basic version, here’s how you can mix it up. I’ve tried all of these, and they’re all delicious.
Pistachio Rose
Swap walnuts for chopped pistachios. Add ½ teaspoon of rose water to the honey mixture. Sprinkle with crushed rose petals before baking. This is incredibly elegant and perfect for special occasions.
Almond Citrus
Use almonds instead of walnuts. Add orange zest to the honey mixture. This pairs beautifully with the citrus notes, similar to the balance in my peach cobbler bars.
Chocolate Walnut
Add 2 tablespoons of cocoa powder to the honey mixture. Sprinkle chocolate chips on top before folding the phyllo. It’s like a mini baklava brownie.
Gluten-Free
Use gluten-free phyllo dough if available (brands like Dufour or store brands). Note that GF phyllo can be more fragile, so handle with extra care. The rest of the ingredients are naturally gluten-free.
Vegan
Replace butter with coconut oil or vegan butter. Use maple syrup instead of honey (though it will be runnier, so reduce baking time slightly). Use agave nectar for a closer honey texture.
No-Bake Option
You can make these in a pressure cooker or air fryer, but the texture will be different. I prefer baking for the crispness. If you must air fry, cook at 350°F for 10-12 minutes, checking frequently.
Serving & Storage
These cups are versatile and easy to store. Here’s how I handle them.
How to Serve
I serve these at room temperature. They look beautiful on a platter, especially when drizzled with a little extra honey and sprinkled with chopped nuts or powdered sugar. They pair wonderfully with a cup of coffee or tea. If you want a contrast, serve with a dollop of whipped cream or Greek yogurt, like the creamy topping in my honey lavender iced latte concept (but solid!).
Storage Instructions
Room Temperature: Store in an airtight container for up to 3 days. They stay crisp if sealed well.
Refrigerator: Not recommended. The humidity will make the phyllo soft.
Freezer: Yes! Freeze baked and cooled cups in a single layer, then transfer to a freezer bag. They freeze well for up to 2 months. Thaw at room temperature. Do not freeze unbaked cups, as the phyllo will get soggy when thawed.
Reheating
If they lose their crunch, pop them in the oven at 350°F for 5 minutes to re-crisp. The microwave will make them soft, so avoid it.
Nutrition Information
I’m not a nutritionist, but here’s the breakdown if you’re tracking. These are calorie-dense because of the butter and honey, so a little goes a long way.
Per Serving (based on 12 cups):
- Calories: 180
- Protein: 3g
- Carbs: 18g
- Fiber: 1g
- Sugar: 12g
- Fat: 11g
- Saturated Fat: 5g
What’s Good: Walnuts provide healthy omega-3 fatty acids. Honey has antimicrobial properties. Phyllo is low in fat if you don’t overdo the butter (but we do, because it’s delicious).
What to Know: High in sugar and carbs. Contains gluten and dairy. Moderate sodium.
Final Thoughts
So that’s my flaky phyllo dough dessert cups! I know I’ve talked a lot about the importance of the damp towel and the cooling process, but when you make a recipe this texturally dependent, details matter.
These cups have saved me more times than I can count. They’re my answer to “I need to bring something to the party” or “I want something sweet but not heavy.” My friends think I’m a pastry chef because of these, but really, I just like honey and walnuts.
Make them yours! Try different nuts, add some dried fruit, or experiment with spices. The base recipe is a canvas. If you make these, drop a comment and let me know how they turned out! I love hearing about your kitchen adventures. And if something doesn’t work, tell me—I’m here to help troubleshoot.
Happy baking! I hope your kitchen smells half as good as mine does right now.
Frequently Asked Questions
Q: Can I use store-bought phyllo dough?
A: Yes, absolutely. Most grocery stores carry frozen phyllo dough in the freezer section. Just make sure to thaw it properly in the fridge overnight. Fresh phyllo exists but is harder to find and more expensive.
Q: Why did my phyllo tear when I was layering?
A: Phyllo is delicate! It’s supposed to be thin. If it tears, don’t panic. Just tuck another piece over the tear or fold the edges in. It will bake together. The key is keeping it covered with a damp towel to prevent it from drying out and cracking.
Q: Can I make these ahead of time?
A: Yes! You can assemble them and refrigerate them for up to 24 hours before baking. Just add a few extra minutes to the baking time if they’re cold from the fridge. Or, bake them fully and store in an airtight container for 3 days.
Q: Can I substitute walnuts with other nuts?
A: Definitely. Pistachios, almonds, pecans, or hazelnuts all work beautifully. Pistachios give a great color contrast, while pecans add a richer, buttery flavor. Just chop them to a similar size as the walnuts.
Q: Why are my cups soggy?
A: This usually happens if you don’t brush enough butter between the layers, or if you don’t let them cool completely. The honey needs time to set as it cools. Also, ensure your oven is fully preheated before baking.
Q: Can I freeze unbaked cups?
A: I don’t recommend it. The moisture in the honey and the raw phyllo can make the dough soggy when thawed. It’s better to bake them first, then freeze the finished product.
Q: How do I reheat leftovers?
A: If they’ve lost their crunch, pop them in a 350°F oven for 5-7 minutes. This will re-crisp the phyllo. Avoid the microwave, as it will make them soft and chewy.
Pin This Recipe!
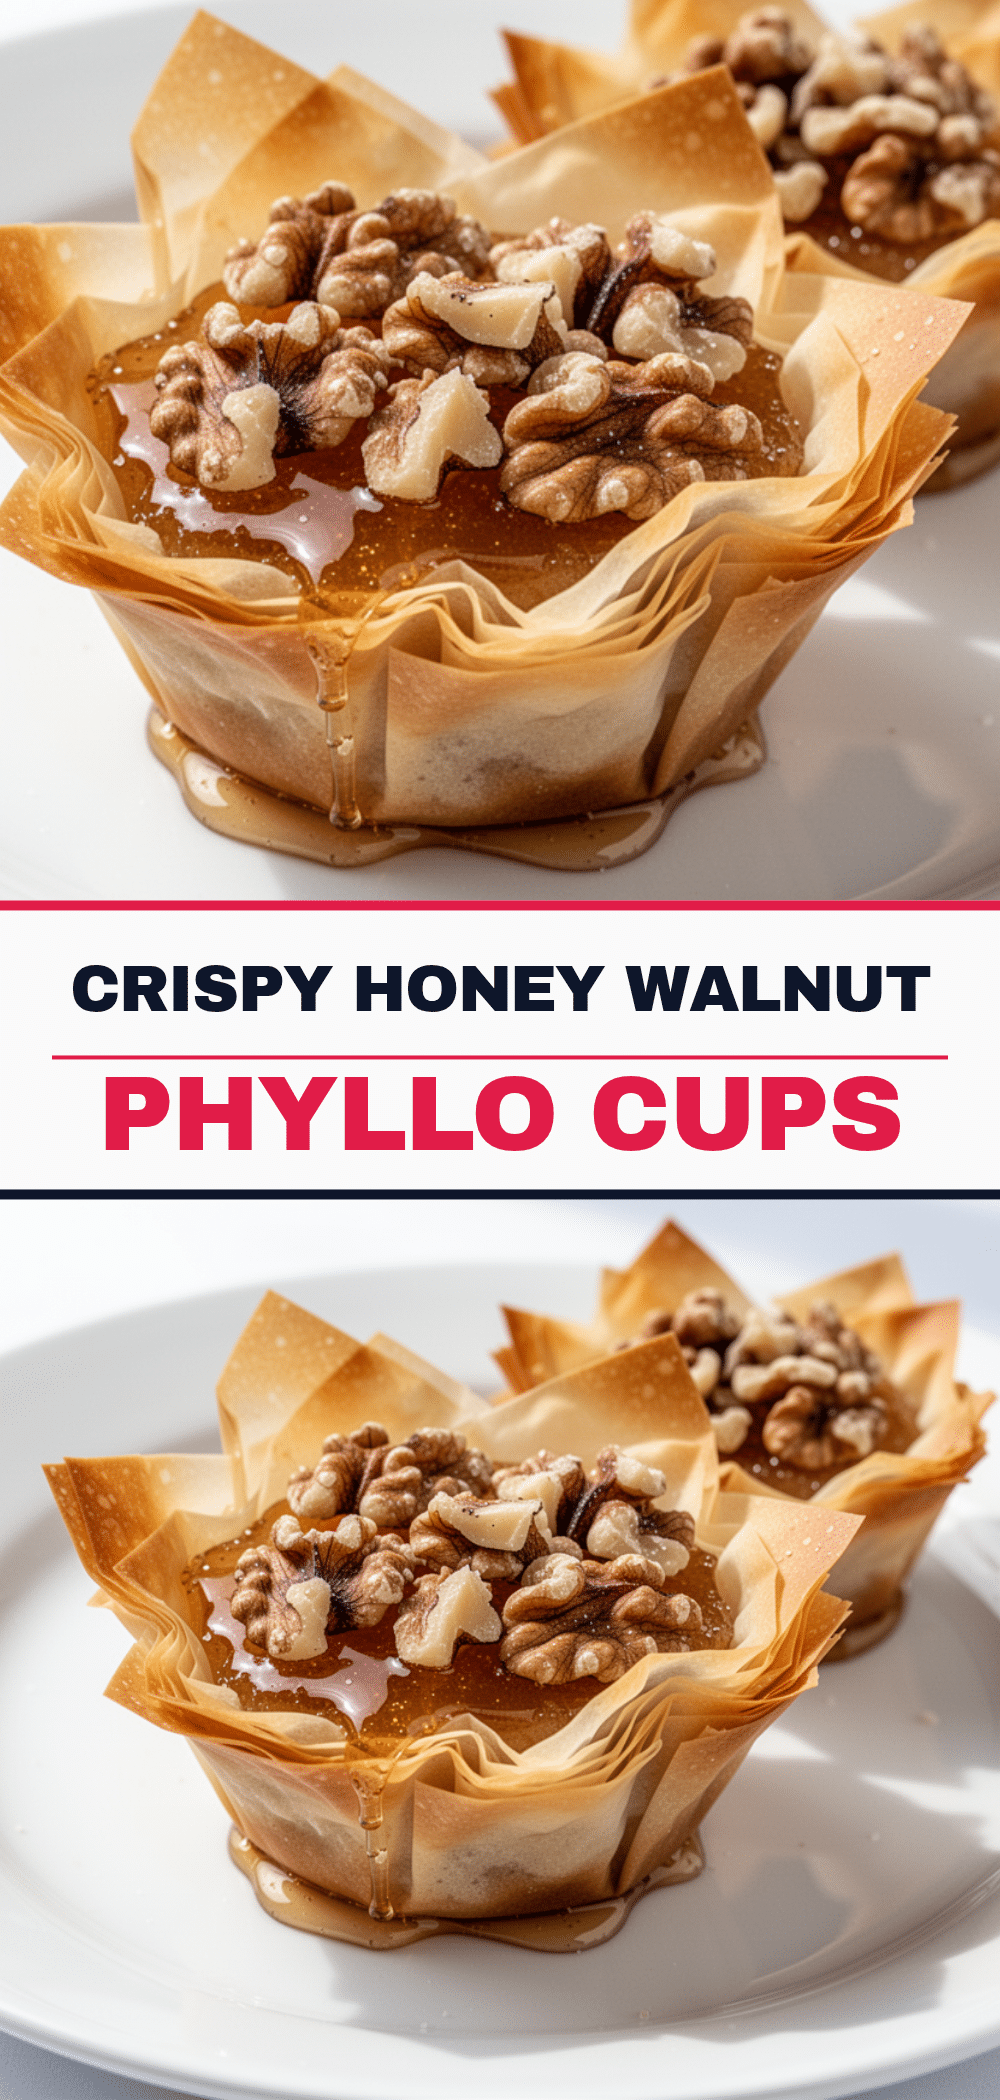
Flaky Phyllo Dough Dessert Cups: Best Easy Honey Walnut Treats
- Total Time: 43 minutes
- Yield: 12 servings 1x
Description
A foolproof, elegant dessert made with layered phyllo dough, honey, walnuts, and cinnamon. These crispy, sweet cups are ready in under 30 minutes and are perfect for last-minute guests or weekend treats.
Ingredients
- 1 package (16oz) frozen phyllo dough, thawed
- ½ cup (115g) unsalted butter, melted
- 1 cup (100g) raw walnuts, roughly chopped
- ¼ cup (85g) honey
- ½ teaspoon ground cinnamon
- 1 pinch salt
- 1 teaspoon vanilla extract
- 2 tablespoons dried cranberries, chopped (optional)
- ¼ cup chopped pistachios (optional)
- 1 teaspoon orange zest (optional)
Instructions
- Preheat oven to 375°F (190°C).
- Chop walnuts and mix them in a bowl with honey, cinnamon, salt, and vanilla extract. If honey is thick, warm it slightly to make mixing easier.
- Unroll the thawed phyllo dough and cut sheets in half crosswise to fit ramekins. Keep unused sheets covered with a damp towel at all times to prevent drying.
- Place one sheet of phyllo into a mini ramekin or muffin tin cup, letting edges drape over. Brush lightly with melted butter.
- Repeat layering 6-8 sheets of phyllo, brushing each with butter, until a cup shape is formed.
- Brush the top layer with butter and spoon 1-2 tablespoons of the honey-walnut mixture into the center of each cup. Press down gently.
- Fold the overhanging phyllo edges over the filling to create a parcel. Brush the top with remaining butter.
- Place ramekins on a baking sheet and bake for 15-18 minutes until deep golden brown and honey is bubbling.
- Let cool completely in the ramekins for 15-20 minutes to allow the honey to set and phyllo to crisp up before serving.
Notes
Keep phyllo dough covered with a damp towel while working to prevent it from drying out and cracking. Do not rush the cooling process, as the cups will be soft when hot and need time to crisp up. For a gluten-free version, use gluten-free phyllo dough. For a vegan version, substitute butter with coconut oil and honey with maple syrup or agave nectar.
- Prep Time: 25 minutes
- Cook Time: 18 minutes
- Category: Dessert
- Cuisine: Greek
Nutrition
- Serving Size: 1 cup
- Calories: 180
- Sugar: 12
- Sodium: 5
- Fat: 11
- Saturated Fat: 5
- Carbohydrates: 18
- Fiber: 1
- Protein: 3
Keywords: phyllo dough, honey walnut, baklava alternative, easy dessert, phyllo cups, walnut dessert, honey treats, gluten-free option


