It was the third week of July, and the heat outside was so intense that my driveway was practically radiating off the pavement. I had just spent an hour in the kitchen trying to bake a batch of lemon bars, and the result was a soggy, melted disaster that looked more like lemon custard than dessert. I was done. I didn’t want to turn the oven on again. I didn’t want to stand over a hot stove. I wanted something cold, something vibrant, and something that tasted like a vacation in a bite.
I looked in my fridge and saw a half-empty bag of white chocolate chips I’d bought on a whim and a container of matcha powder that had been sitting in the back of my pantry for months, collecting dust. I remembered seeing a similar concept online, but everything I found was either too bitter or required an insane amount of work. So, I decided to hack it. I wanted the creamy, sweet comfort of white chocolate but the earthy, sophisticated kick of high-quality matcha. I wanted it no-bake, easy, and visually stunning enough to stop people mid-bite.
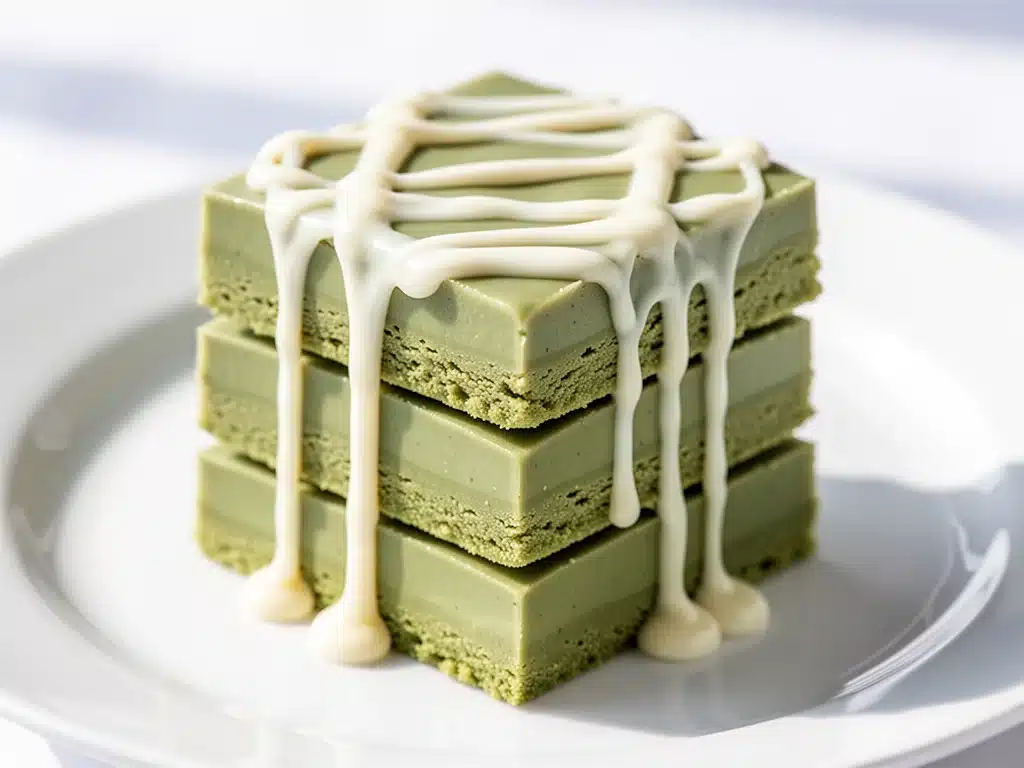
What came out of the fridge three hours later? These iced matcha dessert bars. They are not just good; they are dangerously addictive. The texture is unlike anything else—chewy, fudgy, and cool, with a crisp white chocolate top that snaps when you cut it. I’ve made these for summer potlucks, bridal showers, and just because I craved them on a Tuesday night. They’ve become my secret weapon for impressing guests without actually cooking. If you’re tired of heavy, baked desserts that make your kitchen feel like a sauna, you need to try this no-bake white chocolate treat. It’s fresh, it’s trendy, and it’s incredibly simple.
Why You’ll Love This Recipe
I know what you’re thinking. “Matcha? In a bar? Will it taste like grass?” Let me stop you right there. This isn’t a matcha latte. It’s a sophisticated balance of sweet and earthy, where the white chocolate mellows out the bitterness of the tea completely. Here’s why these bars have taken over my kitchen:
- Zero Oven Required — Seriously. If you can melt chocolate in a microwave or on the stove, you can make this. No baking, no preheating, no cleanup from a casserole dish. It’s pure convenience.
- Textural Heaven — Most no-bake bars are just crumbly cookies held together by chocolate. These have a distinct, chewy, fudgy center (think shortbread meets fudge) topped with a smooth, glossy white chocolate layer. The contrast is everything.
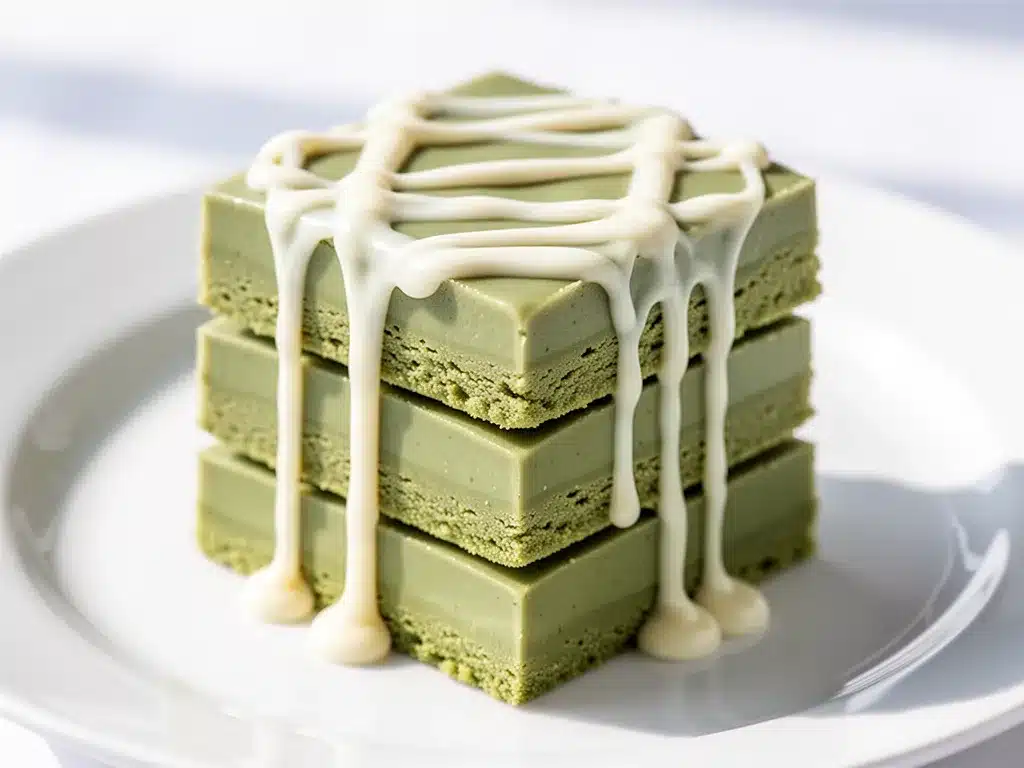
- Visual Stunner — The bright emerald green against the stark white is gorgeous. I’ve served these at brunches where people took photos before eating them. They look like they came from a high-end patisserie, but they cost pennies to make.
- Make-Ahead Friendly — These actually taste better the next day. The flavors meld together overnight, making the matcha flavor more pronounced and the texture even more cohesive. I often make them the morning of an event.
- Caffeine Kick — Unlike regular chocolate, matcha gives you a gentle, focused energy boost without the jitters. It’s the perfect afternoon pick-me-up or a sophisticated dessert that keeps you awake for dinner.
This is my go-to when I need a dessert that feels fancy but requires zero effort. It’s reliable, it’s delicious, and it’s a game-changer for hot days.
Ingredients You’ll Need
The beauty of this recipe is that the ingredient list is short, but the quality matters. You can’t skimp on the matcha here. Since there are only five main components, each one needs to shine.
For the Matcha Shortbread Base
Unsalted butter (1 cup / 225g) — Softened to room temperature. This gives the base its rich, crumbly texture. Don’t use margarine; it changes the flavor and texture entirely.
Granulated sugar (½ cup / 100g) — White sugar works best here because you want the matcha green to show through. Brown sugar would darken the color too much.
Vanilla extract (1 teaspoon) — Pure vanilla adds warmth and rounds out the earthy matcha flavor. Don’t skip it.
All-purpose flour (2 cups / 250g) — Standard flour is fine. You don’t need cake flour for this. Just make sure it’s spooned and leveled, not scooped, so your bars don’t turn out dry.
Culinary Grade Matcha Powder (3-4 tablespoons) — This is the most critical ingredient. Do not use ceremonial grade matcha (it’s too expensive for baking), and do not use sweetened matcha latte mixes (they have too much sugar and filler). Look for a vibrant green, culinary-grade powder. If it looks dull or yellowish, it’s too old or low quality.
Salt (½ teaspoon) — A pinch of salt enhances the chocolate flavor and balances the sweetness.
For the White Chocolate Topping
White chocolate chips (2 cups / 340g) — Use high-quality chips like Ghirardelli or Callebaut. Wilton baking chips often have a waxy texture and artificial taste. You want real cocoa butter here.
Heavy cream (2-3 tablespoons) — Just enough to create a ganache consistency. Too much and it won’t set; too little and it’s grainy.
White chocolate chips (for garnish, optional) — A few melted drops for decoration.
Pro Tip: I always buy matcha in small tins because it loses potency quickly once opened. Keep it in the fridge after opening to preserve that bright green color and fresh flavor.
Equipment Needed
You don’t need any fancy gadgets for this. Here’s what I actually use:
9×9 inch baking pan — A square pan is ideal. You can use an 8×8 if you want thicker bars, but you’ll need to adjust the cutting size. Line it with parchment paper leaving overhangs on the sides—this is non-negotiable for easy removal.
Electric mixer — Handheld or stand mixer. You need to cream the butter and sugar properly to get that tender crumb. Doing this by hand is possible but tiring.
Sifting tool — A small mesh sieve or whisk. Matcha clumps easily. Sifting it into the flour is crucial for a smooth batter.
Microwave-safe bowl — Or a double boiler setup. I prefer the microwave for speed, but the double boiler gives you more control if you’re worried about burning the chocolate.
Offset spatula — Essential for spreading the white chocolate ganache evenly. A regular spoon works, but it leaves ridges.
Cooling rack — You need to let the base cool completely before adding the topping, or it will melt into a mess.
How to Make It: Step-by-Step
Alright, let’s make these iced matcha dessert bars! I’m walking you through exactly how I do it, including the little tricks I’ve picked up.
Step 1: Prep the Pan and Oven (5 minutes)
Preheat your oven to 350°F (175°C). Line your 9×9 inch baking pan with parchment paper, letting the excess hang over the edges like a sling. This makes it super easy to lift the entire block of bars out later. Lightly spray the parchment with non-stick spray.
Step 2: Mix the Dry Ingredients (2 minutes)
In a medium bowl, whisk together the flour, sifted matcha powder, and salt. Sifting the matcha is key—it breaks up the clumps and ensures you get a uniform green color throughout the base. If you skip this, you’ll end up with bitter green specks in your bars.
Step 3: Cream the Butter and Sugar (3-4 minutes)
In a large bowl, beat the softened butter and sugar together on medium-high speed until light and fluffy, about 3 minutes. This step incorporates air and makes the shortbread tender. Add the vanilla extract and mix until combined.
Step 4: Combine and Press (5 minutes)
Reduce the mixer speed to low and gradually add the flour/matcha mixture. Mix just until combined. Don’t overmix, or the bars will be tough. The dough will look crumbly at first, but it will come together when pressed. Pour the dough into the prepared pan. Use your hands or the bottom of a measuring cup to press it firmly and evenly into the pan. It should be compact. If it’s loose, the bars will fall apart.
Step 5: Bake the Base (18-20 minutes)
Bake the crust for 18-20 minutes. The edges should be lightly golden, and the center should look set but still soft. Do not overbake. You want the base to remain chewy. Remove from the oven and let it cool completely in the pan on a wire rack. This is crucial—if you add the chocolate while it’s hot, it will melt and mix with the crust, ruining the layers.
Step 6: Make the White Chocolate Ganache (5 minutes)
Once the crust is completely cool, place the white chocolate chips in a microwave-safe bowl. Microwave in 30-second intervals, stirring well between each interval. Usually, 2-3 intervals are enough. If it’s too thick or grainy, add heavy cream one tablespoon at a time until you reach a smooth, pourable consistency. It should look like thick honey.
Step 7: Assemble and Chill (2+ hours)
Pour the white chocolate mixture over the cooled crust. Use an offset spatula to spread it evenly to the edges. Tap the pan gently on the counter to release any air bubbles. Place the pan in the refrigerator for at least 2 hours, or until the white chocolate is completely firm.
Step 8: Cut and Serve
Lift the bars out of the pan using the parchment paper. Use a sharp knife to cut into squares. For clean cuts, wipe the knife with a warm, damp cloth between each slice. This prevents the white chocolate from dragging and cracking.
Expert Tips & Tricks
Here’s everything I’ve learned from making these dozens of times. These tips will save you from my mistakes.
The Matcha Matters
I cannot stress this enough. Cheap matcha tastes bitter and grassy. Spend the extra few dollars on a good brand like Ippodo, Encha, or Cha Matcha. The color should be a vibrant neon green. If it’s dark olive green, it’s old or low quality.
Don’t Skip the Sifting
Matcha is fine powder and clumps instantly. If you just dump it in, you’ll have bitter lumps. Sift it into the flour every time.
Cool Completely
I’ve rushed this step before, and the results were disastrous. The white chocolate melted into the crust, creating a muddy layer instead of two distinct textures. Patience pays off here.
White Chocolate Quality
Avoid cheap baking chips if you can. They often contain vegetable oils instead of cocoa butter, which makes the topping waxy and less flavorful. Real white chocolate melts smoother and tastes richer.
Sharp Knife for Cutting
A dull knife will crush the shortbread and crack the chocolate. Use a sharp chef’s knife or a serrated bread knife. Wiping it clean between cuts keeps the presentation pristine.
Storage is Key
These bars are best stored in the fridge because of the white chocolate ganache. They can sit at room temperature for an hour or two during serving, but they need to return to the fridge to maintain their structure.
Variations & Substitutions
Once you’ve nailed the basic version, here’s how you can mix it up. I’ve tried all of these.
Dark Chocolate Matcha
Swap the white chocolate topping for dark chocolate chips (60-70% cocoa). The bitterness of the dark chocolate pairs beautifully with the earthy matcha. It’s less sweet and more sophisticated.
Matcha White Chocolate Chip Bars
Add ½ cup of white chocolate chips directly into the shortbread dough before pressing. This adds pockets of melty chocolate throughout the base.
Coconut Version
Replace ½ cup of the flour with toasted coconut flakes. Add a teaspoon of coconut extract to the butter mixture. It gives a tropical twist that goes well with the green tea.
Lemon Matcha
Add 1 tablespoon of lemon zest to the butter mixture. The citrus brightens the matcha flavor and cuts through the richness of the white chocolate.
Gluten-Free
Use a 1:1 gluten-free flour blend. The texture might be slightly more crumbly, so press the dough extra firmly into the pan.
Vegan
Use vegan butter (like Miyoko’s or Earth Balance) and vegan white chocolate chips (like Hu or Enjoy Life). The method remains exactly the same.
Red Bean Matcha
Spread a thin layer of sweetened red bean paste over the cooled crust before adding the white chocolate. This is a classic Japanese combination and adds a lovely sweetness.
Serving & Storage
How to serve these iced matcha dessert bars to impress your guests:
How to Serve:
I usually serve these chilled, cut into small 1-inch squares. They are rich, so smaller bites are better. I like to garnish them with a few extra white chocolate chips or a light dusting of matcha powder on top for that professional look. They pair beautifully with a hot cup of black tea or coffee, or even a glass of cold milk.
Side Dishes:
These are a complete dessert on their own, but if you’re serving a larger spread, they go well with fresh berries or a light fruit salad. They also complement grilled desserts like grilled peaches for a contrasting temperature and flavor profile.
Storage Instructions:
Refrigerator:
Store in an airtight container in the fridge for up to 1 week. Layer them between parchment paper to prevent sticking. They actually taste better on day 2 and 3 as the flavors meld.
Freezing:
Yes, you can freeze these! Wrap individual bars tightly in plastic wrap and then place them in a freezer-safe bag. They will keep for up to 3 months. Thaw in the fridge overnight before serving. The texture remains good after freezing.
Pro Tip:
If you’re taking these to a picnic or potluck, keep them in a cooler with ice packs. The white chocolate will melt quickly in the heat, and you want to preserve that snap.
Nutrition Information
I’m not a nutritionist, but here’s the breakdown if you’re tracking. Keep in mind that matcha has antioxidants and a mild caffeine boost, which is a nice perk!
Per Serving (based on 16 bars):
| Nutrient | Amount |
|---|---|
| Calories | 280 |
| Fat | 18g |
| Saturated Fat | 11g |
| Carbohydrates | 28g |
| Sugar | 18g |
| Protein | 3g |
| Sodium | 90mg |
What’s Good:
– Contains antioxidants from the matcha.
– No-bake means you retain more nutrients compared to high-heat baking.
– Portion control is easier with small squares.
What to Know:
– High in saturated fat due to white chocolate and butter.
– Moderate sugar content.
– Contains gluten and dairy (unless modified).
My Take:
Look, this is a dessert. It’s sweet, rich, and indulgent. But compared to a slice of cake or a bowl of ice cream, it’s relatively light in portion size. The matcha adds a layer of sophistication that makes it feel like a treat rather than a sugar crash waiting to happen. Enjoy it in moderation and savor the flavor.
Final Thoughts
So that’s my take on these iced matcha dessert bars! I know I’ve talked a lot about them, but when you make a recipe this often, you have a lot to say about it. These bars have saved me more times than I can count. They’re my answer to “I need to bring dessert but I don’t want to bake” or “I want something fancy for a summer gathering.” My friends are obsessed with them, and I’m obsessed with how easy they are to make.
Make it yours! Try different toppings, swap in your favorite chocolate, or adjust the matcha to your taste. The best recipes are the ones you adapt to your preferences. If you make this, drop a comment and let me know what you think! I love hearing how recipes turn out in your kitchen. And if something doesn’t work, tell me that too—I’m here to help troubleshoot.
Happy baking—or should I say, happy no-baking! I hope your kitchen smells half as good as mine does right now (hint: it smells like green tea and chocolate).
Frequently Asked Questions
Can I use matcha powder from a latte mix?
No, you should avoid sweetened matcha latte mixes. They contain sugar, milk powder, and anti-caking agents that will throw off the sweetness and texture of your bars. You need pure, unsweetened culinary-grade matcha powder for the correct flavor and consistency.
Why did my white chocolate topping seize up?
This usually happens if a tiny drop of water gets into the melting chocolate. Water causes chocolate to seize and become grainy. Make sure your bowl and utensils are completely dry. If it does seize, you can sometimes save it by adding a tablespoon of warm heavy cream and whisking vigorously, but it’s tricky. Prevention is key here.
Can I make these ahead of time?
Absolutely. These bars are even better the next day. I recommend making them the day before your event. Store them in the fridge in an airtight container. They will keep well for up to a week in the fridge or 3 months in the freezer.
Do I have to use white chocolate?
Not at all. While the white chocolate provides the classic contrast, you can use dark chocolate, milk chocolate, or even a mix of white and dark chips. Dark chocolate with matcha is a particularly rich and sophisticated combination.
How do I cut clean bars?
Use a sharp knife. Wipe the blade with a warm, damp cloth between every cut. This removes any chocolate residue and ensures a clean slice. For extra precision, you can chill the bars for 15 minutes before cutting to firm up the chocolate layer.
Can I use almond flour instead of all-purpose flour?
You can, but the texture will be different. Almond flour doesn’t have gluten, so the bars will be more crumbly and less chewy. You might need to add a teaspoon of xanthan gum or an extra egg yolk to help bind them. For the classic shortbread texture, stick with all-purpose flour.
Is matcha healthy?
Matcha is packed with antioxidants, particularly catechins like EGCG, and contains L-theanine, which promotes relaxation and focus. While these bars are still a dessert with sugar and fat, the matcha does add some nutritional benefits compared to a plain chocolate bar.
What if I don’t have a 9×9 pan?
You can use an 8×8 pan for thicker bars, but you’ll need to adjust the baking time slightly (check them a minute or two earlier). You can also use a 9×13 pan for thinner bars, but you’ll need to double the recipe to get enough volume.
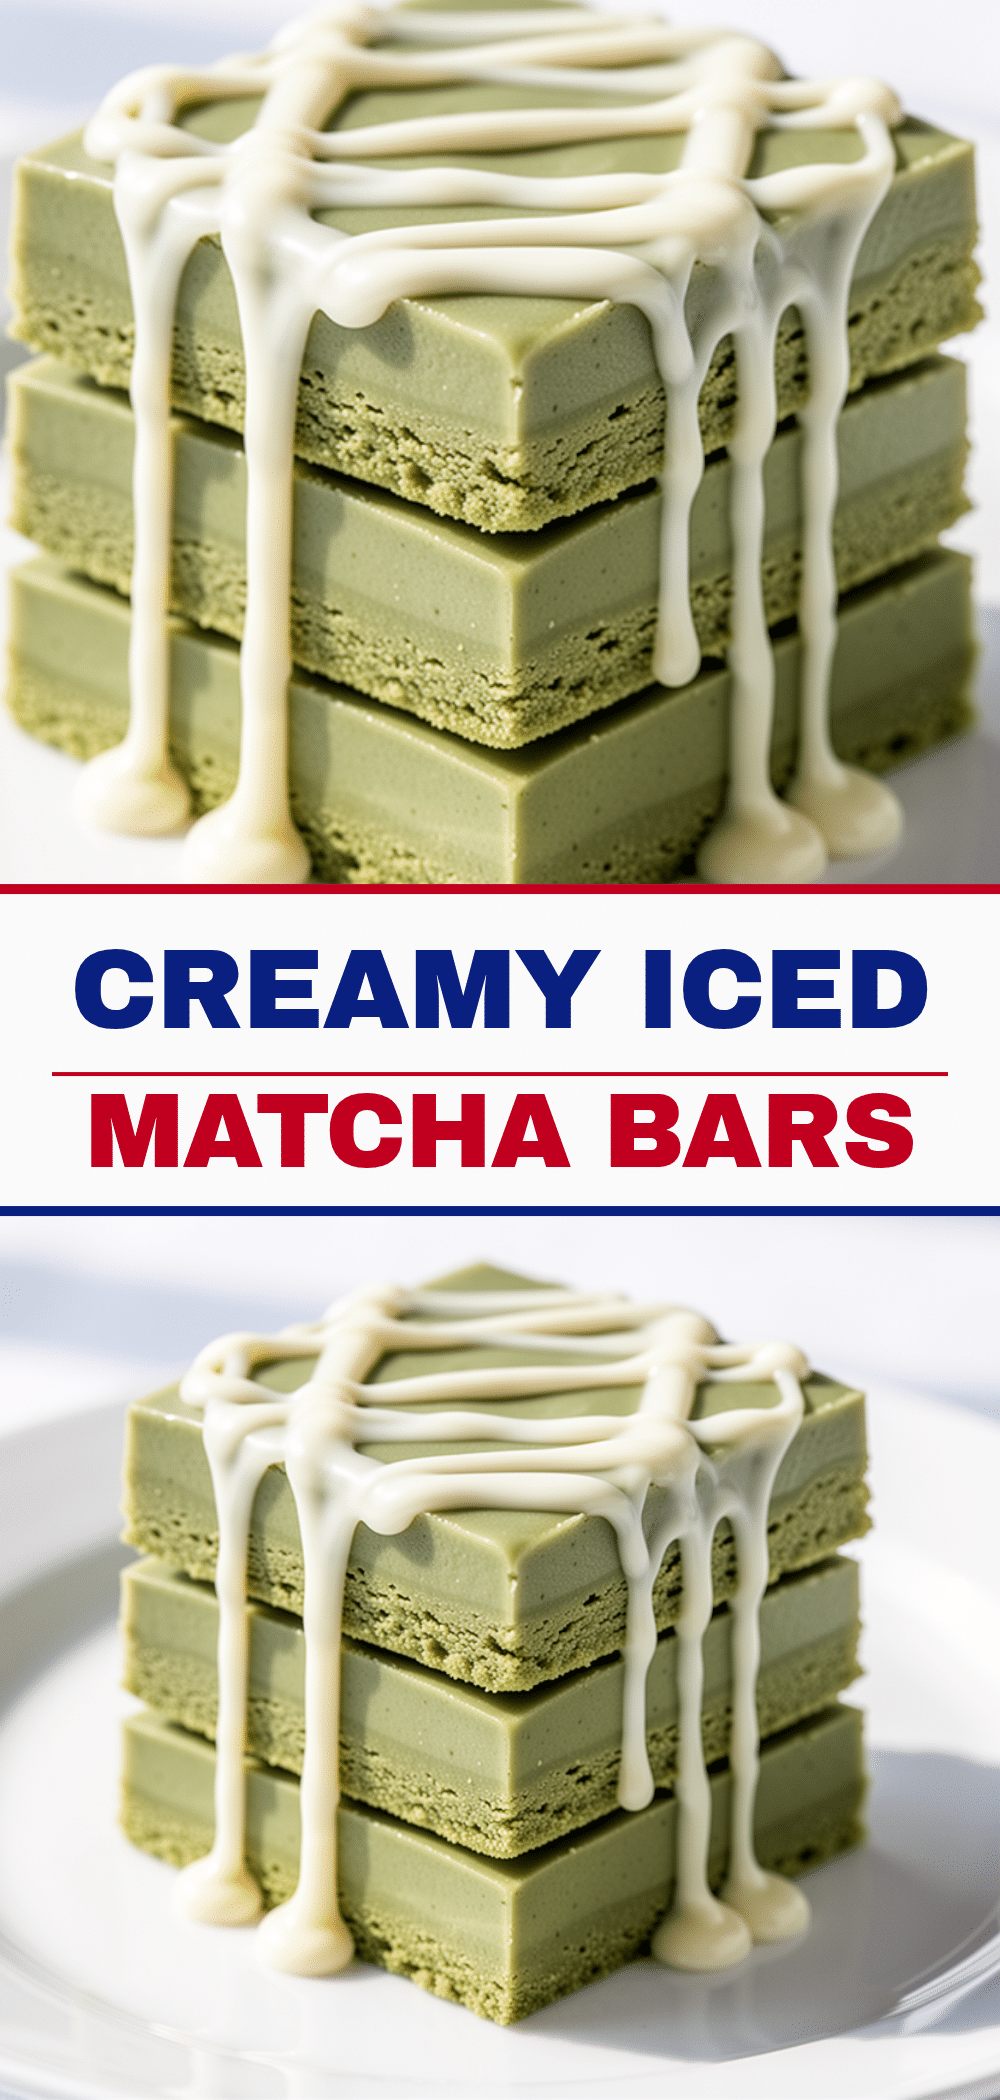
Pin This Recipe!
Iced Matcha Dessert Bars: Easy No-Bake White Chocolate Treats
- Total Time: 2 hours 35 minutes
- Yield: 16 servings 1x
Description
These iced matcha dessert bars feature a chewy, fudgy matcha shortbread base topped with a smooth, glossy white chocolate ganache. They are visually stunning, require no baking, and offer a sophisticated balance of sweet and earthy flavors.
Ingredients
- 1 cup (225g) unsalted butter, softened to room temperature
- ½ cup (100g) granulated sugar
- 1 teaspoon vanilla extract
- 2 cups (250g) all-purpose flour
- 3–4 tablespoons culinary grade matcha powder
- ½ teaspoon salt
- 2 cups (340g) high-quality white chocolate chips
- 2–3 tablespoons heavy cream
- White chocolate chips for garnish (optional)
Instructions
- Preheat oven to 350°F (175°C). Line a 9×9 inch baking pan with parchment paper, leaving overhangs on the sides, and lightly spray with non-stick spray.
- In a medium bowl, whisk together the flour, sifted matcha powder, and salt. Ensure the matcha is sifted to prevent clumps.
- In a large bowl, beat the softened butter and sugar on medium-high speed until light and fluffy (about 3 minutes). Add vanilla extract and mix until combined.
- Reduce mixer speed to low and gradually add the flour/matcha mixture. Mix just until combined. The dough will look crumbly.
- Pour the dough into the prepared pan and press it firmly and evenly into the pan using your hands or the bottom of a measuring cup.
- Bake the crust for 18-20 minutes until edges are lightly golden and the center looks set but soft. Do not overbake.
- Remove from oven and let the base cool completely in the pan on a wire rack.
- Once the crust is cool, place white chocolate chips in a microwave-safe bowl. Microwave in 30-second intervals, stirring between each, until melted.
- If the mixture is too thick, add heavy cream one tablespoon at a time until it reaches a smooth, pourable consistency.
- Pour the white chocolate mixture over the cooled crust and spread evenly with an offset spatula.
- Tap the pan gently to release air bubbles, then refrigerate for at least 2 hours until the white chocolate is completely firm.
- Lift the bars out of the pan using the parchment paper. Use a sharp knife to cut into squares, wiping the knife with a warm, damp cloth between cuts for clean edges.
Notes
Use culinary-grade matcha, not ceremonial or latte mixes. Sift the matcha to avoid bitter clumps. Ensure the crust is completely cool before adding the chocolate topping to prevent melting. Store in the refrigerator for up to 1 week or freeze for up to 3 months.
- Prep Time: 15 minutes
- Cook Time: 20 minutes
- Category: Dessert
- Cuisine: Japanese Fusion
Nutrition
- Serving Size: 1 bar (approx. 1-inc
- Calories: 280
- Sugar: 18
- Sodium: 90
- Fat: 18
- Saturated Fat: 11
- Carbohydrates: 28
- Protein: 3
Keywords: matcha dessert, no-bake bars, white chocolate matcha, matcha shortbread, summer dessert, easy baking, green tea treats


