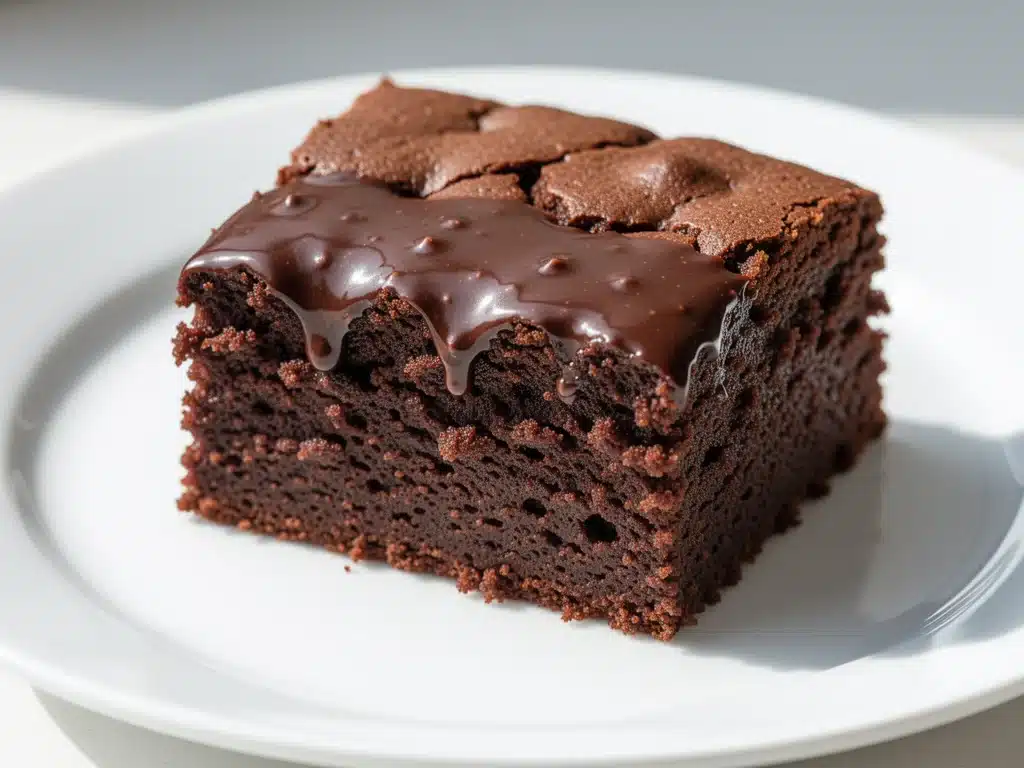
I have a confession to make. For years, I was the person who bought the box mix. Not because I couldn’t bake, but because I was tired. Tired of melting butter, tired of waiting for eggs to come to room temperature, tired of washing six different bowls just to make a simple dessert. I wanted something chocolatey, something moist, and something that didn’t require a trip to the grocery store at 7 PM.
Then I found this no-butter chocolate cake. At first, I was skeptical. Cake without butter? It sounded like a dry, dense brick waiting to happen. But after making it three times in one week (okay, maybe four), I realized something: this isn’t just a substitute. It’s an upgrade.
The secret? Oil. Specifically, neutral oil mixed with hot water to “bloom” the cocoa powder. The result is a cake that is impossibly moist, deeply chocolatey, and has a texture that feels like a brownie crossed with a sponge. It’s the kind of dessert that disappears before you can say “second slice.” And the best part? You likely have every ingredient in your pantry right now. No fancy butters, no expensive chocolates, just simple, honest baking.
If you’re like me and often find yourself staring into the fridge wondering what to do with a few eggs and some cocoa, this no-butter chocolate cake is your new best friend. It’s easy, it’s forgiving, and it tastes like pure comfort.
Why You’ll Love This Moist Cocoa Glazed Dessert
There are about a dozen reasons I keep coming back to this recipe, but let’s be real—you don’t need another complicated baking project. You need dinner to be handled so you can actually enjoy dessert. Here’s why this cake wins every time:
- Zero Butter Melting Drama — Seriously, if you can boil water, you can make this. No waiting for butter to soften, no measuring softened cubes. Just mix dry, mix wet, combine. It’s stupid simple.
- Insanely Moist Texture — Because we use oil instead of butter, the crumb stays tender for days. I’ve had leftovers on my counter for three days, and they were still soft. Butter-based cakes tend to dry out faster; this one? It stays lush.
- Deep Chocolate Flavor — Blooming the cocoa in hot water is a game-changer. It wakes up the chocolate flavor in a way that cold milk or butter never could. It tastes like rich dark chocolate, not that dusty, sweet powder you might be used to.
- Pantry Staples Only — Flour, sugar, cocoa, oil, eggs, milk. That’s it. No buttermilk to sour, no vanilla extract if you’re out (though it helps), no fancy flours. If you have a standard kitchen, you’re good to go.
- Perfect for Last-Minute Guests — I’ve made this for unexpected dinner guests more times than I can count. It comes together in 15 minutes of active time, bakes in 30, and looks elegant enough to serve with a dusting of powdered sugar or a dollop of whipped cream.
This is my go-to when I need a win. No stress, no special trips to the store, just reliable, delicious food that makes everyone happy. It’s the dessert equivalent of a warm hug.
Ingredients You’ll Need
Here’s the best part: you probably have most of this already. I’m particular about the cocoa here, but otherwise, this is basic baking stuff.
For the Cake
All-purpose flour (2 cups / 250g) — Standard stuff. Don’t try to swap in almond flour unless you want a completely different texture. This recipe relies on gluten structure.
Granulated sugar (1 ½ cups / 300g) — Yes, it’s sweet. But the cocoa is bitter, so it balances out. If you like less sweet, drop it to 1 cup, but I wouldn’t go lower.
Cocoa powder (¾ cup / 75g) — This is the star. Use good quality unsweetened cocoa. Hershey’s is fine, but a darker, dutch-processed cocoa will give you a richer, more intense chocolate flavor. Avoid “sweetened” cocoa mix (like hot chocolate powder).
Baking soda (1 ½ teaspoons) — And baking powder (1 teaspoon). The soda reacts with the acidity in the cocoa and buttermilk (or milk + vinegar) to lift the cake. Don’t skip it.
Salt (1 teaspoon) — Essential for flavor. It makes the chocolate taste more like chocolate.
Hot water (1 cup / 240ml) — Boiling hot. This blooms the cocoa. If you don’t have hot water, boil some kettle water and let it sit for a minute.
Vegetable or canola oil (½ cup / 120ml) — Neutral oil is key. Olive oil will make it taste like salad. Avocado oil works if you have it, but vegetable is standard.
Eggs (2 large) — Room temperature is best, but straight from the fridge works fine in a pinch. They provide structure.
Milk (1 cup / 240ml) — Whole milk is best for richness. Buttermilk is traditional, but if you don’t have it, add 1 tablespoon of vinegar or lemon juice to regular milk and let it sit for 5 minutes.
Vanilla extract (2 teaspoons) — Enhances the chocolate. I use pure vanilla, not imitation.
For the Cocoa Glaze
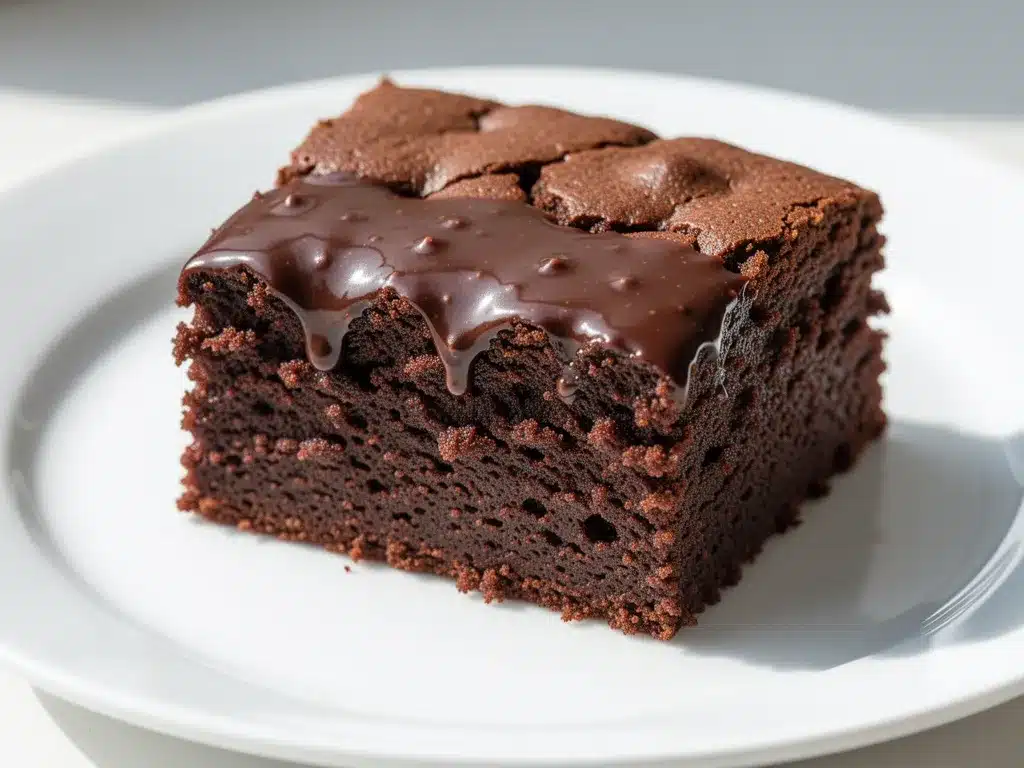
Butter (¼ cup / 57g) — Wait, isn’t this a no-butter cake? Yes! The batter has no butter. The glaze does. But it’s just a quarter cup, and it melts into the cake instantly. You can use margarine if you need to, but real butter tastes better.
Confectioners’ sugar (2 cups / 240g) — Powdered sugar. Sift it if it’s lumpy.
Cocoa powder (¼ cup / 25g) — Same good quality cocoa as the cake.
Milk (3-4 tablespoons) — Adjust for consistency. You want it pourable but thick.
Vanilla extract (1 teaspoon) — For flavor.
Pinch of salt — To balance the sweetness.
Equipment Needed
You don’t need fancy equipment for this. Here’s what I actually use:
Two 8-inch round cake pans — Or one 9×13 inch pan if you want a sheet cake. Grease and flour them, or use baking spray. I like to line the bottoms with parchment paper for easy removal.
Large mixing bowls — One for dry ingredients, one for wet. I use a big one for dry and a medium one for wet.
Whisk — For mixing the dry ingredients and the wet. A whisk incorporates air better than a spoon.
Electric mixer (optional) — I actually prefer hand-mixing this batter. It’s not heavy, and over-mixing can make the cake tough. A mixer is fine if you’re careful.
Measuring cups and spoons — Standard stuff. Level off your dry ingredients.
Kettle or saucepan — For heating the water.
Wire cooling rack — Essential for cooling the cake before glazing. If you glaze a warm cake, the glaze will melt off.
How to Make It: Step-by-Step
Alright, let’s make this! I’m walking you through exactly how I do it, including the little tricks I’ve picked up.
Step 1: Prep Your Pans and Oven (5 minutes)
Preheat your oven to 350°F (175°C). Grease your cake pans with butter or non-stick spray, then dust with a little flour. Tap out the excess. If you’re using round pans, line the bottoms with parchment circles for guaranteed easy release.
Step 2: Mix the Dry Ingredients (3 minutes)
In a large bowl, whisk together the flour, sugar, cocoa powder, baking soda, baking powder, and salt. Make sure there are no lumps of cocoa. If your cocoa is clumpy, sift it now. This step is crucial for a smooth batter.
Step 3: Combine Wet Ingredients (2 minutes)
In a separate medium bowl, whisk the eggs, milk, oil, and vanilla extract until well combined. The mixture might look slightly separated—that’s normal.
Step 4: Bring It All Together (3 minutes)
Pour the wet ingredients into the dry ingredients. Beat on medium speed for about 2 minutes, or whisk vigorously by hand. The batter will be thick. This is where you develop the structure.
Step 5: Add the Hot Water (2 minutes)
Slowly pour in the boiling water while mixing on low speed or stirring by hand. The batter will become thin and watery. Don’t panic! This is exactly what should happen. The hot water blooms the cocoa, releasing its full flavor. The batter will look like dark chocolate milk.
Step 6: Bake (30-35 minutes)
Pour the batter evenly into your prepared pans. Bake for 30-35 minutes for round pans, or 35-40 minutes for a 9×13 pan. The cakes are done when a toothpick inserted into the center comes out clean or with just a few moist crumbs. Do not overbake, or the cake will dry out. The tops should spring back when lightly touched.
Step 7: Cool Completely (1 hour)
Let the cakes cool in the pans for 10 minutes, then turn them out onto a wire rack to cool completely. This is the hardest part. If you try to glaze them warm, the glaze will slide right off. Trust the process.
Step 8: Make the Glaze (5 minutes)
While the cakes cool, make the glaze. Melt the butter in a small saucepan or microwave. Whisk in the cocoa powder, confectioners’ sugar, milk, vanilla, and salt. Start with 3 tablespoons of milk and add more if needed. You want a consistency that pours slowly but covers the cake.
Step 9: Glaze and Serve
Place one cake layer on your serving plate. Pour half the glaze over it. Top with the second layer and pour the remaining glaze over the top. Let it drip down the sides. Slice and serve.
Expert Tips & Tricks
Here’s everything I’ve learned from making this dozens of times. These tips will save you from my mistakes.
Bloom Your Cocoa
This is the #1 tip. The hot water isn’t just for hydration; it’s for flavor. Cocoa powder contains fat-soluble flavor compounds that are locked away until heated. Blooming them makes your cake taste like it was made with expensive chocolate.
Don’t Overmix After Adding Water
Once you add the hot water, mix just until combined. Overmixing at this stage can develop too much gluten, making the cake tough. The batter should be smooth but not elastic.
Room Temperature Eggs
While not strictly necessary, room temperature eggs emulsify better with the oil and milk. If you’re in a rush, just drop them in a bowl of warm water for 5 minutes.
The Glaze Consistency
The glaze will thicken as it cools. If it’s too thick to pour, add a teaspoon of milk at a time. If it’s too thin, add a tablespoon of powdered sugar. You want it to coat the back of a spoon.
Common Mistakes
Mistake: Cake is dry. Fix: You overbaked it. Check it 5 minutes before the timer goes off. The toothpick test is your friend.
Mistake: Glaze is grainy. Fix: Your powdered sugar had lumps. Sift it, or whisk the glaze longer.
Mistake: Cake stuck to pan. Fix: You didn’t grease enough, or you removed it too soon. Let it cool for 10 minutes, then run a knife around the edge.
Variations & Substitutions
Once you’ve nailed the basic version, here’s how you can mix it up. I’ve tried all of these.
Gluten-Free Version
Use a 1:1 gluten-free flour blend (like Bob’s Red Mill or King Arthur). The texture might be slightly denser, but it’s still delicious.
Dairy-Free Version
Use plant-based milk (almond, oat, soy) and oil. For the glaze, use dairy-free butter and plant milk. It works surprisingly well.
Vegan Version
Replace eggs with flax eggs (2 tablespoons ground flaxseed + 6 tablespoons water, let sit 5 minutes). Use plant milk and dairy-free butter in the glaze.
Coffee Flavor
Replace the hot water with hot brewed coffee. It enhances the chocolate flavor without making it taste like coffee. This is my personal favorite twist.
Red Velvet Twist
Add 1 tablespoon of cocoa powder (extra), 1 teaspoon of vinegar, and 1 teaspoon of red food coloring. Skip the vanilla. It’s a fun variation.
Layer Cake vs. Sheet Cake
This recipe works for both. If making a sheet cake, pour into a greased 9×13 pan and bake for 35-40 minutes. The glaze will cover the whole top.
Stuffed Cake
Make the cake layers, cool them, and fill with a layer of peanut butter frosting or jam before adding the glaze. It’s like a birthday cake.
Serving & Storage
How to Serve
I usually serve this straight from the plate at the dinner table. It’s rustic and inviting. But here are other ways I’ve enjoyed it:
- With Whipped Cream — A dollop of lightly sweetened whipped cream on top balances the rich glaze.
- With Berries — Fresh raspberries or strawberries add a tart contrast to the sweet chocolate.
- With Ice Cream — Vanilla bean ice cream is classic. Chocolate ice cream might be too much, but it’s good if you’re a chocoholic.
Storage Instructions
Room Temperature: Store covered at room temperature for up to 3 days. The oil keeps it moist.
Refrigerator: Store in an airtight container for up to 5 days. The cake will firm up in the fridge, so let it come to room temperature before serving for the best texture.
Freezing: This cake freezes well! Wrap the unfrosted layers tightly in plastic wrap and foil. Freeze for up to 3 months. Thaw overnight in the fridge, then glaze when ready to serve.
Pro Tip: If the glaze gets too hard in the fridge, let the slice sit out for 10 minutes before eating. It softens up nicely.
Nutrition Information
I’m not a nutritionist, but here’s the breakdown if you’re tracking. This is a rich dessert, so portion control is key.
Per Serving (based on 12 slices):
Calories: 380
Protein: 5g
Carbs: 58g
Fiber: 2g
Sugar: 42g
Fat: 14g
Saturated Fat: 5g
Cholesterol: 45mg
Sodium: 350mg
What’s Good: It’s vegetarian and can be made gluten-free or dairy-free. The cocoa has antioxidants.
What to Know: It’s high in sugar and calories, which is expected for a chocolate cake. Use it as a special treat, not a daily snack.
Final Thoughts
So that’s my go-to no-butter chocolate cake! I’ve probably talked your ear off at this point, but when you make a recipe this often, you have a lot to say about it.
This has saved me more times than I can count. It’s my answer to “what’s for dessert” when I’m tired, don’t want to bake something complicated, and still want something that tastes really good. My kids are happy, my husband’s happy, and I’m happy because I’m not stressed about cooking.
Make it yours! Try adding a layer of peanut butter, swap the glaze for ganache, or serve it with a glass of cold milk. The best recipes are the ones you adapt to your family’s tastes.
If you make this, drop a comment and let me know what you think! I love hearing how recipes turn out in your kitchen. And if something doesn’t work, tell me that too—I’m here to help troubleshoot.
Happy baking! And I hope your kitchen smells half as good as mine does right now.
Frequently Asked Questions
Can I use olive oil instead of vegetable oil?
You can, but it will change the flavor. Extra virgin olive oil has a strong, fruity taste that might clash with the chocolate. If you have light olive oil or avocado oil, those are more neutral and work better. But for the classic taste, stick with vegetable, canola, or grapeseed oil.
Why did my cake sink in the middle?
This usually happens if the oven temperature is too high, or if you opened the oven door too early. The cake needs time to set its structure. Check it only at the minimum baking time, and keep the door closed until the toothpick test is done. Also, make sure your baking soda and powder are fresh.
Can I make this ahead for a party?
Absolutely! Bake the cakes 2 days ahead, wrap them tightly, and store at room temperature. Make the glaze the day of or the morning of. Assemble and glaze right before serving. The cake actually tastes better after sitting for a day because the flavors meld.
Can I use buttermilk instead of regular milk?
Yes! Buttermilk is traditional in chocolate cake and adds tanginess. If you don’t have buttermilk, make your own by adding 1 tablespoon of white vinegar or lemon juice to 1 cup of milk and letting it sit for 5-10 minutes. It will curdle slightly, which is perfect.
How do I fix a grainy glaze?
If your glaze is grainy, it’s usually because the powdered sugar had lumps, or the butter wasn’t fully melted. Whisk it vigorously, or microwave it for 10 seconds and whisk again. If it’s still lumpy, strain it through a fine-mesh sieve before pouring.
Can I double this recipe?
Yes, but you’ll need larger pans or more pans. Double the recipe and use three 8-inch pans, or bake in two 9×13 pans. Adjust baking time accordingly—you might need 5-10 minutes longer. Keep an eye on the toothpick test.
Is this cake good for birthdays?
It’s a great base for birthday cakes! I often make this, let it cool, and then fill it with chocolate frosting or jam before adding the glaze. It’s also great for layer cakes. Just don’t forget to let it cool completely before stacking!
Pin This Recipe!
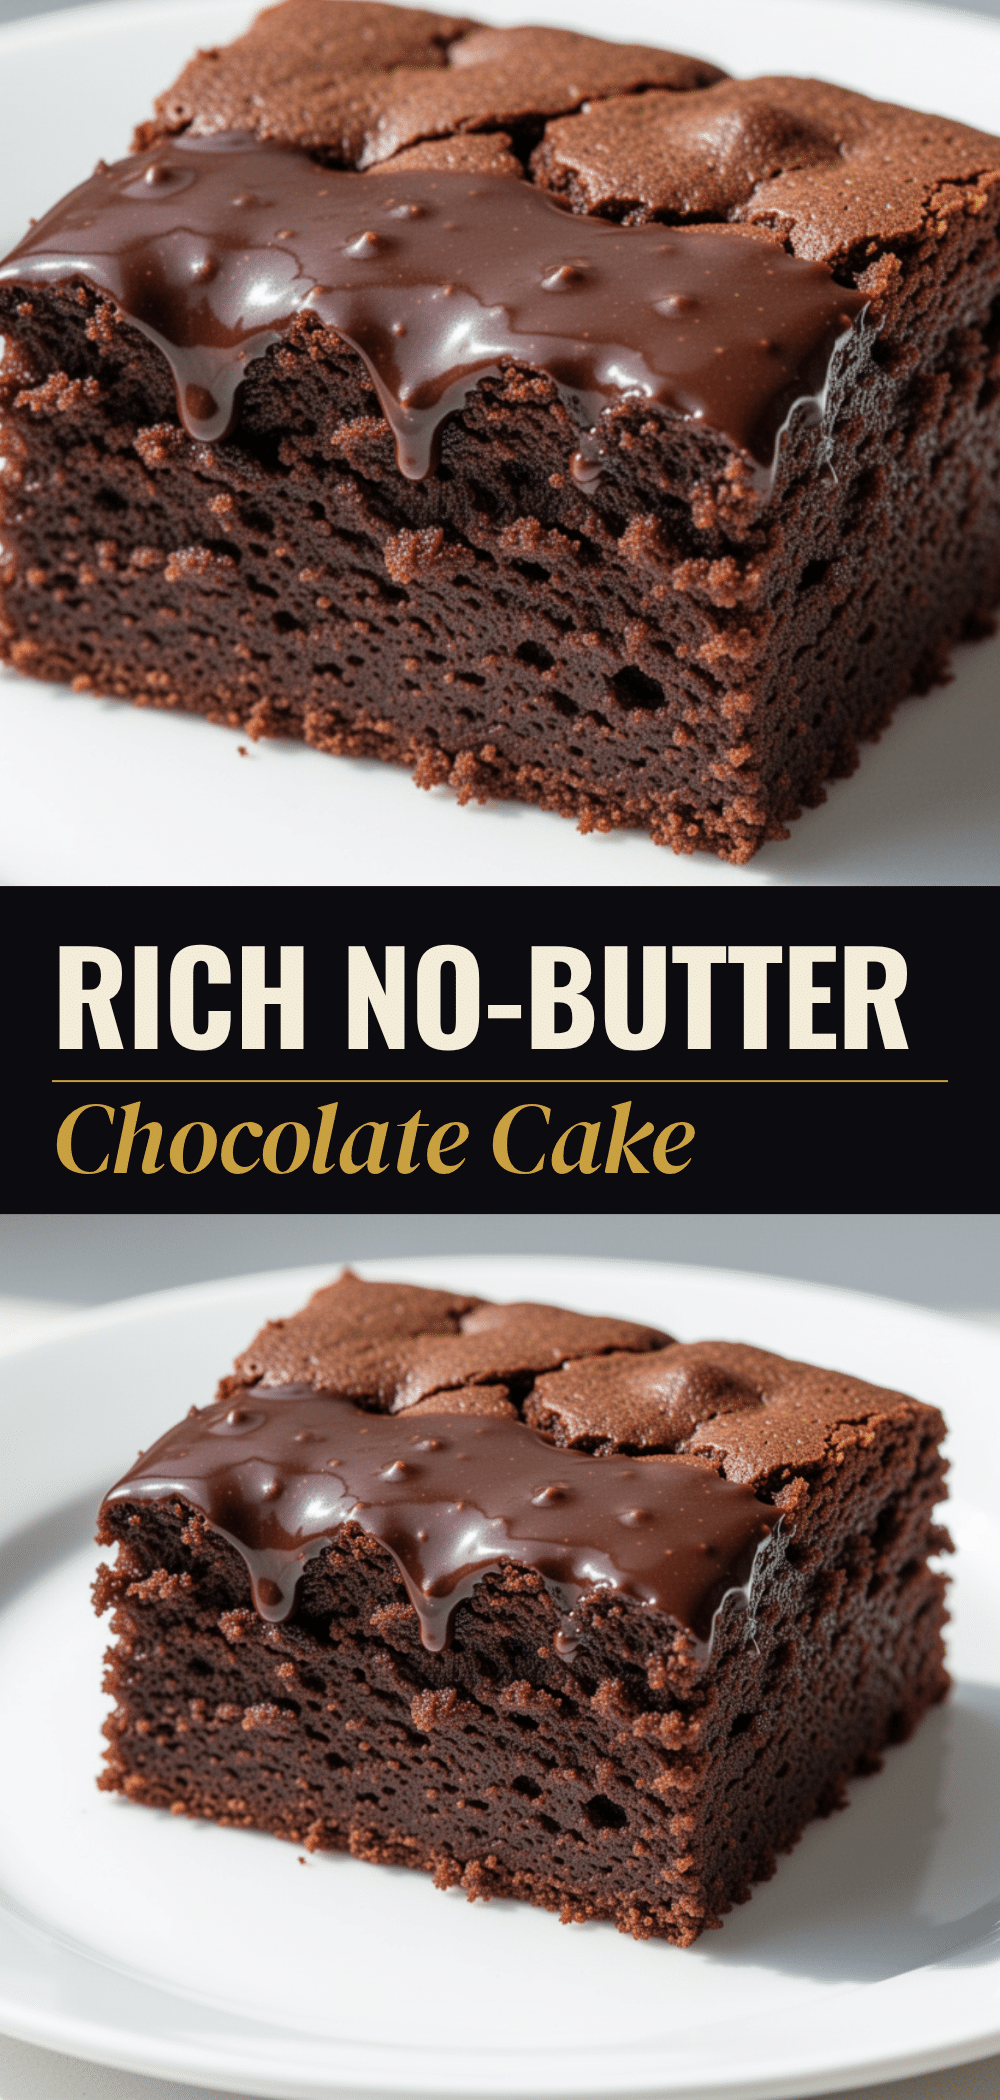
No-Butter Chocolate Cake: Best Easy Moist Recipe
- Total Time: 45-50 minutes
- Yield: 12 servings 1x
Description
An incredibly moist and deeply chocolatey cake that uses oil instead of butter for a tender crumb. This easy recipe requires simple pantry staples and hot water to bloom the cocoa for maximum flavor.
Ingredients
- 2 cups (250g) all-purpose flour
- 1 ½ cups (300g) granulated sugar
- ¾ cup (75g) unsweetened cocoa powder
- 1 ½ teaspoons baking soda
- 1 teaspoon baking powder
- 1 teaspoon salt
- 1 cup (240ml) hot water (boiling)
- ½ cup (120ml) vegetable or canola oil
- 2 large eggs
- 1 cup (240ml) milk (whole milk or buttermilk)
- 2 teaspoons vanilla extract
- For the Glaze: ¼ cup (57g) butter
- 2 cups (240g) confectioners’ sugar
- ¼ cup (25g) cocoa powder
- 3–4 tablespoons milk
- 1 teaspoon vanilla extract
- Pinch of salt
Instructions
- Preheat oven to 350°F (175°C). Grease and flour two 8-inch round cake pans (or one 9×13 inch pan), lining bottoms with parchment paper for easy removal.
- In a large bowl, whisk together flour, sugar, cocoa powder, baking soda, baking powder, and salt until no lumps remain.
- In a separate medium bowl, whisk eggs, milk, oil, and vanilla extract until well combined.
- Pour wet ingredients into dry ingredients. Beat on medium speed for 2 minutes or whisk vigorously by hand until the batter is thick and smooth.
- Slowly pour in the boiling water while mixing on low speed or stirring by hand. The batter will become thin and watery; this is normal as it blooms the cocoa.
- Pour batter evenly into prepared pans. Bake for 30-35 minutes for round pans or 35-40 minutes for a 9×13 pan, until a toothpick inserted into the center comes out clean.
- Let cakes cool in pans for 10 minutes, then turn out onto a wire rack to cool completely.
- While cakes cool, make the glaze: Melt butter in a small saucepan or microwave. Whisk in cocoa powder, confectioners’ sugar, milk, vanilla, and salt until smooth and pourable.
- Place one cake layer on a serving plate. Pour half the glaze over it. Top with the second layer and pour remaining glaze over the top, allowing it to drip down the sides.
- Slice and serve.
Notes
Bloom the cocoa powder with hot water to enhance chocolate flavor. Do not overmix after adding water to avoid a tough cake. Ensure cakes are completely cool before glazing to prevent the glaze from melting off. For a gluten-free version, use a 1:1 gluten-free flour blend. For a dairy-free version, use plant-based milk and oil. For a vegan version, replace eggs with flax eggs and use dairy-free butter in the glaze.
- Prep Time: 15 minutes
- Cook Time: 30-35 minutes
- Category: Dessert
- Cuisine: American
Nutrition
- Serving Size: 1 slice
- Calories: 380
- Sugar: 42
- Sodium: 350
- Fat: 14
- Saturated Fat: 5
- Carbohydrates: 58
- Fiber: 2
- Protein: 5
Keywords: chocolate cake, no butter cake, moist chocolate cake, easy dessert, cocoa glazed cake, pantry staples, baking from scratch


