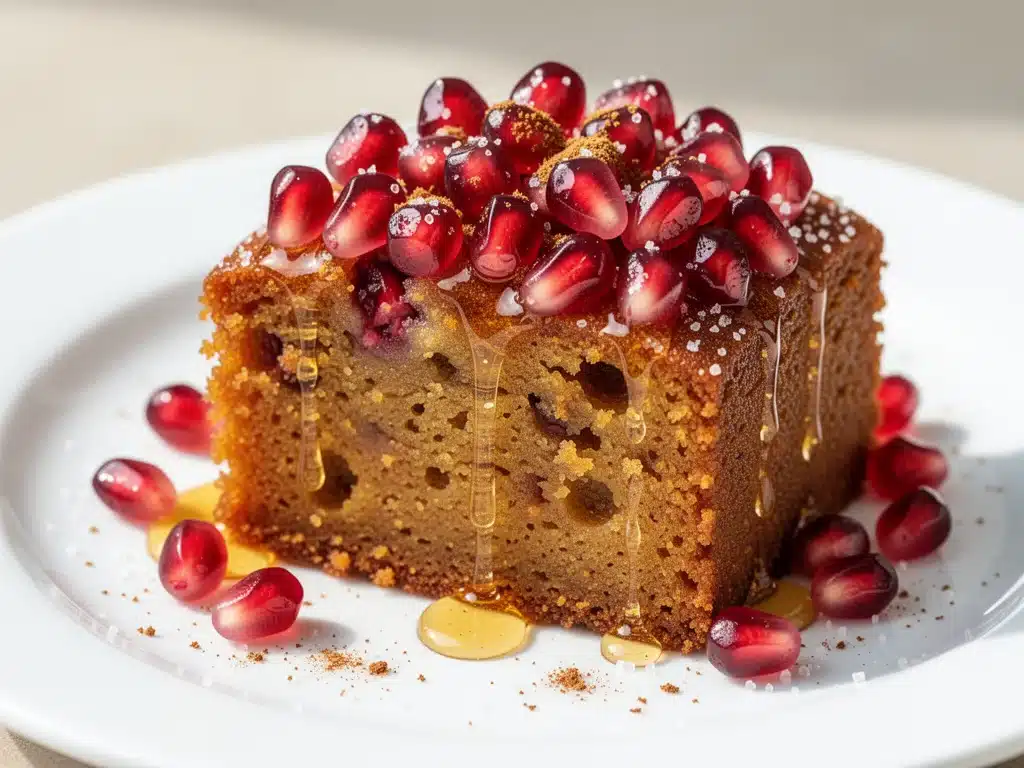
I still remember the first Rosh Hashanah I hosted on my own. I was twenty-four, living in a tiny apartment that smelled perpetually of burnt toast, and I was determined to create a “traditional” holiday spread that would impress my in-laws. I wanted everything to be perfect. The challah had to be golden. The brisket had to be tender. And the honey cake? It had to be the star of the dessert table.
So, I went to a fancy bakery and bought a slice of honey cake. It was dry, crumbly, and tasted like cardboard soaked in syrup. I brought it home, sliced it, and served it with a side of sour cream to “fix” the flavor. My mother-in-law took one bite, smiled politely, and said, “It’s… unique.” I knew then that I had failed. That honey cake wasn’t traditional; it was stale. And I wasn’t about to serve stale food to the people I loved most.
That night, I called my Bubbe (grandmother in Yiddish). I didn’t ask for her recipe—she didn’t write them down—but I asked her how she remembered the texture. “Moist,” she said. “Like a wet blanket, but in a good way. And it has to taste like autumn.” She hung up before I could ask for measurements, which meant I had to figure it out myself.
What I found was that traditional Rosh Hashanah honey cake isn’t just a dessert; it’s a symbol. It’s sweet, not cloying, and spiced with warmth that feels like a hug. It’s the food we eat to ensure the coming year is sweet. And after testing this recipe about fifteen times (yes, my kitchen smelled like ginger and honey for weeks), I finally nailed the version that tastes like Bubbe’s, but with a few tweaks for modern bakers who don’t have a cast-iron skillet from 1950.
This honey cake is dense, moist, and packed with spices. It improves with age, which is perfect because you actually *want* to make it a few days ahead. If you’re looking for a centerpiece that brings people together, this is it. It’s far superior to the dry blocks you find in stores, and it’s easier to make than you think. Just trust the process, and don’t skip the honey.
Why This Honey Cake Will Become Your Holiday Staple
There are about a million reasons to make this traditional holiday dessert, but let’s be real: you’re going to make it because it tastes incredible and because it carries so much meaning. But here are the practical reasons that will keep you coming back to this recipe year after year:
- It Actually Stays Moist — Most homemade honey cakes dry out in two days. This one? It gets better. The honey acts as a preservative and a humectant, keeping the crumb soft for up to a week. I’ve had slices sitting out for three days, and they were still perfect.
- Make-Ahead Friendly — Rosh Hashanah is stressful. You don’t need another last-minute panic. This cake needs at least 24 hours to set and absorb the flavors. Making it ahead isn’t just convenient; it’s necessary for the best texture.
- Pantry-Simple Ingredients — You don’t need exotic spices or hard-to-find flours. It’s mostly flour, sugar, honey, eggs, oil, and spices. If you have a basic spice rack, you’re good to go.
- Rich, Warming Flavor — The combination of honey, molasses, and warm spices (ginger, cinnamon, cloves) creates a deep, complex flavor profile that isn’t just “sweet.” It tastes sophisticated and traditional.
- Vegetarian and Dairy-Free Option — This recipe is naturally pareve (contains no meat or dairy), which makes it versatile. You can serve it with coffee, tea, or even a glass of milk without worrying about mixing food groups. It pairs beautifully with our honey lavender iced latte for a cozy afternoon treat.
- Feels Fancy, Costs Little — A slice of this cake at a bakery costs $6-$8. Making it yourself costs maybe $3 in ingredients. And it looks just as impressive when sliced thin and dusted with powdered sugar.
This honey cake is my go-to when I want to feel connected to my heritage without spending six hours in the kitchen. It’s reliable, delicious, and deeply comforting.
Ingredients You’ll Need for Traditional Honey Cake
Here’s the thing about honey cake: the quality of your ingredients matters more than you think. Since there aren’t many of them, each one plays a huge role. I’m particular about three things here: the honey, the molasses, and the spices.
For the Wet Mix:
Light honey (1 cup / 340g) — This is non-negotiable. Do not use dark, robust, or medicinal honey. You want a mild, floral honey that sweetens without overpowering. I use a high-quality clover or orange blossom honey. If you use dark honey, the cake will taste bitter.
Molasses (½ cup / 170g) — Use light or regular molasses, not blackstrap. Blackstrap is too strong and bitter for this cake. You want that deep, caramel-like richness. It adds color and moisture.
Vegetable oil (½ cup / 120ml) — Neutral oil keeps the cake moist and tender. Canola or light olive oil works well. Avoid extra virgin olive oil; the flavor is too strong for this delicate balance.
Water (½ cup / 120ml) — Hot water is key. It helps dissolve the sugar and honey and activates the spices. Boil it first, then let it cool slightly before adding.
Eggs (3 large) — Room temperature eggs mix better into the batter. If you forget, just place them in a bowl of warm water for five minutes.
Sugar (1 cup / 200g) — White granulated sugar. Some recipes use brown sugar, but I prefer white because it lets the honey and molasses shine. It also gives a cleaner crumb.
For the Dry Mix:
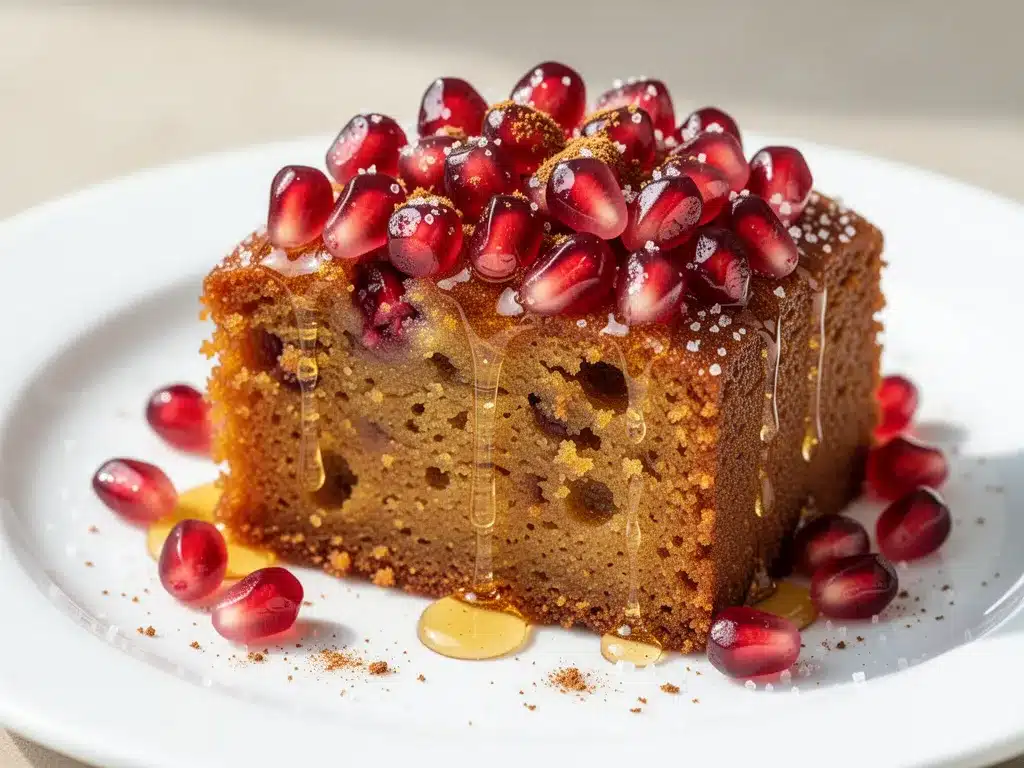
All-purpose flour (2 cups / 250g) — Don’t over-measure! Spoon it into the cup and level it off. If you scoop directly from the bag, you’ll pack too much flour, and your cake will be dense as a brick.
Baking soda (1 teaspoon) — This reacts with the acidic molasses and honey to create lift. Make sure it’s fresh. If it’s been in your pantry for two years, toss it and buy new.
Baking powder (½ teaspoon) — A little extra lift to ensure the cake isn’t too heavy.
Salt (½ teaspoon) — Essential for balancing the sweetness. Don’t skip it.
Ginger (1 teaspoon, ground) — Fresh ginger is too watery for this. Ground gives that sharp, warm kick.
Cinnamon (1 teaspoon) — Use good quality cinnamon. If yours tastes like dust, buy a new jar.
Cloves (½ teaspoon, ground) — This is the secret ingredient. It adds that nostalgic, spiced depth. Don’t add more than ½ teaspoon, or it will dominate.
Nutmeg (¼ teaspoon, freshly grated) — Freshly grated nutmeg is infinitely better than pre-ground. Just grate it into the bowl before you start.
Coffee (1 teaspoon instant espresso powder, optional) — I know, it sounds weird. But a teaspoon of espresso enhances the chocolatey depth of the molasses without making it taste like coffee. If you hate coffee, skip it, but I highly recommend it.
Equipment Needed
You don’t need fancy gadgets for this. Here’s what I actually use:
9×13 inch baking pan — This is the standard size for honey cake. Grease it well and line it with parchment paper for easy removal. I use a 9×13 because it gives the right thickness. A 9×9 will be too tall and might not cook through.
Large mixing bowl — You need enough space to whisk the wet ingredients and then fold in the dry. A 5-quart bowl is perfect.
Whisk — For aerating the eggs and sugar. A balloon whisk works best.
Spatula — Silicone spatula for folding the batter. You want to be gentle to keep the air in.
Measuring cups and spoons — Accuracy is important here. Don’t eyeball the baking soda or spices.
Cooling rack — Let the cake cool completely before slicing. Rushing this step leads to crumbling.
How to Make It: Step-by-Step
Alright, let’s bake this! I’m walking you through exactly how I do it, including the little tricks I’ve picked up over the years.
Step 1: Prep Your Pan and Oven (5 minutes)
Preheat your oven to 350°F (175°C). Grease your 9×13 inch baking pan with butter or non-stick spray. Line the bottom with parchment paper and grease that too. This ensures the cake doesn’t stick, which is crucial because honey cake is sticky by nature.
Step 2: Mix the Wet Ingredients (5 minutes)
In a large bowl, whisk together the honey, molasses, oil, and hot water. The hot water will thin out the honey, making it easier to mix. Then, whisk in the eggs one at a time, making sure each is fully incorporated before adding the next. Finally, whisk in the sugar until the mixture is smooth and glossy. It should look like thick syrup.
Step 3: Combine the Dry Ingredients (2 minutes)
In a separate medium bowl, whisk together the flour, baking soda, baking powder, salt, ginger, cinnamon, cloves, nutmeg, and espresso powder (if using). Sifting isn’t strictly necessary, but if your flour is lumpy, give it a quick whisk to break them up.
Step 4: Combine Wet and Dry (3 minutes)
Gradually add the dry ingredients to the wet mixture. Use a spatula to fold them in gently. Stop as soon as you no longer see streaks of flour. Overmixing develops gluten, which makes the cake tough. You want a tender, soft crumb. The batter will be thick and sticky—this is normal.
Step 5: Bake (45-55 minutes)
Pour the batter into the prepared pan and smooth the top with a wet spatula (wet spatulas prevent sticking). Bake for 45-55 minutes. Start checking at 45 minutes. The cake is done when a toothpick inserted into the center comes out clean or with just a few moist crumbs. It should not be wet batter.
Pro Tip: If the top is browning too quickly, tent it loosely with aluminum foil after the first 30 minutes. Honey burns easily!
Step 6: Cool Completely (2-3 hours)
Let the cake cool in the pan for 15 minutes, then turn it out onto a wire rack to cool completely. This is the hardest part. You’ll want to slice it immediately, but if you do, it will crumble. Let it sit. In fact, let it sit for 24 hours. The flavors meld, and the texture firms up, making it much easier to slice thinly.
Expert Tips & Tricks for Success
Here’s everything I’ve learned from making this dozens of times. These tips will save you from my mistakes.
Use Hot Water
I cannot stress this enough. The hot water helps dissolve the honey and molasses completely and blooms the spices. Cold water leaves pockets of undissolved sugar, which can lead to a grainy texture.
Don’t Overbake
Honey cake continues to cook slightly after you take it out of the oven. If you bake it until it looks perfectly dry, it will be dry by the time it cools. Aim for “just set” in the center. A little moisture is better than dryness.
Slice Thinly
This cake is rich and sweet. Slice it thinly—about ¼ inch thick. It’s meant to be eaten in small bites, often with coffee or tea. Thick slices can be overwhelming.
Store Properly
Once cooled, wrap the cake tightly in plastic wrap, then in foil. Store it at room temperature for up to a week. It can also be frozen for up to three months. Wrap individual slices in plastic for easy thawing.
Add a Glaze (Optional)
Some people like a honey glaze. Mix 2 tablespoons of honey with 1 tablespoon of water and brush it over the warm cake right after taking it out of the oven. It adds shine and extra sweetness. I usually skip this because the cake is sweet enough, but it’s a nice touch for guests.
Variations & Substitutions
Once you’ve nailed the basic version, here’s how you can mix it up. I’ve tried all of these.
Spiked Honey Cake
Add 2 tablespoons of rum or brandy to the wet mixture. It enhances the flavor and adds a sophisticated depth. Perfect for adult gatherings.
Chocolate Honey Cake
Add ¼ cup of unsweetened cocoa powder to the dry ingredients. It creates a mocha-like flavor that pairs beautifully with the spices.
Gluten-Free Version
Use a 1:1 gluten-free flour blend. The texture will be slightly different (more crumbly), but it still tastes delicious. Add an extra teaspoon of xanthan gum if your blend doesn’t include it.
Oil-Free Option
You can substitute the oil with applesauce, but the cake will be denser and less moist. I don’t recommend it for traditionalists, but it works if you’re avoiding oil.
Nut Add-ins
Fold in ½ cup of chopped walnuts or pecans before baking. They add crunch and richness. Toast the nuts first for extra flavor.
Different Pan Size
If you want individual portions, divide the batter into a 12-cup muffin tin. Bake for 20-25 minutes. These make great gifts or party snacks.
Serving & Storage
How to Serve:
I usually serve this straight from the counter at room temperature. It doesn’t need to be warmed up. Dust it with powdered sugar for a festive look. It pairs wonderfully with black coffee, Earl Grey tea, or even a glass of sweet dessert wine.
Storage Instructions:
Store in an airtight container at room temperature for up to 5 days. For longer storage, wrap tightly in plastic and foil and freeze for up to 3 months. Thaw at room temperature before serving.
Reheating:
You don’t need to reheat it, but if you want a warm slice, microwave it for 10-15 seconds. It will become soft and gooey. Avoid the oven, as it can dry it out.
Meal Prep Idea:
Make this cake on Sunday, wrap it well, and serve it throughout the week. It’s a great breakfast or snack option. Slice it and keep it in a container in the fridge if you prefer a firmer texture.
Nutrition Information
I’m not a nutritionist, but here’s the breakdown if you’re tracking. Keep in mind that this is a sweet, dense cake, so portions should be moderate.
Per Serving (based on 12 slices):**
- Calories: 280
- Protein: 4g
- Carbs: 52g
- Fiber: 1g
- Sugar: 35g
- Fat: 8g
- Saturated Fat: 1g
- Cholesterol: 35mg
- Sodium: 180mg
What’s Good:
- Contains iron from molasses and spices
- Naturally vegetarian and pareve
- No artificial preservatives
What to Know:
- High in sugar and carbs
- Contains gluten
- Calorie-dense due to honey and oil
My Take:
Look, this is a holiday dessert. It’s meant to be sweet and special. Enjoy it in moderation, and pair it with black coffee or tea to balance the sweetness. It’s a treat, not a daily snack.
Final Thoughts
So that’s my traditional Rosh Hashanah honey cake! I’ve probably talked your ear off at this point, but when you make a recipe this often, you have a lot to say about it. This cake has saved my holidays more times than I can count. It’s my answer to “what’s for dessert” when I want something meaningful, delicious, and easy to make.
My family loves it. My friends ask for the recipe. And I love it because it connects me to my Bubbe, even if she never wrote down the exact measurements. Make it yours! Try different spices, add nuts, or drizzle it with honey. The best recipes are the ones you adapt to your family’s tastes.
If you make this, drop a comment and let me know what you think! I love hearing how recipes turn out in your kitchen. And if something doesn’t work, tell me that too—I’m here to help troubleshoot.
Happy cooking! And I hope your kitchen smells half as good as mine does right now.
Frequently Asked Questions
Can I use dark honey instead of light honey?
You can, but it will change the flavor significantly. Dark honey has a stronger, more medicinal taste that can overpower the delicate spices. Light honey is milder and sweeter, which is traditional for this cake. If you only have dark honey, mix it with some light honey or reduce the amount slightly.
Why did my honey cake turn out dry?
This usually happens if you overbake it or use too much flour. Honey cake should be moist. Make sure you’re measuring your flour correctly (spoon and level, don’t scoop). Also, check your oven temperature with an oven thermometer. Ovens often run hot, which can dry out cakes. Remove the cake when the toothpick comes out with moist crumbs, not completely clean.
Can I make this ahead of time?
Yes! In fact, it’s better if you do. Honey cake improves with age. Make it 1-3 days ahead, wrap it tightly in plastic wrap and foil, and store it at room temperature. The flavors will meld, and the texture will become more tender. It’s perfect for meal prep.
Can I freeze honey cake?
Absolutely. Wrap individual slices in plastic wrap, then place them in a freezer-safe bag or container. They’ll keep for up to 3 months. Thaw at room temperature for a few hours before serving. You can also freeze the whole cake, but slicing it first makes it easier to manage.
Is this honey cake dairy-free?
Yes, this recipe is naturally dairy-free (pareve). It uses oil instead of butter, so it can be served with any meal, including meat meals. This makes it very versatile for holiday tables.
Can I add nuts to the cake?
Definitely. Chopped walnuts or pecans are a classic addition. Fold them in gently after you’ve combined the wet and dry ingredients. Toast the nuts first for extra flavor. Just be aware that nuts can sink to the bottom, so you might want to toss them in a little flour before folding them in.
How long does honey cake last?
At room temperature, it lasts up to 5 days if stored properly in an airtight container. In the fridge, it can last up to a week, but it may become firmer. For longest storage, freeze it for up to 3 months.
Pin This Recipe!
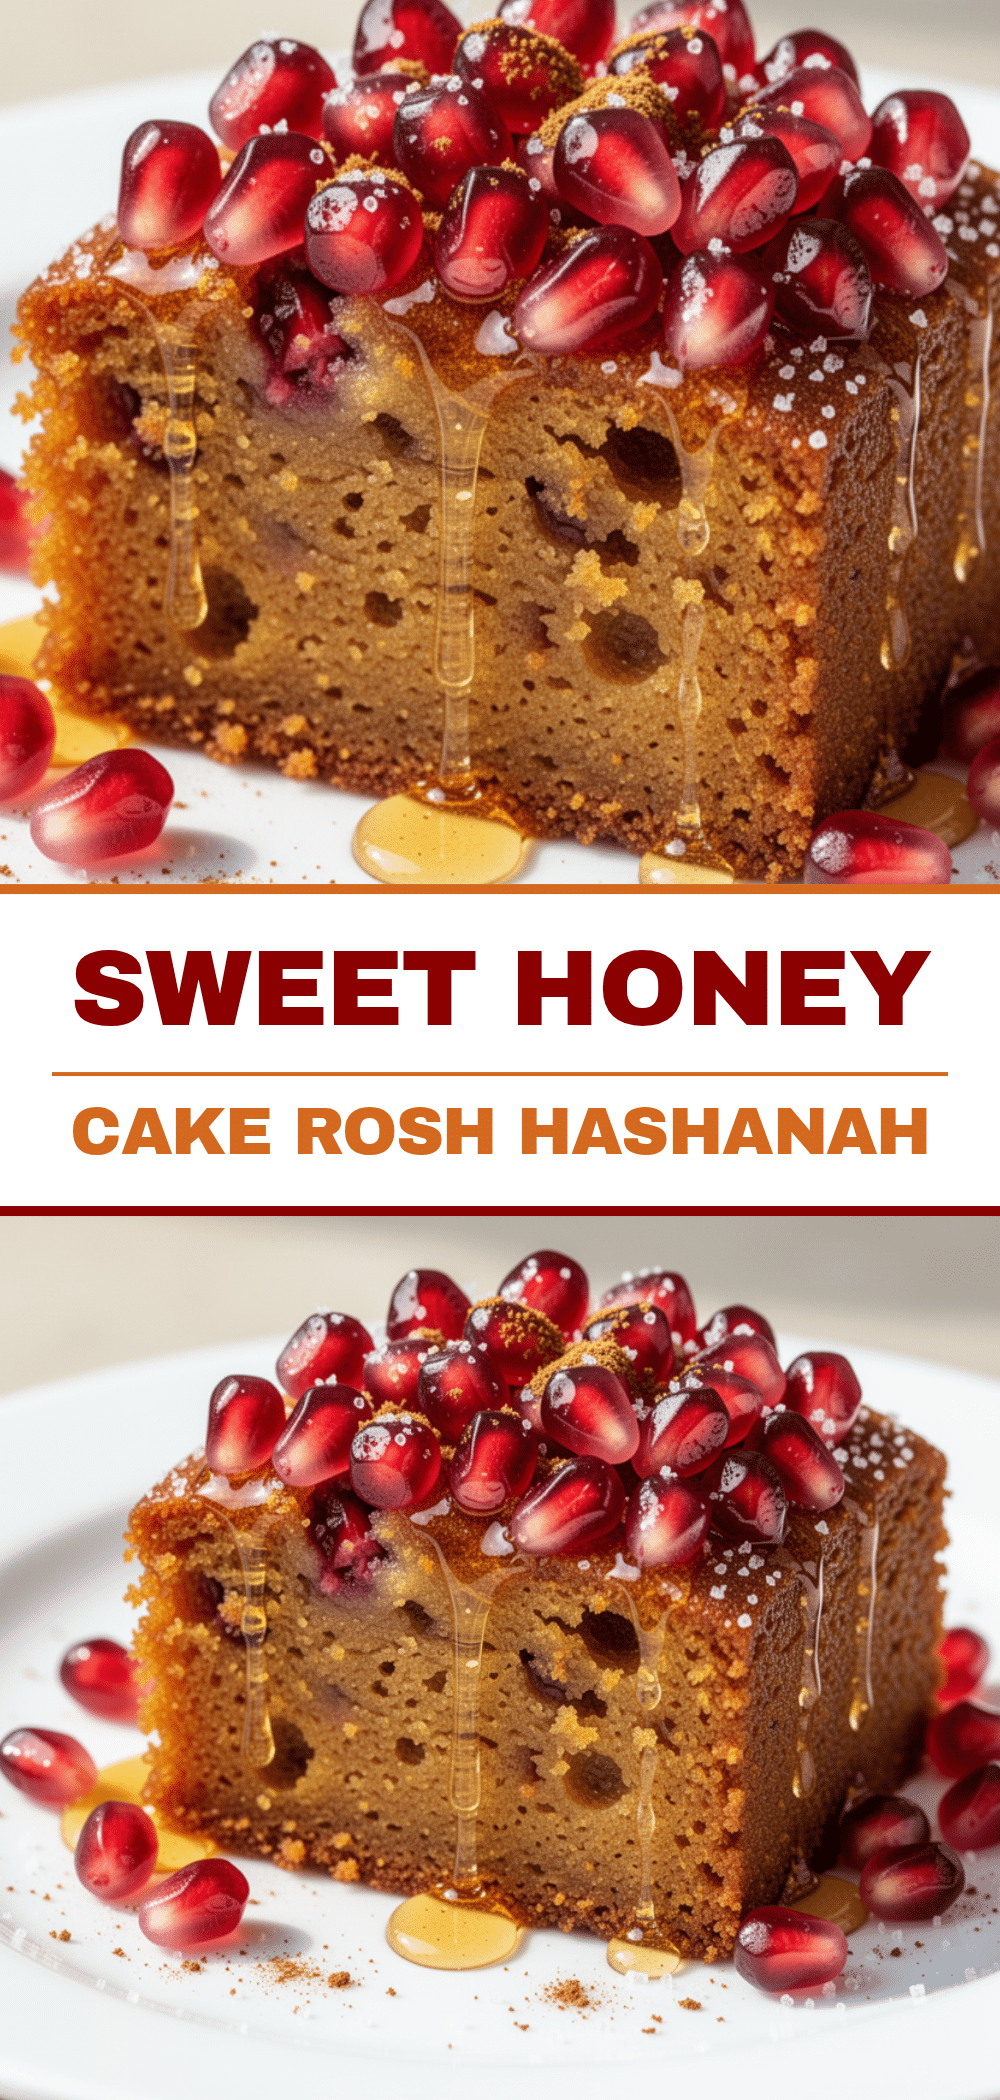
Rosh Hashanah Honey Cake: Best Easy Traditional Holiday Dessert
- Total Time: 1 hour 10 minutes
- Yield: 12 servings 1x
Description
A dense, moist, and spiced traditional honey cake that improves with age. This vegetarian, dairy-free dessert is perfect for Rosh Hashanah and features warm spices like ginger, cinnamon, and cloves.
Ingredients
- 1 cup (340g) light honey
- ½ cup (170g) light or regular molasses
- ½ cup (120ml) vegetable oil
- ½ cup (120ml) hot water
- 3 large eggs, room temperature
- 1 cup (200g) white granulated sugar
- 2 cups (250g) all-purpose flour
- 1 teaspoon baking soda
- ½ teaspoon baking powder
- ½ teaspoon salt
- 1 teaspoon ground ginger
- 1 teaspoon cinnamon
- ½ teaspoon ground cloves
- ¼ teaspoon freshly grated nutmeg
- 1 teaspoon instant espresso powder (optional)
Instructions
- Preheat oven to 350°F (175°C). Grease a 9×13 inch baking pan, line with parchment paper, and grease the paper.
- In a large bowl, whisk together honey, molasses, oil, and hot water until combined.
- Whisk in eggs one at a time, ensuring each is fully incorporated before adding the next.
- Whisk in sugar until the mixture is smooth and glossy.
- In a separate medium bowl, whisk together flour, baking soda, baking powder, salt, ginger, cinnamon, cloves, nutmeg, and espresso powder.
- Gradually add dry ingredients to wet mixture, folding gently with a spatula until just combined. Do not overmix.
- Pour batter into prepared pan and smooth top with a wet spatula.
- Bake for 45-55 minutes, or until a toothpick inserted in the center comes out clean or with moist crumbs. Tent with foil if browning too quickly after 30 minutes.
- Cool in pan for 15 minutes, then turn out onto a wire rack to cool completely (at least 2 hours, ideally 24 hours for best texture).
Notes
The cake improves with age; let it sit for 24 hours before slicing for the best texture. Use light honey, not dark or medicinal honey. Ensure flour is spooned and leveled, not scooped, to avoid a dense cake. Can be stored at room temperature for up to a week or frozen for up to three months.
- Prep Time: 15 minutes
- Cook Time: 45-55 minutes
- Category: Dessert
- Cuisine: Jewish
Nutrition
- Serving Size: 1 slice (approx. 1/1
- Calories: 280
- Sugar: 35
- Sodium: 180
- Fat: 8
- Saturated Fat: 1
- Carbohydrates: 52
- Fiber: 1
- Protein: 4
Keywords: Rosh Hashanah, honey cake, holiday dessert, traditional, vegetarian, dairy-free, pareve, Jewish baking, autumn dessert


