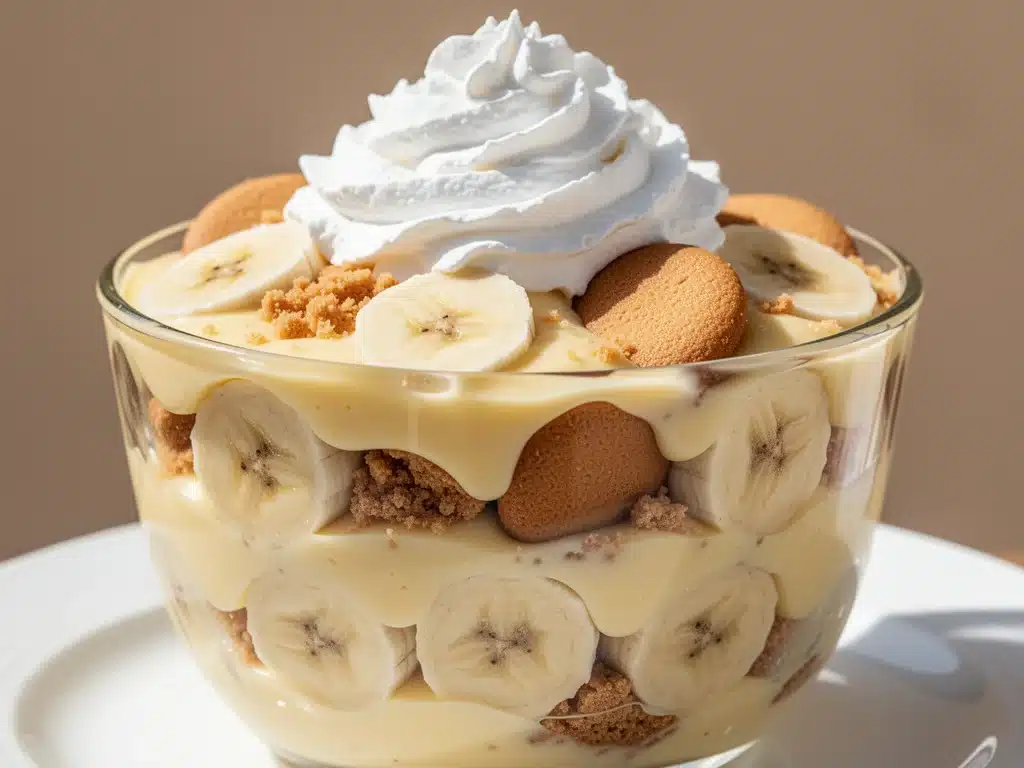
I still remember the exact moment I realized my banana pudding wasn’t just a dessert—it was a peace treaty. It was last July, during what I like to call “The Great Family Reunion Standoff.” My mother-in-law, a woman who believes that store-bought Jell-O is the pinnacle of culinary achievement, had brought a wobbly, neon-orange gelatin mold to the potluck. My aunt, a self-proclaimed Southern cooking traditionalist, looked at it with genuine horror. The tension was thicker than the humidity outside.
Then I pulled out my Tupperware.
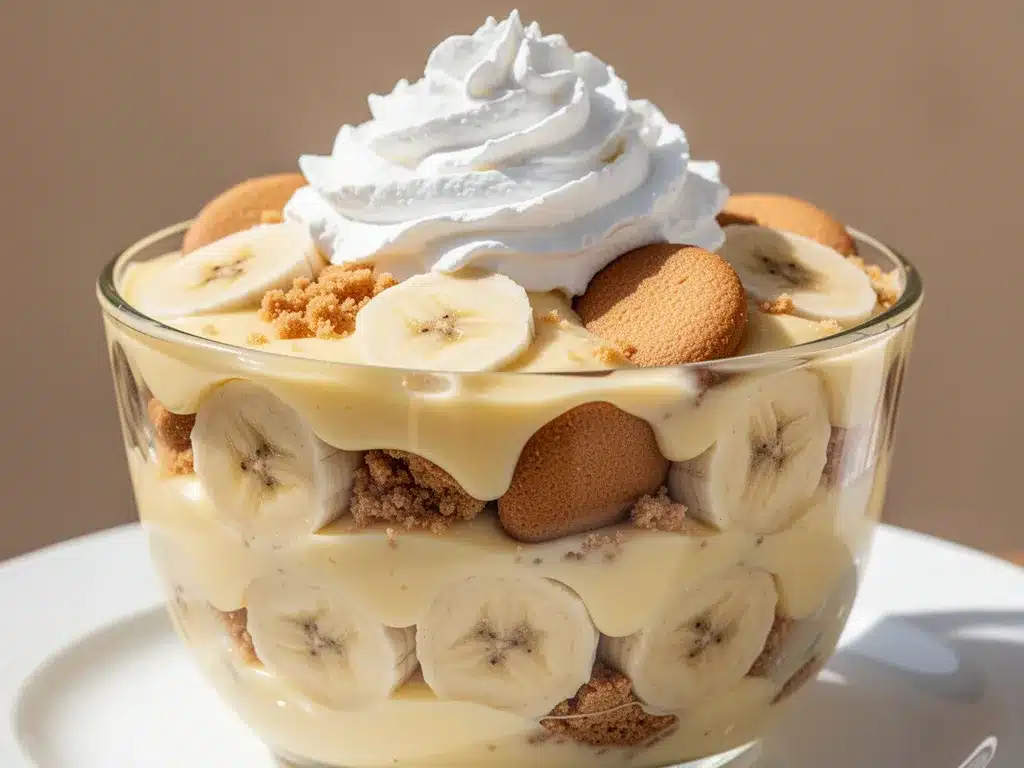
I hadn’t planned on bringing anything fancy. I just wanted to contribute something cold and sweet. But when I set that bowl down, the one filled with layers of golden vanilla wafers, ripe yellow bananas, and that thick, cloud-like custard I’d spent the morning whisking, the conversation shifted. My aunt took one bite and closed her eyes. My mother-in-law, who usually complains about everything, asked for the recipe before she even finished chewing. That’s the power of real banana pudding. It doesn’t just taste good; it disarms people.
This ultra-creamy banana pudding recipe is the result of years of trial, error, and a few embarrassing kitchen disasters. I once tried to make it with instant pudding mix and whipped cream, thinking I could save time. Let’s just say the texture was… questionable. It tasted like sweetened foam. Since then, I’ve perfected the custard base from scratch. It’s richer, smoother, and honestly, way more satisfying than the boxed stuff. If you’ve ever wondered why your homemade banana pudding turns out watery or grainy, it’s probably because you skipped the roux. I’ll walk you through exactly how to get that silky, restaurant-quality texture every single time.
There’s something deeply nostalgic about this dessert. It smells like vanilla and comfort. It’s the kind of dish that makes you want to slow down, sit on the porch, and watch the sunset. Whether you’re making it for a Labor Day party or just because you need a hug in dessert form, this classic Southern banana pudding delivers. And if you’re looking for other easy crowd-pleasers, you might also enjoy checking out these peach cobbler bars for a fruity twist on summer baking.
Why You’ll Love This Recipe
Look, I get it. Making custard from scratch sounds intimidating. You’ve probably been told it’s finicky, that it splits easily, or that it takes forever. But here’s the truth: this banana pudding is actually one of the easiest desserts you can make if you follow the steps. It’s not about fancy techniques; it’s about patience and good ingredients.
Here’s why this specific version has earned a permanent spot in my rotation:
Zero Curdling Worries — The secret is in the tempering process. I’ve tested this method dozens of times, and the custard stays silky smooth. No lumps, no scrambled eggs, just pure velvet texture. I learned this trick from a chef in Charleston, and it’s made all the difference.
Perfectly Ripe Bananas — Most banana pudding recipes fail because the bananas turn brown and mushy too fast. I’ve developed a simple trick using a bit of lemon juice and proper layering that keeps the fruit bright and fresh for days. You won’t get that metallic, over-ripe taste.
Crunchy Vanilla Wafer Layering — There’s a fine line between soggy and perfectly softened. This recipe uses a specific ratio of custard to cookies, ensuring each bite has that satisfying crunch before it yields to the cream. It’s the best of both worlds.
Make-Ahead Friendly — This is actually better the next day. The flavors meld together overnight, and the custard thickens up nicely. I often make this on Sunday for a Monday dinner, and it’s just as good—if not better—than when it’s fresh.
Gluten-Free Option Built-In — Not everyone can eat gluten, and I refuse to let that stop them from enjoying a slice of heaven. You can swap the vanilla wafers for gluten-free versions without sacrificing texture. I’ll tell you exactly which brands work best later.
This isn’t just dessert; it’s a memory maker. It’s the dish that brings people together. And once you taste it, you’ll never go back to the instant mix again.
Ingredients You’ll Need
Before we get into the mixing bowls, let’s talk about what goes into this ultra-creamy banana pudding. I’m particular about a few things here, and I’ll explain why. You don’t need exotic ingredients, but you do need quality ones. Cheap butter and skim milk will let you down. Good ingredients make this recipe sing.
For the Custard Base:
Whole milk (4 cups / 960ml) — Do not use skim or 1% milk. The fat content is crucial for that rich, creamy mouthfeel. I use whole milk from a local dairy if I can find it, but any standard whole milk works. If you’re watching dairy, I’ll share a coconut milk substitution in the variations section.
Granulated sugar (3/4 cup / 150g) — This balances the vanilla and the tartness of the bananas. Don’t reduce the sugar too much, or the custard will taste flat. I’ve tried cutting it by half, and it just doesn’t taste right.
All-purpose flour (1/3 cup / 40g) — This is the thickener. Unlike cornstarch, which can make things glossy and jelly-like, flour gives that classic, soft, custard texture. It’s the traditional way for a reason.
Unsalted butter (3 tablespoons / 42g) — Adds richness and a silky finish. Room temperature is best so it melts evenly. I use Kerrygold or Plugra, but any high-quality unsalted butter works.
Egg yolks (4 large / about 120g) — These provide structure and richness. We’re using yolks only, so you’ll have leftover egg whites. Don’t throw them away! You can make homemade cinnamon roll bites with them later, or freeze them for meringues.
Vanilla extract (2 teaspoons / 10ml) — Use real vanilla extract, not imitation. The flavor difference is huge. I keep a bottle of Nielsen-Massey in my pantry because it’s pure and potent.
Salt (1/4 teaspoon / a pinch) — Just a pinch to enhance the sweetness. It’s the secret ingredient that makes the vanilla pop.
For the Assembly:
Ripe bananas (4 large / about 600g) — This is non-negotiable. You need bananas that are yellow with a few brown spots. They need to be sweet and soft. Under-ripe bananas will be tart and hard. Over-ripe ones will turn to mush. Aim for the “just right” stage.
Vanilla wafers (1 package / 14 oz) — Nilla Wafers are the gold standard. They hold their shape well and have the perfect vanilla flavor. I’ve tried store brands, but they’re often too sweet or too crumbly. Stick with the big name.
Heavy cream (1 cup / 240ml) — For the whipped topping. This adds air and lightness to balance the dense custard. Use cold heavy cream for best whipping results.
Confectioners’ sugar (2 tablespoons / 15g) — Sweetens the whipped cream slightly without making it too sugary.
Vanilla extract (1 teaspoon / 5ml) — For the whipped cream topping.
Chocolate shavings (optional, for garnish) — I love the contrast of dark chocolate with the sweet vanilla. It’s not traditional, but it’s delicious. If you’re serving this at a party, it adds a nice visual touch.
Equipment Needed
You don’t need a fancy kitchen to make this. Here’s what I actually use, along with some honest opinions on why.
Large saucepan (3-quart minimum) — I use a heavy-bottomed stainless steel saucepan. Thin pans can burn the custard easily. If you only have a thin pan, keep the heat very low and stir constantly.
Whisk — A good wire whisk is essential for breaking up lumps in the flour mixture. I use a balloon whisk because it incorporates air and breaks clumps efficiently.
Heatproof spatula — For scraping the sides of the pan and ensuring everything cooks evenly. Silicone works best.
Blender or immersion blender — This is my game-changer. After cooking the custard, I blend it for 30 seconds to make it absolutely silky. If you don’t have one, you can strain it through a fine-mesh sieve, but blending is faster and easier.
Mixing bowls — One large bowl for the custard, one medium for the whipped cream. Make sure they’re clean and dry.
Serving dish — A 9×13 inch glass baking dish or a large trifle bowl. Glass is nice because you can see the layers, which is great for photos. But a ceramic bowl works too.
Measuring cups and spoons — Precision matters in custard. Too much flour makes it gummy; too little makes it runny.
Knife and cutting board — For slicing the bananas evenly. A serrated knife works well for softer bananas.
How to Make It: Step-by-Step
Alright, let’s make this! I’m walking you through exactly how I do it, including the little tricks I’ve picked up over the years. This process takes about 45 minutes, mostly hands-off.
Step 1: Prep Your Ingredients (10 minutes)
Peel and slice your bananas into 1/4-inch rounds. Place them in a bowl and toss with 1 tablespoon of lemon juice. This prevents browning and adds a subtle brightness. Set aside. Measure out your milk, sugar, flour, and butter. Having everything ready before you start cooking is crucial because the custard comes together quickly.
Step 2: Make the Custard Base (15 minutes)
In your saucepan, whisk together the sugar and flour until no lumps remain. Slowly whisk in the milk, a little at a time, to avoid clumps. Once smooth, add the egg yolks and salt. Whisk everything together until well combined.
Place the saucepan over medium heat. Stir constantly with your whisk. This is the most important part. Do not walk away. The mixture will start to thicken after about 5-7 minutes. Keep stirring, especially around the edges and corners of the pan, to prevent burning.
Step 3: Cook Until Thick (5 minutes)
Once the custard starts to bubble and thicken, reduce the heat to medium-low. Continue stirring for another 2-3 minutes. The custard is ready when it coats the back of a spoon heavily. If you run your finger across the spoon, the line should stay clear. It should look like thin pudding.
Remove from heat. Stir in the butter and vanilla extract until the butter is fully melted and incorporated. The mixture will be hot, so be careful.
Step 4: Cool the Custard (10 minutes)
Transfer the hot custard to a blender. Blend on high for 30 seconds until completely smooth. This step ensures there are no lumps and gives it that ultra-creamy texture. Pour the custard into a clean bowl. To prevent a skin from forming, press plastic wrap directly onto the surface of the custard. Let it cool to room temperature, about 10-15 minutes. You can speed this up by placing the bowl in the fridge for 20 minutes, but don’t let it set completely.
Step 5: Whip the Cream (5 minutes)
In a large mixing bowl, combine the cold heavy cream, confectioners’ sugar, and vanilla extract. Using a hand mixer or stand mixer, beat on medium-high speed until stiff peaks form. Be careful not to over-whip, or it will become grainy. Set aside.
Step 6: Assemble the Layers (10 minutes)
This is where the magic happens. Start with a layer of vanilla wafers at the bottom of your serving dish. Spread half of the cooled custard over the wafers. Add half of the banana slices. Sprinkle a few chocolate shavings if using.
Repeat the layers: another layer of wafers, the rest of the custard, and the remaining bananas. Finally, dollop the whipped cream over the top. You can spread it out evenly or leave it in big fluffy peaks for a rustic look.
Step 7: Chill and Serve (4 hours minimum)
Cover the dish with plastic wrap or foil. Refrigerate for at least 4 hours, but overnight is best. This allows the flavors to meld and the wafers to soften to the perfect texture. When ready to serve, garnish with extra chocolate shavings or a few fresh banana slices. Slice with a sharp knife for clean portions.
Expert Tips & Tricks
Here’s everything I’ve learned from making this dozens of times. These tips will save you from my mistakes.
Don’t Skip the Lemon Juice
Bananas oxidize quickly. The lemon juice keeps them bright yellow and adds a tiny bit of acidity that cuts through the sweetness. It’s subtle but important. If you don’t have lemon, a little lime juice works too.
Temper Your Eggs
If you’re worried about scrambling the eggs, temper them. Whisk a little bit of the hot custard into the egg yolks slowly while whisking constantly, then pour the egg mixture back into the pot. This raises the temperature of the eggs gradually so they don’t curdle.
Use Cold Cream
For the whipped topping, make sure your bowl and beaters are cold. If you’re in a hurry, put them in the freezer for 15 minutes before whipping. Warm cream won’t whip up properly.
Layer Wisely
Don’t skimp on the banana slices. You want a generous amount of fruit in every bite. If you’re using large bananas, slice them thinner so they fit better in the layers.
Storage is Key
This pudding must be refrigerated. It does not keep well at room temperature for more than 2 hours. The dairy and eggs are perishable. Keep it covered in the fridge for up to 3 days.
Variations & Substitutions
Once you’ve nailed the basic version, here’s how you can mix it up. I’ve tried all of these, and they’re all delicious.
Gluten-Free Version
Swap the vanilla wafers for gluten-free vanilla wafers. I recommend Lotus Biscoff cookies for a spiced twist, or just use gluten-free shortbread cookies. The custard is naturally gluten-free, so you just need to watch the cookies.
Dairy-Free Version
Use full-fat coconut milk instead of dairy milk. Replace the butter with coconut oil. For the whipped cream, use chilled coconut cream (the solid part from a can of full-fat coconut milk). It whips up beautifully and adds a tropical flavor.
Chocolate Banana Pudding
Add 1/4 cup of unsweetened cocoa powder to the dry ingredients in Step 2. You’ll get a rich chocolate custard that pairs amazingly with bananas. Add chocolate chips to the layers for extra goo.
Banana Pudding Pie
Instead of layers, press a graham cracker crust into the bottom of your dish. Fill it with the custard and bananas, then top with the whipped cream. It’s easier to serve and looks like a pie.
With Toasted Nuts
For added crunch, sprinkle chopped pecans or walnuts between the layers. Toast them in a dry pan for 2-3 minutes before adding. It adds a nutty depth that complements the vanilla.
Alcohol-Infused
Add a tablespoon of bourbon or rum to the custard. It’s a classic Southern twist. The alcohol cooks off slightly, leaving behind a warm, complex flavor.
Serving & Storage
How to serve this beauty:
I usually serve this straight from the dish, using a large serving spoon. It’s rustic and inviting. But for a more formal presentation, I use a piping bag to pipe the whipped cream on top. It looks fancy and professional.
Side Dishes:
This is a rich dessert, so it pairs well with light fruit salads or a simple green tea. If you’re serving it after a heavy meal, like slow cooker honey garlic chicken thighs, the lightness of the pudding is a perfect palate cleanser.
Toppings Bar:
At parties, I put out small bowls of chocolate shavings, crushed Nilla Wafers, and fresh mint leaves. Guests love customizing their slices.
Storage Instructions:
Refrigerator: Store in an airtight container or covered with plastic wrap for up to 3 days. The custard will thicken further in the fridge, which is normal.
Reheating: Do not reheat banana pudding. It’s meant to be served cold. Reheating will break the custard and make the bananas mushy.
Freezing: I don’t recommend freezing this dessert. The texture of the whipped cream and custard changes when thawed, becoming grainy and separated. Make it fresh for the best results.
Pro Tip: If you’re making this for a party, assemble it the night before. It needs time to set. If you make it right before serving, the wafers will still be crunchy, and the custard will be loose. Overnight is the way to go.
Nutrition Information
I’m not a nutritionist, but here’s the breakdown if you’re tracking. Keep in mind that this is a rich dessert, so portion control is key.
Per Serving (based on 12 servings):
- Calories: 320
- Protein: 6g
- Carbs: 42g
- Fiber: 2g
- Sugar: 28g
- Fat: 16g
- Saturated Fat: 9g
- Cholesterol: 110mg
- Sodium: 180mg
What’s Good:
- Good source of potassium from the bananas
- Provides calcium from the dairy
- Contains some protein from the eggs and milk
What to Know:
- High in sugar due to the wafers and custard
- Contains dairy and gluten (unless substituted)
- Calorie-dense because of the cream and butter
My Take:
Look, this is a treat. It’s not a health food. But it’s homemade, so you know exactly what’s in it. When I want to make it lighter, I use less sugar in the custard and skip the whipped cream topping. But usually? I just enjoy a small slice and savor every bite.
Final Thoughts
So that’s my go-to ultra-creamy banana pudding! I’ve probably talked your ear off at this point, but when you make a recipe this often, you have a lot to say about it.
This has saved family gatherings more times than I can count. It’s my answer to “what dessert should I bring?” when I want to impress without spending hours in the kitchen. My in-laws are happy, my kids are happy, and I’m happy because I’m not stressed about cooking.
Make it yours! Try different nuts, swap the chocolate for caramel drizzle, or add a layer of cheesecake filling for a twist. The best recipes are the ones you adapt to your family’s tastes.
If you make this, drop a comment and let me know what you think! I love hearing how recipes turn out in your kitchen. And if something doesn’t work, tell me that too—I’m here to help troubleshoot.
Happy cooking! And I hope your kitchen smells half as good as mine does right now.
Frequently Asked Questions
Can I use instant pudding mix instead of making custard?
You can, but the texture and flavor won’t be the same. Instant pudding mix is thinner and has a different mouthfeel. If you’re short on time, you can use a mix, but I recommend adding a cup of heavy cream to it to thicken it up. However, for the best results, make the custard from scratch. It’s worth the extra 20 minutes.
Why did my banana pudding turn out watery?
This usually happens if the custard wasn’t cooked long enough. The flour needs to reach a full boil to thicken properly. Make sure you stir constantly until it thickens and bubbles. Also, if you added too much banana juice to the custard, it can thin it out. Tossing the bananas with lemon juice helps, but don’t let them sit in their own juice for too long before layering.
Can I make this ahead for a dinner party?
Absolutely! This is actually better made ahead. Assemble it the night before and let it chill overnight. The flavors meld together, and the wafers soften perfectly. Just add the whipped cream topping the morning of the party so it stays fluffy.
How do I keep the bananas from turning brown?
Tossing them with lemon juice is the most effective method. The acid slows down the oxidation process. You can also add a pinch of ascorbic acid (vitamin C powder) if you have it. But honestly, as long as you refrigerate it quickly, they’ll stay pretty bright for a day or two.
Can I use frozen bananas?
No, frozen bananas will be too mushy and release too much water into the custard. Use fresh, ripe bananas. If you only have over-ripe bananas that are too soft, you can still use them, but slice them thinner and pat them dry with a paper towel before layering.
What’s the best way to store leftovers?
Store in an airtight container in the refrigerator for up to 3 days. The custard will thicken, which is normal. Do not freeze it, as the texture will suffer. If you have a lot of leftovers, consider serving them in small cups for individual portions.
Can I add other fruits to this?
While bananas are the star, you can add sliced strawberries or raspberries for a berry twist. Just be aware that the acidity in berries might affect the custard slightly. Add them in a separate layer or on top as a garnish. I’ve also tried adding toasted coconut for a tropical vibe, which is delicious.
Pin This Recipe!
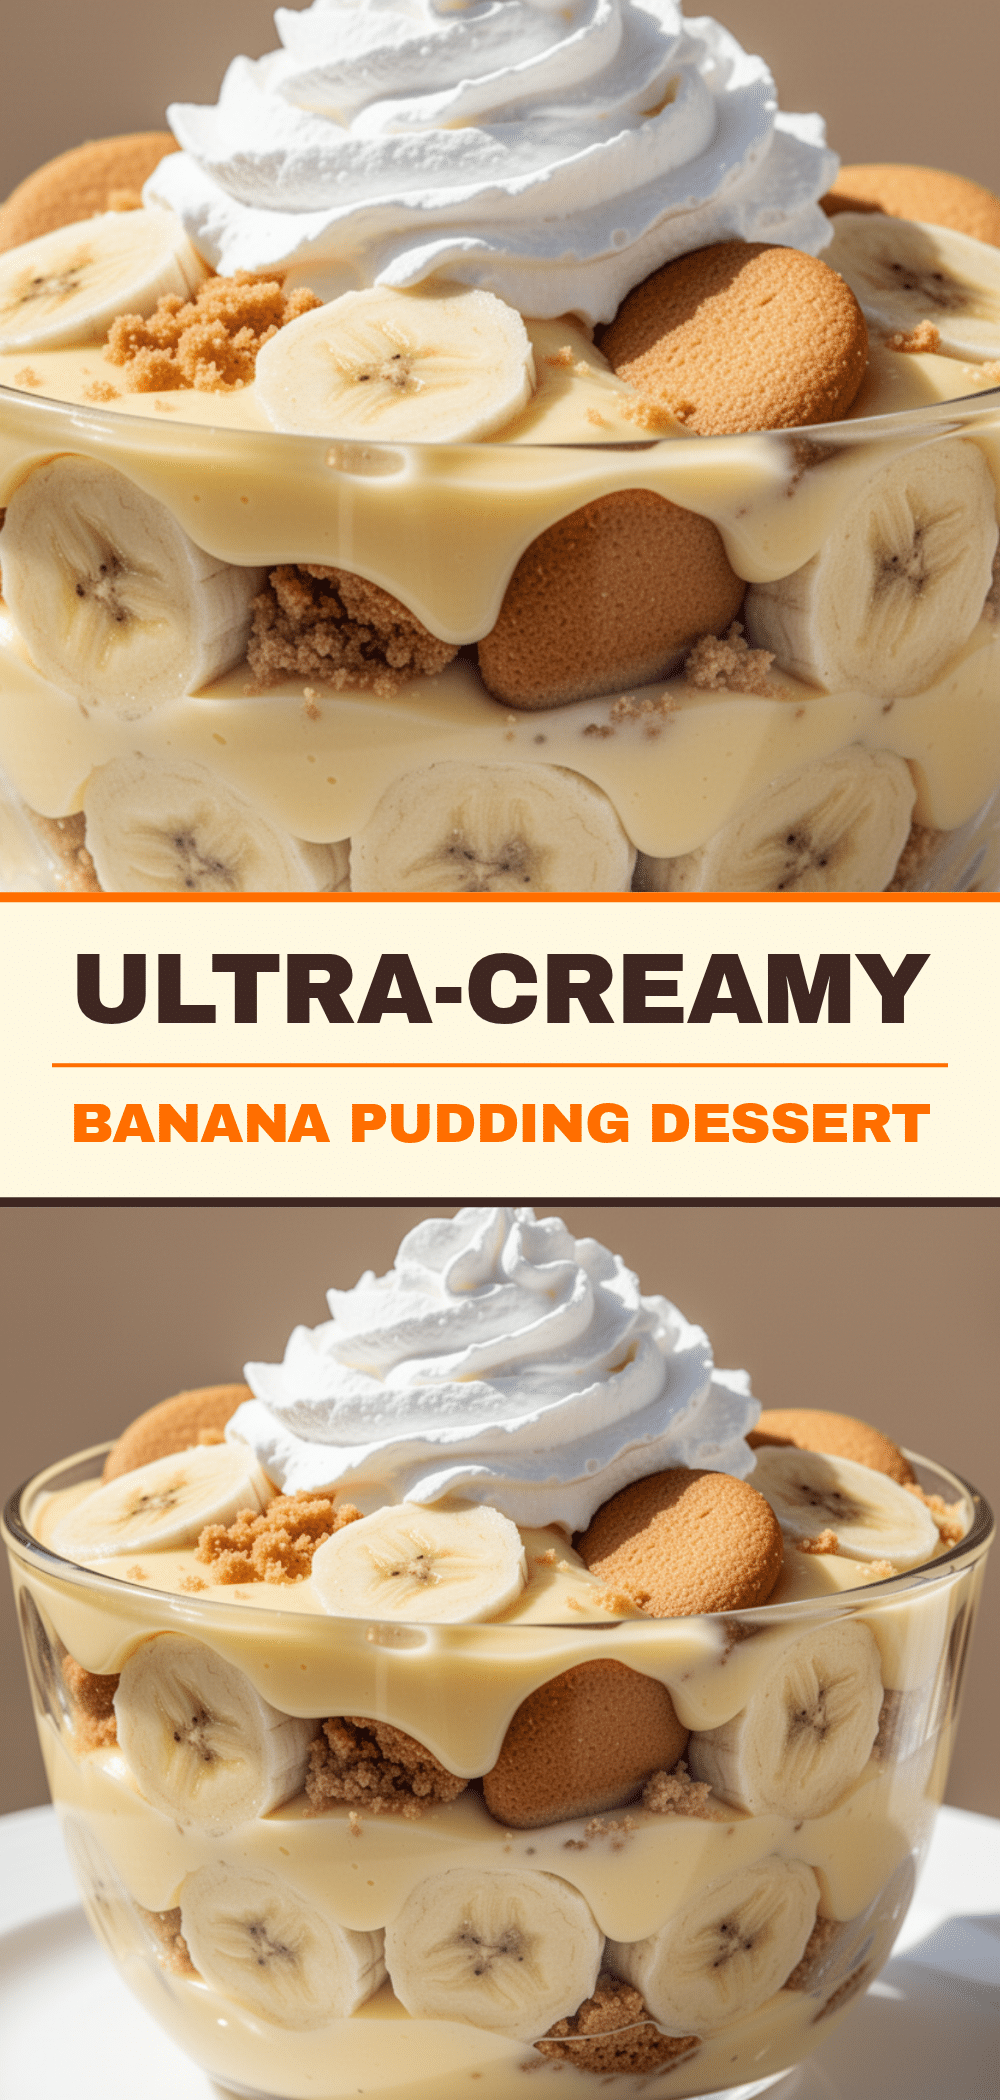
Ultra-Creamy Banana Pudding: Easy Classic Southern Dessert
- Total Time: 4 hours 25 minutes
- Yield: 12 servings 1x
Description
A rich, silky Southern banana pudding made from scratch with a homemade custard base, ripe bananas, vanilla wafers, and whipped cream. This recipe ensures a perfect texture without curdling or sogginess.
Ingredients
- 4 cups whole milk
- 3/4 cup granulated sugar
- 1/3 cup all-purpose flour
- 3 tablespoons unsalted butter, room temperature
- 4 large egg yolks
- 2 teaspoons vanilla extract
- 1/4 teaspoon salt
- 4 large ripe bananas, sliced
- 1 tablespoon lemon juice
- 1 package (14 oz) vanilla wafers
- 1 cup heavy cream, cold
- 2 tablespoons confectioners’ sugar
- 1 teaspoon vanilla extract
- Chocolate shavings, optional for garnish
Instructions
- Peel and slice bananas into 1/4-inch rounds. Toss with 1 tablespoon of lemon juice to prevent browning and set aside.
- In a large saucepan, whisk together sugar and flour until no lumps remain. Slowly whisk in milk, then add egg yolks and salt.
- Place saucepan over medium heat and stir constantly with a whisk. Cook for 5-7 minutes until the mixture begins to thicken.
- Reduce heat to medium-low and continue stirring for 2-3 minutes until the custard bubbles and coats the back of a spoon heavily.
- Remove from heat and stir in butter and 2 teaspoons vanilla extract until melted and incorporated.
- Transfer hot custard to a blender and blend for 30 seconds until smooth. Pour into a bowl, press plastic wrap directly onto the surface, and cool to room temperature.
- In a separate large mixing bowl, combine cold heavy cream, confectioners’ sugar, and 1 teaspoon vanilla extract. Beat on medium-high speed until stiff peaks form.
- To assemble, place a layer of vanilla wafers in the bottom of a 9×13 inch dish. Spread half the cooled custard over the wafers, then add half the banana slices.
- Repeat layers: remaining wafers, remaining custard, and remaining bananas. Dollop whipped cream over the top.
- Cover and refrigerate for at least 4 hours, preferably overnight, to allow flavors to meld and wafers to soften.
- Serve chilled, garnished with chocolate shavings if desired.
Notes
For best results, make the pudding the night before to allow the wafers to soften and flavors to meld. Do not freeze, as the texture of the whipped cream and custard will suffer. If using gluten-free wafers, ensure they are sturdy enough to hold layers. For dairy-free version, substitute coconut milk and coconut cream.
- Prep Time: 10 minutes
- Cook Time: 15 minutes
- Category: Dessert
- Cuisine: Southern
Nutrition
- Serving Size: 1 slice
- Calories: 320
- Sugar: 28
- Sodium: 180
- Fat: 16
- Saturated Fat: 9
- Carbohydrates: 42
- Fiber: 2
- Protein: 6
Keywords: banana pudding, southern dessert, homemade custard, vanilla wafers, creamy pudding, make-ahead dessert


