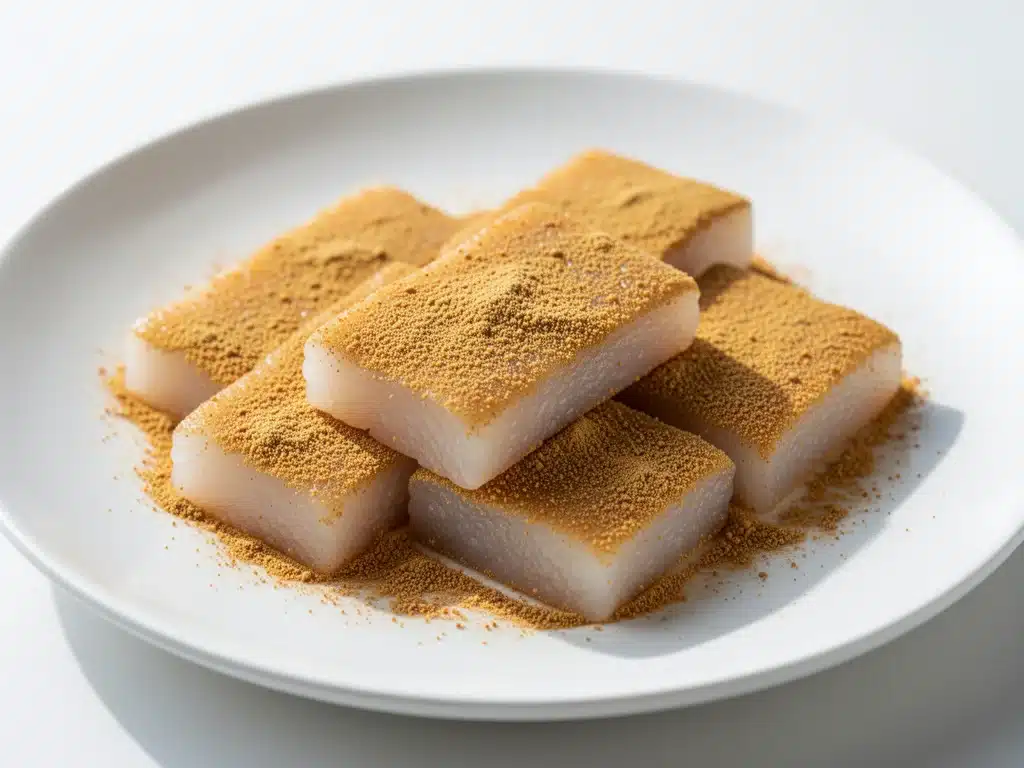
There was a specific Tuesday afternoon last spring when I found myself standing in my kitchen, staring at a bag of glutinous rice flour like it was a puzzle I couldn’t solve. I had just returned from a weekend trip to Seoul, and I was still chasing that specific, comforting flavor of injeolmi—the chewy, powdery rice cake that tastes like toasted nostalgia. Back home, every attempt I made resulted in something that was either too gummy, too hard, or just… wrong. I wanted that delicate snap followed by a soft, stretchy chew, coated in the nutty, earthy dust of roasted soybean powder. I wanted injeolmi.
After about five failed batches (and a very confused cat who kept trying to eat the dough), I finally cracked the code. It wasn’t about fancy equipment or hard-to-find ingredients. It was about patience, the right heat, and knowing exactly when to stop mixing. Now, this three-ingredient Korean injeolmi is my go-to dessert when I need something sweet but not heavy, something that feels like a hug from a distant relative, or just something that makes my kitchen smell like a Seoul bakery.
What’s amazing about this recipe is how simple it is. You don’t need a mixer. You don’t need a stand mixer. You don’t even need a fancy steamer if you don’t have one. You just need glutinous rice flour, sugar, and water, plus a generous amount of roasted soybean powder (known as injeolmi-garu) to coat them. It’s a dessert that respects your time but rewards you with a texture that’s impossible to put down. It’s chewy, it’s sweet, and it’s deeply satisfying in a way that heavy cakes or sugary pastries just aren’t.
I’ve made this batch for my book club, for random Tuesday night cravings, and even as a post-dinner treat after making my high-protein peanut butter cookie dough bites. It’s versatile enough to be a snack, a dessert, or even a breakfast treat if you’re feeling fancy. Let’s get into why this little rice cake has stolen my heart, and how you can make it in your own kitchen without the stress.
Why You’ll Love This Recipe
If you’ve ever struggled with making traditional Asian desserts that require hours of prep or obscure ingredients, this recipe is going to change your life. Here’s why this injeolmi has earned a permanent spot in my rotation:
Three Ingredients, Maximum Flavor — Seriously, that’s it. Glutinous rice flour, sugar, water, and soybean powder. No eggs, no butter, no weird emulsifiers. If you can boil water, you can make this. I’ve made it for my teenage nephew, and he figured it out in five minutes.
Texture That’s Addictive — There is nothing like the texture of properly made injeolmi. It’s not rubbery; it’s pillowy and chewy. It yields to your teeth but gives a little resistance back. It’s the perfect contrast to the dry, powdery coating. Once you bite into one, you’ll understand why Koreans have been eating these for centuries.
Quick and Easy — From start to finish, this takes about 30-40 minutes. The steaming part is hands-off, so you can clean up, chat with friends, or just relax. It’s not a “stand over the stove” recipe. It’s a “set it and forget it” kind of dessert.
Gluten-Free by Nature — Since it’s made from rice flour, this is naturally gluten-free. I love making this when I have gluten-sensitive friends over because I don’t have to worry about cross-contamination or making a separate batch. It’s safe, it’s delicious, and it’s inclusive.
Customizable Coatings — While roasted soybean powder is the classic, you can roll these in everything. Crushed peanuts, sesame seeds, cocoa powder, or even matcha powder. It’s a blank canvas for flavor. I sometimes roll half in soybean powder and half in crushed pistachios for a fancy touch.
This is my go-to when I want a dessert that feels authentic but doesn’t require a trip to an Asian grocery store for fifteen different items. It’s reliable, it’s tasty, and it always makes people ask, “What is this? It’s so good!”
Ingredients You’ll Need
Here’s the best part: you probably have most of this already, or it’s something you can grab quickly. The key is getting the right type of flour and the right powder.
Glutinous Rice Flour (2 cups / 240g) — This is also called sweet rice flour or sticky rice flour. It’s different from regular rice flour (which is not sticky) and different from tapioca starch. Look for “glutinous rice flour” or “sweet rice flour” in the Asian aisle or online. It’s the star of the show and gives that signature chew.
Granulated Sugar (½ cup / 100g) — I use white sugar because it dissolves easily and doesn’t alter the flavor. Brown sugar works too, but it will make the dough darker and add a molasses note. If you prefer less sweet, reduce to ⅓ cup, but don’t go too low, or the texture suffers.
Water (1 cup / 240ml) — Just regular tap water. No fancy mineral water needed. The ratio of water to flour is crucial here, so measure carefully.
Roasted Soybean Powder (Injeolmi-Garu) (1 cup / 100g) — This is the traditional coating. It’s sweet, nutty, and earthy. You can find this in Asian markets or online. If you can’t find it, you can make your own by roasting edamame or soybeans and grinding them, but store-bought is much easier. It’s worth the trip to the store.
Optional Add-ins — I sometimes add a teaspoon of vanilla extract to the water for extra aroma. You can also mix in a tablespoon of sesame seeds into the soybean powder for extra crunch. If you want a fruity twist, you can roll the finished cakes in crushed freeze-dried strawberries or raspberries.
Shopping Tips: I always buy my glutinous rice flour in larger bags because I use it for other recipes like tteok or rice pudding. It keeps well in the pantry. For the soybean powder, check the expiration date—it’s best fresh because it can go rancid if it’s too old. A good brand is “Sesame Seed & Soybean” brand, but any reputable Asian brand works.
Equipment Needed
You don’t need fancy equipment for this. Here’s what I actually use:
Medium Saucepan — I use a 2-quart saucepan. It needs to be big enough to hold the batter without overflowing when it expands during steaming. A non-stick pan is helpful because the sticky rice doesn’t like to release.
Whisk — For mixing the flour and water into a smooth batter. You want no lumps, so a whisk is better than a spoon. I use a silicone whisk because it’s easier to clean.
Steamer Basket — A bamboo steamer or a metal steamer insert that fits your pot. If you don’t have one, you can use a heat-proof plate placed over a pot of simmering water, covered with a lid. The key is to keep the water from touching the rice cake.
Plastic Wrap — To line the steamer. This prevents sticking. Parchment paper works too, but plastic wrap is easier to remove.
Shallow Dish or Plate — For rolling the cakes in the soybean powder. A pie dish or a large plate works well.
Chef’s Knife — For slicing the finished injeolmi. A sharp knife makes clean cuts without squishing the cake.
Optional but nice: A digital kitchen scale. Measuring by weight is more accurate for flour, which can vary in density. But volume measurements work fine if you’re careful.
How to Make It: Step-by-Step
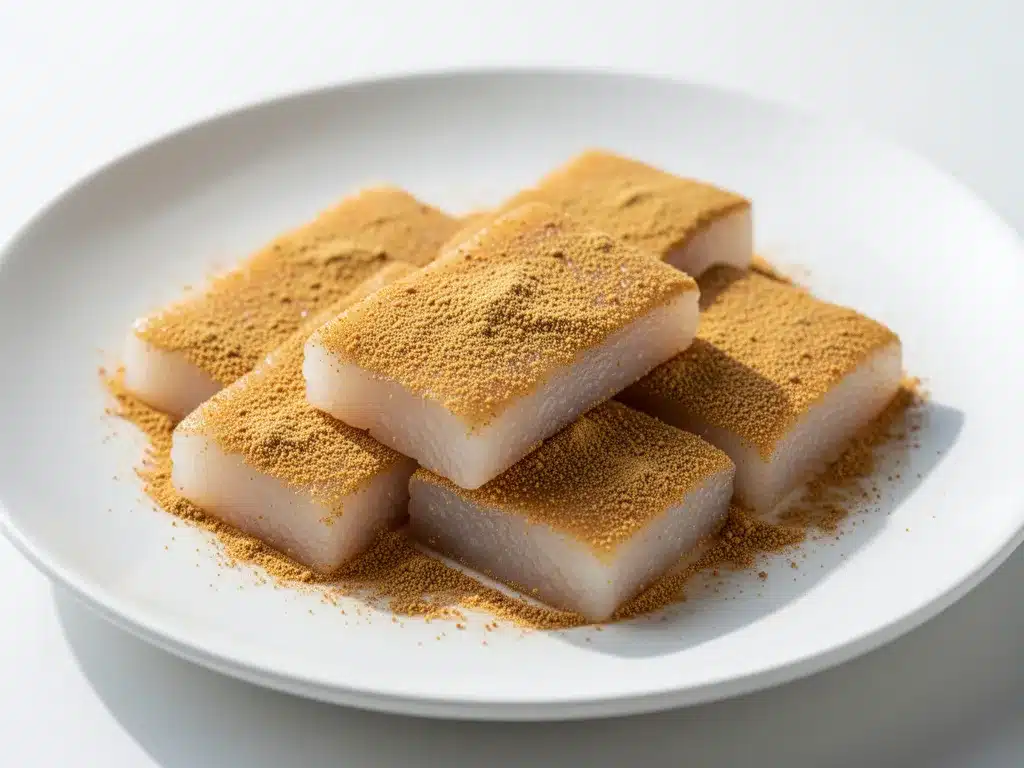
Alright, let’s make this! I’m walking you through exactly how I do it, including the little tricks I’ve picked up.
Step 1: Mix the Batter (5 minutes)
In your saucepan, whisk together the glutinous rice flour and sugar. Then, slowly pour in the water while whisking constantly. You want a smooth, lump-free batter that has the consistency of heavy cream. If it’s too thick, add a splash more water. If it’s too thin, add a teaspoon more flour. This step is crucial—any lumps will result in uneven cooking.
Step 2: Steam the Dough (20-25 minutes)
Line your steamer basket with plastic wrap, leaving some overhang for easy removal. Pour the batter into the lined steamer. Bring a pot of water to a boil, then place the steamer basket over the pot. Cover and steam for 20-25 minutes. The dough is done when it’s translucent and sticky, and a toothpick inserted comes out clean. Do not open the lid during the first 15 minutes, or the temperature drop can affect the texture.
Step 3: Cool and Knead (10 minutes)
Once steamed, carefully remove the steamer basket (watch out for steam!). Let it cool for 5 minutes until it’s safe to touch. Then, using wet hands (to prevent sticking), knead the dough in the plastic wrap or on a lightly floured surface. Knead for 2-3 minutes until it’s smooth and elastic. This step develops the chewiness. If it’s too sticky, wet your hands more. Don’t add extra flour here, or it will become tough.
Step 4: Shape and Coat (10 minutes)
Roll the dough into a log about 1-inch thick. Cut into 1-inch pieces. In a shallow dish, spread the roasted soybean powder. Roll each piece in the powder, coating all sides. Shake off excess. Place on a plate or serving dish.
Step 5: Serve
Serve immediately. These are best eaten fresh, but they can be stored for a day or two. Enjoy the chewy, nutty goodness!
Expert Tips & Tricks
Here’s everything I’ve learned from making this dozens of times. These tips will save you from my mistakes.
Wet Hands are Key — Glutinous rice is sticky. Always wet your hands with water before handling the dough. This prevents it from sticking to your skin. I keep a small bowl of water nearby.
Don’t Over-Steam — If you steam for too long, the dough can become too soft and lose its structure. 20-25 minutes is usually perfect. Check at 20 minutes.
Use Fresh Soybean Powder — Old soybean powder can taste dusty or bland. If yours smells off, roast some soybeans yourself. It’s easy and makes a huge difference.
Knead While Warm — The dough is easiest to knead when it’s still warm but not hot. If it cools too much, it becomes harder to work with. If it’s too hot, you’ll burn yourself. Aim for the “just right” zone.
Common Mistakes:
– Sticky Dough: If your dough is too sticky after kneading, your water ratio was too high next time. For now, wet your hands more.
– Hard Texture: If the dough is hard, it might have been over-steamed or not kneaded enough. Next time, check the timing and knead longer.
– Bland Flavor: If it tastes bland, you might have used old soybean powder or not enough sugar. Taste the batter before steaming if you’re unsure.
Variations & Substitutions
Once you’ve nailed the basic version, here’s how you can mix it up. I’ve tried all of these.
Sesame Seed Coating — Mix ½ cup roasted soybean powder with ½ cup toasted sesame seeds. Adds a nuttier, crunchier flavor.
Matcha Injeolmi — Add 1 tablespoon of matcha powder to the dry flour mix. Roll in a mix of soybean powder and matcha for a green swirl.
Red Bean Injeolmi — Spread a layer of sweet red bean paste on the dough before rolling it into a log, then slice. This is a classic Korean combination.
Cocoa Powder Coating — For a chocolate twist, roll the cakes in cocoa powder mixed with a little sugar. It’s like a rice cake truffle.
Dietary Modifications:
– Vegan: This recipe is naturally vegan. No changes needed.
– Gluten-Free: Naturally gluten-free. Just ensure your soybean powder is certified GF if you have celiac disease.
– Lower Sugar: Reduce sugar to ⅓ cup, but note that sugar helps with texture. You can substitute with erythritol if needed, but it may affect chewiness.
Serving & Storage
How to Serve:
I usually serve these straight from the plate at room temperature. They don’t need to be warm. I like to serve them with a cup of green tea or barley tea to balance the sweetness. They’re also great with coffee, especially if you’ve added matcha or cocoa.
Storage:
Store in an airtight container at room temperature for up to 2 days. They can dry out, so make sure the container is sealed well. You can also refrigerate them for up to a week, but they will become firmer. To soften, let them sit at room temperature for 30 minutes before eating.
Reheating:
If you want them warm, microwave for 10-15 seconds. They will become soft and chewy again. Don’t overheat, or they’ll become too sticky.
Freezing:
You can freeze injeolmi. Place them in a single layer on a baking sheet, freeze until solid, then transfer to a freezer bag. They can last up to 1 month. Thaw at room temperature or microwave briefly. The texture might be slightly less chewy after freezing, but they’re still good.
Nutrition Information
I’m not a nutritionist, but here’s the breakdown if you’re tracking.
Per Serving (based on 12 pieces):
– Calories: 120
– Protein: 2g
– Carbs: 25g
– Fiber: 1g
– Sugar: 8g
– Fat: 1g
– Sodium: 5mg
What’s Good:
– Low in fat
– Gluten-free
– Vegan-friendly
– Provides some energy from carbs
What to Know:
– High in carbs due to rice flour
– Moderate sugar content
– Low in protein and fiber
My Take:
This is a treat, not a health food. It’s delicious, but it’s mainly carbs and sugar. Enjoy it in moderation, especially if you’re watching your sugar intake. Pair it with protein or healthy fats to balance the meal.
Final Thoughts
So that’s my go-to Korean injeolmi recipe! I’ve probably talked your ear off at this point, but when you make a recipe this often, you have a lot to say about it. This little rice cake has saved my dessert game more times than I can count. It’s my answer to “what’s for dessert” when I want something light but satisfying, something that feels special but doesn’t take all day.
Make it yours! Try different coatings, add your favorite fillings, or just enjoy the simplicity. The best recipes are the ones you adapt to your family’s tastes. If you make this, drop a comment and let me know what you think! I love hearing how recipes turn out in your kitchen. And if something doesn’t work, tell me that too—I’m here to help troubleshoot.
Happy cooking! And I hope your kitchen smells half as good as mine does right now.
Frequently Asked Questions
Q: Can I use regular rice flour instead of glutinous rice flour?
A: No, you can’t. Regular rice flour is not sticky and will result in a crumbly, hard texture. You need glutinous rice flour (also called sweet rice flour) for that chewy, elastic quality. It’s a key ingredient and can’t be substituted.
Q: Why is my injeolmi too sticky to handle?
A: This usually happens if the water ratio was too high or if you didn’t knead it enough. Wet your hands with water to prevent sticking. If it’s still too sticky, you can sprinkle a tiny bit of glutinous rice flour on your hands, but don’t overdo it, or the texture will suffer.
Q: Can I make this ahead of time?
A: Yes, you can make the dough ahead and store it in the fridge for up to 2 days. Shape and coat them just before serving, as the coating can get soggy if stored too long. The dough itself keeps well in an airtight container.
Q: What if I can’t find roasted soybean powder?
A: You can make your own! Roast raw soybeans in a dry pan until they’re golden and fragrant, then grind them in a food processor until they’re a fine powder. It takes a bit of effort, but it’s worth it. Alternatively, you can use crushed roasted peanuts or sesame seeds.
Q: How do I store leftovers?
A: Store in an airtight container at room temperature for up to 2 days. They can dry out, so make sure the container is sealed well. Refrigeration is not recommended as it makes them hard, but if you must, let them come to room temperature before eating.
Q: Can I freeze injeolmi?
A: Yes, you can freeze them. Place them in a single layer on a baking sheet, freeze until solid, then transfer to a freezer bag. They can last up to 1 month. Thaw at room temperature or microwave briefly. The texture might be slightly less chewy after freezing, but they’re still good.
Pin This Recipe!
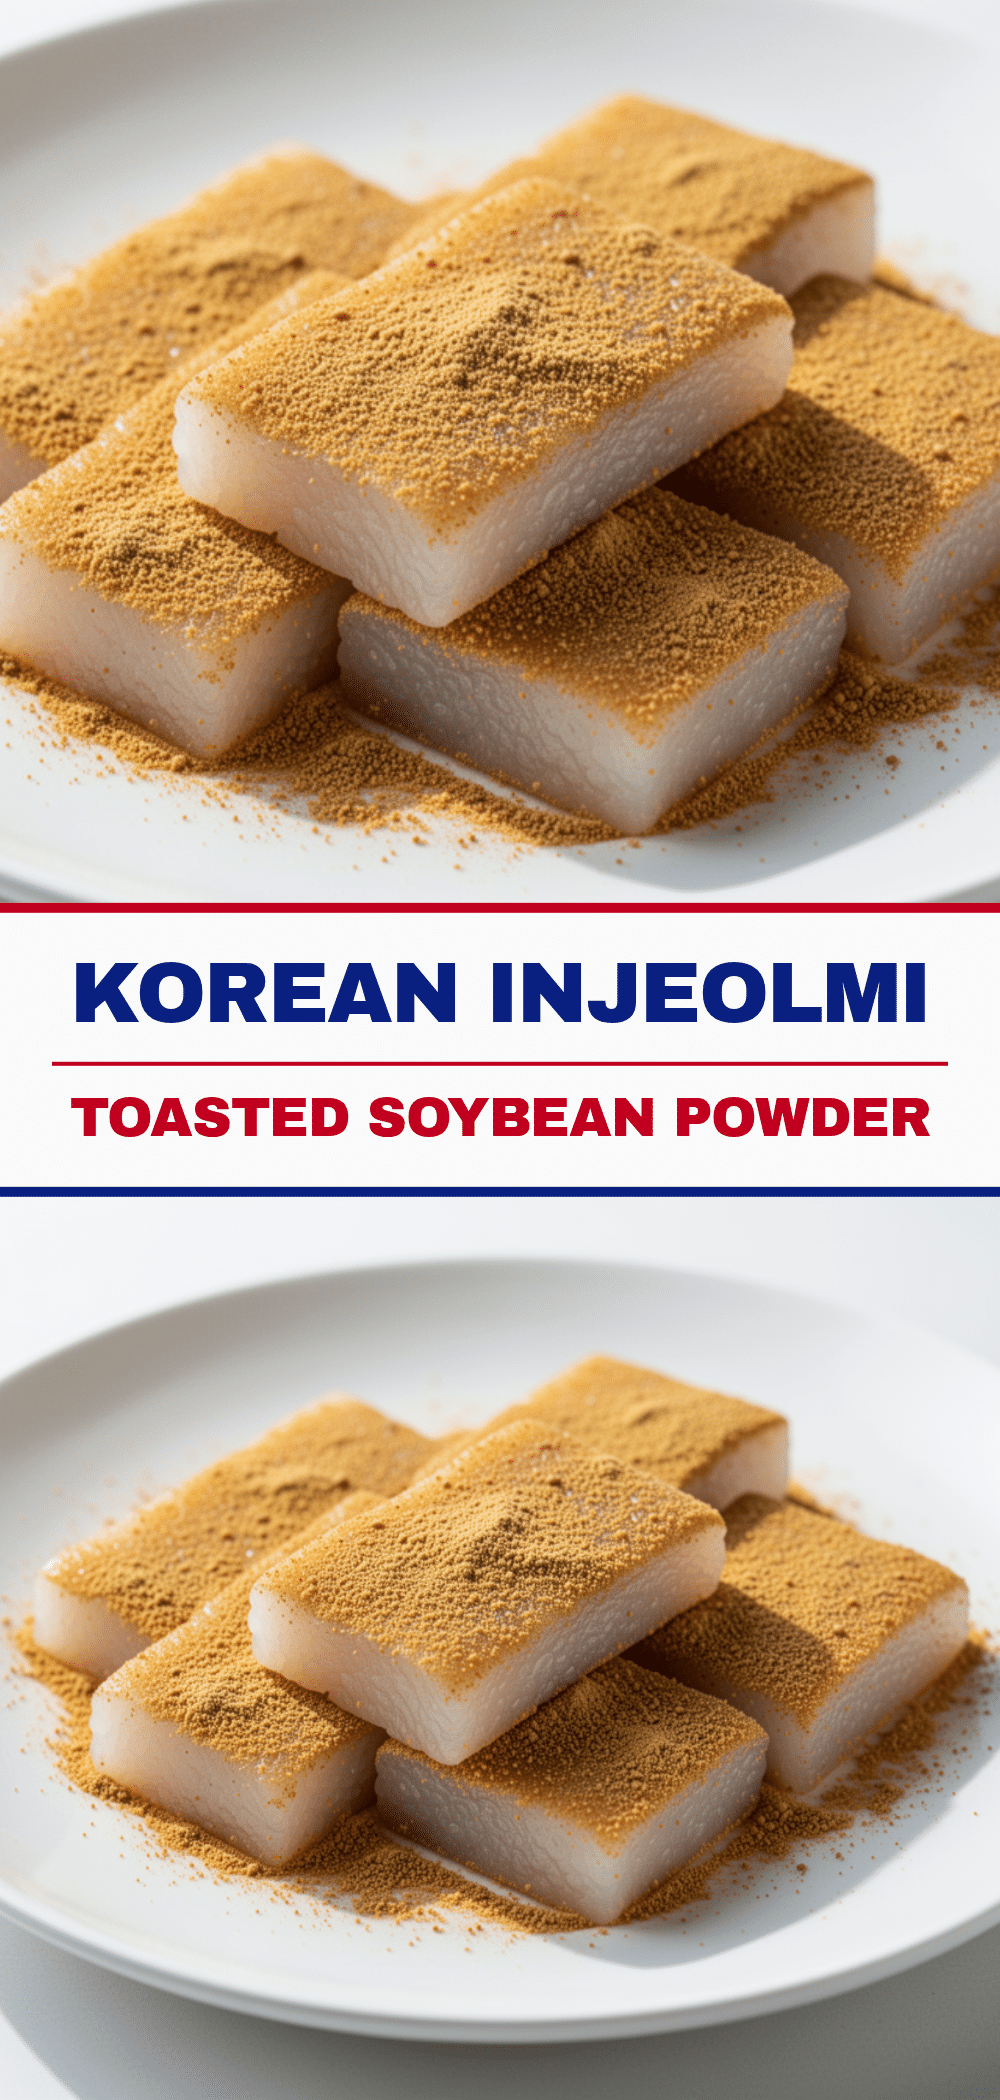
Korean Injeolmi Rice Cakes: 3-Ingredient Chewy Dessert
- Total Time: 40 minutes
- Yield: 12 servings 1x
Description
A simple, chewy Korean rice cake made with just glutinous rice flour, sugar, and water, coated in nutty roasted soybean powder. This naturally gluten-free and vegan dessert is quick to make and requires no fancy equipment.
Ingredients
- 2 cups (240g) glutinous rice flour (also called sweet rice flour)
- ½ cup (100g) granulated sugar
- 1 cup (240ml) water
- 1 cup (100g) roasted soybean powder (injeolmi-garu)
- Optional: 1 tsp vanilla extract
- Optional: 1 tbsp sesame seeds for coating
Instructions
- In a medium saucepan, whisk together the glutinous rice flour and sugar.
- Slowly pour in the water while whisking constantly until you have a smooth, lump-free batter with the consistency of heavy cream.
- Line a steamer basket with plastic wrap, leaving overhang for easy removal.
- Pour the batter into the lined steamer basket.
- Bring a pot of water to a boil, place the steamer basket over the pot, cover, and steam for 20-25 minutes until the dough is translucent and a toothpick comes out clean.
- Remove the steamer and let the dough cool for 5 minutes until safe to touch.
- Using wet hands to prevent sticking, knead the dough for 2-3 minutes until smooth and elastic.
- Roll the dough into a 1-inch thick log and cut into 1-inch pieces.
- Spread the roasted soybean powder in a shallow dish and roll each piece in the powder to coat all sides.
- Shake off excess powder and serve immediately.
Notes
Wet your hands with water before handling the dough to prevent sticking. Do not over-steam or the dough may become too soft. Use fresh soybean powder for the best flavor. The dough is easiest to knead when warm but not hot. Store in an airtight container at room temperature for up to 2 days.
- Prep Time: 15 minutes
- Cook Time: 25 minutes
- Category: Dessert
- Cuisine: Korean
Nutrition
- Serving Size: 1 piece
- Calories: 120
- Sugar: 8
- Sodium: 5
- Fat: 1
- Carbohydrates: 25
- Fiber: 1
- Protein: 2
Keywords: Korean dessert, injeolmi, rice cakes, glutinous rice flour, soybean powder, gluten-free dessert, vegan dessert, chewy rice cake, Asian sweets, 3-ingredient recipe


