There is a specific kind of panic that sets in when you realize your in-laws are arriving in forty-five minutes, you haven’t cooked dinner, and your house looks like a tornado hit it. This happened to me last summer. I was standing in my kitchen, staring at a half-empty pantry, feeling the weight of social anxiety pressing down on my shoulders. I needed a dessert that looked like I had spent hours in the kitchen (even though I had been busy hiding dirty dishes), tasted incredible, and didn’t require any baking skills I didn’t already possess.
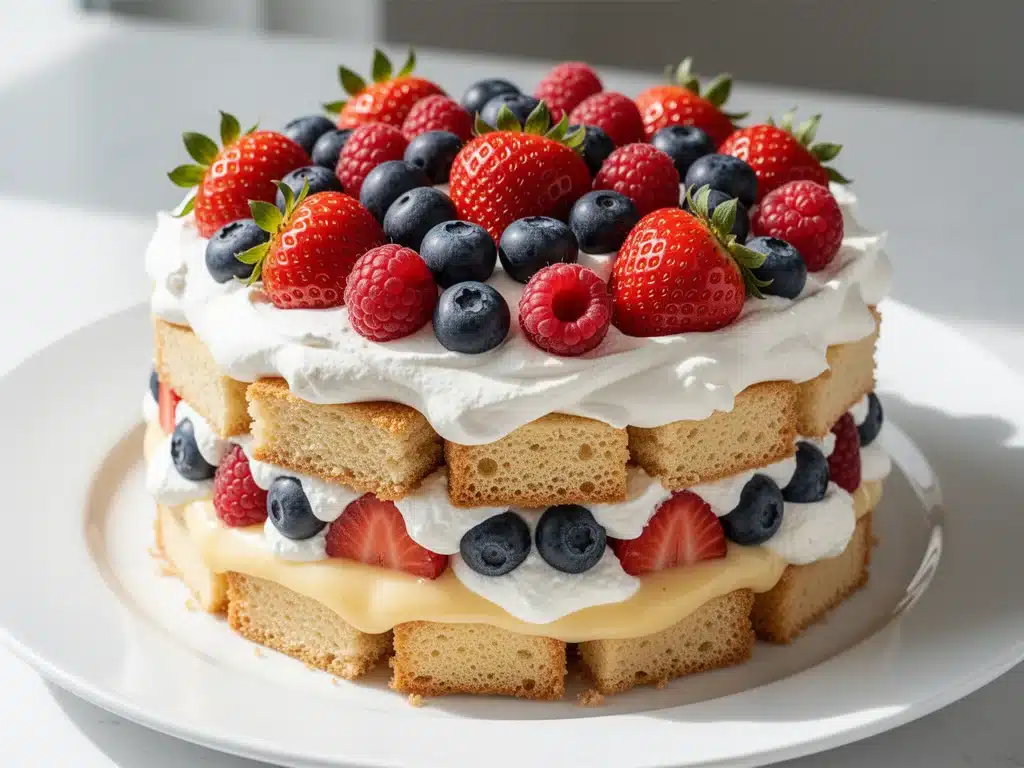
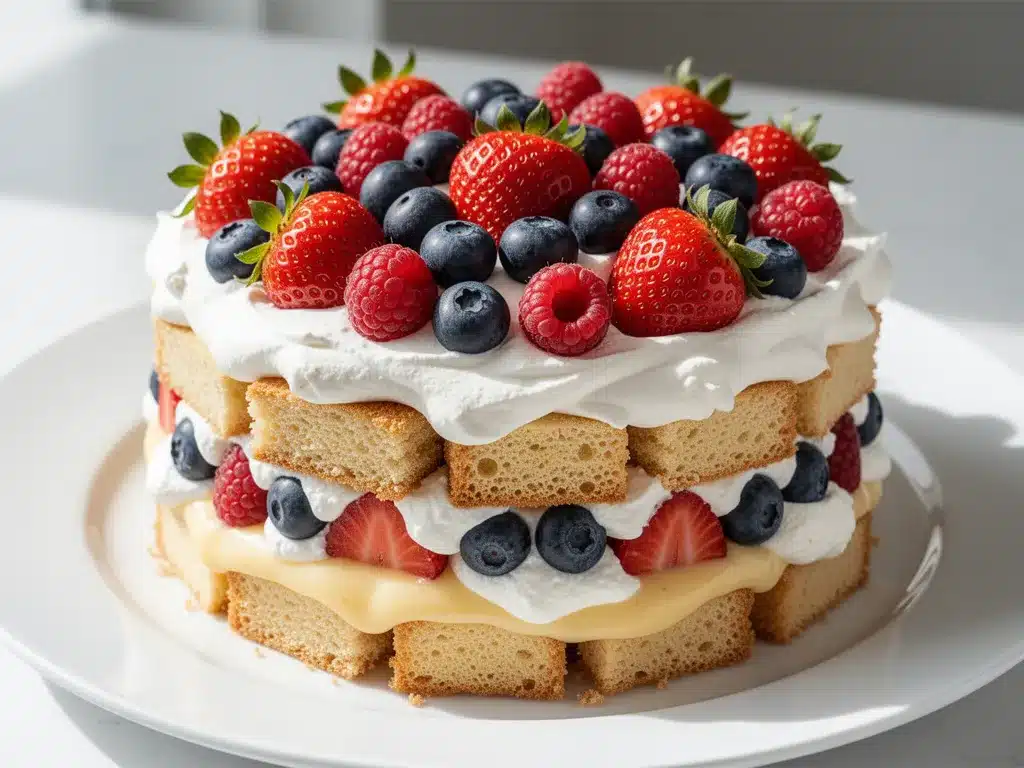
That night, I threw together what I now consider the ultimate party-saving hack: a layered trifle with berries and cream. It looked absolutely stunning in a glass bowl—those vibrant red strawberries, deep blue blueberries, and golden sponge cake cubes peeking through clouds of whipped cream. My in-laws were so impressed they asked for the recipe before they even finished their coffee. (Spoiler: I told them it was a store-bought cake I’d “deconstructed,” but we all know the truth.)
Since then, this layered trifle with berries and cream has become my go-to for every gathering. Whether it’s a casual BBQ, a birthday party, or just a Tuesday night craving, this dessert never fails. It’s elegant enough for a dinner party but forgiving enough for a last-minute scramble. I’ve tested this recipe at least a dozen times, tweaking the ratios of cream to fruit until I found the perfect balance. It’s not just about the taste—it’s about that visual wow factor that makes guests stop scrolling on their phones and start taking photos.
If you’re worried about making a trifle look professional, don’t be. The secret is in the layering technique, which I’ll walk you through. Once you master this, you’ll never buy a pre-made dessert again. It’s creamy, fruity, and utterly satisfying. Plus, it tastes even better the next day as the flavors meld together. I’ve made this for everything from Labor Day celebrations to bridal showers, and it’s always the first thing to disappear from the table.
Why You’ll Love This Recipe
I’ve made this layered trifle with berries and cream for every occasion imaginable, and here’s why it keeps coming back into my rotation. It’s not just a dessert; it’s a mood booster.
Zero Baking Required — Seriously, if you can open a cake box and whip cream, you can make this. I used to think trifle required baking a sponge from scratch, but using store-bought pound cake or angel food cake saves hours and still tastes amazing. No oven needed, which means no heating up your kitchen in the summer.
Make-Ahead Friendly — This is the holy grail of entertaining. You can assemble this trifle the night before. In fact, I always recommend it. The cake absorbs the juices from the berries and the cream, creating this incredible texture that’s soft but not soggy. I’ve assembled this at 6 PM for an 8 PM party, and it was perfect. Less stress for you, more time for you to actually enjoy the party.
Visually Stunning — The glass bowl is non-negotiable here. Seeing those distinct layers of yellow cake, white cream, and red berries is what makes it feel fancy. It’s Instagram-worthy without you trying hard. Guests will assume you’re a professional pastry chef, even if you’re wearing sweatpants.
Customizable for Any Crowd — Love strawberries? Add more. Hate blueberries? Swap them for raspberries. This recipe is a framework, not a rulebook. I’ve made variations with peaches in the summer and mixed nuts in the winter. It adapts to whatever is fresh at the market.
Feels Special, Costs Less — Ordering a dessert like this from a high-end bakery can run you $40-$60. Making it at home costs maybe $15, and you know exactly what’s in it. No weird preservatives, just real cream, real fruit, and real cake.
This recipe has saved my social life more times than I can count. It’s the dessert that says, “I care enough to make something beautiful, but I’m smart enough to know when to use shortcuts.” Trust me, your guests will be too busy enjoying the flavor to care if you bought the cake or baked it.
Ingredients You’ll Need
Here’s the best part about this layered trifle with berries and cream: the ingredient list is short, simple, and mostly things you probably already have or can grab on the way home. I’m particular about a few things here, especially the fruit and the cream, because that’s where the magic happens.
For the Cake Base:
Pound Cake or Angel Food Cake (1 store-bought loaf, about 12-16 oz) — I prefer pound cake for its rich, buttery texture, but angel food cake makes it lighter. Cut it into 1-inch cubes. Don’t use a dense chocolate cake unless you want a heavy dessert. You want something that can soak up the cream without falling apart.
For the Fruit Layer:
Strawberries (1 pint, hulled and sliced) — The star of the show. Look for berries that are ripe but firm. If they’re mushy, they’ll turn your trifle into soup. I always reserve a few perfect berries for the top garnish later.
Blueberries (1 pint) — Adds that pop of color and a tart contrast to the sweet cream. Rinse them well and pat them dry. Wet berries make the cream slide off.
Raspberries (1 pint, optional) — I love the mix of red and blue, but if you’re on a budget, just stick to strawberries and blueberries. Raspberries are delicate, so handle them gently.
For the Cream:
Heavy Whipping Cream (2 cups / 480ml) — This is non-negotiable. Do not use half-and-half or milk; it won’t whip. Make sure it’s very cold. I keep my cream in the fridge until the last minute. If it’s warm, it’ll stay liquid.
Confectioners’ Sugar (½ cup / 60g) — Adds sweetness. If you’re using sweetened whipped cream from a can, skip this. But for homemade, you need the sugar to balance the tart berries.
Vanilla Extract (2 teaspoons) — Pure vanilla makes a huge difference. I use the real stuff, not the imitation. It adds that classic dessert flavor.
For the Assembly & Garnish:
Mint Leaves (1 small bunch) — For garnish. It adds a fresh color contrast and a hint of aroma. You don’t eat the leaves, but they make it look professional.
Extra Berries (A handful) — For the very top layer. Save the ugliest berries for the middle layers and the prettiest ones for the top.
Pro Tip: If you want to elevate this, add a layer of lemon curd between the cake and cream. It cuts through the richness beautifully. I learned this from a chef friend, and it’s a game-changer. But if you’re keeping it simple, the basic version is perfection.
Equipment Needed
You don’t need fancy equipment for this layered trifle with berries and cream. Here’s what I actually use in my kitchen.
Large Glass Trifle Bowl — Or a large glass punch bowl, or even a 9×13 glass baking dish. The key is transparency. You need to see the layers. I have a vintage glass bowl that I’m terrified to break, but it’s worth it for the presentation. If you don’t have a trifle bowl, a large salad bowl works too.
Electric Hand Mixer or Stand Mixer — Whipping cream by hand is possible but tiring. I use a hand mixer because it’s faster and gives me better control. If you’re strong, a whisk works, but you’ll need arm day.
Serrated Knife — For slicing the cake into cubes. A serrated knife cuts through pound cake without squishing it. A regular knife will mash it into crumbs.
Measuring Cups and Spoons — Standard stuff. I use a 1-cup measuring cup for the cream and a smaller one for the sugar.
Spatula — A rubber spatula is essential for folding the whipped cream gently. You want to keep the air in the cream so it stays fluffy.
Small Bowls — For holding the prepped fruit. Keeps your workspace organized.
Optional but nice:
- Piping Bag — If you want fancy swirls of cream on top. But a spoon works fine for rustic layering.
- Zester — For lemon zest if you decide to add that extra layer.
How to Make It: Step-by-Step
Alright, let’s make this layered trifle with berries and cream! I’m walking you through exactly how I do it, including the little tricks I’ve picked up over the years.
Step 1: Prep Your Cake (10 minutes)
Take your store-bought pound cake or angel food cake and cut it into 1-inch cubes. Don’t make them too small, or they’ll disappear into the cream. Don’t make them too big, or you’ll get mouthfuls of dry cake. Aim for uniform cubes so the layers look neat. If you’re using a bundt cake, just slice it and cube it. Set the cubes aside on a plate.
Step 2: Wash and Slice Your Fruit (10 minutes)
Wash your strawberries, blueberries, and raspberries. Pat them dry with paper towels—this is crucial. Wet fruit makes the cream slide. Hull and slice the strawberries into halves or quarters, depending on their size. Keep the blueberries and raspberries whole. Sort through them to remove any bad berries. Trust me, one rotten berry can ruin the whole batch.
Step 3: Whip the Cream (5 minutes)
Pour the cold heavy whipping cream into a large mixing bowl. Add the confectioners’ sugar and vanilla extract. Using an electric mixer on medium-high speed, whip until stiff peaks form. This means when you lift the beaters, the cream stands up straight. Don’t over-whip it, or it’ll turn into butter. Stop just before it looks slightly grainy. If you’re using a stand mixer, this takes about 2-3 minutes. If you’re doing it by hand, prepare for a workout.
Step 4: Build the First Layer (5 minutes)
Take a handful of cake cubes and arrange them in an even layer at the bottom of your glass bowl. Don’t pack them down; just let them sit loosely. You want spaces for the cream and fruit to seep in. If your bowl is large, you might need a thick layer. If it’s small, a thinner layer works. The goal is to cover the bottom completely.
Step 5: Add Cream and Fruit
Spread a generous layer of whipped cream over the cake. Use about half of your cream for this first layer. Then, scatter a mix of strawberries, blueberries, and raspberries over the cream. Don’t be shy with the fruit; that’s where the flavor is. Repeat this process: cake, cream, fruit. Aim for 3-4 layers total. The last layer should be cream.
Step 6: Garnish and Chill
Smooth out the top layer of cream. Arrange the reserved whole berries on top in a decorative pattern. Sprinkle some mint leaves over the berries for color. Cover the bowl with plastic wrap and refrigerate for at least 4 hours, or overnight. This chilling time is what makes the cake soft and the flavors meld. If you’re in a rush, 2 hours works, but the texture won’t be as good.
Visual Cue: The final trifle should look like a striped cake from the side. If the layers are messy, that’s okay—it’s rustic charm. But aim for distinct bands of yellow, white, and red.
Expert Tips & Tricks
Here’s everything I’ve learned from making this layered trifle with berries and cream dozens of times. These tips will save you from my mistakes.
Keep Everything Cold — This is the #1 tip. Cold cream whips better. Cold fruit keeps the cream from melting. If your kitchen is hot, put your mixing bowl in the fridge for 15 minutes before whipping. I’ve ruined trifle by letting the cream sit out too long while prepping fruit. Don’t make my mistake.
Don’t Skip the Drying Step — I know it’s tedious, but drying your berries prevents watery trifle. Wet berries = soup. I use paper towels and pat them until they’re completely dry. It takes an extra 5 minutes but makes a huge difference.
Use Stale Cake — If your store-bought cake is fresh and soft, it might disintegrate. Let it sit out for a few hours to dry out slightly, or even toast the cubes lightly in the oven for 5 minutes. This gives them structure so they hold up against the cream.
Fold, Don’t Stir — When mixing the cream, fold gently to keep the air bubbles intact. Stirring aggressively deflates the cream and makes it dense. Use a spatula and lift from the bottom.
Layer Thickness — Aim for about 1 inch of cake, 1 inch of cream, and 1 inch of fruit per layer. If your bowl is deep, you might need more cake. If it’s wide, more fruit. Adjust based on your vessel.
Common Mistakes (and how to avoid them):
- Mistake: Cream is runny — Fix: Your cream wasn’t cold enough, or you over-whipped it. Next time, chill the bowl and stop sooner.
- Mistake: Cake is soggy — Fix: You let it sit too long before serving. Trifle is best eaten within 24 hours. After that, the texture gets mushy.
- Mistake: Layers are muddy — Fix: You didn’t let the cream set. Chill for at least 4 hours.
Variations & Substitutions
Once you’ve nailed the basic version, here’s how you can mix it up. I’ve tried all of these, and they’re all delicious.
Chocolate Lover’s Trifle — Swap the pound cake for chocolate cake. Use chocolate pudding instead of some of the cream. Add chocolate shavings on top. My kids go crazy for this version.
Tropical Trifle — Use pineapple chunks and mango instead of berries. Add coconut flakes. It’s like a vacation in a bowl. This pairs well with grilled peaches if you want a summer vibe.
Lemon Berry Trifle — Add a layer of lemon curd between the cake and cream. Top with lemon zest. It’s bright and tangy, cutting through the richness.
Berry Swirl Trifle — Mix some mashed strawberries into the whipped cream before whipping. It creates a pink swirl effect. Beautiful and flavorful.
Alcohol-Infused — For adults only! Brush the cake cubes with a little Kirsch (cherry brandy) or rum before adding cream. It adds a sophisticated kick.
Dietary Modifications:
- Gluten-Free — Use gluten-free pound cake or angel food cake. Everything else is naturally gluten-free.
- Dairy-Free — Use coconut cream instead of heavy cream. It whips up similarly if chilled well. Use dairy-free cake.
- Lower Sugar — Use unsweetened whipped cream and sugar-free cake. It’s not as sweet, but still tasty.
If you’re looking for other easy desserts, check out this red, white, and blue berry trifle for a patriotic twist, or try this watermelon icebox cake for a refreshing summer option.
Serving & Storage
How to serve this layered trifle with berries and cream to maximize its impact.
How to Serve:
Scoop it out with a large spoon or ice cream scoop. The scoop helps maintain the layers in each serving. Serve in individual dessert glasses for a more elegant presentation, or straight from the big bowl for a casual gathering. Pair it with a simple green salad or grilled crispy parmesan crusted chicken cutlets for a complete meal.
Side Dishes:
This trifle is rich, so it doesn’t need much else. But if you want to balance it, serve with coffee or tea. A crisp white wine or sparkling wine also works well.
Storage Instructions:
Refrigerator: Store covered in the fridge for up to 3 days. The cake will continue to soften, which is good for the first two days. On day three, it might get too mushy. I rarely have leftovers past day two.
Freezing: Do not freeze this trifle. The cream will separate and become grainy when thawed. The fruit will also release water and make it soggy. Make it fresh.
Pro Tip: If you’re serving it at a party, assemble it the night before but add the fresh berries and mint just before serving. This keeps the garnish looking vibrant and fresh.
Nutrition Information
I’m not a nutritionist, but here’s the breakdown if you’re tracking. Keep in mind, this is a rich dessert, so portion control is key.
Per Serving (based on 8 servings):
- Calories: 350
- Protein: 4g
- Carbs: 45g
- Fiber: 2g
- Sugar: 30g
- Fat: 18g
- Saturated Fat: 11g
What’s Good:
It has some fruit, which adds vitamins and fiber. The cake provides energy. It’s a treat, not a health food.
What to Know:
High in sugar and saturated fat from the cream and cake. If you’re watching your intake, stick to one small scoop. Use the variations to adjust sugar and fat content.
My Take:
This is a special occasion dessert. Enjoy it guilt-free! Life is short, and you deserve a slice of this creamy, fruity goodness.
Final Thoughts
So that’s my layered trifle with berries and cream! I’ve talked your ear off, but when you make a recipe this often, you have a lot to say about it.
This has saved my social life more times than I can count. It’s my answer to “what’s for dessert?” when I’m tired, don’t want to bake, and still want something that looks amazing. My family is happy, my guests are impressed, and I’m happy because I’m not stressed about cooking.
Make it yours! Try different fruits, swap the cake, add a splash of alcohol. The best recipes are the ones you adapt to your tastes.
If you make this, drop a comment and let me know what you think! I love hearing how recipes turn out in your kitchen. And if something doesn’t work, tell me that too—I’m here to help troubleshoot.
Happy cooking! And I hope your kitchen smells half as good as mine does right now.
Frequently Asked Questions
Can I use whipped topping from a can?
You can, but homemade whipped cream tastes so much better. If you’re in a pinch, Cool Whip works, but it’s sweeter and less creamy. I recommend homemade at least once to see the difference.
Why did my trifle turn out watery?
Usually means your fruit was too wet, or you didn’t chill it long enough. Make sure to dry your berries thoroughly and chill for at least 4 hours. The cream also needs time to set.
Can I make this ahead for a dinner party?
Yes! This is best made the night before. Assemble it, cover it, and refrigerate. Add fresh garnishes right before serving. This saves you stress during the party.
What kind of cake is best for trifle?
Pound cake is classic for its richness. Angel food cake is lighter. Sponge cake is also good. Avoid dense chocolate cakes unless you want a heavy dessert. The cake should be able to soak up the cream.
Can I freeze this trifle?
No. The cream and fruit don’t freeze well. The texture will be ruined. Make it fresh for the best results.
How long does trifle last in the fridge?
Up to 3 days. After that, the cake gets too soggy and the fruit loses its texture. I rarely have leftovers past day two.
Can I add alcohol to this trifle?
Yes! Brush the cake with Kirsch, rum, or amaretto before adding cream. It adds a sophisticated flavor. Just be mindful of the amount if serving to children.
Pin This Recipe!
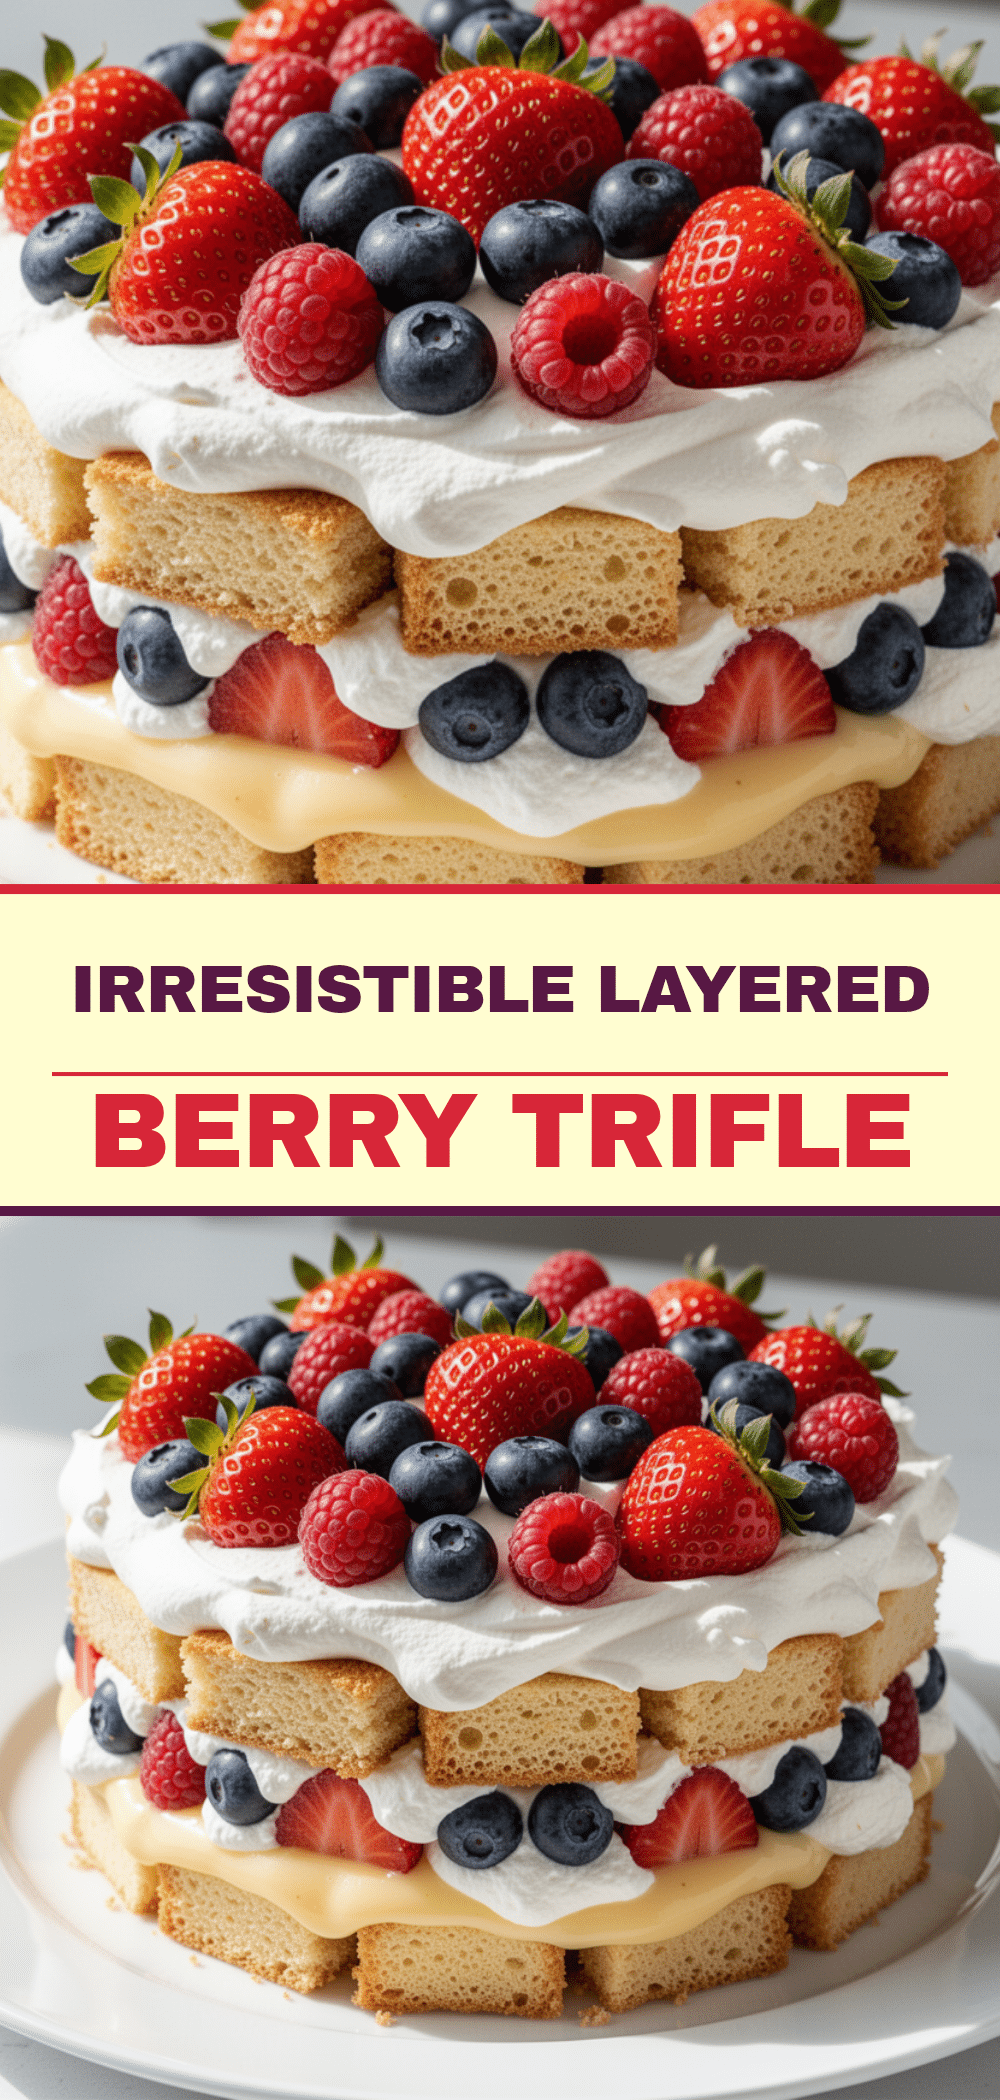
Layered Trifle with Berries and Cream: Easy Elegant Dessert
- Total Time: 4 hours 25 minutes
- Yield: 8 servings 1x
Description
A stunning, no-bake layered trifle featuring cubes of pound or angel food cake, fresh mixed berries, and homemade whipped cream. This make-ahead dessert is perfect for parties and requires minimal effort for maximum visual impact.
Ingredients
- 1 store-bought loaf (12–16 oz) pound cake or angel food cake, cut into 1-inch cubes
- 1 pint strawberries, hulled and sliced
- 1 pint blueberries, rinsed and patted dry
- 1 pint raspberries, rinsed and patted dry (optional)
- 2 cups (480ml) heavy whipping cream, very cold
- ½ cup (60g) confectioners’ sugar
- 2 teaspoons vanilla extract
- 1 small bunch mint leaves, for garnish
- Extra berries for top garnish
Instructions
- Cut the store-bought cake into uniform 1-inch cubes and set aside on a plate.
- Wash and dry the strawberries, blueberries, and raspberries thoroughly with paper towels to prevent watery trifle. Hull and slice strawberries; keep blueberries and raspberries whole.
- In a large mixing bowl, combine the cold heavy whipping cream, confectioners’ sugar, and vanilla extract. Whip using an electric mixer on medium-high speed until stiff peaks form.
- Arrange a layer of cake cubes at the bottom of a large glass trifle bowl.
- Spread half of the whipped cream over the cake layer, then scatter a mix of strawberries, blueberries, and raspberries on top.
- Repeat the layering process (cake, cream, fruit) 3-4 times, ensuring the final layer is cream.
- Smooth the top layer of cream and arrange reserved whole berries and mint leaves on top for garnish.
- Cover the bowl with plastic wrap and refrigerate for at least 4 hours or overnight to allow flavors to meld and cake to soften.
- Serve with a large spoon or ice cream scoop to maintain layers.
Notes
Keep all ingredients cold, especially the cream, to ensure it whips properly. Dry berries thoroughly to prevent the trifle from becoming watery. For best texture, let the trifle chill for at least 4 hours. Do not freeze, as the cream and fruit texture will suffer. Can be made gluten-free by using GF cake and dairy-free by using coconut cream.
- Prep Time: 25 minutes
- Cook Time: 0 minutes
- Category: Dessert
- Cuisine: American
Nutrition
- Serving Size: 1 scoop or slice
- Calories: 350
- Sugar: 30
- Fat: 18
- Saturated Fat: 11
- Carbohydrates: 45
- Fiber: 2
- Protein: 4
Keywords: trifle, berry trifle, no bake dessert, easy dessert, party dessert, layered dessert, whipped cream, pound cake, angel food cake, make ahead dessert


