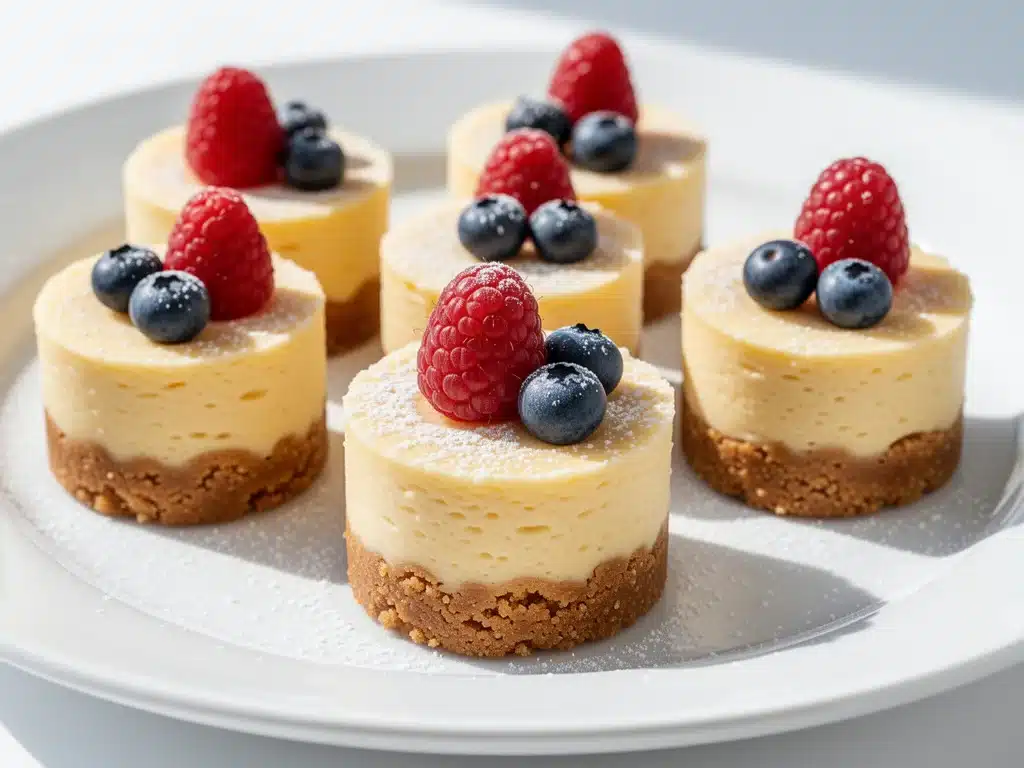
Let’s be honest for a second. I used to think “no-bake cheesecake” was just a polite way of saying “I didn’t want to turn on the oven.” You know the type. That sad, grainy, overly sweet mixture pressed into a pan, topped with a can of cherry pie filling that looked like it had been sitting in a diner kitchen since 1998. I hated it. I thought it was cheap. I thought it was cheating.
Then, three summers ago, I was hosting a Labor Day barbecue. The heat was oppressive—like, 95 degrees with 90% humidity kind of oppressive. My house was already a sauna, and the idea of standing over a hot oven for 45 minutes just to make a dessert made my stomach turn. I needed something cool, something refreshing, and something that didn’t require me to sweat through my shirt. I grabbed a box of Oreos, a block of cream cheese, and a can of whipped topping, and I threw together what I thought would be a mediocre stopgap.
But here’s the thing: my friend Sarah, who has a degree in culinary arts and judges my cooking like a Michelin inspector, took one bite and stopped mid-chew. She looked at me, then at the cupcake liner, then back at me. “This,” she said, “is actually better than the baked version you made last Christmas.” I didn’t believe her until I tried it myself. It was creamy. It was cool. It was easy. And it didn’t require me to cook my face off.
That was the moment my relationship with no-bake desserts changed. I’ve spent the last three years tweaking this mini cheesecakes recipe, testing different crusts, playing with fillings, and perfecting the texture. I’ve made these dozens of times for potlucks, last-minute dinner guests, and just because I wanted a sweet treat without the guilt of baking a whole cake. And every single time, they disappear faster than homemade cinnamon roll bites do on a Sunday morning.
These aren’t the heavy, dense cheesecakes you get at a fancy restaurant. These are light, airy, and perfectly portioned. They’re the kind of dessert you can grab with one hand while holding a drink in the other. They’re the perfect companion to a hot summer day, right alongside a cold honey lavender iced latte or some grilled peaches. But the best part? They take almost no time to make. If you can crush cookies and stir, you can make these. Seriously. Let me show you how.
Why You’ll Love This No-Bake Dessert
I’ve said it before, but I’ll say it again: life is too short for complicated desserts. This mini cheesecakes recipe has completely changed my dessert game, and I have a feeling it’s going to change yours too. Here’s why I keep coming back to this recipe, week after week.
Zero Oven Required — This is the big one. In the summer, I refuse to turn on my oven unless I’m roasting vegetables or cooking a roast. These mini cheesecakes stay cool in the fridge, keeping my kitchen temperature down. It’s a game-changer for hot days when you still want something sweet.
Stupid Simple Ingredients — You don’t need a pantry full of specialty items. The base is just cream cheese, powdered sugar, and vanilla. For the crust, you can use graham crackers, Oreos, or even cookies you already have lying around. I’ve made these with red, white, and blue berry trifle vibes by using blueberry cookies, and they turned out amazing. No weird ingredients you have to hunt for at three different stores.
Perfectly Portioned — Let’s face it: a whole cheesecake is intimidating. It’s heavy. It’s messy to slice. And if you’re eating it alone, you might regret that third slice by midnight. These mini versions are perfect for one or two bites. You get the flavor without the heaviness. I love that I can eat one and feel satisfied, not stuffed.
Make-Ahead Friendly — This is my secret weapon for entertaining. I can make these two days in advance, keep them in the fridge, and just pull them out when guests arrive. They actually taste better after chilling for a few hours because the flavors have time to meld. It takes the stress out of hosting because the dessert is already done.
Versatile as Hell — Want chocolate? Add cocoa powder. Want fruit? Top it with fresh berries. Want it festive? Use red and blue cookie crumbs for the crust. I’ve made these for birthdays, holidays, and random Tuesday nights. They adapt to whatever I’m in the mood for. If you like watermelon icebox cake, you’ll love how easy it is to swap out flavors here.
Ingredients You’ll Need
Here’s the best part: you probably have most of this already. I’m not asking you to buy anything fancy. This mini cheesecakes recipe relies on simple, accessible ingredients that you can grab at any grocery store. Here’s exactly what you need and why it matters.
Full-Fat Cream Cheese (8 ounces / 225g) — This is non-negotiable. I know, I know, “light” cream cheese exists. Don’t use it. It has too much water and air, and your cheesecake will be runny and grainy. You need the dense, rich texture of full-fat cream cheese. Let it sit on the counter for 15 minutes before you start. Cold cream cheese doesn’t blend smoothly, and you don’t want lumps in your dessert.
Powdered Sugar (½ cup / 60g) — Also known as confectioners’ sugar. Do not use granulated sugar. Granulated sugar doesn’t dissolve in a no-bake recipe, and you’ll end up with a gritty texture. Powdered sugar melts into the cream cheese instantly, giving you that silky, smooth consistency. If you don’t have any, you can blitz regular sugar in a blender for 30 seconds, but powdered is easier.
Vanilla Extract (1 teaspoon) — Use real vanilla extract, not imitation. It makes a huge difference in flavor. I’m not fancy about brands, but I avoid the cheap stuff that tastes like alcohol. A good vanilla extract gives that warm, comforting background note that makes cheesecake taste like cheesecake.
Heavy Whipping Cream (1 cup / 240ml) — This is what gives the filling its light, airy texture. You need cold heavy cream. Whip it until you have stiff peaks. This step is crucial. If your cream is too soft, the cheesecake won’t hold its shape. If you overwhip it, it’ll turn into butter. Aim for stiff peaks that stand up straight when you lift the beater.
Cookie Crumbs (1 ½ cups / about 150g) — For the crust, you can use graham cracker crumbs, vanilla wafer crumbs, or crushed cookies. I love using slow-cooker honey garlic chicken leftovers for dinner, but for dessert, I usually grab a package of Oreos or Nilla Wafers. You can also use graham crackers if you crush them yourself. The key is fine crumbs, not chunks.
Unsalted Butter (4 tablespoons / 57g) — Melted butter binds the cookie crumbs together so the crust holds. Use unsalted so you can control the saltiness. If you only have salted butter, reduce any added salt in the recipe (though there usually isn’t any in the crust).
Optional Toppings — Fresh berries (strawberries, blueberries, raspberries), chocolate chips, crushed nuts, or a drizzle of caramel. I usually keep it simple with fresh strawberries, but feel free to get creative. If you like peach cobbler bars, try topping these with a dollop of peach compote.
Equipment Needed
You don’t need fancy equipment for this. Here’s what I actually use in my kitchen.
Stand Mixer or Hand Mixer — I use my hand mixer because it’s quicker to clean. You need it to whip the cream cheese and sugar until smooth, and then to whip the heavy cream. A stand mixer works great too, but you’ll need to wash the bowl and attachments.
Muffin Tin — A standard 12-cup muffin tin. I use a non-stick one, but any tin works. If you don’t have one, you can use a mini-muffin tin or even just a regular muffin tin and make smaller portions.
Parchment Paper Liners — These are lifesavers. They keep the mini cheesecakes from sticking to the tin and make cleanup a breeze. I buy them pre-made, but you can also just grease the tin really well with butter or cooking spray. Parchment is worth the extra penny.
Food Processor or Blender — For crushing the cookies. I use my food processor because it’s fast and gives me fine, even crumbs. If you don’t have one, put the cookies in a zip-top bag and crush them with a rolling pin. It takes more effort, but it works.
Spatula — A rubber spatula for scraping the bowl and folding the whipped cream into the cream cheese mixture. You need something flexible to get all the air in without deflating it.
Measuring Cups and Spoons — Standard stuff. I use metal measuring cups for dry ingredients and glass measuring cups for liquids. Dollar store versions work fine.
How to Make It: Step-by-Step
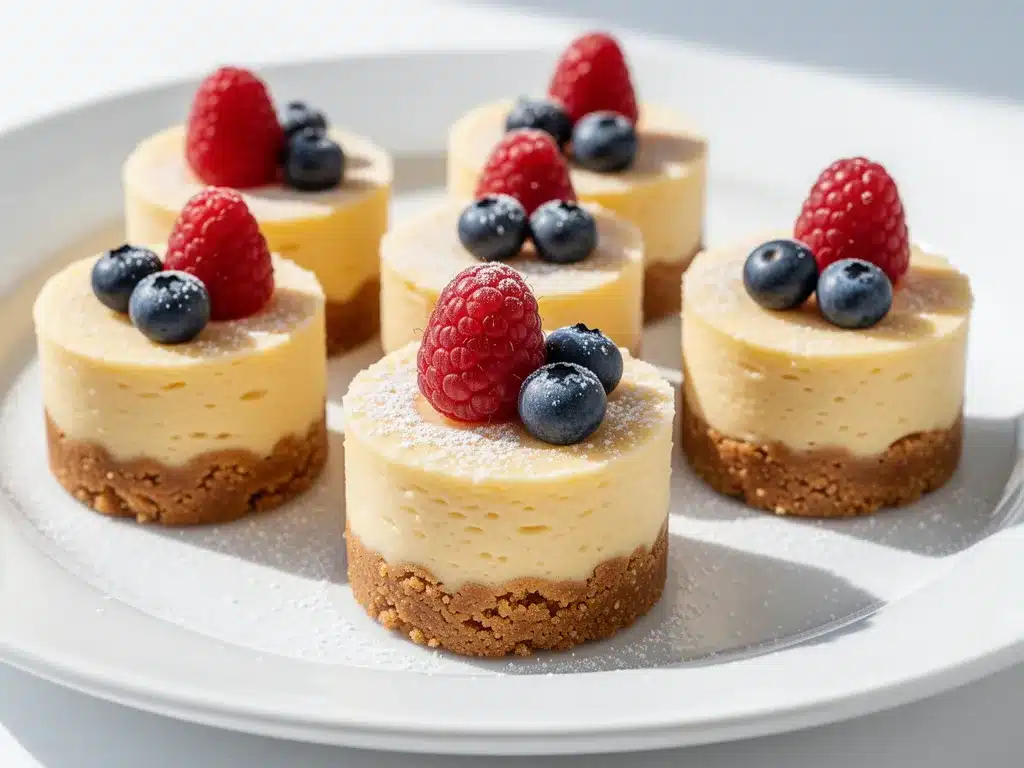
Alright, let’s make these mini cheesecakes! I’m walking you through exactly how I do it, including the little tricks I’ve picked up over the years. It’s easier than you think.
Step 1: Prep Your Crust (5 minutes)
Start by crushing your cookies. If you’re using graham crackers, crush them until they’re fine sand. If you’re using Oreos, remove the filling first (save it for eating, don’t waste it) and crush the wafers. You want about 1 ½ cups of fine crumbs. In a medium bowl, mix the cookie crumbs with the melted butter. Stir until it looks like wet sand. This mixture should hold together when you pinch it. If it’s too dry, add a teaspoon more butter. If it’s too wet, add a sprinkle more crumbs.
Step 2: Line the Muffin Tin (2 minutes)
Place a parchment paper liner in each cup of your muffin tin. If you don’t have liners, grease the cups well with butter. Scoop about 1 tablespoon of the crust mixture into each cup. Press it down firmly with the back of a spoon or a small measuring cup. You want an even, compact layer. This is your foundation. If it’s loose, the cheesecake will fall apart.
Step 3: Make the Filling (5 minutes)
In a large bowl, beat the softened cream cheese, powdered sugar, and vanilla extract on medium-high speed until smooth and creamy. Scrape down the sides of the bowl with a spatula to make sure everything is incorporated. This should take about 2 minutes. The mixture should be completely smooth with no lumps. Taste it now. It should be sweet and creamy. If you want it sweeter, add a little more powdered sugar.
Step 4: Whip the Cream (3 minutes)
In a separate cold bowl, pour the heavy whipping cream. Whip it on high speed until stiff peaks form. This means when you lift the beater, the cream stands up straight and doesn’t droop. Be careful not to overwhip it into butter. Watch it closely. Once it’s stiff, set it aside.
Step 5: Fold It Together (2 minutes)
Gently fold the whipped cream into the cream cheese mixture. Use a spatula and cut down the middle, scoop over the top, and rotate the bowl. Do this gently to keep the air in the cream. You want to combine them until there are no streaks of white cream cheese, but don’t overmix or you’ll deflate the cream. The mixture should be light, fluffy, and airy.
Step 6: Fill and Chill (4+ hours)
Divide the filling evenly among the crust-lined cups. Use a spoon or a piping bag to fill them. If you use a spoon, smooth the tops with the back of the spoon. Place the muffin tin in the refrigerator. You need to chill them for at least 4 hours, but overnight is best. This gives them time to set and firm up. Don’t rush this step. If you try to eat them too soon, they’ll be too soft.
Step 7: Top and Serve
Once they’re set, top them with fresh berries, chocolate chips, or whatever you like. I usually just leave them plain or add a few strawberry halves. Serve them cold. They’re best eaten within 3 days, but they rarely last that long.
Expert Tips & Tricks
Here’s everything I’ve learned from making these dozens of times. These tips will save you from my mistakes.
Room Temperature Cream Cheese — I can’t stress this enough. Cold cream cheese creates lumps. Let it sit on the counter for 15-20 minutes before you start. If you forget, you can microwave it in 5-second bursts, stirring in between, until it’s soft. But don’t melt it. Just soften it.
Cold Cream for Whipping — Your heavy cream and your bowl need to be cold for the cream to whip properly. If your kitchen is hot, put the bowl in the fridge for 10 minutes before whipping. I even chill my beaters for 5 minutes. It makes a huge difference in how well the cream holds its shape.
Don’t Overmix — When you fold the whipped cream into the cream cheese, go gently. Overmixing deflates the air, and your cheesecakes will be dense instead of light. Think of it like making a soufflé. You want to keep that airiness.
Chill Longer — I know it’s tempting to eat them right away. Don’t. Let them chill for at least 4 hours. Overnight is ideal. The longer they chill, the better the texture. I’ve made these and eaten them after 2 hours, and they were okay. After 8 hours? They were perfect.
Use a Piping Bag — If you want them to look fancy, fill a piping bag with the cheesecake mixture and pipe it into the crusts. It looks professional and makes portioning easier. But a spoon works fine too. Don’t stress about perfection.
Variations & Substitutions
Once you’ve nailed the basic version, here’s how you can mix it up. I’ve tried all of these.
Chocolate Chip — Add ½ cup mini chocolate chips to the filling before folding in the whipped cream. My kids love this version. It’s like a cookie dough cheesecake.
Berry Swirl — Mix 2 tablespoons of berry jam into the cream cheese mixture before folding in the cream. Or, swirl a spoonful of jam on top after filling. I use raspberry jam, but strawberry works too.
Matcha Green Tea — Add 1 tablespoon of matcha powder to the cream cheese mixture. It’s earthy and sweet. Great for a unique flavor profile.
Cookie Butter — Swirl 2 tablespoons of Biscoff cookie butter into the filling. It’s rich and spiced. Perfect for fall.
Gluten-Free — Use gluten-free cookies for the crust. Most graham crackers and Oreos have gluten-free versions. The filling is naturally gluten-free.
Dairy-Free — Use dairy-free cream cheese and coconut cream instead of heavy cream. It’s not quite the same texture, but it works. I’ve made this for my lactose-intolerant friend, and she loved it.
Serving & Storage
How to Serve — I usually serve these straight from the fridge. They’re best cold. I like to put them on a platter with fresh berries on the side. They look elegant and taste even better. If you have guests, let them top their own with extra berries or chocolate.
Refrigerator — Store them in an airtight container in the fridge for up to 5 days. They’ll stay fresh and creamy. If you don’t have an airtight container, cover the muffin tin with plastic wrap. They’ll last, but they might absorb fridge smells.
Freezing — You can freeze these, but the texture changes slightly. The cream cheese might get a bit grainy after thawing. If you want to freeze them, wrap each one individually in plastic wrap and store in a freezer bag for up to 1 month. Thaw in the fridge overnight before serving.
Make-Ahead — I make these two days before I need them. They taste better after a day or two because the flavors meld. It’s the perfect strategy for parties or holidays.
Nutrition Information
I’m not a nutritionist, but here’s the breakdown if you’re tracking.
Per Serving (based on 12 mini cheesecakes):
- Calories: 180
- Protein: 3g
- Carbs: 12g
- Fiber: 0g
- Sugar: 10g
- Fat: 14g
- Saturated Fat: 8g
- Cholesterol: 40mg
- Sodium: 120mg
What’s Good: It’s a small portion, so you can enjoy it without overdoing it. It’s lighter than a slice of regular cheesecake.
What to Know: Higher in fat from the cream cheese and heavy cream. Contains dairy and gluten (unless you use GF cookies).
My Take: This is a treat. Enjoy it. It’s better than store-bought desserts, and you know exactly what’s in it. When I want to make it lighter, I use less sugar and more berries. But usually? I just eat one and enjoy it.
Final Thoughts
So that’s my go-to mini cheesecakes recipe! I’ve probably talked your ear off at this point, but when you make a recipe this often, you have a lot to say about it. These have saved my dessert game more times than I can count. They’re my answer to “what’s for dessert?” when I’m tired, don’t want to bake, and still want something that tastes really good. My kids are happy, my husband’s happy, and I’m happy because I’m not stressed about cooking.
Make it yours! Try different toppings, swap out the cookies, adjust the sweetness. The best recipes are the ones you adapt to your family’s tastes. If you make these, drop a comment and let me know what you think! I love hearing how recipes turn out in your kitchen. And if something doesn’t work, tell me that too—I’m here to help troubleshoot.
Happy cooking! And I hope your kitchen smells half as good as mine does right now.
Frequently Asked Questions
Can I use light cream cheese?
You can, but the texture won’t be as rich and creamy. Light cream cheese has more water and air, which can make the filling runny. If you must use it, drain it in a cheesecloth for an hour to remove excess moisture. But full-fat is best for that classic cheesecake texture.
Why did my cheesecakes fall apart?
Usually, this means the crust wasn’t pressed down firmly enough, or the filling wasn’t chilled long enough. Make sure you pack the crust down tight, and let the cheesecakes chill for at least 4 hours, preferably overnight. Also, don’t overmix the filling, or you’ll lose the air that helps it hold its shape.
Can I make these ahead of time?
Yes! In fact, they taste better if you make them ahead. I usually make them 2 days in advance. Store them in an airtight container in the fridge. They’ll stay fresh and creamy for up to 5 days.
How do I store leftovers?
Store them in an airtight container in the fridge for up to 5 days. If you don’t have an airtight container, cover the muffin tin with plastic wrap. They might absorb fridge smells, so airtight is best.
Can I freeze mini cheesecakes?
Yes, but the texture might change slightly. The cream cheese can get a bit grainy after thawing. Wrap each cheesecake individually in plastic wrap and store in a freezer bag for up to 1 month. Thaw in the fridge overnight before serving.
Can I use whipped topping instead of heavy cream?
You can, but the texture won’t be as rich. Whipped topping is lighter and airier, which might make the cheesecakes too soft. If you use it, make sure you chill them longer to help them set. But heavy cream gives the best results.
What cookies work best for the crust?
Any cookie works! Graham crackers, Oreos, Nilla Wafers, chocolate chip cookies, or even sugar-free dark chocolate almond bark crushed up. Just make sure they’re finely crushed and mixed with melted butter. The flavor of the cookie will shine through, so pick your favorite.
Pin This Recipe!
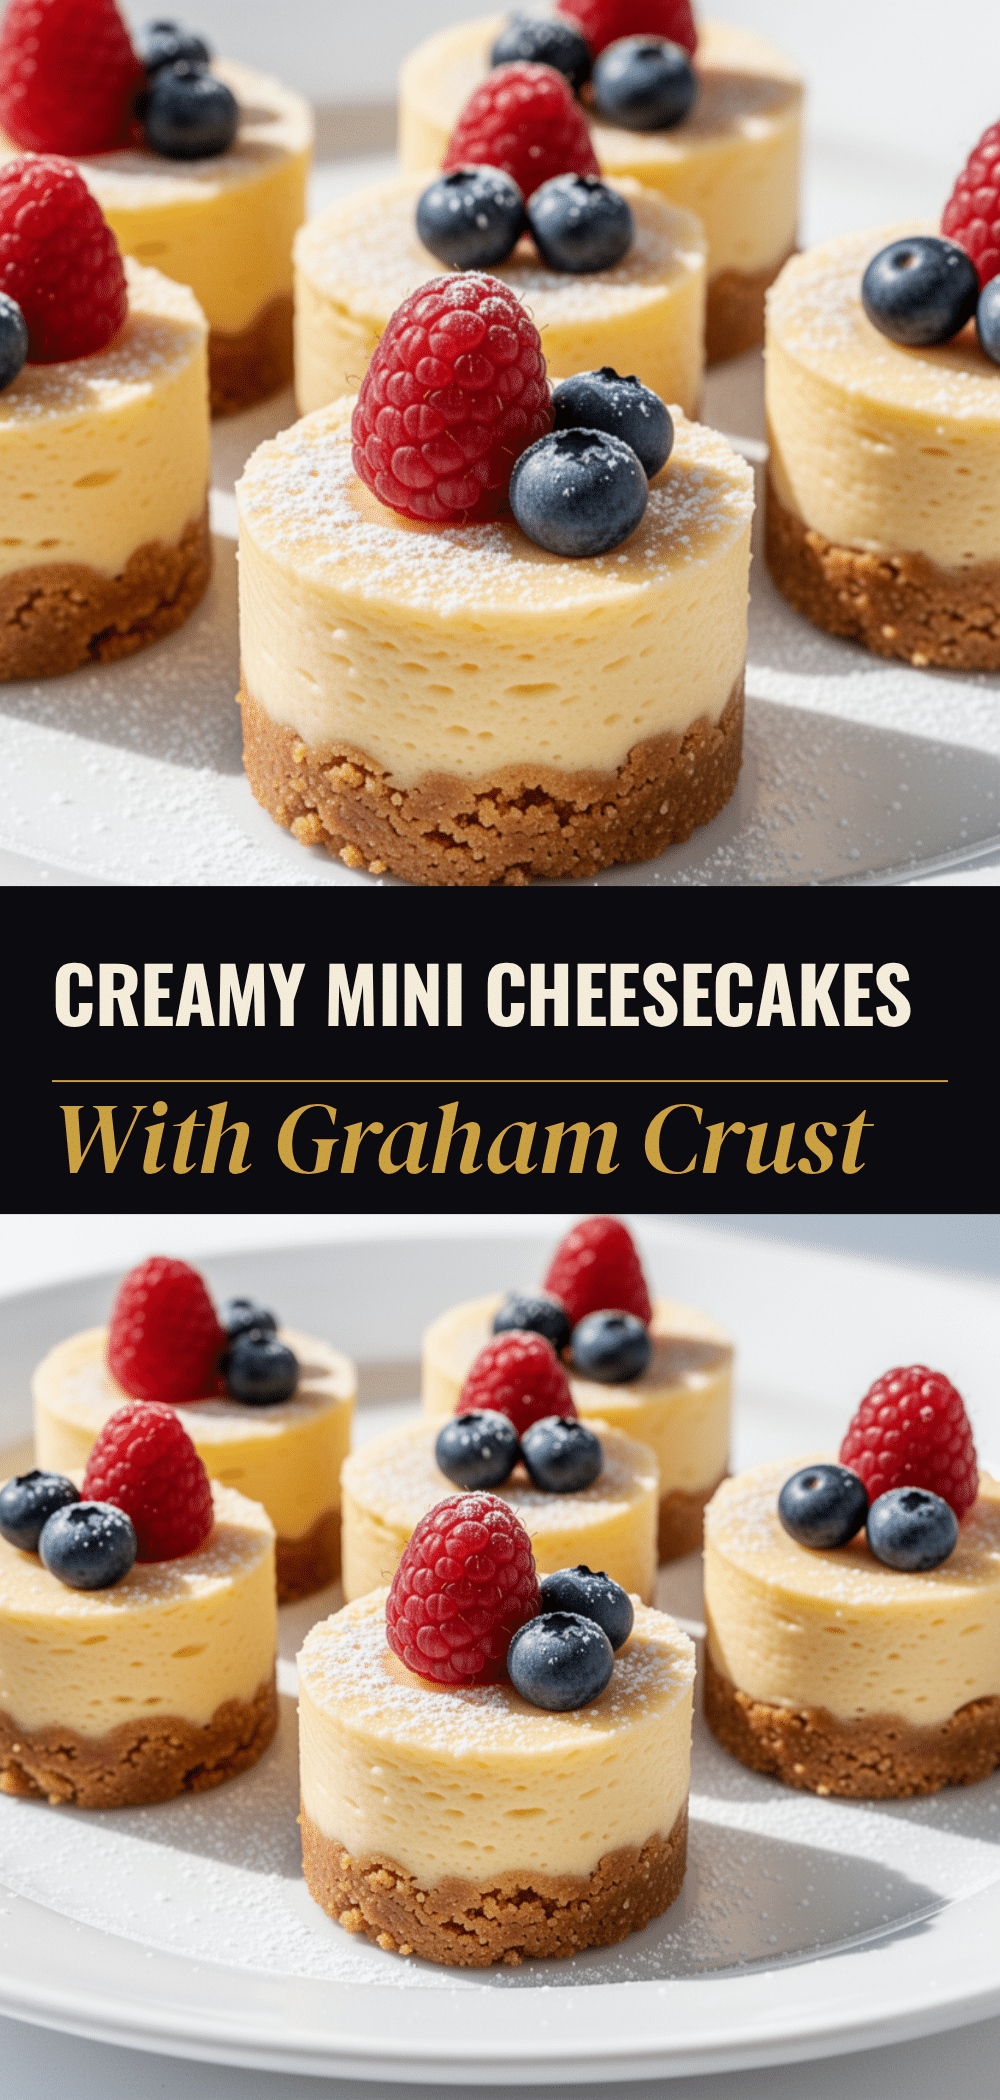
Mini Cheesecakes: 3-Ingredient No-Bake Dessert
- Total Time: 4 hours 15 minutes
- Yield: 12 servings 1x
Description
Light, airy, and perfectly portioned no-bake mini cheesecakes made with simple ingredients like cream cheese, powdered sugar, and cookie crumbs. These require zero oven time and are perfect for hot summer days.
Ingredients
- 8 ounces (225g) full-fat cream cheese, softened
- ½ cup (60g) powdered sugar
- 1 teaspoon vanilla extract
- 1 cup (240ml) heavy whipping cream, cold
- 1 ½ cups (150g) cookie crumbs (graham crackers, Oreos, or vanilla wafers)
- 4 tablespoons (57g) unsalted butter, melted
- Optional toppings: fresh berries, chocolate chips, crushed nuts, or caramel drizzle
Instructions
- Crush cookies into fine crumbs. In a medium bowl, mix crumbs with melted butter until it resembles wet sand.
- Line a 12-cup muffin tin with parchment paper liners. Press about 1 tablespoon of the crust mixture firmly into the bottom of each cup.
- In a large bowl, beat softened cream cheese, powdered sugar, and vanilla extract on medium-high speed until smooth and creamy (about 2 minutes).
- In a separate cold bowl, whip heavy cream on high speed until stiff peaks form. Be careful not to overwhip.
- Gently fold the whipped cream into the cream cheese mixture using a spatula until combined and no streaks remain.
- Divide the filling evenly among the crust-lined cups. Smooth the tops.
- Refrigerate for at least 4 hours, preferably overnight, to allow the cheesecakes to set.
- Top with fresh berries or other desired toppings before serving.
Notes
Ensure cream cheese is at room temperature to avoid lumps. Heavy cream and the bowl must be cold for proper whipping. Do not overmix when folding in the cream to maintain airiness. For best texture, chill overnight. Can be stored in the fridge for up to 5 days or frozen for up to 1 month.
- Prep Time: 15 minutes
- Cook Time: 0 minutes
- Category: Dessert
- Cuisine: American
Nutrition
- Serving Size: 1 mini cheesecake
- Calories: 180
- Sugar: 10
- Sodium: 120
- Fat: 14
- Saturated Fat: 8
- Carbohydrates: 12
- Protein: 3
Keywords: no-bake cheesecake, mini cheesecakes, summer dessert, easy dessert, 3-ingredient dessert, make-ahead dessert, gluten-free option


