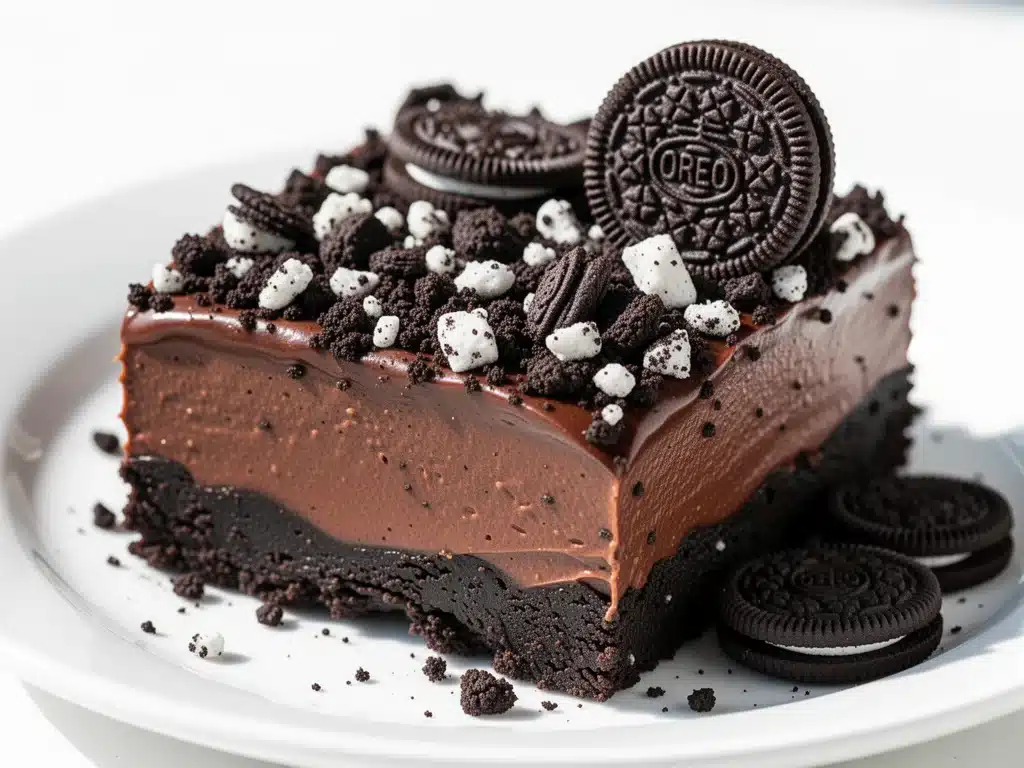
Last Saturday, I found myself standing in my kitchen at 7 PM, staring into a pantry that was aggressively empty. My kids had dragged their friends home for a last-minute sleepover—four teenagers, total chaos, and zero warning. I had maybe twenty minutes to produce something that felt “special” but required zero actual cooking skills because my oven was currently broken. That’s when I remembered the half-empty box of Oreos sitting next to the coffee and the two blocks of cream cheese in the fridge.
I threw together what I thought would be a mediocre, lazy snack. I didn’t even measure the sugar. I just dumped things in, pressed them into a pan, and put them in the fridge. Thirty minutes later, I pulled out these No-Bake Oreo Dessert Bars. They were creamy, crunchy, and absolutely decadent. The kids devoured them in ten minutes flat. My friend Sarah, who usually complains that store-bought desserts are “too sweet,” actually asked for the recipe. That’s when I knew I had struck gold.
This isn’t just a snack. It’s my secret weapon for last-minute parties, potlucks, and those moments when you need to feed a crowd without sweating over a hot stove. I’ve made these No-Bake Oreo Dessert Bars at least fifteen times since that chaotic Saturday. I’ve tweaked the ratios, tested different crusts, and figured out exactly how to get that perfect set. The result? A dessert that looks like you spent hours in the kitchen but actually takes less time than it takes to order pizza. If you love easy crowd-pleasers, this is the one that will save your social life.
Why You’ll Love This Recipe
There are about ten reasons I keep coming back to these bars, but here are the big ones that make them a permanent fixture in my dessert rotation.
- Zero Baking Required — Seriously. If you have a whisk and a microwave (or a stand mixer), you can make this. No preheating, no waiting for the oven to cool down, no burnt edges. This is the ultimate no-fail dessert for anyone who hates baking.
- 15-Minute Prep Time — The actual hands-on time is incredibly short. You crush the cookies, mix the filling, press it down, and refrigerate. I make this on weeknights when I’m exhausted, and it takes less time than scrolling through social media. It’s that fast.
- Pantry-Friendly Ingredients — You probably have most of this already. Oreos, cream cheese, butter, powdered sugar. These are staples. I don’t need to do a special grocery run for this. It’s the perfect “I need dessert now” solution.
- Crowd-Pleaser Status — I’ve served these to picky eaters, chocolate lovers, and people who claim they “don’t like sweet things.” Everyone loves them. The texture contrast between the crunchy cookie crust and the creamy filling is irresistible. It’s a guaranteed hit at any gathering.
- Makes Amazing Leftovers — Unlike some desserts that turn into a soggy mess overnight, these actually hold up really well in the fridge. I deliberately make extra for breakfast (yes, I eat dessert for breakfast sometimes) or for lunchbox treats. They stay firm and tasty for days.
- Budget-Smart — Feeds a crowd for under $10. That’s cheaper than a single slice of cake at a fancy bakery. I can make a full 9×13 pan of these and still have money left over for coffee.
This is my go-to when I need a dessert to just work. No complicated techniques, no weird ingredients you can’t find, just reliable, delicious food that makes everyone happy. It’s comfort food in bar form.
Ingredients You’ll Need
Here’s the best part: you probably have most of this already in your kitchen. This recipe relies on simple, accessible ingredients, but the quality of a few key items makes a huge difference in the final texture.
For the Crust
Chocolate Sandwich Cookies (Oreos) (24 cookies / about 300g) — Yes, use real Oreos. The specific chocolate flavor and texture of the cream filling matter here. Don’t try to substitute with generic store-brand cookies unless you’re desperate; they don’t crumble the same way and lack that distinct richness. I buy the family-sized box specifically for this recipe.
Unsalted Butter (½ cup / 113g) — Melted. I prefer unsalted because it lets you control the saltiness, especially since the cookies already have some. Use real butter, not margarine. Margarine can make the crust greasy and soft instead of crisp. If you’re in a pinch, you can use salted butter, just omit any added salt in the filling.
For the Filling
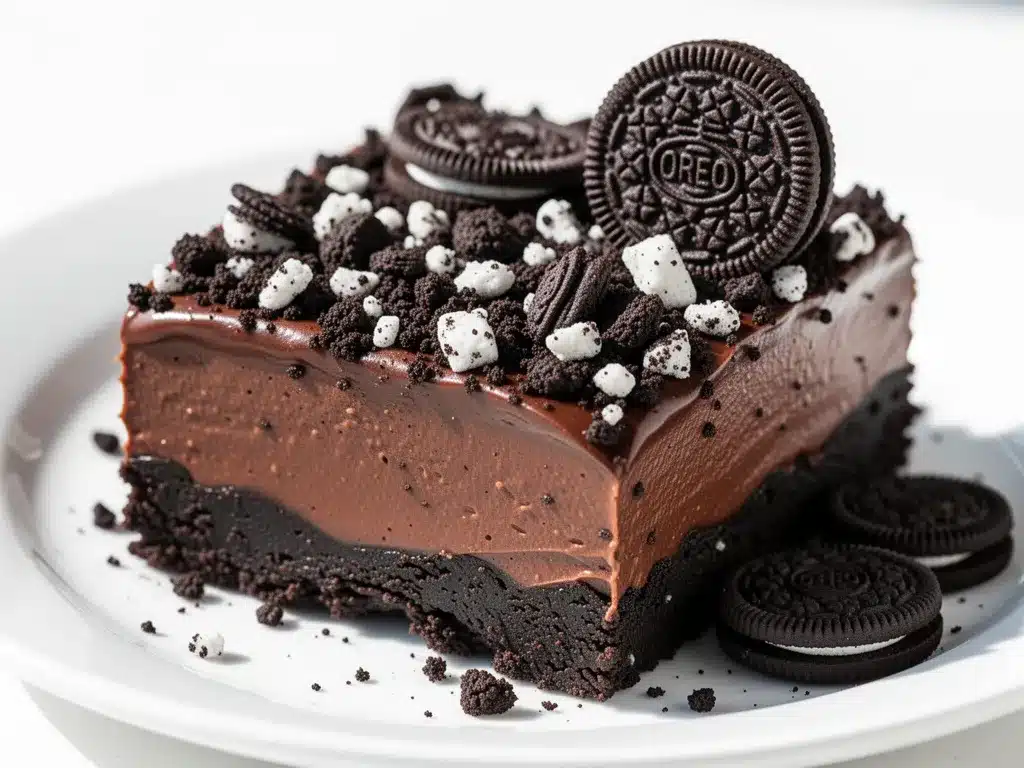
Full-Fat Cream Cheese (8 ounces / 225g) — This is non-negotiable. You need the block, not the spread in the tub. Tub cream cheese has higher water content and additives that prevent it from setting properly. Let it sit on the counter for 15 minutes before mixing so it’s soft enough to whip easily. Cold cream cheese leads to lumpy filling, and nobody wants that.
Powdered Sugar (1 cup / 120g) — Also called confectioners’ sugar. Do not use granulated sugar; it won’t dissolve in the cold filling and will make your dessert gritty. Sift it if it’s clumpy. I usually just shake it through a fine-mesh sieve while I’m mixing.
Vanilla Extract (1 teaspoon) — Pure vanilla extract. Avoid imitation vanilla if you can help it. The vanilla flavor cuts through the richness of the cream cheese and chocolate, adding a necessary brightness. I keep a bottle of Nielsen-Massey in my pantry because the flavor is just so much deeper.
Heavy Cream (½ cup / 120ml) — Cold heavy cream is what gives the filling that light, airy, mousse-like texture. Don’t skip this or substitute with milk; it won’t whip up properly. If you don’t have heavy cream, you can sometimes use whipped topping (like Cool Whip) for a lighter texture, but the flavor isn’t as rich.
For the Topping
Whipped Topping (8 ounces / 225g) — I use Cool Whip or a similar thawed whipped topping. It adds volume and a nice sweet contrast. If you want to get fancy, you can whip your own heavy cream with a little sugar and vanilla, but the tub stuff is just easier and tastes great here.
Extra Crushed Oreos (for garnish) — Just for looks. Or because you want to eat more cookies. I usually crush a few extra by hand and sprinkle them on top before serving.
Equipment Needed
You don’t need fancy equipment for this. Here’s what I actually use.
9×13 Inch Baking Dish — I use a glass Pyrex dish because I can see the bottom layer, but metal or ceramic works fine. Make sure it’s clean and dry. I lightly grease it with cooking spray just to be safe, though the butter in the crust usually prevents sticking.
Food Processor or Ziplock Bag + Rolling Pin — For crushing the cookies. A food processor is faster and gives you more uniform crumbs. I usually pulse it until it looks like wet sand. If you’re doing it by hand, put the cookies in a heavy-duty ziplock bag, squeeze out the air, and crush them with a rolling pin or a heavy can. It’s a great workout, honestly.
Stand Mixer or Hand Mixer — To whip the cream cheese and heavy cream. A hand mixer works perfectly fine if you don’t have a stand mixer. Just make sure the bowl is clean and dry. If you don’t have an electric mixer, you can do this by hand, but it will take some serious arm muscle.
Spatula — A silicone spatula is best for folding the whipped topping into the cream cheese mixture without deflating it. It’s gentle and gets every bit out of the bowl.
Measuring Cups and Spoons — Standard stuff. Dollar store versions work fine for dry ingredients.
Plastic Wrap — Optional, but good for covering the dish while it chills if you don’t have a lid.
How to Make It: Step-by-Step
Alright, let’s make this! I’m walking you through exactly how I do it, including the little tricks I’ve picked up over the years.
Step 1: Prepare the Crust (5 minutes)
Start by crushing your Oreos. If using a food processor, pulse 24 cookies until they are fine crumbs. You want them to look like damp sand, not chunks. If doing it by hand, crush them in a bag until you achieve the same texture. In a medium bowl, mix the cookie crumbs with the melted butter. Stir until the mixture looks like wet sand and holds together when you pinch it. If it’s too dry, add a teaspoon more butter. If it’s too wet, add a few more crumbs.
Step 2: Press into the Pan (2 minutes)
Transfer the crumb mixture to your 9×13 inch baking dish. Use the bottom of a measuring cup or a flat glass to press the crumbs down firmly. You want an even, compact layer. Don’t skip this step—pressing firmly ensures the bars hold together when you cut them. If the crust is loose, the bars will fall apart. Place the pan in the fridge while you make the filling. This helps the crust set quickly.
Step 3: Make the Cream Cheese Filling (5-7 minutes)
In a large mixing bowl, beat the softened cream cheese until it’s smooth and creamy. There should be no lumps. Add the powdered sugar and vanilla extract. Beat on medium speed until combined and smooth. This should take about 2-3 minutes. Scrape down the sides of the bowl with your spatula to ensure everything is incorporated.
Step 4: Whip the Heavy Cream (3 minutes)
In a separate cold bowl, whip the heavy cream until stiff peaks form. This means when you lift the beaters, the cream stands up straight. Be careful not to over-whip it into butter. It should be fluffy and hold its shape.
Step 5: Fold It All Together (2 minutes)
Gently fold the whipped cream into the cream cheese mixture. Use a spatula and fold in thirds—lift from the bottom and fold over the top. Do this gently to keep the air in the cream. You want a light, airy, uniform mixture. It should look like a thick, fluffy mousse.
Step 6: Add the Topping (2 minutes)
Spread the whipped topping (Cool Whip) evenly over the cream cheese layer. It should cover the entire surface. If you want, you can swirl it slightly with a knife for a pretty effect, but a flat layer looks clean and professional.
Step 7: Chill and Set (4 hours minimum)
Cover the dish with plastic wrap or a lid. Refrigerate for at least 4 hours, but overnight is best. The longer it chills, the firmer it gets, and the easier it is to cut. If you’re impatient, you can freeze it for 30 minutes, but the texture is better when it sets slowly in the fridge.
Step 8: Cut and Serve
Once set, remove from the fridge. Use a sharp knife to cut into squares. I like 24 bars, but 16 is good if you want bigger portions. Dust with extra crushed Oreos if you’re feeling fancy. Serve immediately or store in the fridge.
Expert Tips & Tricks
Here’s everything I’ve learned from making this dozens of times. These tips will save you from my mistakes.
- Room Temperature Cream Cheese is Key — If your cream cheese is cold, you’ll get lumps. Let it sit out for 15-20 minutes before you start. If you forget, you can microwave it in 5-second bursts, but be careful not to melt it. It should be soft, not liquid.
- Don’t Skip the Pressing — I’ve made the mistake of just sprinkling the crust on top before. Big mistake. It falls apart. Press it down firmly. It makes all the difference in the structural integrity of the bar.
- Use Cold Bowls for Whipping — If you’re whipping heavy cream, put your bowl in the freezer for 10 minutes first. Cold bowls help the cream whip faster and hold peaks better. It’s a small trick that makes a big difference.
- Fold, Don’t Stir — When combining the whipped cream and cream cheese, fold gently. Stirring vigorously deflates the air and makes the filling dense. You want it light and airy.
- Sharp Knife for Cutting — Use a sharp knife to cut the bars. Wipe the knife clean between cuts for clean edges. If the knife is dull, you’ll squish the bars and get messy edges.
- Chill Thoroughly — I know it’s tempting to cut them early, but they need time to set. If you cut them too soon, they’ll be messy and soft. Patience pays off.
Common Mistakes
- Mistake: Crust is too crumbly — Fix: You didn’t use enough butter. Add more melted butter and mix again. The crust should hold together when squeezed.
- Mistake: Filling is lumpy — Fix: Your cream cheese wasn’t soft enough. Beat it longer or let it sit out longer next time.
- Mistake: Bars are too soft — Fix: They didn’t chill long enough. Give them at least 4 hours, preferably overnight.
Variations & Substitutions
Once you’ve nailed the basic version, here’s how you can mix it up. I’ve tried all of these.
Strawberry Oreo Bars
Swap the regular Oreos for Strawberry Oreos. The filling stays the same, but the pink color and strawberry flavor are amazing. Great for spring or summer parties.
Double Chocolate
Add 2 tablespoons of cocoa powder to the cream cheese mixture. It intensifies the chocolate flavor for serious chocoholics.
Cookie Butter Version
Swirl ¼ cup of Biscoff cookie butter into the cream cheese mixture before folding in the whipped cream. It adds a warm, spiced flavor that’s incredible.
Gluten-Free Option
Use gluten-free chocolate sandwich cookies for the crust. Most major brands have a gluten-free version that works well. Check the label to ensure they are certified gluten-free if you have celiac disease.
Lighter Version
Use light cream cheese and reduce the powdered sugar to ½ cup. The texture won’t be as rich, but it’s lighter. I make this when I’m trying to be “healthy,” though it’s still pretty indulgent.
Mini Bar Version
Use a 9×9 inch pan for thicker bars, or use a muffin tin to make mini bars. Adjust the chilling time accordingly. Mini bars are perfect for portion control.
Serving & Storage
How to serve these bars is pretty straightforward, but here are some ideas to make them feel extra special.
How to Serve
I usually serve these straight from the fridge. They are best cold and firm. I like to garnish them with a few whole Oreos or a dusting of cocoa powder for presentation. If you’re hosting a party, put them on a nice platter with some fresh berries on the side. The contrast of the bright red berries against the dark chocolate is beautiful.
Side Dishes
These bars are rich, so they pair well with lighter sides. A simple green salad or some fresh fruit works great. For drinks, I recommend serving them with coffee or tea. The bitterness of the coffee cuts through the sweetness perfectly. If you’re looking for a drink pairing, try a honey lavender iced latte for a sophisticated touch.
Storage Instructions
Refrigerator: Store in an airtight container or covered with plastic wrap for up to 5 days. They actually taste better after a day or two as the flavors meld together. Just make sure they are well-covered so they don’t absorb fridge odors.
Freezing: Yes, you can freeze these! Cut them into bars first, then wrap each one individually in plastic wrap and place them in a freezer-safe bag. They will keep for up to 2 months. Thaw in the fridge overnight before serving. The texture might be slightly softer after thawing, but it’s still delicious.
Reheating: Do not reheat these. They are meant to be served cold. Reheating will melt the cream cheese and whipped topping, resulting in a mess.
Meal Prep
This is a great make-ahead dessert. Make it the night before your party. It saves you so much stress on the day of. I often make these on Sunday for a Saturday event. They hold up perfectly.
Nutrition Information
I’m not a nutritionist, but here’s the breakdown if you’re tracking. Please note that this is an estimate and can vary based on the specific brands of ingredients you use.
Per Serving (based on 24 bars):
- Calories: 180
- Protein: 2g
- Carbs: 22g
- Fiber: 1g
- Sugar: 16g
- Fat: 10g
- Saturated Fat: 6g
- Cholesterol: 25mg
- Sodium: 120mg
What’s Good: It’s a quick treat that doesn’t require much effort. The cream cheese provides some protein and calcium.
What to Know: This is a high-sugar, high-fat dessert. It’s not exactly a health food. Enjoy it in moderation. If you’re watching your sugar intake, consider reducing the powdered sugar or using a sugar substitute in the filling.
My Take: Look, this is a treat. It’s sweet, rich, and delicious. It’s not a diet recipe. But it’s way better than store-bought desserts, costs less, and I know exactly what’s in it. When I want to make it lighter, I use the light cream cheese version. But usually? I just eat one bar and enjoy it.
Final Thoughts
So that’s my go-to No-Bake Oreo Dessert Bars! I’ve probably talked your ear off at this point, but when you make a recipe this often, you have a lot to say about it.
This has saved dinner parties more times than I can count. It’s my answer to “what’s for dessert” when I’m tired, don’t want to bake, and still want something that tastes really good. My kids are happy, my friends are happy, and I’m happy because I’m not stressed about cooking.
Make it yours! Try different cookie flavors, swap in your favorite toppings, or adjust the sweetness. The best recipes are the ones you adapt to your family’s tastes. If you’re looking for more easy dessert ideas, check out my peach cobbler bars for a seasonal twist, or try these red, white, and blue berry trifle for a patriotic celebration.
If you make this, drop a comment and let me know what you think! I love hearing how recipes turn out in your kitchen. And if something doesn’t work, tell me that too—I’m here to help troubleshoot.
Happy cooking! And I hope your kitchen smells half as good as mine does right now.
Frequently Asked Questions
Can I use a different type of cookie?
You can try, but Oreos are the classic choice for a reason. The texture and flavor are perfect for this recipe. You could try chocolate sandwich cookies from another brand, or even ginger snaps for a spicier version, but the result will be different. Stick with Oreos for the best experience.
Can I make this ahead of time?
Absolutely! This is actually better when made ahead. You can make it up to 3 days in advance. Just keep it covered in the fridge. It’s perfect for meal prep or party planning.
Why did my filling turn out runny?
This usually happens if the heavy cream wasn’t whipped stiff enough, or if the cream cheese was too warm. Make sure your heavy cream is cold and whip it until stiff peaks form. Also, ensure your cream cheese is soft but not melted. If the filling is too soft, chill it longer before serving.
Can I freeze these bars?
Yes, you can freeze them. Cut them into bars first, wrap them individually in plastic wrap, and place them in a freezer-safe bag. They will keep for up to 2 months. Thaw in the fridge overnight. The texture might be slightly softer, but they’re still tasty.
Can I use whipped topping instead of whipping heavy cream?
Yes, you can. Some people use Cool Whip for the entire filling. It’s easier and lighter. However, whipping your own heavy cream gives a richer, more luxurious texture. If you use Cool Whip, you can skip the heavy cream step and just fold the Cool Whip into the cream cheese mixture.
How long do these bars last in the fridge?
They last up to 5 days in the fridge if stored in an airtight container. They actually taste better after a day or two as the flavors meld together. Just make sure they are well-covered to prevent them from drying out or absorbing fridge odors.
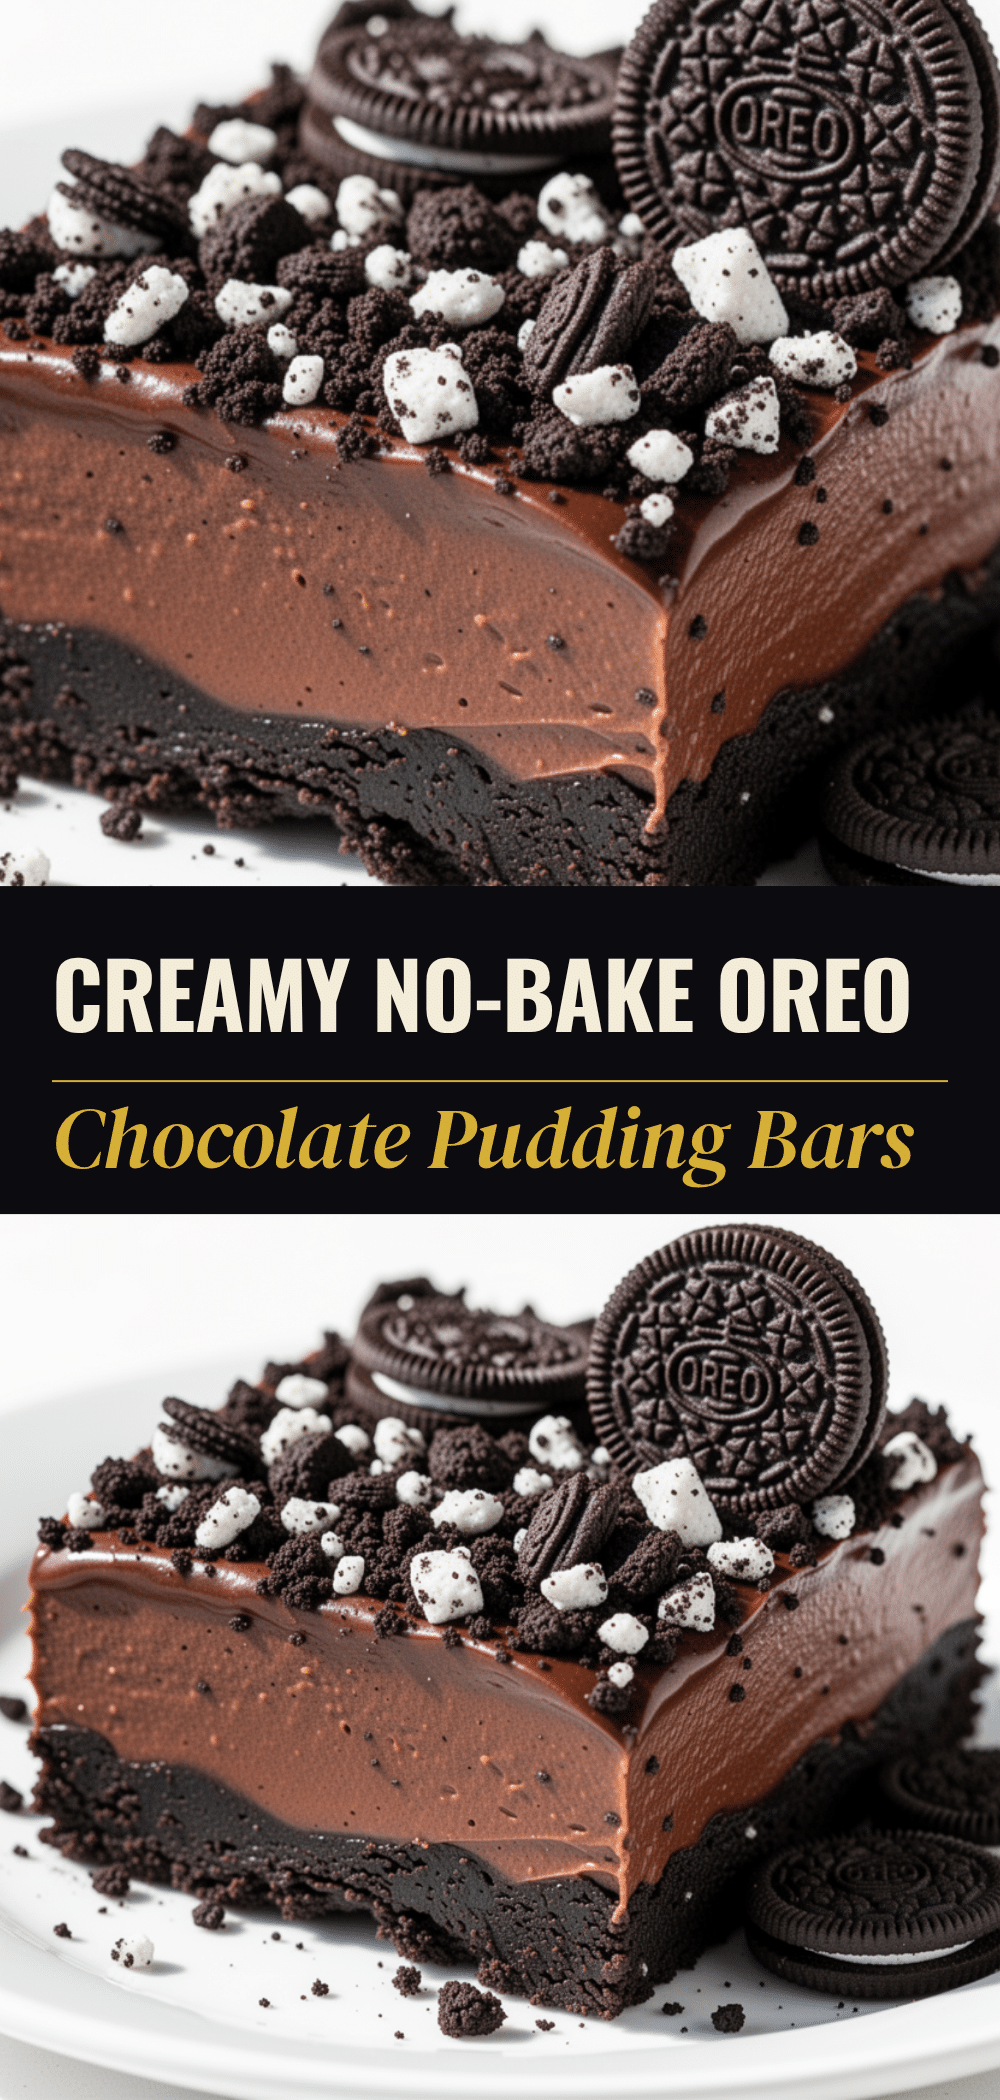
Pin This Recipe!
No-Bake Oreo Dessert Bars
- Total Time: 4 hours 15 minutes
- Yield: 16 servings 1x
Description
A creamy, crunchy, and decadent no-bake dessert that requires only 15 minutes of prep time. Perfect for last-minute parties, these bars feature an Oreo crust, a rich cream cheese filling, and a whipped topping.
Ingredients
- 24 Chocolate Sandwich Cookies (Oreos), about 300g
- 1/2 cup Unsalted Butter, melted
- 8 ounces Full-Fat Cream Cheese, softened
- 1 cup Powdered Sugar
- 1 teaspoon Vanilla Extract
- 1/2 cup Heavy Cream, cold
- 8 ounces Whipped Topping (e.g., Cool Whip), thawed
- Extra Crushed Oreos, for garnish
Instructions
- Crush 24 Oreos into fine crumbs using a food processor or by placing them in a ziplock bag and crushing with a rolling pin.
- In a medium bowl, mix the cookie crumbs with the melted butter until the mixture resembles wet sand.
- Press the crust mixture firmly and evenly into the bottom of a 9×13 inch baking dish. Refrigerate while making the filling.
- In a large mixing bowl, beat the softened cream cheese until smooth. Add powdered sugar and vanilla extract, beating until combined.
- In a separate cold bowl, whip the heavy cream until stiff peaks form.
- Gently fold the whipped cream into the cream cheese mixture until uniform and airy.
- Spread the whipped topping evenly over the cream cheese layer.
- Cover and refrigerate for at least 4 hours or overnight until set.
- Cut into 16 or 24 bars and garnish with extra crushed Oreos before serving.
Notes
Ensure cream cheese is at room temperature to avoid lumps. Use cold bowls when whipping heavy cream for better volume. Press the crust firmly to ensure bars hold together. Do not reheat; serve cold.
- Prep Time: 15 minutes
- Cook Time: 0 minutes
- Category: Dessert
- Cuisine: American
Nutrition
- Serving Size: 1 bar
- Calories: 180
- Sugar: 16
- Sodium: 120
- Fat: 10
- Saturated Fat: 6
- Carbohydrates: 22
- Fiber: 1
- Protein: 2
Keywords: no-bake, oreo dessert, cream cheese bars, easy dessert, crowd pleaser, party dessert, quick dessert


