Last July, I was standing in my kitchen at 7:30 PM, sweating through my shirt, watching the thermometer climb past 95 degrees. My husband had just walked in from a long day of gardening, and my teenager was complaining that the house felt like an oven. The idea of firing up the oven for a traditional cheesecake—something that would take an hour to bake and another hour to cool—was not just unappealing. It was physically painful.
I needed dessert. Not something complicated, not something that required a stand mixer or three bowls of dirty dishes, but something cool, creamy, and berry-filled. Something that screamed “summer” without raising the indoor temperature by five degrees. That’s when I had the epiphany: why build a cake when I can build a jar?
I grabbed a handful of mason jars from the cupboard, a block of cream cheese, some heavy cream, and whatever berries were left at the market (which, lucky for me, were abundant and cheap). I whipped up a crust from crushed cookies and butter, layered in the tangy filling, and topped it with a mountain of macerated strawberries and blueberries. Ten minutes later, we had dessert.
It was light, refreshing, and didn’t make the kitchen a sauna. We ate it on the back porch as the sun went down, the condensation on the outside of the jars feeling like the only air conditioning we needed. Since then, I’ve made these no-bake berry cheesecake jars at least once a month during summer. They’re my go-to when I want something that feels fancy but requires zero actual effort. Plus, they’re perfect for potlucks because you can just hand them out like little edible gifts. No plates, no forks required (though you’ll definitely want a spoon).
What I love most about this recipe is its flexibility. You can use whatever berries are in season. In spring, it’s raspberries and blackberries. In summer, it’s strawberries and blueberries. In the fall, you can even swap in cranberries and pears if you’re feeling adventurous. But for now, let’s talk about why this simple jar dessert has stolen the spotlight from more complicated recipes.
Why You’ll Love This Recipe
There are about ten reasons I keep making these cheesecake jars, but here are the big ones that will win you over too.
Zero Oven, Zero Stress — Seriously, if you can mash cookies with a rolling pin and whisk cream, you can make this. There is no baking, no water bath, no cracking eggs. I’ve made this on weeknights when I was exhausted and on weekends when I was hosting a brunch. It works in every scenario because it doesn’t rely on precise baking temperatures.
Make-Ahead Friendly — This is the ultimate party-saver. You can assemble these jars up to 24 hours in advance. In fact, I find they taste even better the next day because the flavors have melded together. The crust softens just enough to be chewy but still provides texture, and the filling becomes incredibly smooth. I often make a batch on Sunday for a Saturday barbecue.
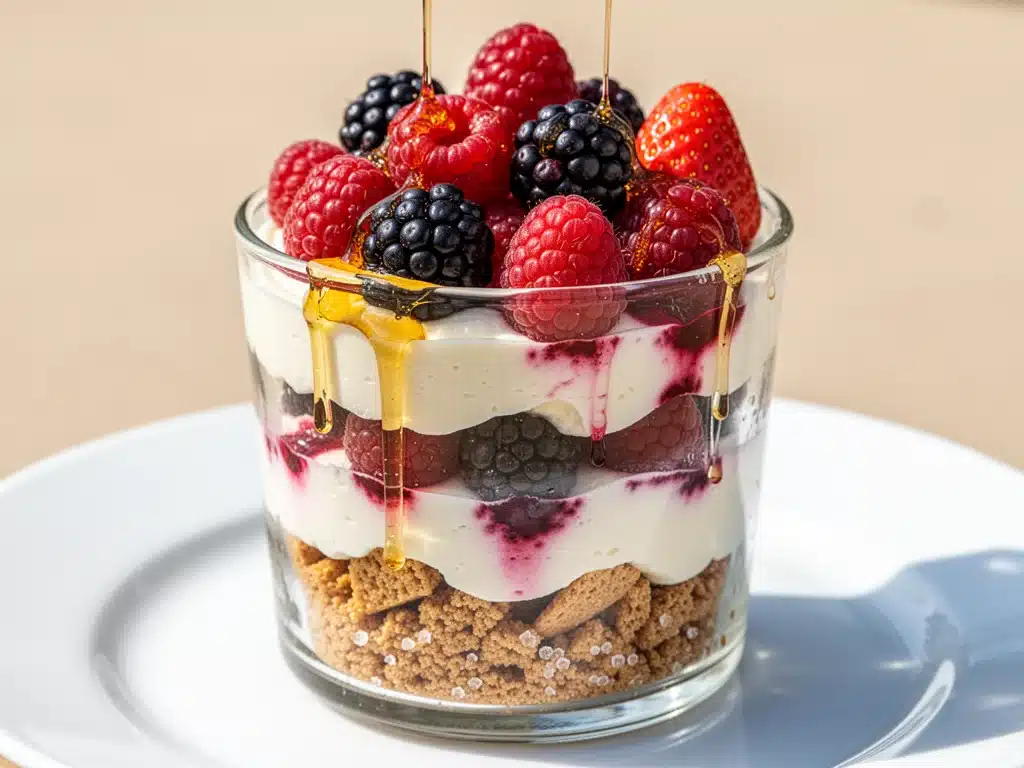
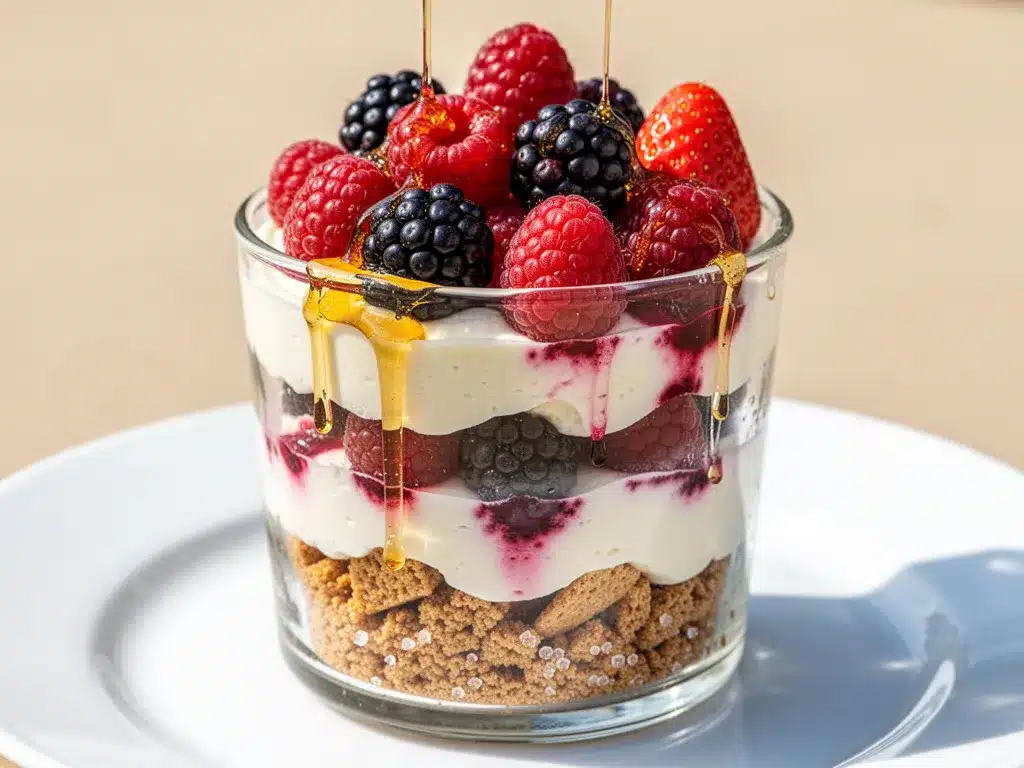
Visually Stunning — I’m not a professional photographer, but even my phone pictures of these look amazing. The layers of golden crust, white cream, and vibrant red/purple berries are Instagram-worthy without any editing. If you’re bringing these to a potluck or a picnic, they are guaranteed to get compliments. People think you spent hours on them.
Portion Control (Kinda) — Because they’re in jars, you’re serving individual portions. This means you don’t have to worry about cutting uneven slices or fighting over the last piece of the big cake. Everyone gets their own perfect little dessert. It also means you can eat one without feeling like you’ve inhaled half a cheesecake in one sitting.
Budget-Smart — Berries can be expensive, but when they’re in season, they’re relatively cheap. And since you’re using a simple cookie crust and basic pantry staples, this costs way less than buying a fancy dessert from a bakery. It’s indulgent without breaking the bank.
This is my go-to when I need a summer dessert that just works. No complicated techniques, no weird ingredients, just reliable, delicious food that makes everyone happy. Especially when paired with a cool honey lavender iced latte, it’s the perfect end to a warm evening.
Ingredients You’ll Need
Here’s the best part: you probably have most of this already. This recipe relies on simple, high-quality ingredients that work together to create that classic cheesecake flavor without the bake.
For the Crust:
Graham crackers (1 ½ cups / 150g) — I use standard honey graham crackers. They have the perfect sweetness and crunch. Digestive biscuits work too if you want a slightly less sweet, more buttery base. Crush them into fine crumbs; you want the texture of wet sand.
Unsalted butter (6 tablespoons / 85g) — Melted. This binds the crumbs together. I always use unsalted so I can control the sweetness, but if you only have salted, reduce the added sugar slightly.
Granulated sugar (2 tablespoons / 25g) — Just a little bit to help sweeten the crust. If your graham crackers are already very sweet, you can skip this or reduce to 1 tablespoon.
Pinch of salt — Crucial. It balances the sweetness and makes the buttery flavor pop.
For the Cheesecake Filling:
Full-fat cream cheese (16 oz / 450g) — This is the star. Make sure it’s softened to room temperature. Cold cream cheese will leave lumps in your filling. I usually take it out of the fridge an hour before I start. Do not use the whipped kind in a tub; it’s full of air and won’t set right.
Heavy cream (1 cup / 240ml) — Cold. This gets whipped to stiff peaks to give the filling that light, airy texture. If you don’t have heavy cream, you can use whipping cream, but make sure it’s at least 30% fat.
Powdered sugar (½ cup / 60g) — Also known as confectioners’ sugar. It dissolves instantly in the cream, unlike granulated sugar which might leave a gritty texture. Sift it if it’s clumpy.
Vanilla extract (1 teaspoon) — Use real vanilla, not imitation. It makes a huge difference in flavor depth. If you have vanilla bean paste, even better.
Lemon juice (1 tablespoon) — Freshly squeezed. This cuts through the richness of the cream cheese and butter, adding that classic tangy cheesecake brightness. Don’t skip it!
For the Berry Topping:
Mixed berries (2 cups / 300g) — Strawberries, blueberries, raspberries, or blackberries. Use a mix for color, or stick to one type if that’s what you love. I usually buy whatever looks best at the market.
Granulated sugar (1 tablespoon) — To draw out the juices from the berries. This creates a natural syrup that pools at the bottom of the jar.
Lemon zest (1 teaspoon) — Optional, but it adds a fresh aroma that elevates the whole dish.
Optional Garnish:
Mint leaves — A small sprig on top adds a pop of green color that looks professional.
Extra whipped cream — If you want to go all out, dollop a bit on top before serving.
Equipment Needed
You don’t need fancy equipment for this. Here’s what I actually use.
Mason Jars or Glasses — I use 8-ounce mason jars. They’re the perfect size for a single serving and look rustic. You can also use dessert glasses, coupes, or even small ramekins. Just make sure they’re clean and dry.
Large Mixing Bowl — For whipping the heavy cream. A stainless steel bowl works best because it stays cool.
Hand Mixer or Stand Mixer — To whip the cream and beat the cream cheese. A hand mixer is fine, but it takes a bit more elbow grease. A stand mixer with the whisk attachment is faster and gives more consistent results.
Zester or Microplane — For the lemon zest. A regular grater works too, but be careful not to get the white pith, which is bitter.
Measuring Cups and Spoons — Standard stuff. Dollar store versions work fine.
Rolling Pin or Ziploc Bag — To crush the graham crackers. If you don’t have a rolling pin, just put the crackers in a bag and smash them with a heavy pan or bottle.
Spatula — A rubber spatula is essential for folding the whipped cream into the cream cheese mixture without deflating it.
How to Make It: Step-by-Step
Alright, let’s make this! I’m walking you through exactly how I do it, including the little tricks I’ve picked up over the years.
Step 1: Prep the Berries (5 minutes)
Wash and hull your berries. If using strawberries, slice them into halves or quarters depending on their size. Toss them in a small bowl with the tablespoon of granulated sugar and lemon zest. Let them sit at room temperature while you make the filling. This process, called maceration, draws out the juices and makes the berries sweeter and more flavorful. You’ll see a pretty syrup form at the bottom of the bowl.
Step 2: Make the Crust (5 minutes)
Crush your graham crackers into fine crumbs. You can do this in a food processor (pulse until fine), or put them in a Ziploc bag and smash them with a rolling pin. Once you have about 1 ½ cups of crumbs, mix them with the melted butter, 2 tablespoons of sugar, and a pinch of salt. The mixture should look like wet sand. If it’s too dry, add a teaspoon more butter. If it’s too wet, add a few more crumbs.
Scoop about 2-3 tablespoons of the crust mixture into the bottom of each jar. Use the back of a spoon or a small flat-bottomed glass to press it down firmly. You want a compact, even layer. If it’s loose, it’ll crumble apart when you eat it. Refrigerate the jars while you make the filling.
Step 3: Beat the Cream Cheese (3 minutes)
In a large bowl, beat the softened cream cheese, powdered sugar, vanilla extract, and lemon juice on medium-high speed. Beat until the mixture is completely smooth and creamy, about 2-3 minutes. Scrape down the sides of the bowl with a spatula to make sure there are no lumps. This step is crucial for a silky texture. If you rush this, you’ll end up with a grainy cheesecake filling.
Step 4: Whip the Heavy Cream (3 minutes)
In a separate chilled bowl, whip the cold heavy cream on high speed until stiff peaks form. This means when you lift the beaters, the cream stands up straight without flopping over. Be careful not to over-whip it into butter! It should be smooth and glossy. This usually takes 2-3 minutes with a hand mixer.
Step 5: Fold It Together (2 minutes)
Gently fold the whipped cream into the cream cheese mixture. Use a rubber spatula and cut down the middle, sweep along the bottom, and fold over the top. Do this gently and slowly. You want to keep as much air in the cream as possible. If you stir too vigorously, you’ll deflate the cream and end up with a dense, heavy filling. Fold until just combined. It’s okay if there are a few faint streaks.
Step 6: Assemble the Jars (5 minutes)
Take the jars out of the fridge. Spoon the cheesecake filling over the crust layer. Fill each jar about halfway or two-thirds full. Use the back of the spoon to smooth the top if you want it to look neat.
Now, add the macerated berries. Spoon a generous amount of berries and their juicy syrup over the cream layer. You can leave some berries whole for texture or mash a few to release more juice. The contrast of the white cream, golden crust, and bright red/purple berries is beautiful.
Step 7: Chill and Serve (At least 2 hours)
Cover the jars with plastic wrap or lids and refrigerate for at least 2 hours, or ideally overnight. This chilling time is non-negotiable. It allows the filling to set firm enough to hold its shape and the flavors to meld. When you’re ready to serve, top with a few extra fresh berries and a mint leaf if you’re feeling fancy. They’re ready to eat!
Expert Tips & Tricks
Here’s everything I’ve learned from making these dozens of times. These tips will save you from my mistakes.
Room Temperature Cream Cheese is Key
I cannot stress this enough. If your cream cheese is cold, it will not beat smooth. You’ll end up with little white lumps that no amount of folding can fix. I usually take it out of the fridge about an hour before I start cooking. If I’m in a rush, I can microwave it on low power for 15-second intervals, but be careful not to melt it.
Don’t Over-Fold the Cream
The magic of no-bake cheesecake is its light, airy texture. That comes from the whipped cream. If you stir it too hard, you lose the air bubbles, and your dessert becomes dense and heavy. Fold gently and stop as soon as it’s combined. It’s better to have a few streaks than to deflate the whole batch.
Press the Crust Firmly
A loose crust is frustrating. It crumbles and falls apart. Make sure you press that graham cracker mixture down hard. I use the bottom of a small measuring cup to get it nice and flat and compact. It should feel like a solid disk at the bottom of the jar.
Use Cold Bowls for Whipping
If your kitchen is warm, your cream might not whip properly. Put your mixing bowl and beaters in the fridge for 15 minutes before you start. Cold equipment helps the cream whip faster and hold its shape better.
Macertate Your Berries
Tossing the berries with sugar ahead of time does two things: it sweetens them and creates a syrup. This syrup sinks to the bottom of the jar, creating a juicy layer that makes every bite moist and flavorful. It’s a small step that makes a big difference.
Common Mistakes (and how to avoid them):
Mistake: Filling is too runny. Fix: You probably didn’t whip the cream stiff enough, or you over-folded it. Next time, whip until peaks stand straight up and fold more gently.
Mistake: Crust is soggy. Fix: If you assemble too far in advance (more than 24 hours), the crust will absorb moisture and get soft. If you want to make them a day ahead, keep the berries separate and add them right before serving.
Mistake: Filling is too sweet. Fix: Taste your berries. If they’re very sweet, reduce the sugar in the filling slightly. Also, use unsalted butter and check the sugar content of your graham crackers.
Variations & Substitutions
Once you’ve nailed the basic version, here’s how you can mix it up. I’ve tried all of these.
Chocolate Chip Cheesecake
Add ½ cup of mini chocolate chips to the cheesecake filling before folding in the whipped cream. Or, crush Oreo cookies for the crust for a chocolate base. This is a crowd-pleaser, especially with kids.
Key Lime Version
Swap the lemon juice and zest for key lime juice and zest. Use vanilla wafers instead of graham crackers for the crust. It’s tangy, tropical, and perfect for spring.
Strawberry Rhubarb
If rhubarb is in season, chop it finely and cook it down with a little sugar until soft, then cool it before layering. The tartness of the rhubarb pairs beautifully with the sweet cream.
Gluten-Free
Use gluten-free graham crackers or digestive biscuits. Most standard brands are GF now. Just make sure to check the label. Everything else in the recipe is naturally gluten-free.
Dairy-Free
This is trickier because cream cheese and heavy cream are the base. You can use dairy-free cream cheese (like Kite Hill or Miyoko’s) and coconut cream (the thick part from a can of full-fat coconut milk). The texture will be slightly different—heavier and more coconut-flavored—but still delicious. I’ve made this for my lactose-intolerant friend, and she loved it.
Lower Sugar
Reduce the sugar in the crust and filling by half. Use unsweetened applesauce to bind the crust if needed. For the berries, skip the added sugar and use naturally sweet berries. It’s less sweet but still satisfying.
Protein-Packed
Swap the heavy cream for Greek yogurt (strained to remove whey) and use protein powder in the filling. It’s a bit more tangy and less creamy, but it’s a great option if you’re watching calories. I sometimes swap in a high protein peanut butter cookie dough bite style concept by adding a swirl of almond butter.
Serving & Storage
How to Serve:
I usually serve these straight from the fridge. They’re best cold. The contrast of the cold cream and the slightly room-temperature berries is nice. I like to garnish with a mint leaf and a few extra berry halves. They look elegant and feel special.
Side Dishes:
Since this is a dessert, it pairs well with light sides if you’re serving it at a brunch or picnic. A simple crispy parmesan crusted chicken cutlet for lunch, or a light salad. For dinner, these jars are a perfect finish to a light meal like blackened cajun shrimp skillet or slow cooker honey garlic chicken thighs.
Wine Pairing:
A light, fruity wine like a Rosé or a Moscato d’Asti works great with the berries. If you’re not drinking alcohol, a sparkling water with lemon is refreshing.
Storage Instructions:
Refrigerator: Store covered in the fridge for up to 3 days. They actually taste better on day 2. After day 3, the berries might start to weep too much liquid, making the texture soggy.
Freezing: I don’t recommend freezing these. The whipped cream and cream cheese filling can separate and become grainy when thawed. The texture won’t be the same. It’s best to make them fresh or store in the fridge.
Meal Prep: You can prep the crust and filling up to 24 hours in advance. Keep them separate. Assemble the jars the day you want to serve them. This saves time and ensures the best texture.
Nutrition Information
I’m not a nutritionist, but here’s the breakdown if you’re tracking. This is a rich dessert, so portion control is key.
Per Serving (based on 6 jars):**
- Calories: 320
- Protein: 6g
- Carbs: 35g
- Fiber: 2g
- Sugar: 22g
- Fat: 18g
- Saturated Fat: 11g
- Cholesterol: 55mg
- Sodium: 180mg
What’s Good:
- Calcium from the cream cheese
- Antioxidants from the berries
- Individual portions help with mindless eating
What to Know:
- High in sugar and saturated fat
- Contains dairy and gluten
- Can be modified for dietary restrictions (see variations)
My Take:
Look, this is a dessert. It’s meant to be enjoyed. It’s richer than a fruit salad but lighter than a baked cheesecake. When I make these, I eat one jar and feel satisfied. I don’t need three. That’s the beauty of the jar format. It’s indulgent but manageable.
Final Thoughts
So that’s my go-to no-bake berry cheesecake jars! I’ve probably talked your ear off at this point, but when you make a recipe this often, you have a lot to say about it. This has saved my summer dinners more times than I can count. It’s my answer to “what’s for dessert” when I’m tired, don’t want takeout, and still want something that tastes really good.
My kids are happy, my husband’s happy, and I’m happy because I’m not stressed about cooking. The best part is that it feels homemade but requires almost no effort. Make it yours! Try different berries, swap the crust, or add a swirl of jam. The best recipes are the ones you adapt to your family’s tastes.
If you make this, drop a comment and let me know what you think! I love hearing how recipes turn out in your kitchen. And if something doesn’t work, tell me that too—I’m here to help troubleshoot. Happy cooking! And I hope your kitchen smells half as good as mine does right now (even though there’s no baking, it still smells like sweet berries).
Frequently Asked Questions
Can I use frozen berries?
Yes, but you need to thaw them completely and drain the excess liquid. Frozen berries release a lot of water, which can make the cheesecake filling watery. Pat them dry with a paper towel after thawing. Fresh berries are best for texture, but frozen work in a pinch.
Why did my cheesecake filling turn out runny?
This usually happens for two reasons: either the cream cheese wasn’t soft enough to beat smooth, or the whipped cream wasn’t stiff enough. Make sure your cream cheese is room temperature and your heavy cream is cold. Also, don’t over-fold the mixture, or you’ll deflate the air bubbles that give it structure.
Can I make these ahead for a party?
Absolutely! In fact, they taste better the next day. You can assemble them up to 24 hours in advance. Just cover them tightly with plastic wrap or lids and refrigerate. If you’re making them more than 24 hours ahead, consider adding the fresh berries right before serving to prevent sogginess.
What kind of jars should I use?
8-ounce mason jars are perfect. They’re the right size for a single serving and look great. You can also use dessert glasses, coupe glasses, or even small ramekins. Just make sure they’re clean and dry. If you’re using glasses, you might need to adjust the layer amounts slightly.
Can I use a different type of cookie for the crust?
Yes! Graham crackers are classic, but you can use vanilla wafers, chocolate wafer cookies, or even ginger snaps for a spicier twist. Digestive biscuits are a great European alternative. Just crush them into fine crumbs and mix with butter as usual.
How do I store leftovers?
Store them in the refrigerator in an airtight container or covered with plastic wrap. They’ll keep for up to 3 days. Do not freeze them, as the texture of the cream cheese and whipped cream will change. If you have leftover crust mixture, you can store it in the fridge for a few days and use it for another batch.
Can I make this vegan?
Yes! Use dairy-free cream cheese (like Kite Hill or Miyoko’s) and coconut cream (the thick part from a can of full-fat coconut milk) instead of heavy cream. Use vegan cookies for the crust. The texture will be slightly different—heavier and more coconut-flavored—but still delicious. I’ve made this for my vegan friends, and they loved it.
Pin This Recipe!
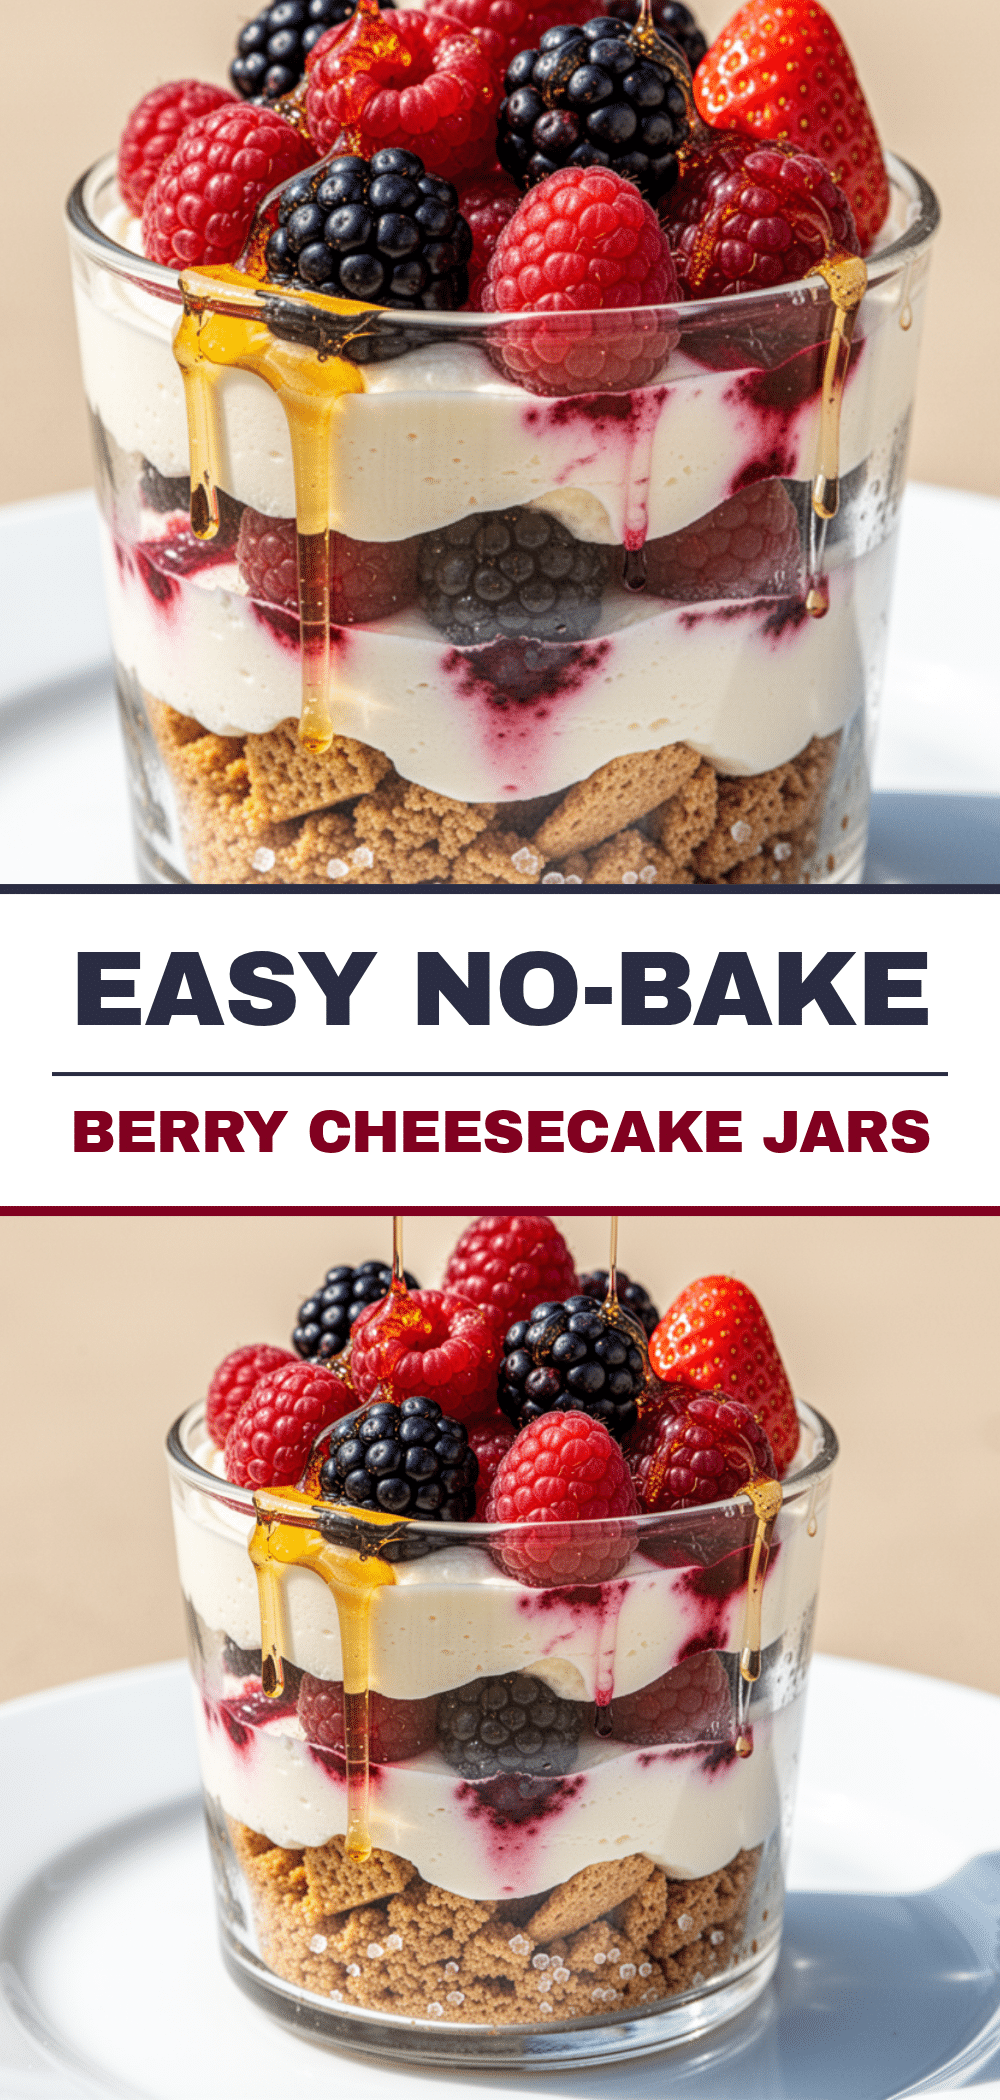
No-Bake Berry Cheesecake Jars: Best Easy Summer Dessert
- Total Time: 2 hours 20 minutes
- Yield: 6 servings 1x
Description
A refreshing, no-bake summer dessert featuring layers of graham cracker crust, creamy cheesecake filling, and macerated berries in individual mason jars. Perfect for hot days as it requires zero oven time.
Ingredients
- 1 ½ cups graham cracker crumbs
- 6 tablespoons unsalted butter, melted
- 2 tablespoons granulated sugar
- Pinch of salt
- 16 oz full-fat cream cheese, softened to room temperature
- 1 cup heavy cream, cold
- ½ cup powdered sugar
- 1 teaspoon vanilla extract
- 1 tablespoon lemon juice
- 2 cups mixed berries (strawberries, blueberries, raspberries, or blackberries)
- 1 tablespoon granulated sugar (for berries)
- 1 teaspoon lemon zest (optional)
- Mint leaves for garnish (optional)
Instructions
- Wash and hull berries. Slice strawberries if large. Toss berries with 1 tablespoon sugar and lemon zest. Let sit at room temperature for maceration.
- Crush graham crackers into fine crumbs. Mix with melted butter, 2 tablespoons sugar, and salt until resembling wet sand.
- Press 2-3 tablespoons of crust mixture firmly into the bottom of each mason jar. Refrigerate jars.
- In a large bowl, beat softened cream cheese, powdered sugar, vanilla extract, and lemon juice until smooth and creamy.
- In a separate chilled bowl, whip cold heavy cream until stiff peaks form.
- Gently fold whipped cream into the cream cheese mixture until just combined, being careful not to deflate the cream.
- Spoon cheesecake filling over the crust layer in each jar, filling halfway to two-thirds full.
- Top with macerated berries and their syrup.
- Cover jars and refrigerate for at least 2 hours or overnight to set.
- Serve chilled, garnished with extra berries and mint leaves if desired.
Notes
Ensure cream cheese is at room temperature to avoid lumps. Use cold bowls and beaters for whipping cream to ensure stiff peaks. Do not freeze, as the texture will become grainy. Best stored in the refrigerator for up to 3 days.
- Prep Time: 20 minutes
- Cook Time: 0 minutes
- Category: Dessert
- Cuisine: American
Nutrition
- Serving Size: 1 jar
- Calories: 320
- Sugar: 22
- Sodium: 180
- Fat: 18
- Saturated Fat: 11
- Carbohydrates: 35
- Fiber: 2
- Protein: 6
Keywords: no-bake cheesecake, berry dessert, summer recipes, mason jar desserts, easy dessert, make-ahead dessert, gluten-free options


